
The life of a book is fraught with danger. Readers dribble food, bend pages, and spill beverages. Bugs nibble, sun burns, mildew blooms, and dogs gnaw. As a result, there are some pretty gross books out there. But “gross” works for kids, so I decided to combine grossness and literacy with a little investigative fun.
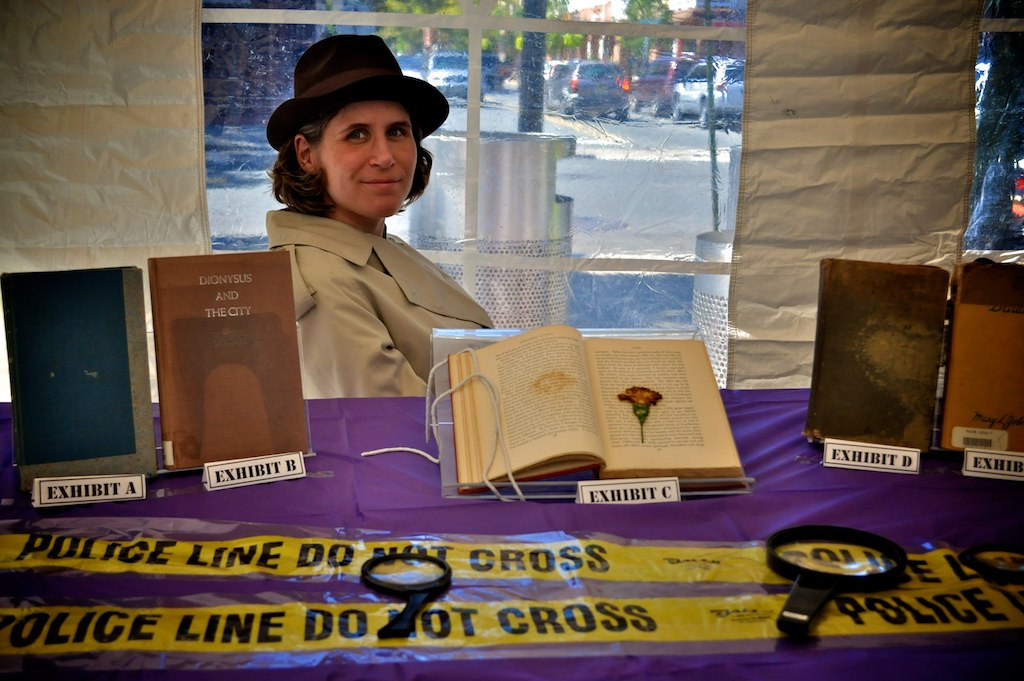
In 2010, I designed a “Books Done Wrong” table at the Princeton Public Library’s Children’s Book Festival. I displayed damaged books (labeled “Exhibit A, B, C” and so forth) on a table along with some large magnifying glasses. Nearby was a police lineup that matched the damage on the books to the perpetrators (I drew a police lineup backdrop and stood little cardboard versions of the perps in front of it).
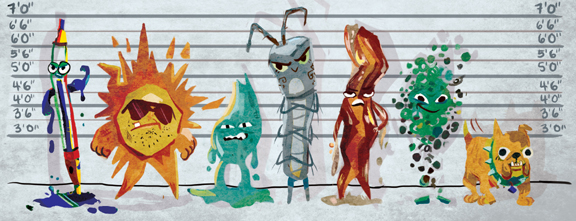
Alas, these were the pre-blog days, so the above photo is the only one I have of the event table (like the fedora?). But I did ask our student artist, Aliisa Lee, to create a line up of repeat offenders. Meet Pen Marks, Sunshine, Water Damage, Silverfish, Food Spills, Mildew, and Chomping Dog.
 At the event, kids examined the books and guessed who damaged what book. If they identified the perpetrators correctly, they were awarded a small plastic magnifying glass. I bought mine from Educational Innovations. Cheaper (but lower quality) magnifying glasses can be found at Oriental Trading Company.
So that was my little event table.
Leave it to The Metropolitan Museum of Art to take it to the next level.
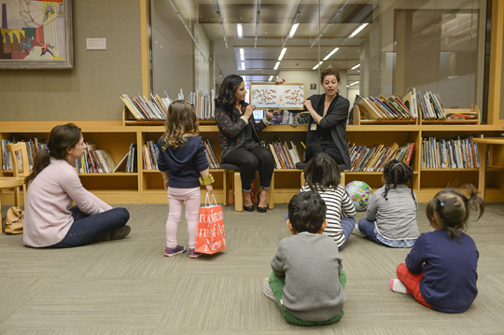
For starters, did you know The Met has multiple libraries? One of them, the Nolen Library in the Ruth and Harold D. Uris Center for Education is open to museum visitors and researchers of Art History. Even better, the Nolen Library has a children’s section, complete with storytimes!
Courtesy of the Nolen Library. Photograph by Filip Wolak.
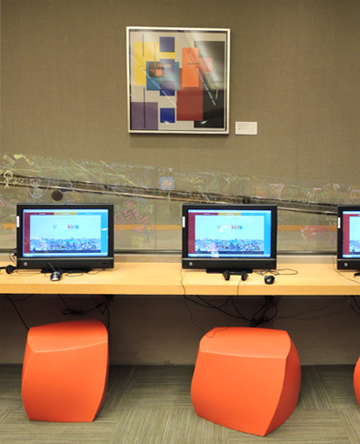
Even the littlest museum patrons can browse relevant picture books and computer programs. And just look at these amazingly stylish computer stools!
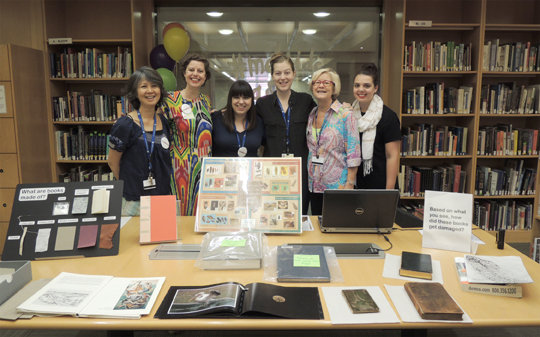
 Last year, when The Met launched MetKids (their digital feature for tweens), the Nolen Library and book conservation staff from the Thomas J. Watson Library put together a beautiful demonstration of the intersection between books, science, art, and conservation. Here’s the team (from left to right): Yukari Hayashida, Leah High, Jenny Davis, Dana Hart, Naomi Niles, and Chelsea DeGlopper.
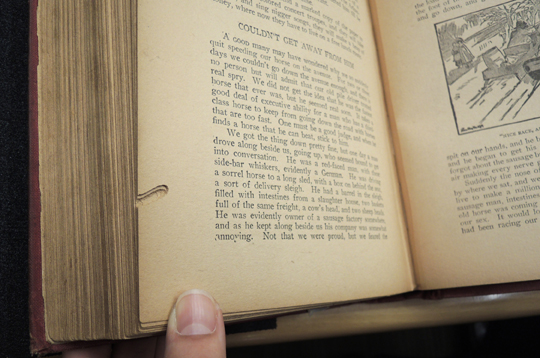
 The exhibit was spread over two large tables. At the first table you could find things like damaged books, sample of paper, and posters of pests.
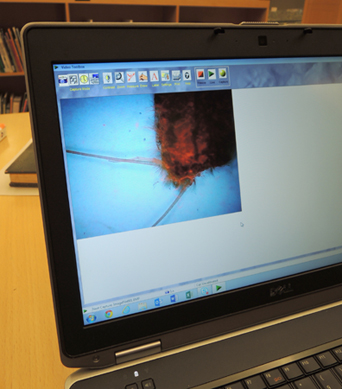
 Here’s my personal favorite – a microscope that shows a buggy book muncher up close.
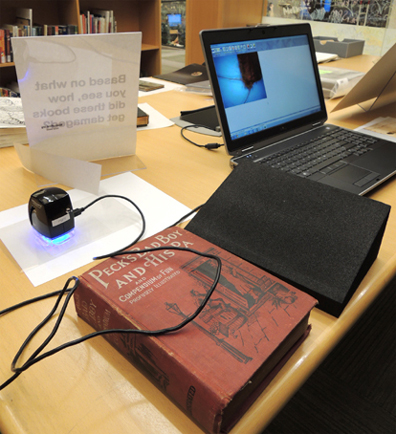
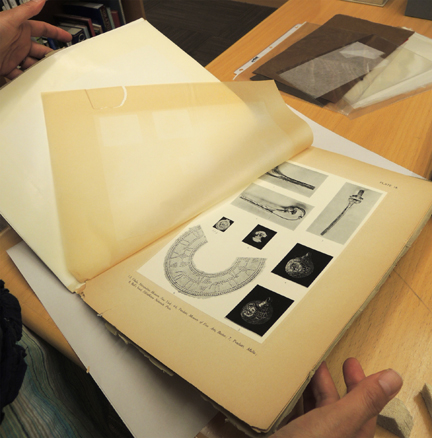
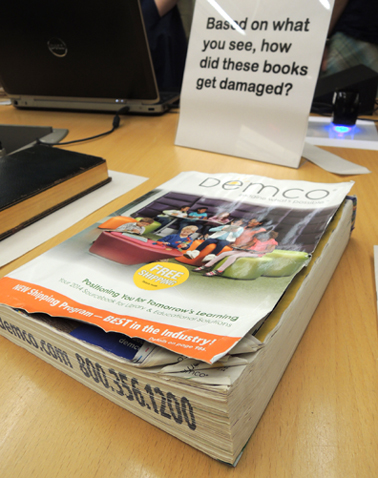
 Here’s a book catalog the conservators water-damaged on purpose for the event. So if you’re thinking of doing a similar table, and can’t find damaged books in your personal collection, feel free to customize one that would otherwise end up in the recycle bin!
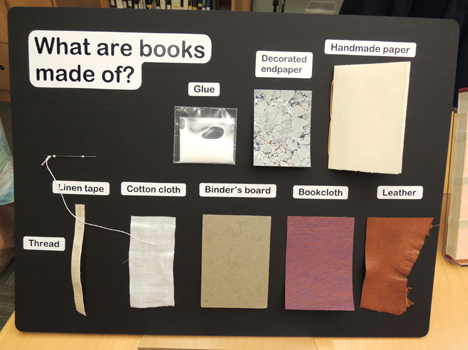
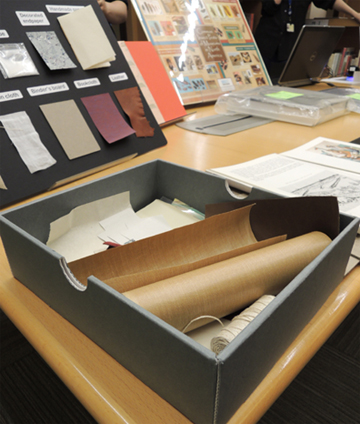
 At the second exhibit table, there was information on how to fix books, including the various materials conservators use.
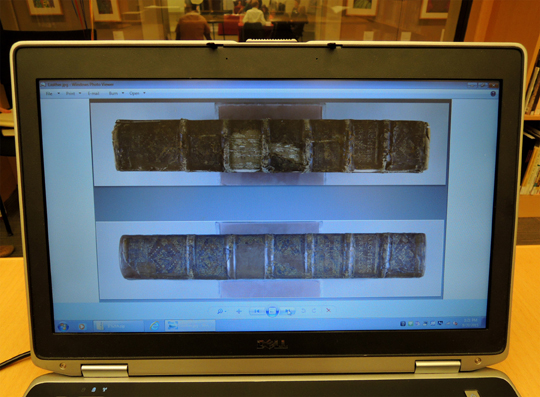
 I really loved this – a laptop showing before and after shots of fixed books:
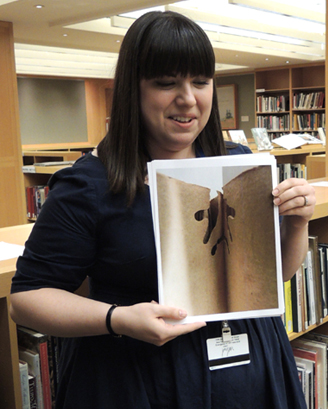
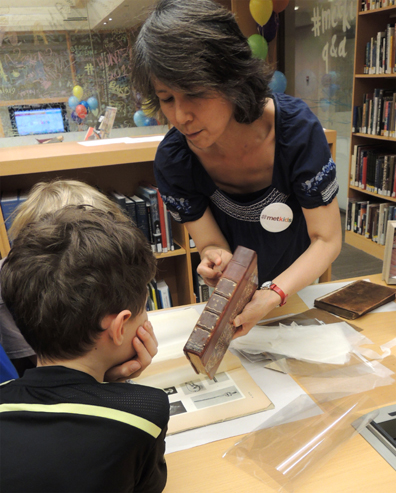
 During the event, conservators gave a presentation, encouraged kids to touch and explore, and fielded all sorts of questions.
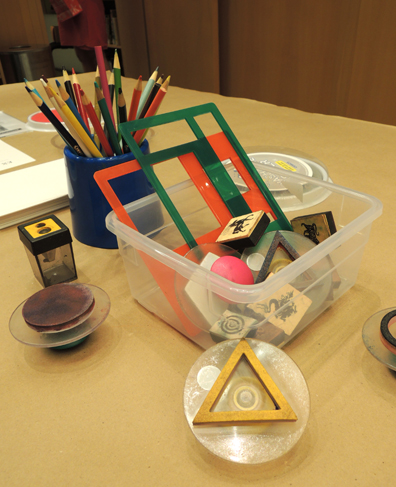
 The library also hosted a bookplate-making activity in a side room. On display were some of their fascinating historic bookplates (the real ones – not reproductions!).
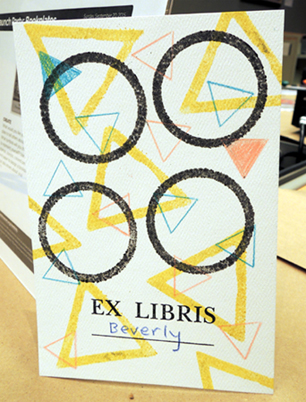
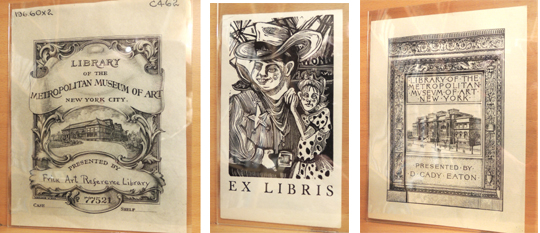 Nearby were plenty of art materials to make your own bookplate. Fantastic!
 If you haven’t been to The Met, by all means go. After my family and I left the MetKids event, we explored the rest of the museum. We were not prepared for how astounding, amazing, gigantic, and beautiful it was. I always wondered why Claudia wanted to run away to The Met and how the siblings managed to stay hidden (I speak, of course, of From the Mixed Up Files of Mrs. Basil E. Frankweiler). But now I understand. I understand!
Many thanks to Leah High at the Nolen Library, and the conservators from the Thomas J. Watson Library, for letting me come and photograph their fantastic, and incredibly educational, event table. Thank you!
Children’s Book Festival photograph courtesy of the Princeton Public Library.
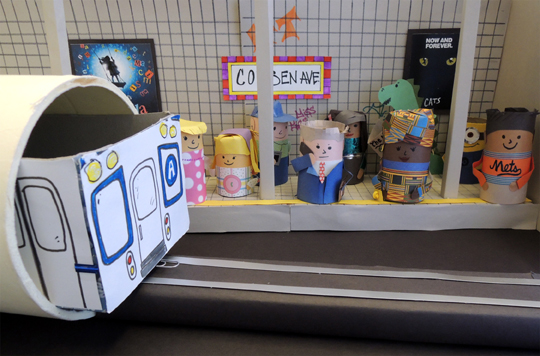 Hello from the Big Apple…we’re riding New York City’s subways today! We made tissue box subways, toilet paper tube passengers, and customized some special story time dollars. A quick stop at the MetroCard machine, and we were ready to zip through the tubes (and we mean that quite literally)!
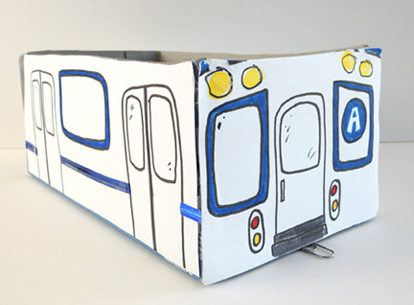 Use tape to attach a jumbo paper clip underneath the front of the subway. The paperclip should extend approximately 0.75″ past the box. Later, we’ll use this paperclip to pull your subway through the tunnel.
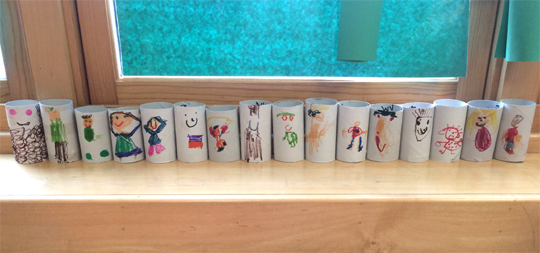
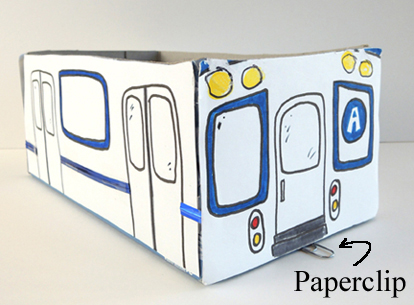 Cut a toilet paper tube down until it fits inside your subway box, then decorate (we offered
 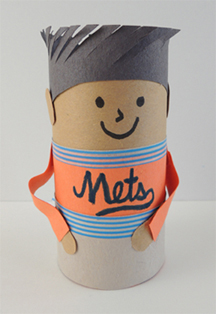 Cut and color some magic bucks from the template (you might recognize them from
 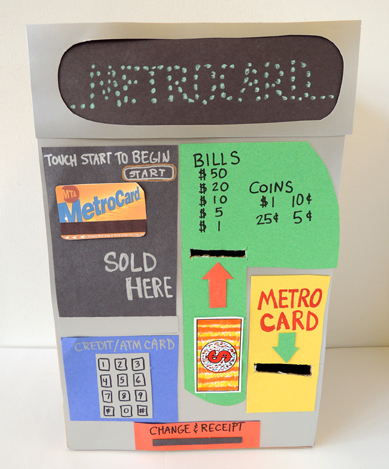 I made my machine out of a copy paper box. I cut slits for the money and the cards, then decorated it with poster board and construction paper. During story time, when the kids slid their cash into the slot, the machine would promptly dispense a MetroCard (this was done by a helper sitting behind the machine, catching the dollars and feeding cards through the slot).
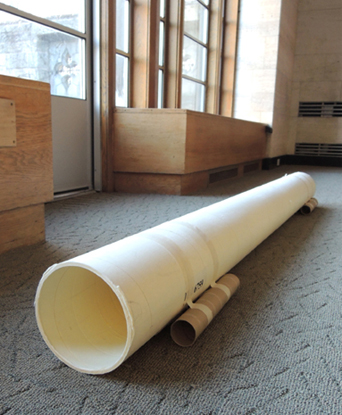 If you don’t have a tube, don’t worry! Throw a sheet over a table, or use a couple boxes to make a tunnel. So long as the subway travels through something, you’re good to go!
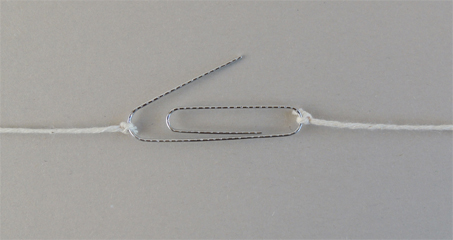 You’ll notice there are two strings attached to the paperclip in the above photo. The second string allowed my helper to pull the paperclip back through the tube after each subway had finished. Otherwise, we would have had to stop, stand the tube on its end, and let the paperclip slide back down to the mouth of the tube every time.
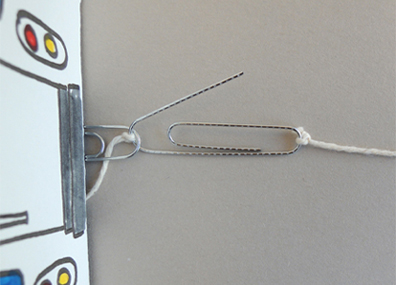 Then the kids dashed to the other end of the tube, crouched down, and watched as I pulled their subway down the tube towards them. Awesome.
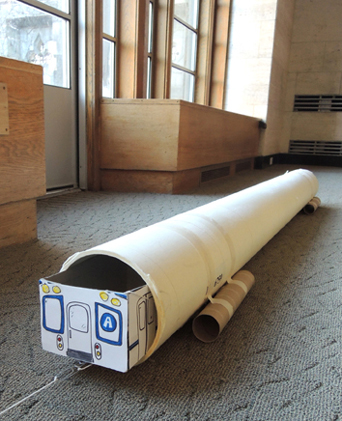
 Follow exactly the same steps with the magic bucks and the MetroCard machine…and then haul the subways through the tube. The story time was a big hit! And the MetroCard machine actually stayed in the classroom, where it happily dispensed cards for the remainder of the school year.
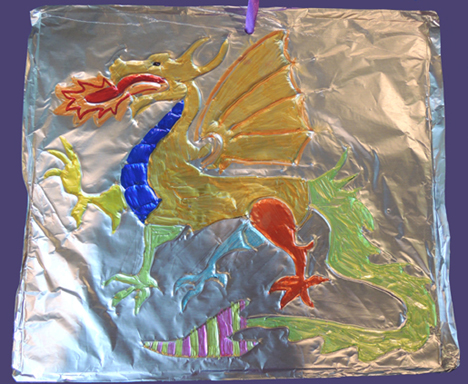 One of our regulars called this her “most favorite project, ever.” It’s amazingly simple to do, yet has fantastically beautiful results. Best of all, if you use the right markers, your metallic marvel of a dragon will illuminate under a black light! Get ready to test your metal at
 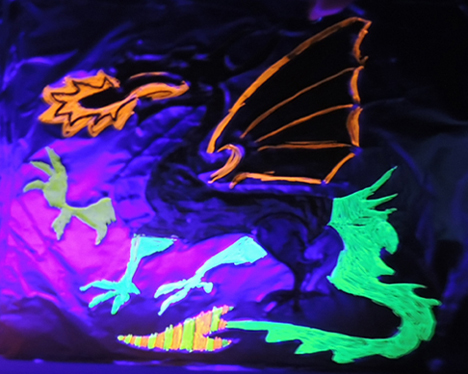 We read Lily Quench and the Dragon of Ashby, written by Natalie Jane Prior, and illustrated by Janine Dawson (Puffin Books, 1999). The town of Ashby Water used to be peacefully ruled by a King and Queen. But then the Black Count invaded, usurped the throne, tore up the botanical gardens, and built a grommet factory. Now the town is filthy, the river is polluted, and the people are suffering. To make matters worse, a dragon has landed on the grommet factory, and doesn’t appear to be leaving. Captain Zouche and Miss Moldavia (the baddies in charge), demand that young Lily Quench (a dragon slayer only by inheritance), defeat the dragon. But rather than slaying the dragon, Lily befriends it. With the help of Queen Dragon, Lily learns that there just might be a chance to defeat the Black Count, find a lost Prince, and rescue Ashby Water from ruin.
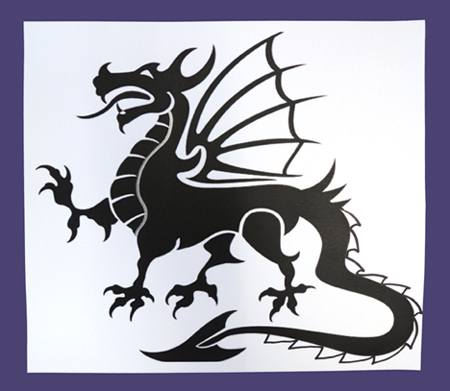 Next, outline the image with hot glue. The more outlines you make, the better the final drawing will look.
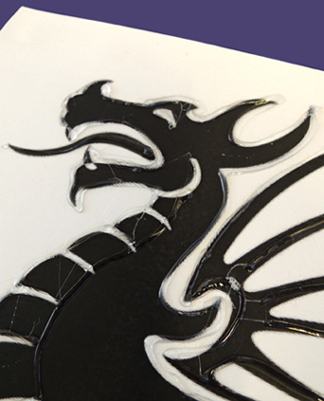 Once the hot glue is dry, cover the drawing with tin foil. Secure the tin foil to the back of drawing with tape – not hot glue! The hot glue will create unwanted ridges later. Below you can see exactly what we presented to the kids – a mysterious sheet of metal for them to explore with their fingers.
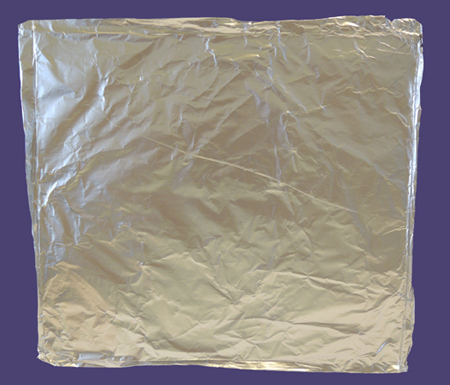 Use your fingertips to gently, but firmly, press down on the tin foil. As you press, the hot glue ridges will pop out, revealing a raised outline of the the image underneath!
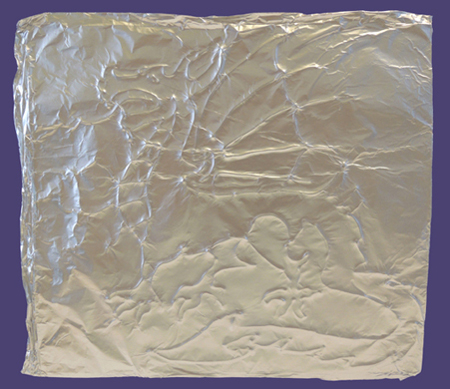 Here’s another shot that shows the ridges a little better…
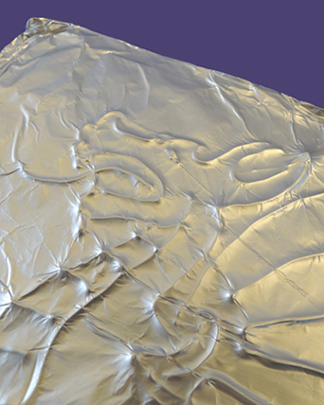 Some kids liked the idea of the image revealing itself from a “blank slate,” but other kids liked having an image to guide them. So have a few copies of the original image on your work tables, just in case.
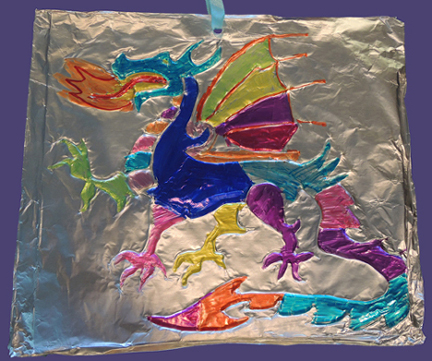 I was excited to learn that certain packs of neon color Sharpies fluoresce under black light (you’ll know because it says so right on the package). Awesome! I totally wish I had used them when we made
 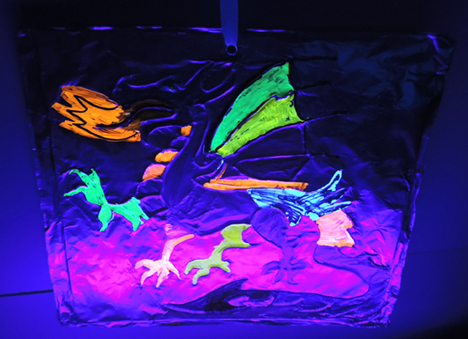 The final step is optional. I punched a hole in the top of each project and looped a ribbon through it so kids could hang their metallic creations up at home.