 Who doesn’t love the smell of fresh bread baking in the oven? And thanks to a truly adorable book and recipe, you can also get a little sunshine front and center! Let’s head to Katie’s test kitchen for a look!
It was a snowy day, when the New Jersey skies were dark and gray, that I rediscovered the book Sun Bread by Elisa Kleven (Dutton Children’s Books, 2001 – read here by Camp WildWoodz). In the story, the animals of the town have experienced a long hard winter. They are all ready for the seasons to change and for the sun to return. The local baker decides to mix together her own sunshine from the cozy comfort of her bakery. The end result is delicious hot sun bread, which she shares to the delight of the town and their joy awakens the sun from its winter sleep.
I was surprised that my copy of Sun Bread did not have the recipe, which apparently was not included in later printings of the book. After a quick online search, I was able to find the recipe, along with a few personal minor adaptations and suggestions, in a blog post written by Lisa at Story of a Kitchen.
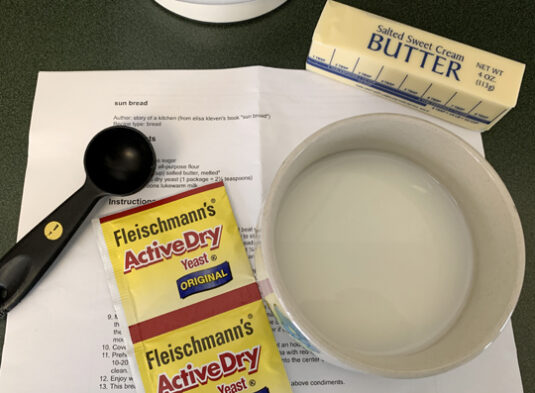
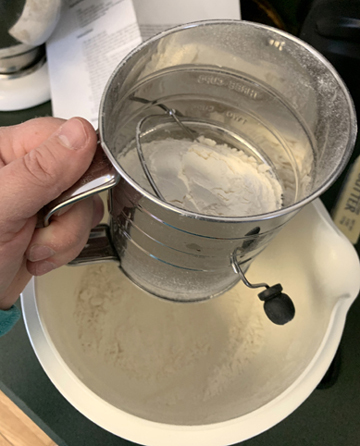 Bread is relatively easy to make. It just takes time, strong hands and a little patience to allow the yeast to work its magic. I had all of the ingredients in my pantry, so I got to work. I followed the instructions exactly as written by mixing everything together and kneading the dough, adding additional flour along the way.
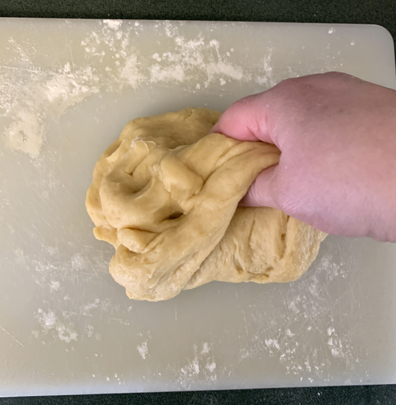
After letting the dough rest and rise for an hour, I deflated and kneaded the larger ball of dough for a second time. I cut the dough ball in half and started creating my sun face. I decided to make the corona of my sun into simple little swirls.
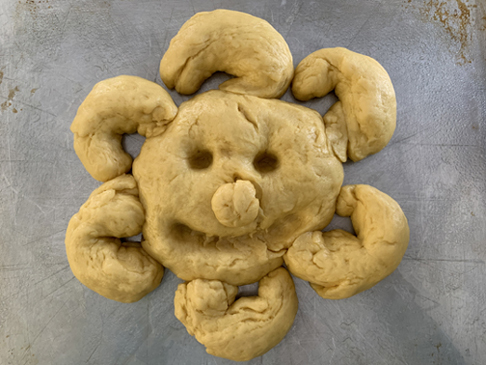
I left the doughy sun to rise for another hour and then slid it into the oven to bake. I checked the bread after 10 minutes and I’m glad I did because it was already a nice golden brown and perfectly cooked through.
It didn’t take long for my teenager to descend upon the kitchen and ask to try a slice of sun bread. It was absolutely delicious! We tried it plain, with butter, and with a variety of different jams. It didn’t matter what we used as a spread, it was wholesomely good. I wish I could tell you how sun bread tastes the next day, but it didn’t last that long. My family snacked on it throughout the day, and we finished the small amount that was left that evening as garlic bread with our spaghetti dinner.
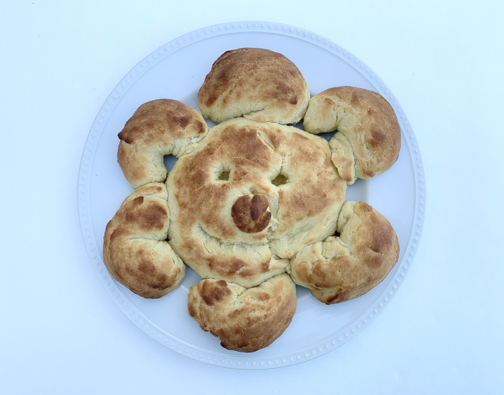
The sun bread recipe is ideal for parents to make with their children. It’s a super simple recipe to follow, you can be creative designing the sun face and corona, and the end result is scrumptious. And let’s be honest… any day is a good day to brighten your spirits with fresh sun bread!

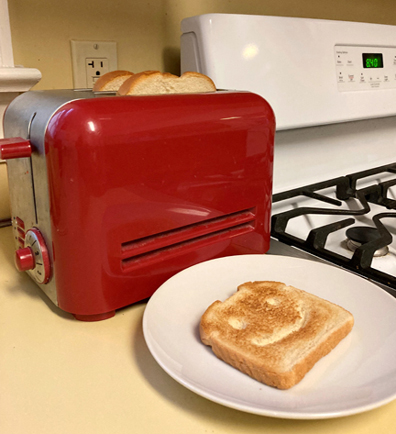
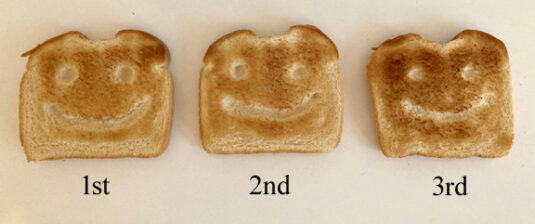 The answer is basically no. Above you can see 3 slices of toast cooked on the 1st, 2nd, and 3rd settings on my toaster. The design appears about the same. Or…maybe I did the experiment so I would have an excuse to eat three yummy slices of toast that morning? Hmmmmm. Totally not telling.
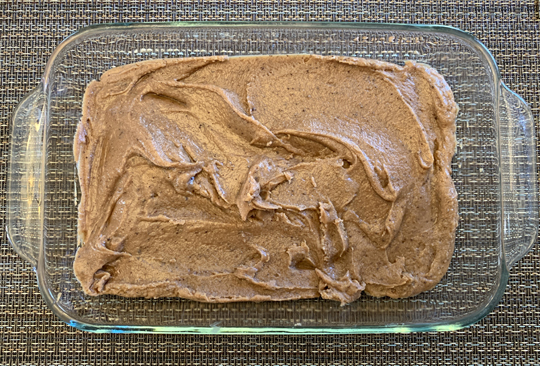 Today, Katie is broadcasting from our official blog test kitchen (which wow, looks remarkably like her own kitchen!). She’s tackling her old culinary frenemy…that cursed confection, sneaky sweet, diabolical dessert otherwise known as…FUDGE. Take it away, Katie!
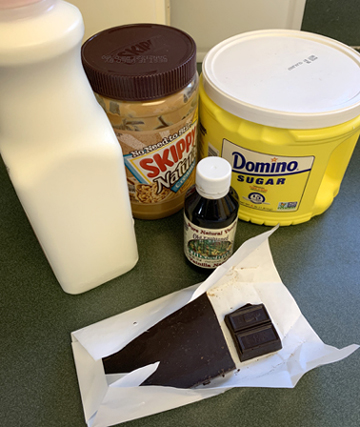 With just five ingredients and clearer directions than the “fooj” recipe, my confidence was high. I carefully followed the instructions exactly as they were written. When it came time to let the milk/sugar/chocolate mixture boil for five minutes, I set a timer and pulled out my candy thermometer (purchased when I attempted to make
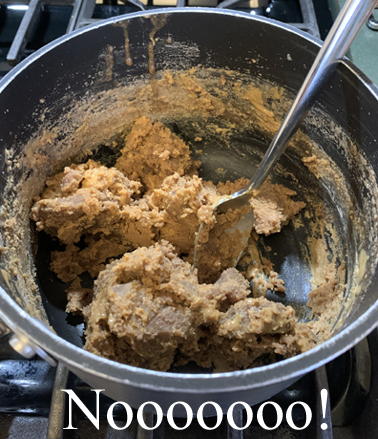
 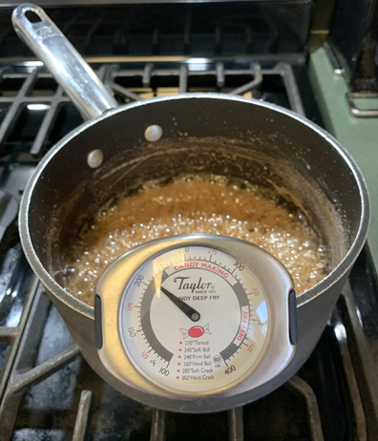 While the pot was taking its cold-water bath in the kitchen sink, a series of unfortunate events drew my attention away from the task at hand. The pot must have rested in the sink for too long because when I tried to add the peanut butter, the fudge was hard. Absolutely rock hard. I frantically tried putting the mixture back on the stove to see if it would soften up as I mixed in the peanut butter, but the result was a colossal, clumpy mess. Fudge failure, yet again.
 I wasn’t about to give up on Nana and her peanut butter fudge, so I started over from scratch. Armed with the knowledge from both of my failures, I focused wholly and completely on the fudge and finding the sweet spot of victory. And somehow, against all odds, I did it. I made fudge!
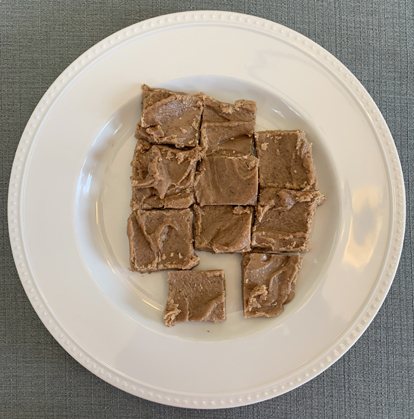 Peeny Butter Fudge is delightfully rich and provides the perfect flavor mixture of chocolate and peanut butter, which is one of my favorite dessert combinations. I provided samples for my teen son and his neighborhood friends to try, and all of them said “this is so good!” My son also said it tastes exactly like the filling in Reese’s Peanut Butter Cups. Collectively we give Peeny Butter Fudge our official seal of tastiness approval.