Tiny Library Challenge: The Final Chapter

Everyone loves a good trilogy. Except in this case. Because this is the final chapter in the trifeca of insanity otherwise known as miniature library kits (see parts I and II). But today it ends. Today, Katie is bringing it home with the Rolife 3D Creative Bookend: Sunshine Town. Our FINAL mini library kit (and possibly our favorite, honestly). Take it away, Katie!


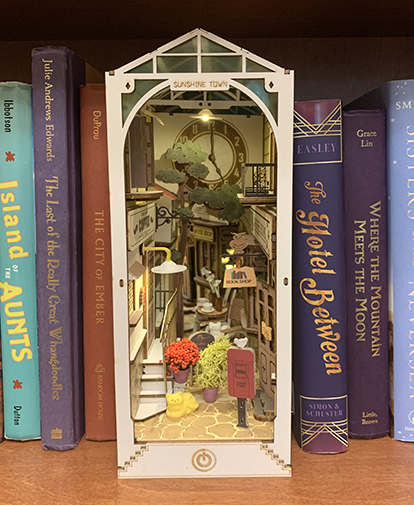
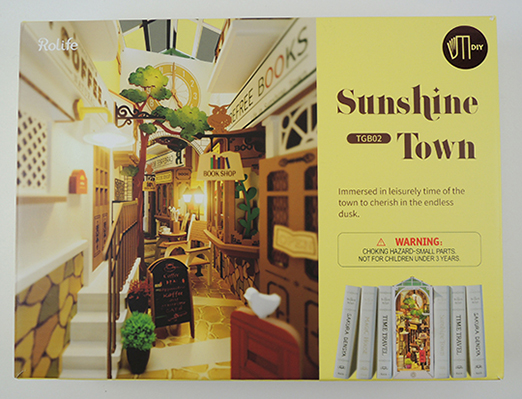
To its credit, the Rolife 3D Creative Bookend: Sunshine Town (TGB02) looked seriously adorable online and, at quick glance, did not appear to be as complicated as Sam’s Study. Added bonus: it has TWO CATS that inhabit the cozy street scene!

Sunshine Town retails for around $45 on Amazon, though I’ve seen it on Etsy and Ebay for less. Like the other two Rolife kits we’ve tested, the suggested age range is 14+, which I completely agree with. Younger children will definitely need assistance manipulating the smaller bits and pieces, as well as tackling the lighting and battery box.
The instruction manual was similar to previous kits. One difference was the use of illustrations to indicate the specific actions I needed to take, such as what to glue together and where to paint. Speaking of paint, almost every step included painting one or more of the pieces white, which I skipped entirely after finishing the sign that greets you at the front of the display. I don’t think there’s much of a difference in appearance and, to be honest, it looks just fine unpainted.
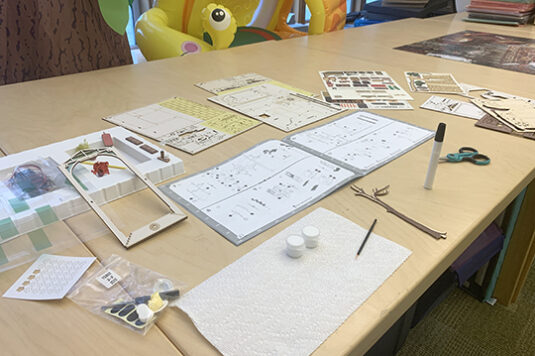
There is a combination of wood and paper pieces to build together, and the provided glue stick has a small tip and works well. There were a few instances I did have to pause and allow extra time for parts to fully dry before moving on, but that was rare.

I was dreading the lighting display, but it was relatively straightforward and, dare I say it, remarkably easy to put together. Since this was not my first mini build rodeo, I knew exactly what to do when the instructions said to heat the “heat-shrink tube.” A lighter from home worked beautifully to melt and bend the little shaded light that illuminates the stairs in front of the coffee shop (a task I finished outside of the library walls, to ease the fears of any of my colleagues who may be reading!). All of the wires neatly tuck into a panel at the rear of the box.
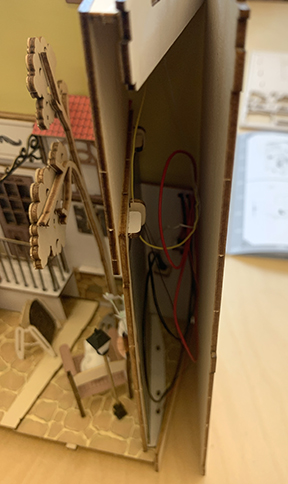
The hardest task was to close the bookend with the final side wall. Making sure all of the connection tabs and the street parts were in the proper place to finish the build was a bit of a struggle.
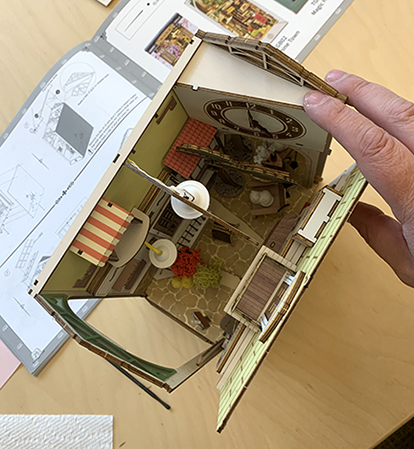
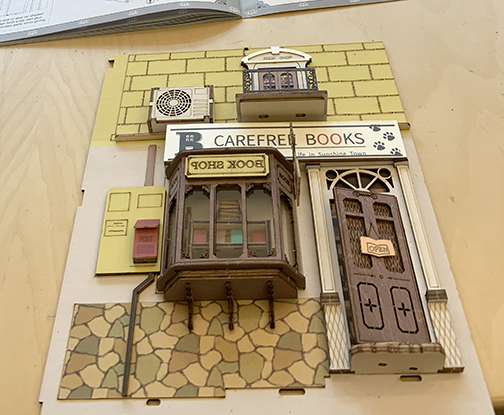
My only other complaint is with the bookend being so deep and narrow, there are a few areas that are hard to see, even with the mirror to help reflect the back of the scene. The curved bay window in front of Carefree Books has a cute display inside that is difficult to enjoy, and you really have to search for the red mailbox on the building wall in the back (which looks similar to the mailbox we used at our Tintin movie event).
The touch pad to turn the lights on and off is really clever, and the two interior street lights along with the overhead pendant envelop the scene with an inviting warm glow.
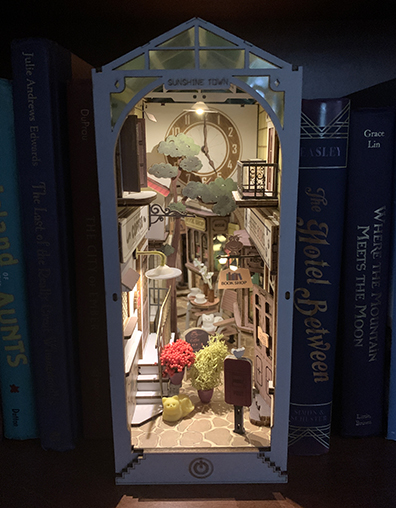
As anticipated, Sunshine Town looks positively charming tucked on a shelf between copies of your favorite books. It’s my personal favorite of the three Rolife miniature kits we’ve tested. Because… cats! I give it a 4.5 out of 5 stars.


And thus ends our miniature library kit tests. They were tedious, delicate, maddening, and took waaaay to much time. But there are much worse games to play.

The Ultimate Escape

It should come as no surprise to anyone when I make this statement: KATIE ADORES ESCAPE ROOMS. Since her first in-person escape room during a birthday celebration, Katie has gone on to design many awesome literary escape rooms, both in-person (see here, here, and here), and virtual (see here, here, and here)! So it makes total sense for her to test drive Finders Seekers, a mailed-right-to-your-door escape room company. Take it away, Katie!


Yes, I adore escape rooms, both participating in and creating them! Not being able to partake in a live escape room because of the pandemic, I eagerly started searching for a worthy “at-home” alternative. That’s when I found Finders Seekers.

Finders Seekers is a monthly subscription where you receive a box in the mail with an escape room mystery adventure inside. The rooms are based on the culture and history of a different city somewhere in the world. The cities have covered the entire globe, including Sydney, Australia; Athens, Greece; Petra, Jordan; and San Francisco, California. There are a couple options for purchasing: you can sign up for a month-to-month service for $30, or you can select up to 3 levels of prepay spanning a year. There’s a gift option for sending a box to an escape room fanatic as well. You can cancel your subscription at any time.

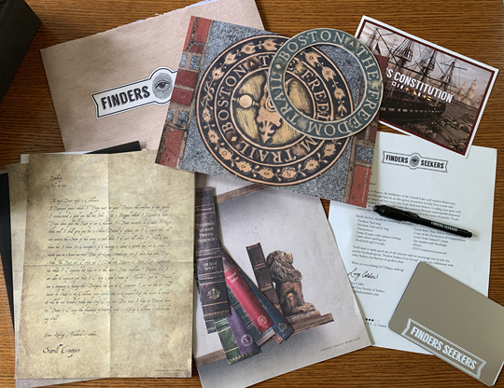
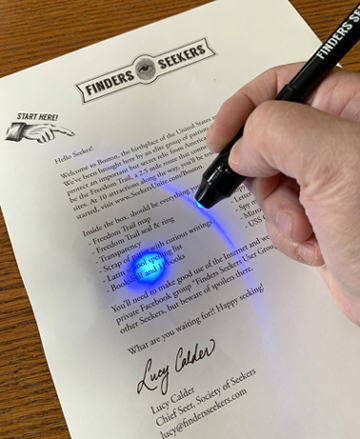
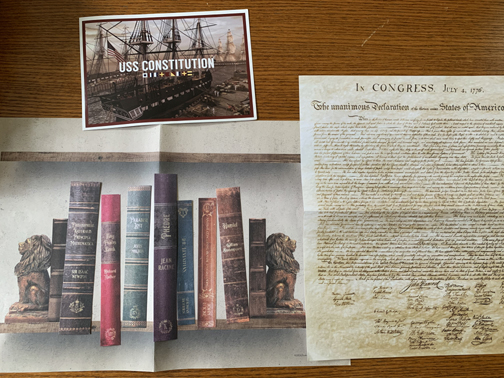
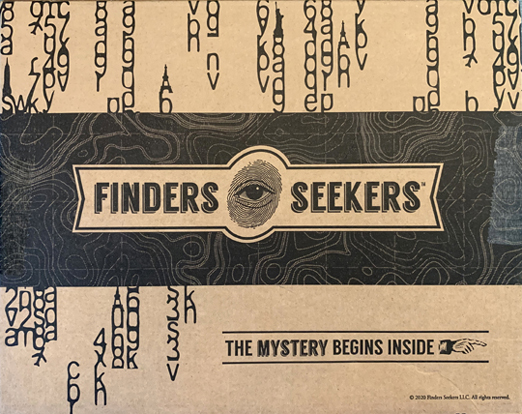
Your “Escape Room in a Box” literally comes in a Finders Seekers marked box, which tells you that “The Mystery Begins Inside.” When you open the box, you find a “Classified” envelope with all the materials you’ll need to solve the escape room, along with a letter of specific instructions from Lucy Calder, Chief Seer of the Society of Seekers. Chief Seer Calder provides a website with links to different locations within the city, along with supporting information to help you solve the clues and puzzles.

Our first Finders Seekers adventure took us up the East Coast to Boston, Massachusetts. From the deck in our backyard, my son and I raced along Boston’s Freedom Trail and visited 10 historical stops along the way. We were tested by 10 “patriots” at the sites and once we solved the riddle, we were given a token that helped us decipher the final mystery to the location of a stolen relic.

The descriptions and data provided within the website work hand-in-hand with the materials found inside the envelope. You definitely need both elements to figure out the solution. If you get stuck on a puzzle, never fear. The website provides additional hints (and even the final solution!) if you need help as you work through the escape room.

My 13 year-old son and I found some of the puzzles rather easy to figure out, whereas others required us to put in a bit more thought to figure out the solution. Some friends of ours did it with their daughter and her friends (ages 9-11) with success as well. Even though my son and I had decided to not use any of the extra hints, we did get help once because it was difficult to read part of the clue on our materials and the puzzle wasn’t terribly clear.

Otherwise we managed to solve the escape room entirely on our own. Together we traveled through the city, learned fun facts about one of the most historical places in the United States, and crossed the Boston Marathon Finish Line in a little over two hours!

Our other Finders Seekers adventures had us jetting off to Paris, France and making various stops along the Metro, including the Catacombs and Moulin Rouge. We also have a mystery in Beijing, China waiting for us to solve.

For families who like game nights, for couples searching for a fun date activity, or for anyone who simply loves escape rooms (including yours truly), Finders Seekers is ideal. You finish the escape room in one sitting, rather than having to solve one section and then wait another month for the next part of the mystery. You can also do it entirely on your own! It provides enough challenges to foster excitement and intrigue for several enjoyable hours and introduces the adventurers to new places and cultures. Finders Seekers receives my highest recommendation!

Say it with Chocolate

hello 1We’ve reviewed a lot of interesting word products on this blog (see this calligraphy kit, these spelling straws, these clay words, this bbq brander, this DIY neon letter kit, and this vanishing paper!). But today’s blog post has to be the sweetest test yet. Because Katie and her crew tested a chocolate pen. That’s right. A CHOCOLATE PEN. Take it away, Katie!
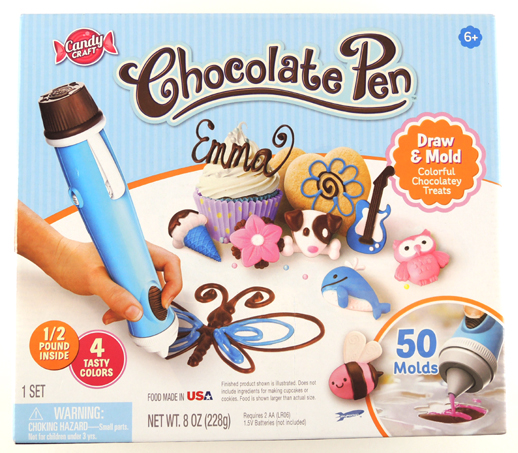

Candy Craft’s Chocolate Pen retails for around $30 and the suggested age range is 6+, though the instructions specifically say adult supervision and participation is required. I fully support this recommendation and want to add a personal observation. Children ages 10 and under will definitely need adult assistance, whereas kids 10+ should be able to do most on their own with one exception (more on this later).

The Chocolate Pen kit has everything you need to “draw & mold colorful chocolately treats.” There is ½ pounds of confectionary candy in different color pouches (white, red, blue and brown); four clamps; pen tips and caps; three mold trays; five gift bags and twist ties; and the chocolate pen itself (two AA batteries are not included). If you want to write out a word or make your own drawing, you will need to have sheets of either wax or parchment paper handy.

A quick note for those who have food allergies: the confectionery candy contains milk and soy. Please consult the nutrition facts for the full list of ingredients.

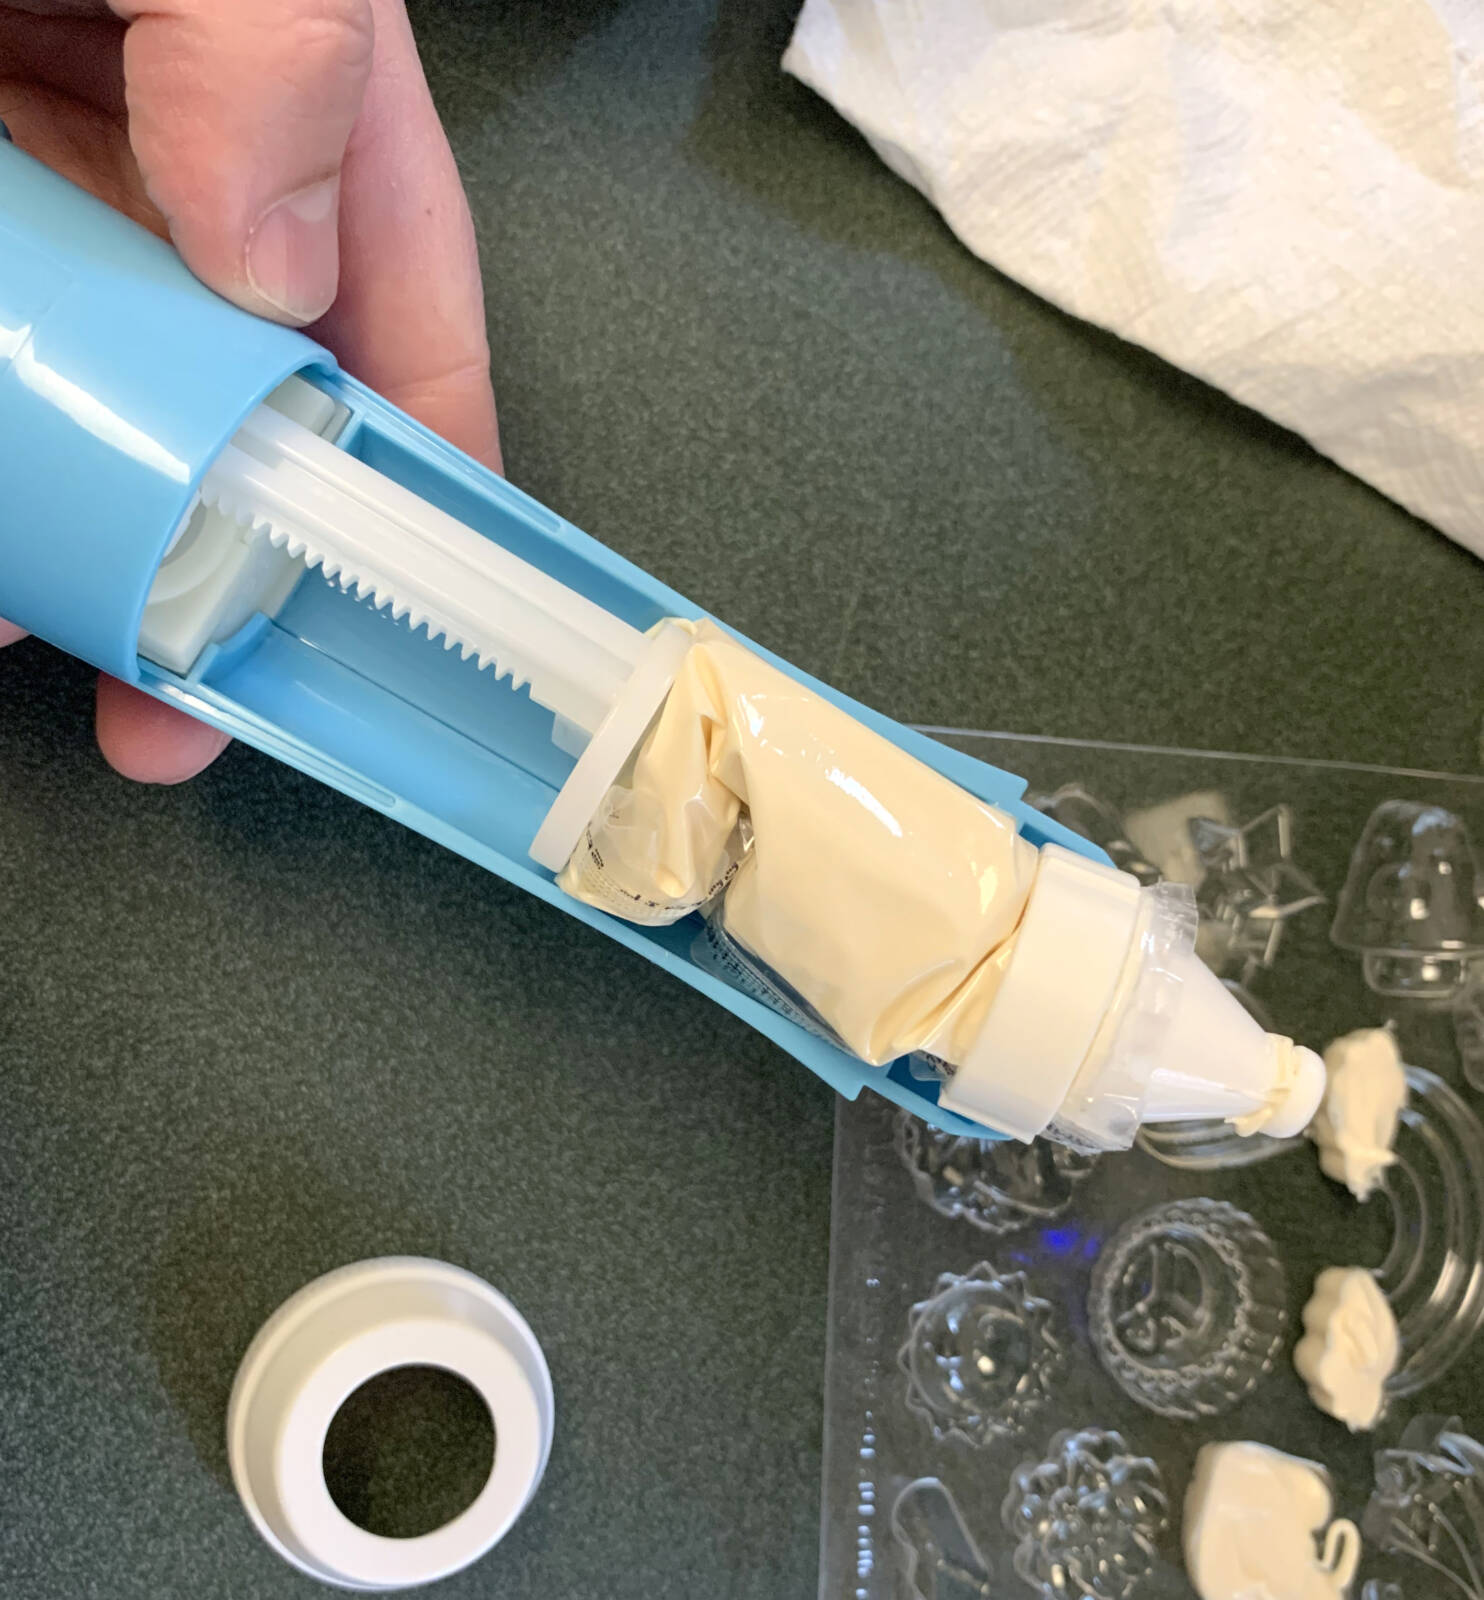
After thoroughly washing and drying the various pieces of the pen tip and the treat mold trays, I got to work putting the chocolate pen together. There are a lot of steps to follow, but the instructions describing how to prepare the confectionary candy pouches were clear and well written with informative drawings. However, the instructions did not prepare me for the frustration of attaching the candy pouch to the pen tip.

It took every ounce of my finger/hand strength to properly secure the clamp around the pen tip, which I had inserted into the open melted candy pouch. You have to leave at least 1/8” of excess pouch extending beyond the clamp for a good seal, which makes sense. It would be a disaster to have confectionery candy squirting out of the pouch and into the interior of the chocolate pen. But boy oh boy, it was a real challenge to close the clamp. It was messy, it was aggravating, and it cast serious doubt in my mind about the ability of any child being able to do it on their own (as I alluded to earlier). 

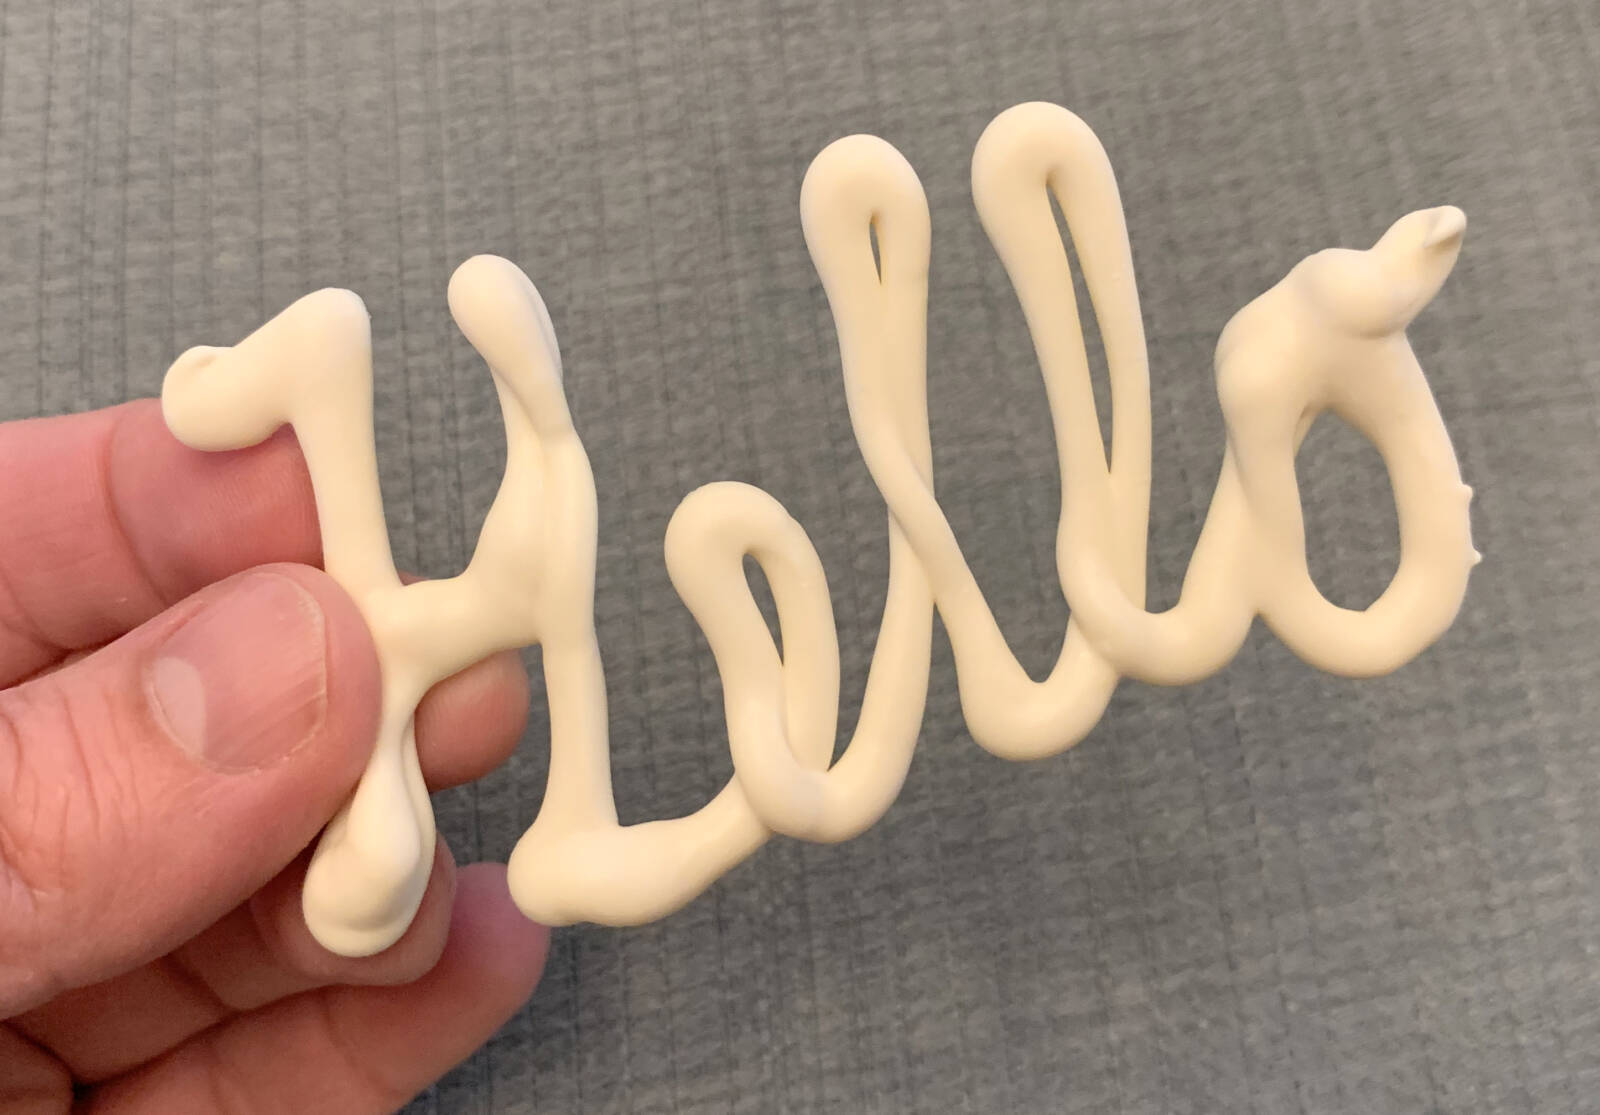
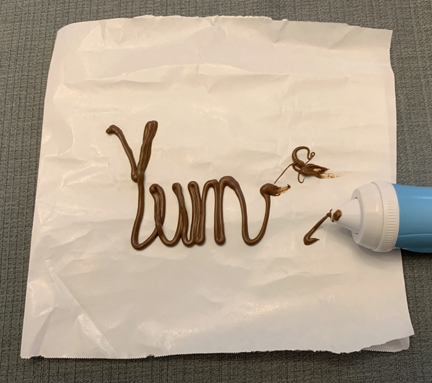
Once I was able to finally lock the clamp, I continued following the preparation instructions until I was ready to start drawing with the chocolate pen. I carefully wrote “Hello” and “Yum” in cursive on a piece of parchment paper. While it was relatively easy to write with the pen, I discovered that candy would continue to ooze out of the pen tip well after I had stopped pushing down the power button. Needless to say, I was left with a big blob of excess candy at the end of my word.

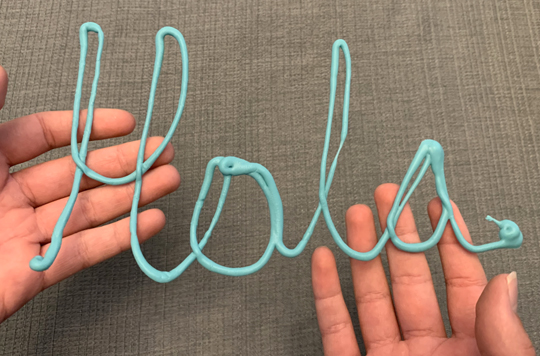
I called upon my son to lend his writing hand and give the pen a try. He wrote “Hola” and had the same problem with excess candy continue to push out of the pen tip after releasing the button. We carefully transported our words and placed them into the freezer to harden. After impatiently waiting the recommended five minutes, we took a bite of our chocolate words. The results were deliciously fantastic! The candy is quite sweet and tasty!

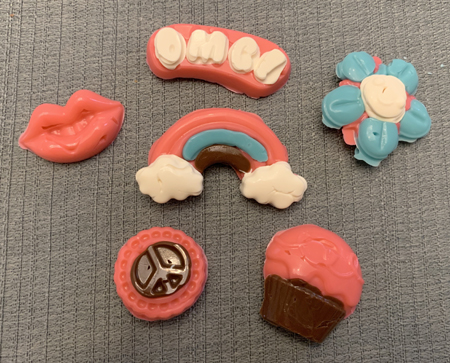
Next up was trying the mold trays. The mold shapes presented an unexpected challenge, due largely in part to the pen continuing to discharge candy after you stop pushing the power button. I found I had varying levels of success. I managed to create two- or three-color candies using the larger molds, but the smaller molds were very difficult. Even just pushing the power button for just 5-10 seconds caused extra candy to fill the molds too full or didn’t allow for a second color to be added. Under important information on the instructions, there is a statement that reads “results will vary from product images depending on age and skill level.” After testing this product, particularly the mold trays, I completely agree with that statement.

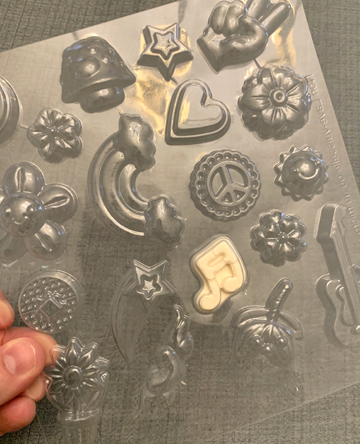
The Chocolate Pen is fantastic in concept, but I feel it falls very short of my excited expectations. Don’t get me wrong, I enjoyed eating my chocolate creations, but the frustration of trying to figure out the perfect amount of time to use the pen without the inevitable stream of extra candy made the process less than fun. The smaller mold shapes are hard to use, and sometimes the finished product didn’t easily pop out of the mold tray, as was the case for the little white music note!

Final ranking: 2 out of 5 stars

It appears the manufacturer made a significant update to this product sometime in 2020 and now offers an automatic load feature on the pen. The chocolate candy is warmed in a separate tray and you simply dip the pen into the color chocolate you want to use, load it and start creating. I’m glad they listened to their customers and made this much needed improvement. However, I’m quite curious there was any change to prevent the extra candy ooze when the pen is in use.