 Swoosh down the plastic table slopes in your magnificent snow tube, then grab a delicious cup of hot chocolate (enhanced with chocolate scratch-and-sniff stickers) at the sweetest little snow station in the universe – the Cocoa Chalet!
We read Snow Day! written by Lester L. Laminack, and illustrated by Adam Gustavson (Peachtree, 2007). Did the weatherman just predict snow? Woo hoo! No school! A dad and his two kids run through the list of marvelous things they’re going to do on their snow day…hot chocolate, warm blankets, snow forts, sledding. Up the stairs to bed they go, anticipating all the fun. Except it doesn’t snow. Dang. Dad’s especially upset…because he’s the teacher!
You’ll need:
- 2 small tissue boxes
- 2 pieces of tagboard
- 4 mini craft sticks (ours were 3″ long)
- 2 large plastic buttons
- 2 toilet paper tubes
- A selection of construction paper
- 1 snow tubing slope (more on this below)
- Scissors and tape for construction
- Markers for decorating
- Hot glue
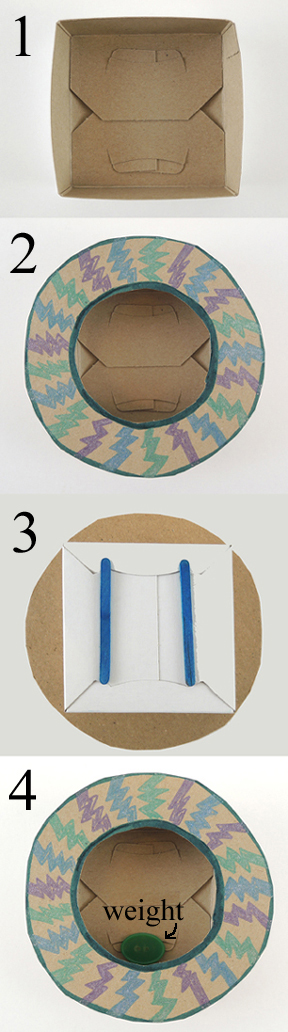
 Snow tubes first! Cut the bottom off a tissue box, leaving 1″ sides on the box. Cut a circular tube shape out of tagboard or poster board. Decorate it, then hot glue (or tape) it to the top of the box. Next, flip the snow tube box over and glue two mini craft stick runners to the bottom – this will allow the tube to slide most effectively. Finally, hot glue (or tape) a large plastic button to the inside bottom of the box. This provides the weight that will send your tube zipping down the hill rather than slow-poking to a halt.
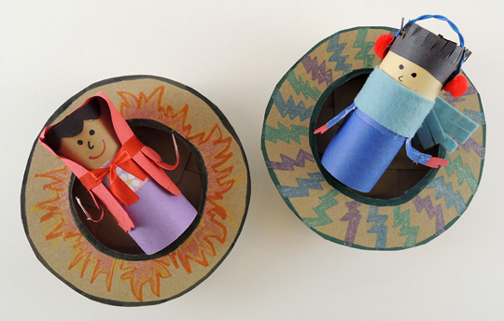
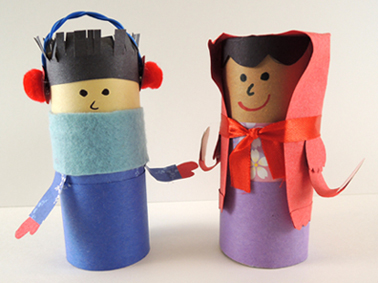
 The tube rider is a toilet paper tube decorated with construction paper and markers. We added a felt scarf and a pair of mini pom-pom earmuffs as well. Did you recognize the red-cloaked rider on the right? That’s Little Red Skating Hood from this magnetic ice rink story time! We had kids make 2 snow tubes and 2 riders so they can race them down the hill.
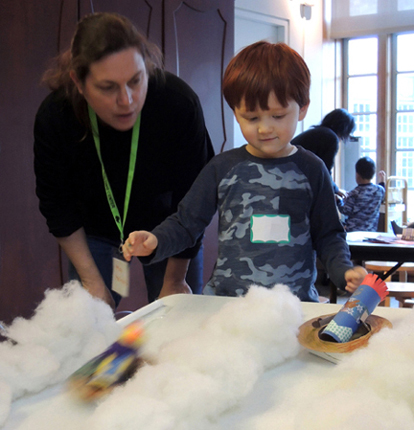
 Your snow tubes are done, now for the slope! These were two, 6′ plastic tables we secured on stools. We’ve done exactly the same thing for this sled run and this country-to-city truck run. For snow tubing purposes, however, we made 4 racing lanes:
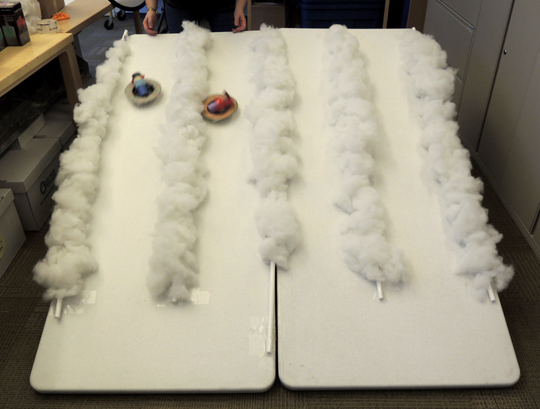 We took four, 60″ pieces of PVC pipe, and speared wads of polyester fill on them. Then, we used packing tape to secure the PVC pipes to the tables. We left 11″ of space at the bottom of the racing lanes to encourage exciting tube crashes. Important! Test the tube riders on your slope a couple times. If the poly fill is bulging out too much, the riders will get stuck and won’t slide down the slope.
The mini-craft stick runners, the plastic button weight, testing the poly fill snow bulges…it might seem like a lot of extra steps, but the project won’t work as well without these things. We believe snow tubes need to zip, slide, and careen off things. Check out the results!
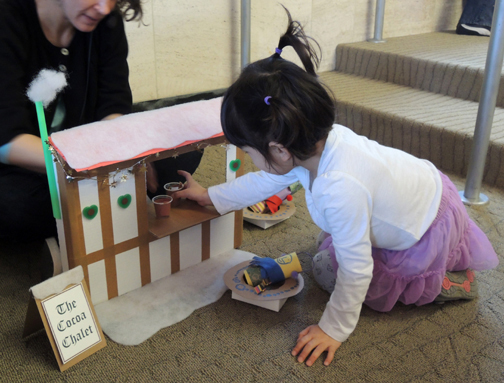
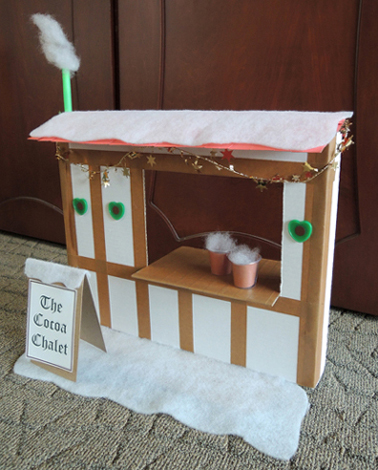
After everyone had played in the slopes, we headed over to “The Cocoa Chalet” for a delicious drink. This blog has amply demonstrated how much we love crafting retail opportunities (exhibits a, b, c, d, e, f, g, h, and i). So bring on the hot chocolate stands I say! I made the Cocoa Chalet with a box lid and a poster board roof. The snow is fabric batting someone donated:
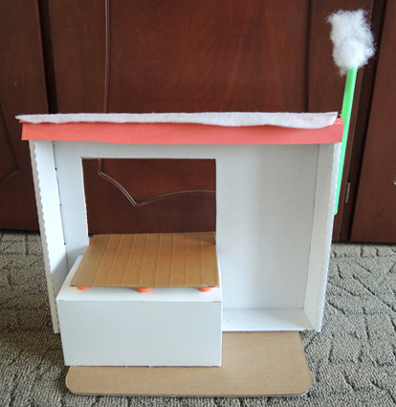
 Here’s the back of the chalet. As you can see, the whole thing is attached to a cake pad base. Oh, and the chimney is a bubble tea straw.
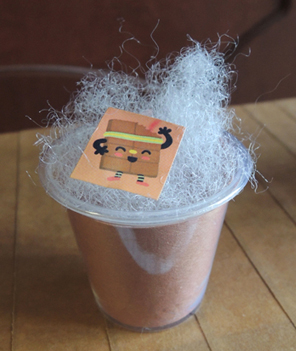
 The hot chocolate was a little piece of brown construction paper curled into a 1oz plastic sample cup. I topped it off with some poly fill whipped cream, then added a chocolate scratch-and-sniff sticker so the cup would exude a chocolatey bouquet.
 Hey! Do you want to see the most amazing hot chocolate in the world that I consume far too much of? Right here, my friend. Right here.
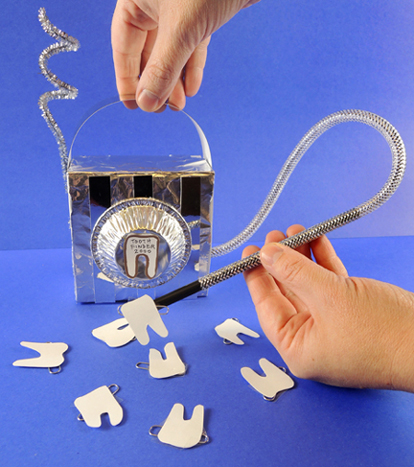 Lose a tooth? No problem! Our magnetic Tooth Finder 2000 will locate your missing teeth in a jiffy! We also added a little alphabetical deduction game to the mix, as well as a magnetic tooth fairy wand variation.
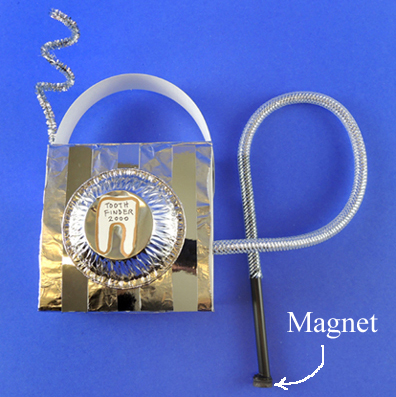 Cut several teeth from card stock, then tape paperclips to the back. Wave the machine’s wand over the tooth, and it will magnetically connect! We came up with a spelling game as well. To play, write different letters on the teeth, then see if kids can can pick out a particular word or their name from the pile.
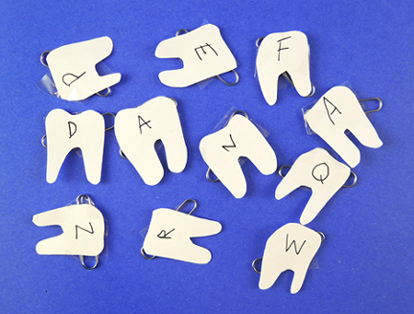 If you’d like to skip the tooth finding machine and go even simpler, cut a star out of card stock, decorate it with markers, then tape it to a drinking straw. Tape or hot glue a mini button magnet to the back of the star and you have your very own magnetic tooth fairy wand!
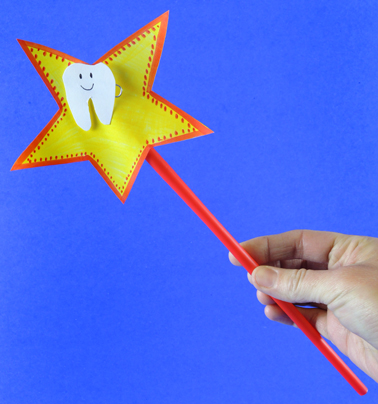
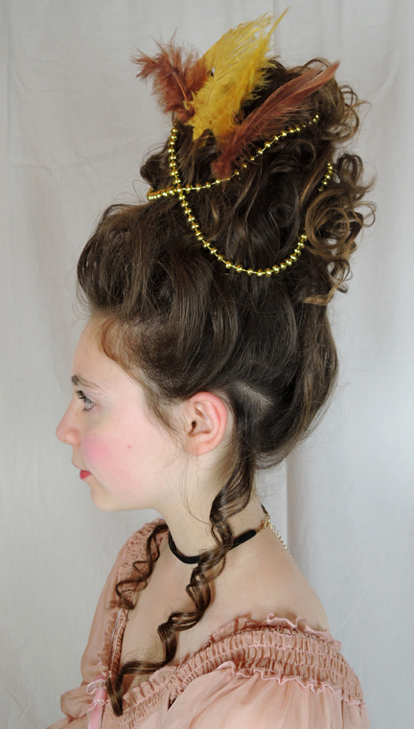
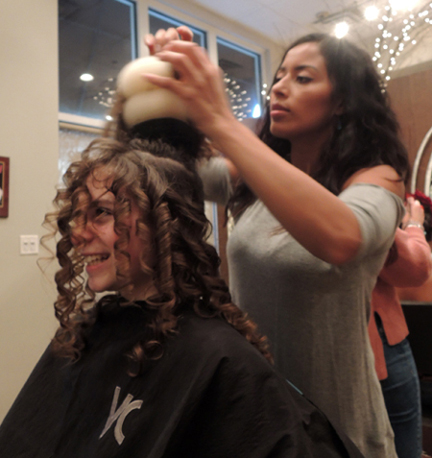 VC Salon, you are amazing. Last week, 5 stylists donated their time and significant skills to give 6 girls totally historic makeovers. And we don’t mean “historic” as in slang for “awesome” (even though the results were awesome). We mean historic as let’s-go-back-in-history-and-do-a-Marie-Antoinette-updo historic.
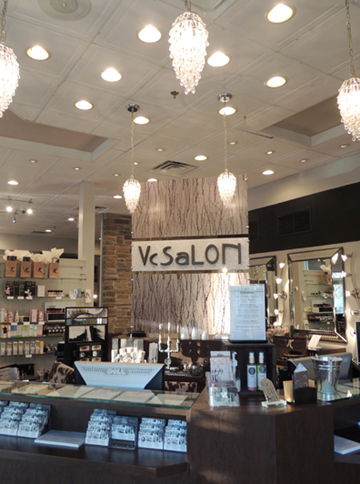
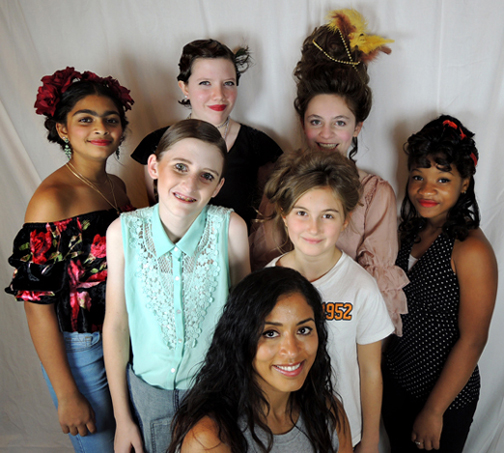
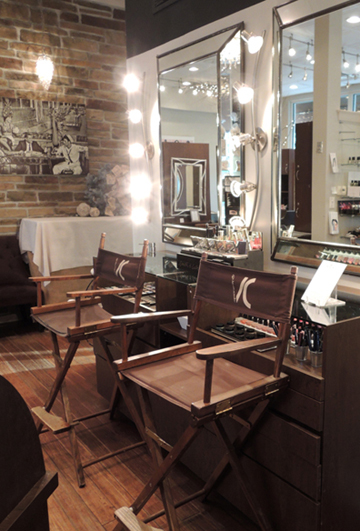 The collaboration was lead by stylist Delia Salguero. We provided her with the models and pages of historic photos, and Delia recruited the stylists. The stylists then selected the model, the hairdo, and also put together costumes and accessories for the photo shoot.
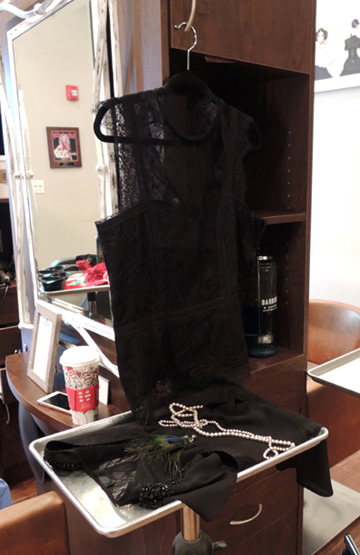 The models were volunteers Cotsen Critix, our children’s literary society. You might recognize one of the faces below. Yes, that’s Hope, our blog’s
 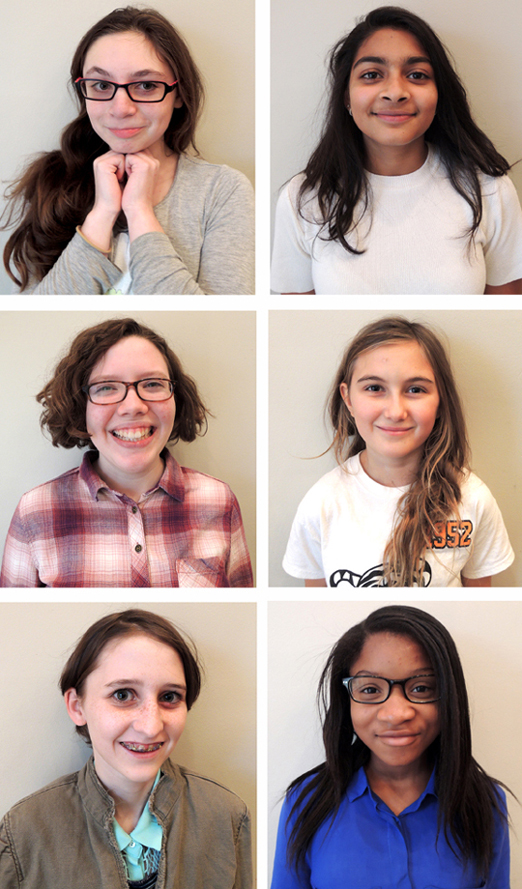 Along with the costumes and the hair came makeup, including one wicked pair of fake eyelashes. So…are you ready to see some historic makeovers?