The roar of the audience, the flashing lights, the first strains of your big number thrumming through the arena…grab the mic…it’s time for some kitty karaoke. We made rockin’ oatmeal container cats and then hit the stage to sing our hearts out. But, given the feline nature of this rock star, you could only sing in “meow.”
We read Cats Got Talent by Ron Barrett (Simon & Schuster, 2014). Hal, Dora, and Geneva are cats. Once, they had homes and owners, but there were issues. Hal has a tendency to shred curtains and destroy furniture. Dora lived in a dress store where she admired all the pretty frocks. Until she tried to become one herself. Geneva was surrounded by love, but the starlet who owned her went broke, and out Geneva went. Now, living in an ally, the three friends decide they’re going to make a new start and form a band. Opening night arrives, and the cats give it all they’re worth! Soon, they are showered by the audience’s “avid” reactions to their singing. But those fish heads, old shoes, and wilted flowers? They’re exactly what each cat is looking for – food, fashion, and adulation. So… who’s ready for an encore?
You’ll need:
- 1 large oatmeal container
- A selection of construction paper
- A selection of self-adhesive foam pieces
- 2 pieces of twisteez wire (each approximately 5.5″ long)
- Rock star decorating supplies (more on those below)
- 1 small rectangle of black poster board (approximately 0.75″ x 2.5″)
- 1 small rectangle of silver mirror board (approximately 1.25″ x 1.5″)
- A black permanent marker
- 1 rock star stage (more on that below)
- Tape, scissors and glue for construction
- Metallic markers for decorating
- Hot glue
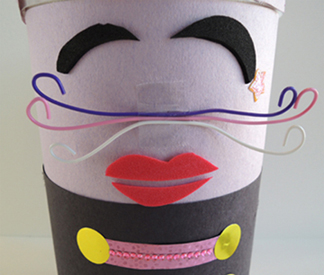
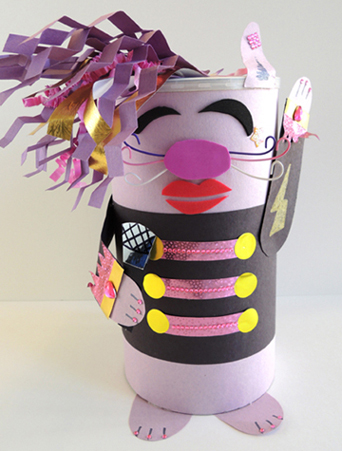 Wrap a large oatmeal container with construction paper, then add an additional strip of black construction paper around the middle for a “jacket.” To make whiskers, tape 3 Twisteez wires to front of the oatmeal container:
 Then peel and stick an oval of self-adhesive foam over the tape.
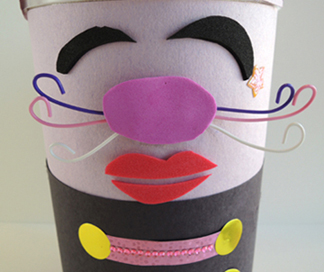 In the above photo, you’ll also notice how I used self-adhesive foam shapes to make eyes and a pair of lips (but you can also just use markers).
Use construction to make hair, feet, arms, paws, ears, and a tail for your cat. To glam up our cats, we offered small gemstones, embossed foil paper, metallic dot stickers, iridescent fabric shapes, and the the Bling Bin. We also used paper crinkle for hair, and it was WAY popular.
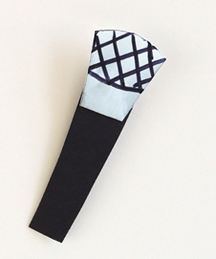
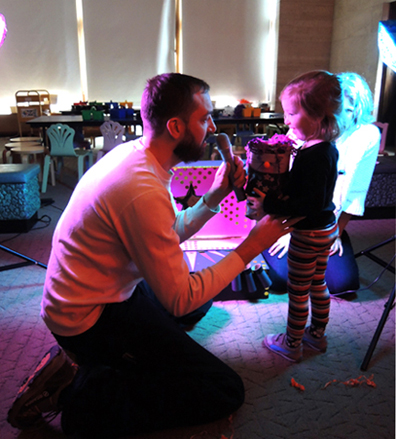
The final step is to make a microphone! We prepped these in advance. Taper the bottom of a rectangle of black poster board. Round, and then taper, the rectangle of silver mirror board as well. Hot glue the two pieces together. Use permanent marker to add some “mesh.” Hot glue (or tape) the microphone to the cat’s hand.
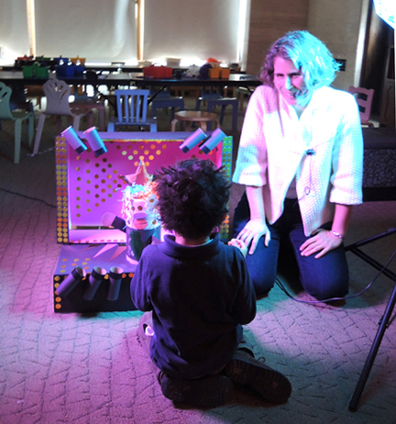
 Now for the concert! We made our stage out of an old archive box. As you can see in the image below, we hot glued the lid to the base (and reinforced the connection with packing tape). The stage lights are toilet paper tubes wrapped in black construction paper with black masking tape wrapped around one end. The stage lights are attached with hot glue, then reinforced with a bit of packing tape.
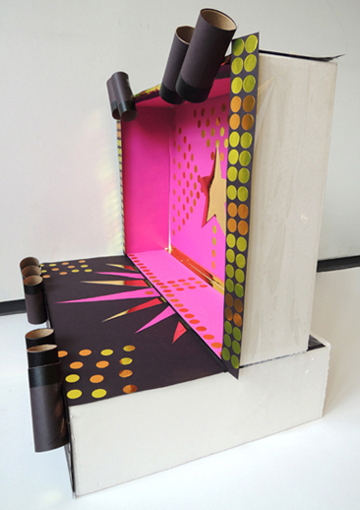 We used black and fuchsia poster board, mirror board, and a ton of metallic dot stickers to create a sparking wonderland of rock-stardom. Oh. Yeah.
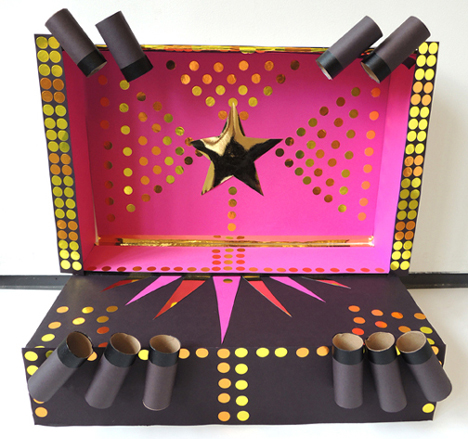 For the final touch, we wrapped two LED floor lights with purple and blue cellophane, and pointed them at the stage. You certainly don’t have to go this elaborate. A shoe box wrapped with tin foil, a sparkly scarf on the floor, a section of carpet with a light shining on it. Really, it all works!
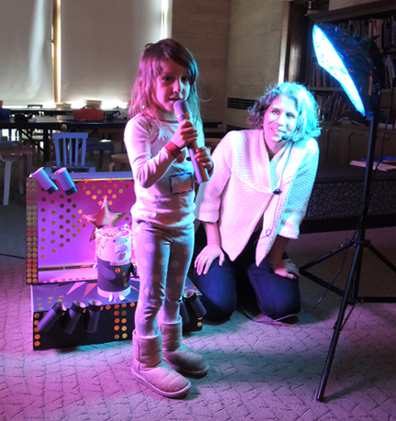
For the concert potion of story time, we closed the shades, turned off most of the lights, and had the audience sit in front of the stage. Then, kids were invited up to sing with their cats. Singing was, of course, optional. Some of the shyer kids preferred to just watch, even though many of them warmed up and gave it a go in the end.
There were many performance styles. There was facing outwards to the audience…
 Facing inwards to the stage…
 Facing inwards to the stage with backup singer…
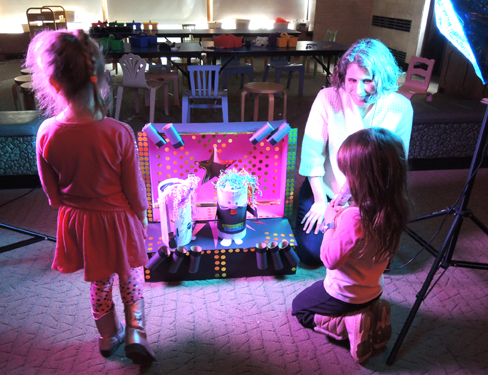 The power duet…
 You might notice the kids are using a real microphone! I use a wireless amp for my story time programs, so I busted out a hand-held microphone and let kids experience the power of amplification. A cheaper (and less noisy) option is to make a paper and tin foil microphone. You’ll find instructions for that right here.
And what would this post be without some concert footage?
Here’s an awesome “Down By the Station” and “Twinkle Twinkle Little Star” mashup:
Bring it home Marissa!
[Raises cell phone flashlight] Woooooooooooooooooo!

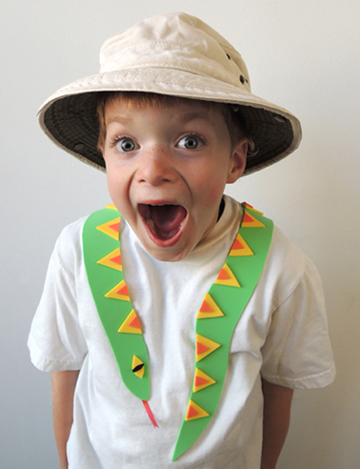 You’re walking through the jungle when, suddenly…a snake slides onto your shoulders. Stop! Do NOT panic! It’s perfectly safe. This snake is made out of self-adhesive foam!
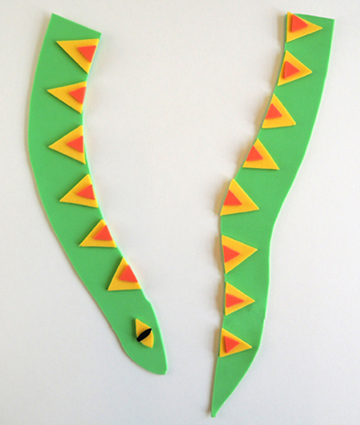 When the snake is decorated to your satisfaction, peel the backing off the big pieces and stick them to the front of your shirt. It looks best if you wrap the ends a little past your shoulders.
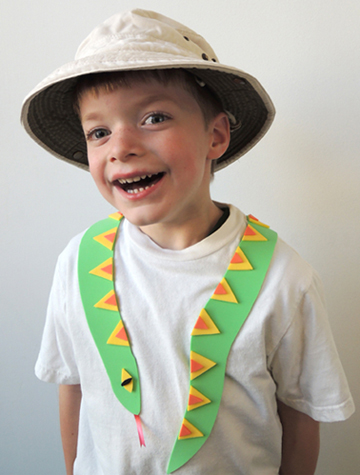 If you’d like to add a tongue to your snake, fork one end of a 2″ piece of curling ribbon, and stick it to the underside of the snake’s head.
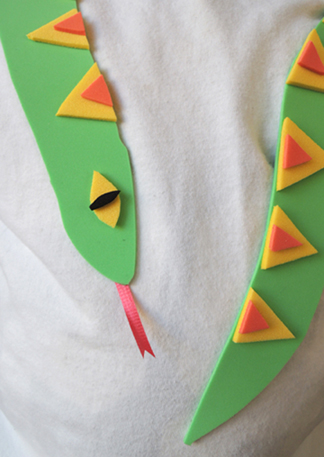 It’s important to note that the snake doesn’t go all the way around your neck. This foam doesn’t do too well on long, uneven curves. I didn’t want it to buckle, pop off, and tangle in (or stick to) longer hair.
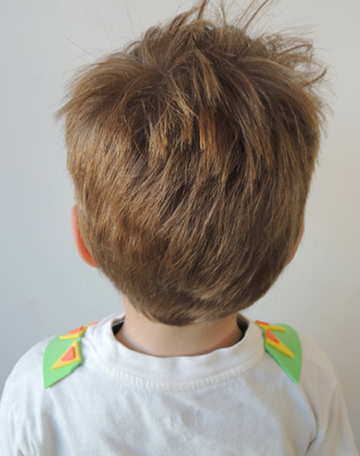 I tested the foam on plain t-shirts, as well as shirts with embroidery, plain decals, and glitter decals. All of them were fine, with the minor exception being the glitter decal. The foam did take some glitter off with it, but no more than comes off when you rub the decal with your fingers. However, when I peeled the foam off a mesh sports jersey with vinyl numbers, bits of the foam ripped off the snake and stuck to the vinyl numbers! So if you’re wearing a mesh sports jersey, peel slowly, and know that you might have to do a little extra peeling where the foam sticks.
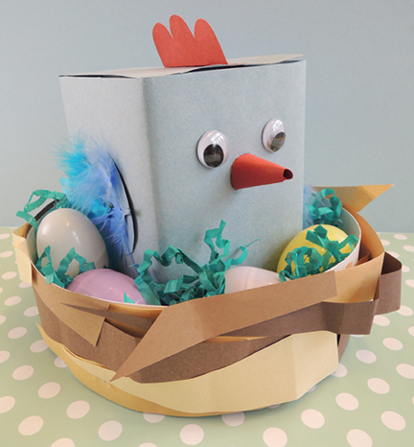 Seeing blue chickens? Do not adjust your monitor. Cerulean poultry are a perfectly normal story time occurrence.
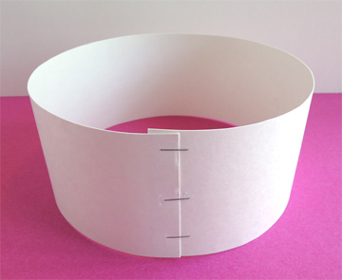 Slide the paper plate back inside the circle, pushing it all the way to the bottom.
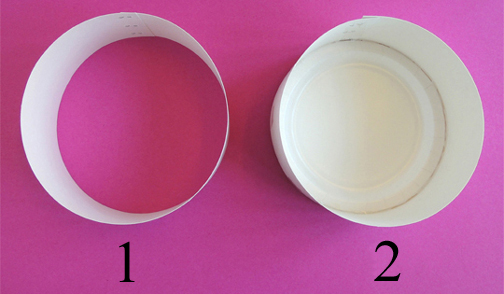 Now flip the “nest” over and use tape to reinforce the connection between the plate and the circle. I used at least 4 pieces of tape:
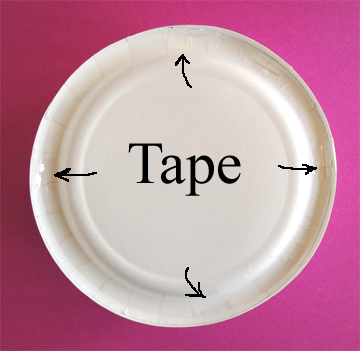 I also reinforced the inside connection with a ring of hot glue.
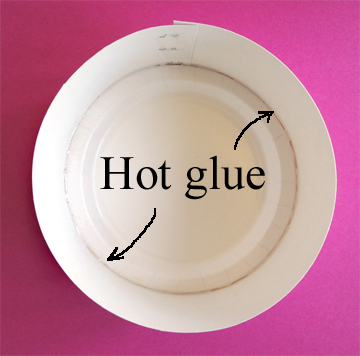 Finally, decorate your nest with uneven and crinkled strips of brown construction paper. Attach the strips to the nest with tape and/or glue.
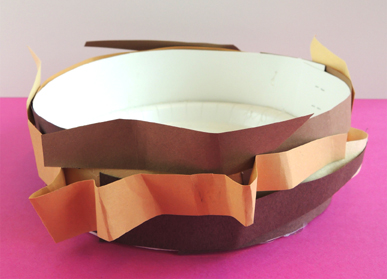 Set the nest aside, it’s time for the chicken!
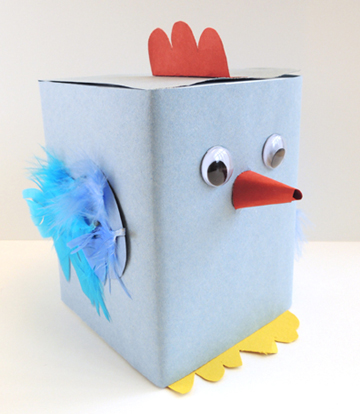 Wrap a box with blue construction paper. Glue a pair of yellow paper feet on the bottom, and blue paper wings on either side. Make a red paper cone beak, and hot glue it to the front of the box. Add a pair of wiggle eyes, or simply draw the eyes on with markers. Glue or tape feathers to the wings (add tail feathers to the rear if desired). Use red paper to make a comb for your chicken’s head. Then tab it and glue or tape it to the top of the box.
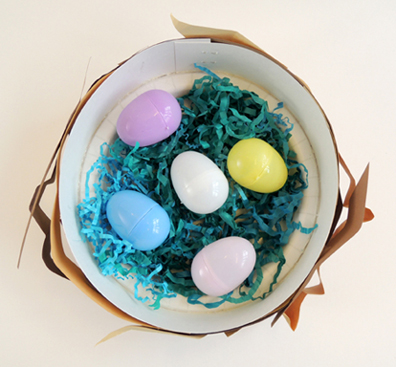
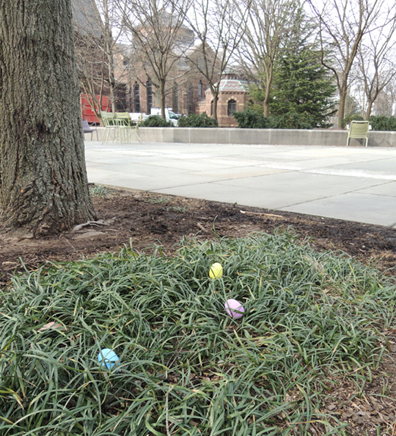
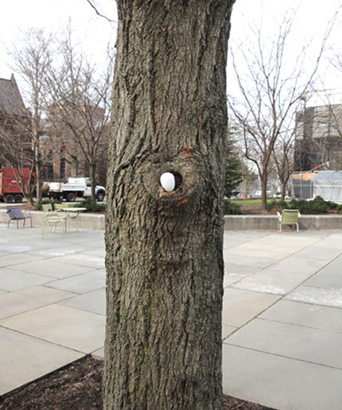
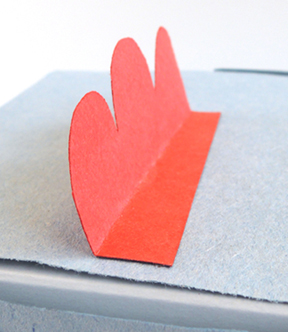 When the chickens were done, we headed outside to the library’s plaza, where we had hidden a bunch of plastic eggs. We told the kids they needed to find 5 eggs each, then shouted “1-2-3 Go!” To insure success, we tried to make the hiding places fairly obvious (and even held a few back to drop right in front of the kids while they were hunting):
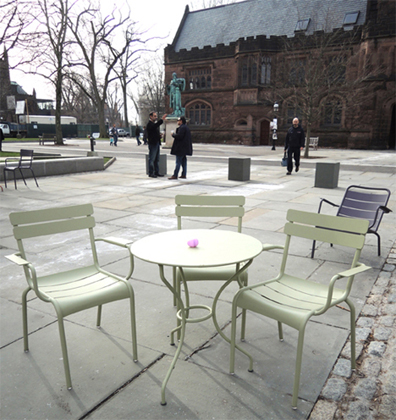
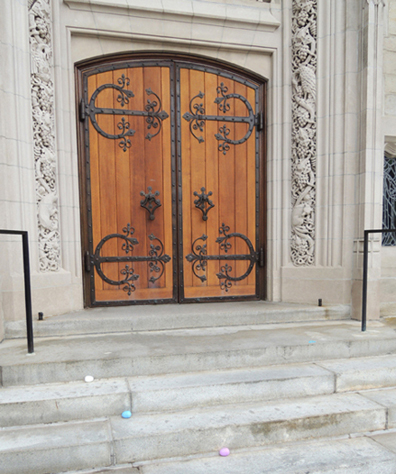 You might recognize that ornate door from