 Navigate your way through a laser maze, steal a bear from a snoring sleeper, and snag some hidden diamonds. Stealthiness, sneakiness, and silence are strongly encouraged at To Be Continued, our story time for 6-8 year-olds!
We read Pilfer Academy by Lauren Magaziner (Dial Books, 2016). George isn’t a bad kid, but he just can’t seem to keep his hands off his siblings’ stuff. His older brothers’ stereo, for example. Those comic books he’s not supposed to touch. The $10 on the night table. His sister’s private diary. When George is once again caught red-handed, he bolts out of the house…and is kidnapped by a pair of inept ice-cream truck drivers. As it turns out, the truck is a fake, and the drivers are faculty at Pilfer Academy, an elite school for master thievery. George soon finds himself taking classes like Stealth 101, Practical Applications of Breaking and Entering, and Intro to Gadgetry. But when it comes time to steal for his midterm exam, George discover that he feels horrible about it. Now George and his talented friend Tabitha must find a way to escape Pilfer Academy. Would I be giving too much away if I tell you the escape involves guard chickens, a pit of spaghetti, a deadly laser room, and a runaway mansion?
Story Time Task #1: In the book, George and Tabitha navigate a laser obstacle course, something I’ve been dying to create ever since I spotted this fantastic piece of fun. To create the course, we zig-zagged green crepe paper streamers on our gallery bridge. The streamers were attached with masking tape.
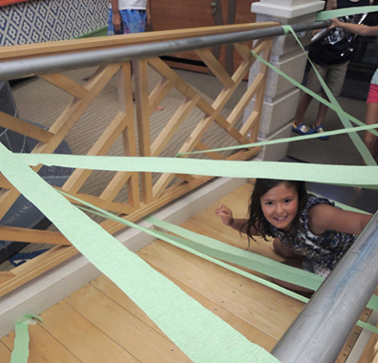
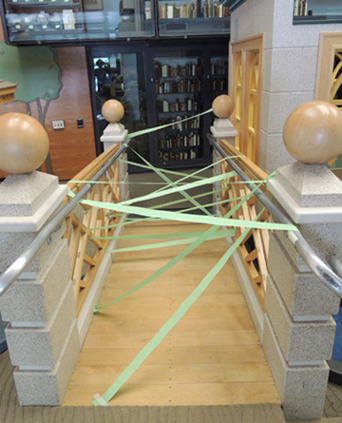 Starting at the bottom of the bridge, kids had to squeeze, crawl, and slide through the course without touching a single “laser beam.” I stood nearby, making “Zzzzzt!” laser noises at key moments.
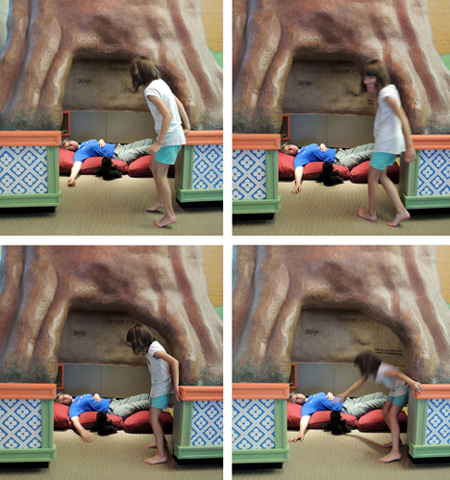
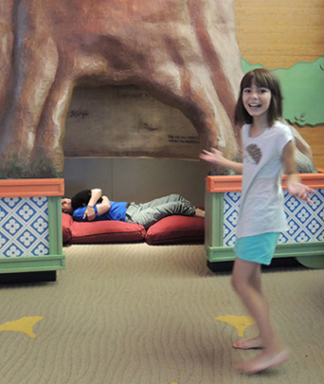
 Story Time Task #2: George’s midterm exam involves stealing a teddy bear from a sleeping toddler. I grabbed a bear puppet, flopped on some pillows, closed my eyes, and started snoring wildly.
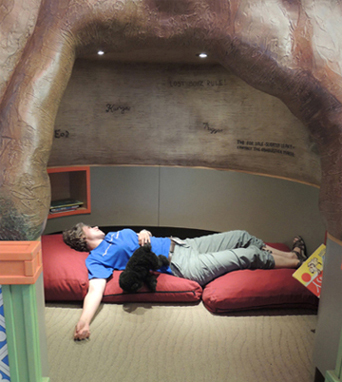 One by one, the kids had to sneak up and grab the bear without me noticing them (and they were quite astonishingly good at this). To increase the challenge, sometimes I would randomly thrash around in my sleep, throw the bear around, or grab it tightly to my chest.
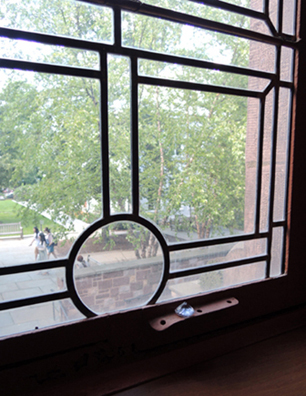
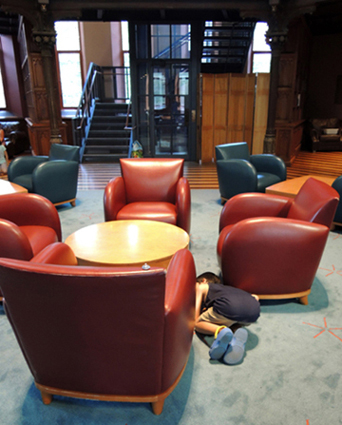
 Story Time Task #3: The diamond hunt. Pilfer Academy is a massive Gothic mansion with arches, spires, and stained-glass windows. I thought it would be fantastic to immerse kids in a similar environment, so we headed over to one of my favorite places, the Chancellor Green Rotunda.
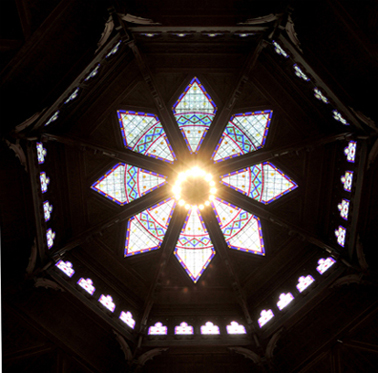
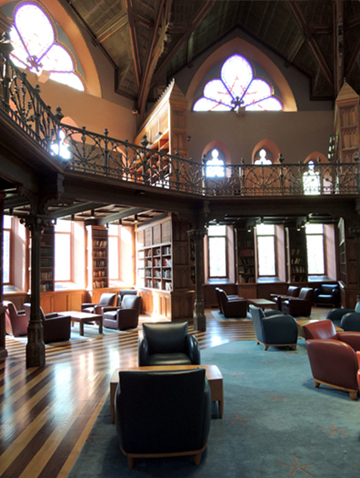 This beautiful room was once the original library for Princeton University. Now it’s a study space for the Andlinger Humanities Center. Here’s a shot of its elegant stained-glass dome.
 On this particular afternoon, however, the room was full of hidden diamonds!
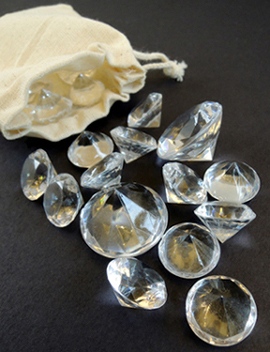 I found these acrylic diamonds in the wedding section of Michaels Craft store. A $5 pack contained over 75 diamonds of assorted sizes (from 0.75″ to 1″). I hid the larger diamonds in various locations in the room.
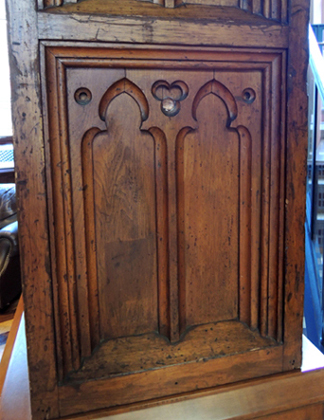
 Sometimes I got a little sneaky. Can you spot the diamond in the wood paneling below?
 One by one, kids went searching for diamonds in the room. Once you found two diamonds, it was another person’s turn to search. And you had to be completely silent while searching!
 At the end of the program, each kid got to take home a little drawstring bag with some diamonds in it. Score!
This book was a terrific read-aloud, and we had a total blast with the activities – but it gets even better. Last weekend, the Princeton Public Library held their annual Children’s Book Festival, and guess who I got to meet?
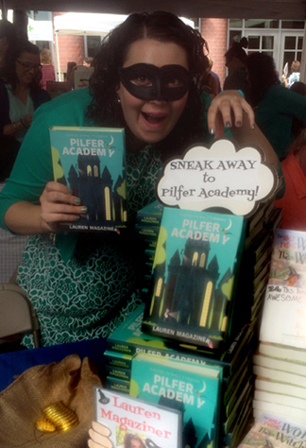 That’s right! Lauren Magaziner herself! Totally rocking a bandit mask, I must say. Thanks for the fantastic book Lauren. We absolutely loved it.
p.s. – Total props for using the word “collywobbles” in your book. The kids didn’t believe it was an actual word. We looked it up in the dictionary!
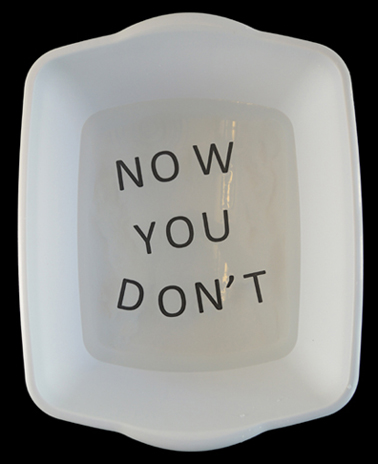 This paper disappears in water before your very eyes, leaving the letters floating free. It’s the ultimate aqueous word scramble!
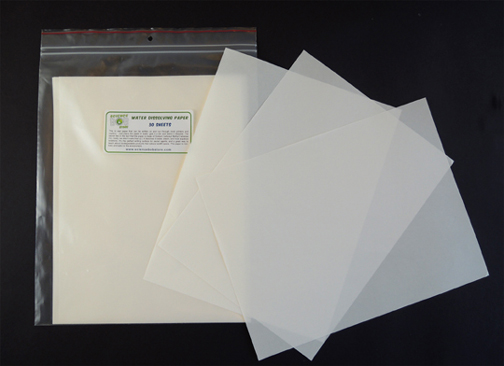 The paper is about half the thickness of standard office printer paper, but it went through both of our office printers and the copy machine with no tearing or jamming. Granted, I was just printing 1 sheet at a time. I did try 3 pages in a row on our most trustworthy office printer. Unfortunately, it had trouble grabbing the thin paper and actually missed the final sheet of the print job entirely. I was waaaay too chicken to try multiple sheets in the copy machine.
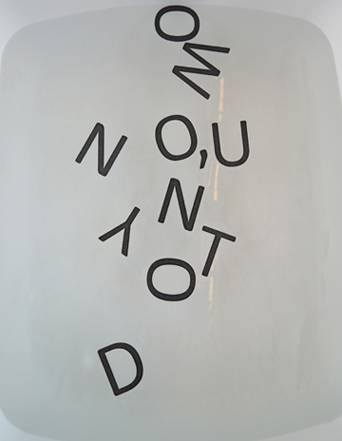 Second test, copy machine. The letters printed considerably lighter on the page (this was a toner thing with our copier, not the paper). But that didn’t impair the letters from floating on the water like little alphabet ducks!
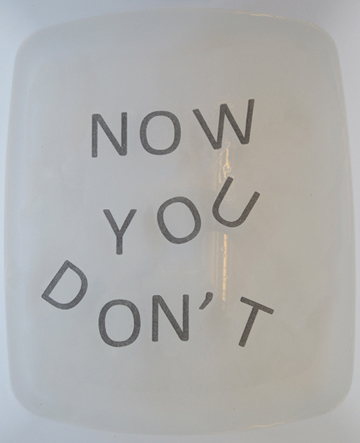 So our laser jet printer and the copy machine worked. What didn’t work? Our inkjet printer. First of all, it blotted the paper during printing…
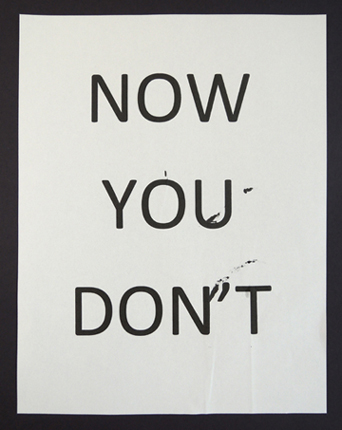 And when it came to the water test, the letters just disintegrated:
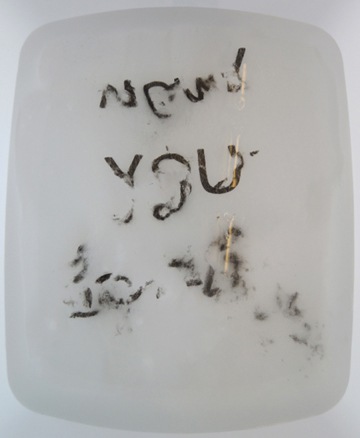 The same applies for Sharpie permanent marker:
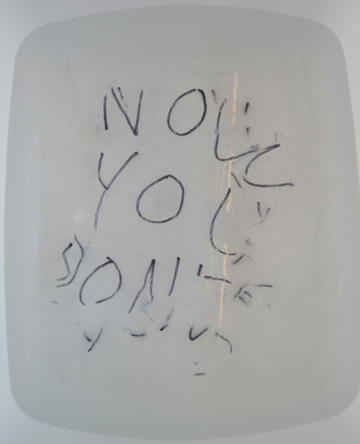 Roller ball ink and ballpoint ink also broke apart. The ballpoint ink shredded immediately (you can just see the sentence “Will ballpoint pen work?” at the bottom of the image below). Roller ball, I am surprised to report, held out a little longer.
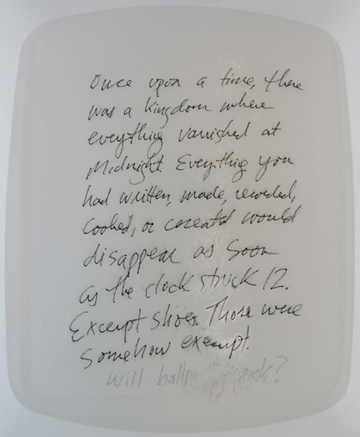 It was sort of cool. The roller ball ink blurred, sunk a little, and then just hung in the water. Eventually, however, the roller ball ink went the way of the ball point, Sharpie, and inkjet. It dissolved into a black smudgy mess.
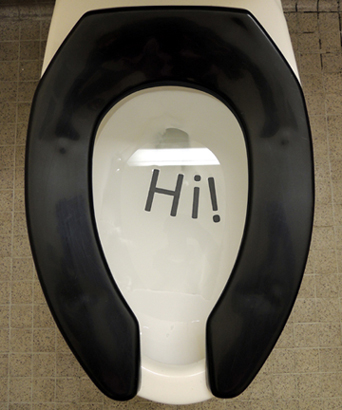 But no matter where you’re dissolving this paper – a dish tub or a commode – the letters do float apart very quickly. So leaving a secret message for someone isn’t really going to work (unless they’re standing right next to you and reading quickly). But this would be a fantastic way to introduce the concept of the anagram. Or jump-start a discussion about biodegradable materials. Or, just experience the fun of watching a sentence you’ve written slide apart and swirl across the surface of the water. Magic!
 Never has a Loch Ness Monster sighting had so much style! Customize a super-long Nessie scarf, then circle the scarf on the floor to create a tossing game that involves…believe it or not…a bowl of oatmeal!
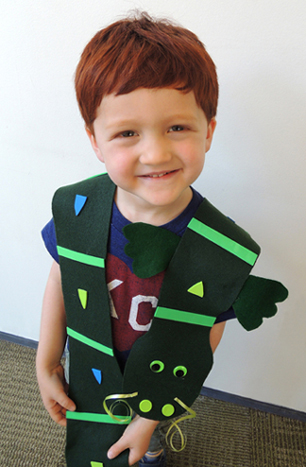
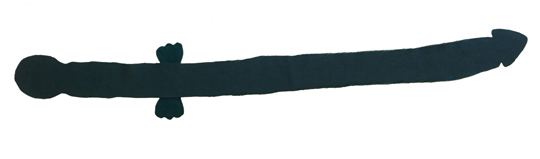 At story time, we gave kids a whole pile of self-adhesive foam to cut and apply to their scarves (just make sure you test how well the adhesive sticks to your felt – ours stuck surprisingly well). Hot glue wiggle eyes and a pair of 12″ curling ribbon whiskers on the head, and you’re done!
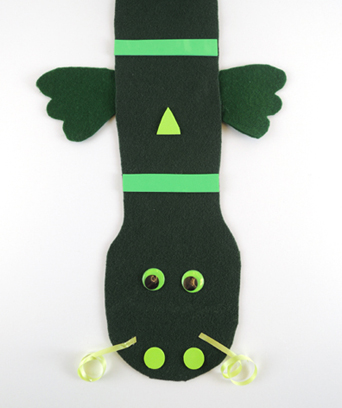 Kids got really creative with their Loch Ness Monsters. Here’s just a few I managed to snap. This one’s got a pretty fantastic pair of lips:
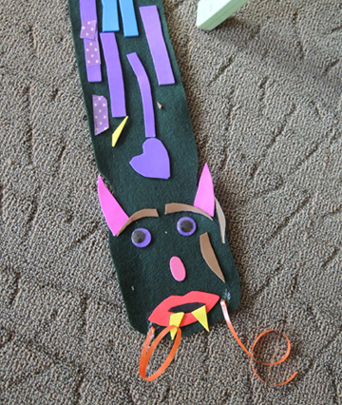 And this one’s sporting an impressive set of teeth…
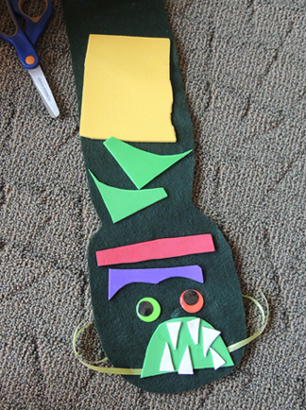 There were flowers…
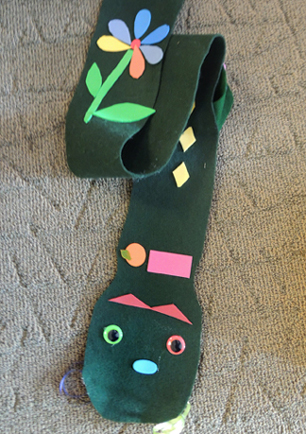 And manicures!
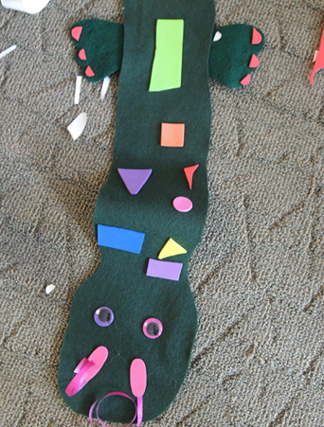 But here’s my favorite. This little girl spent a long time making a color gradient down her Loch Ness Monster’s back. She did this all by herself!
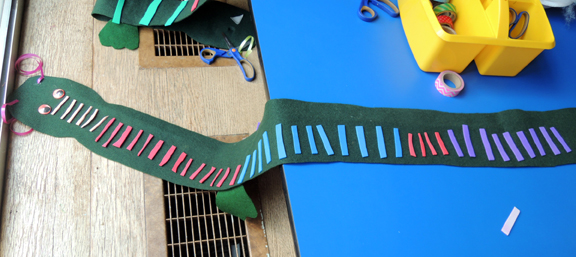 To make the oatmeal bowl for the toss game, decorate a paper bowl with patterned tape and self-adhesive foam. Fill the bowl with a handful of polyester fill. Don’t glue or tape the oatmeal in the bowl. It’s funnier when it flies out during the toss game!
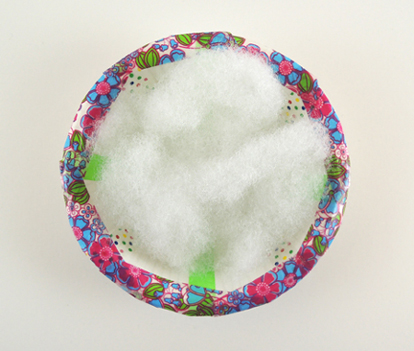 Make as many bowls of oatmeal as you like. Then circle the scarf on the floor, step back, and try to toss the bowls into the circle.
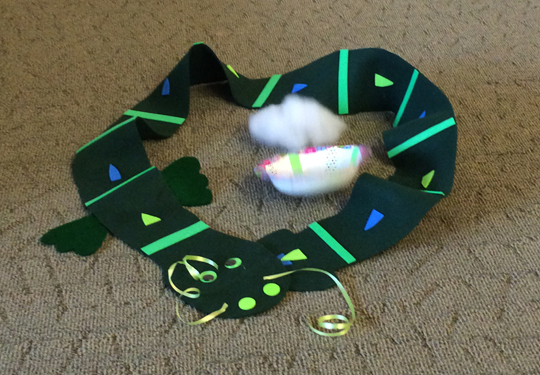 If the circle toss is a little too challenging, stretch the scarf straight and toss the oatmeal over it like a finish line!
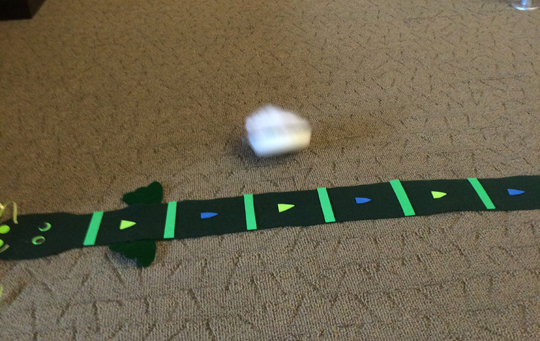 When you’re done with the toss game, drape your Nessie around your shoulders for the ultimate look in Loch Ness apparel.