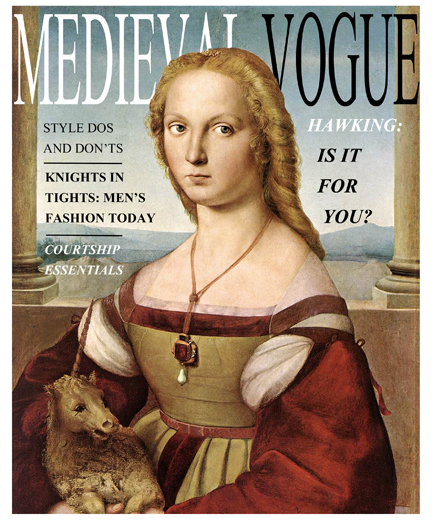
 Don’t be sooooo 12th century. Get with the times whilst also enjoying this complementary copy of Medieval Vogue! Katie designed this gorgeous little mag for a massive Robin Hood shindig my library hosted some years ago. If you’d like to browse Medieval Vogue for the newest trends in poulaines this season, here is part 1 and part 2 *. For more about the event, read on!
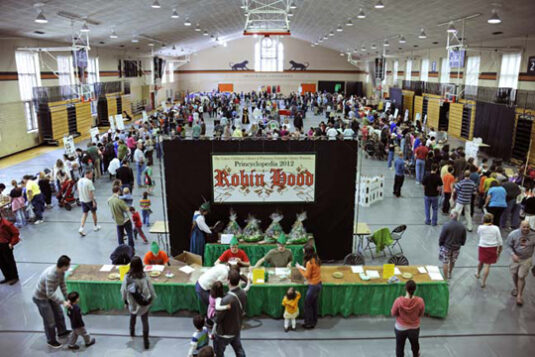
Robin Hood was the book du jour for Princyclopedia, an annual large-scale event that involved bringing a book to life from all sorts of angles – history, science, music, art, food, performances, live animals, you name it! Each table had either a demo, a hands-on activity, or something cool to take home. The 2-sided event map showed you all the table activities and also matched relevant book quotes or historical blurbs to them.
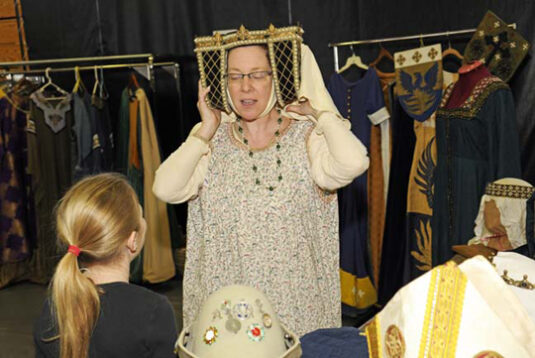
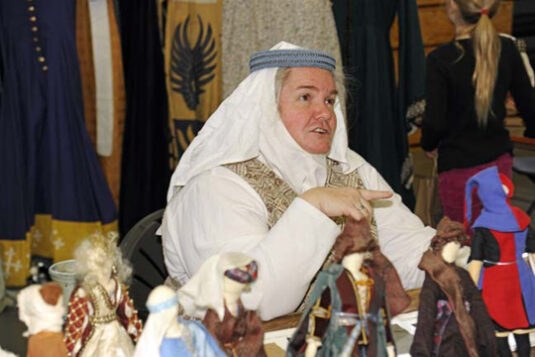
Medieval Vogue was a free take-home at the “Lifestyles of the Rich & Noble” table. Here, we were delighted to be joined by Rose Fox and Kim Hanley from Medieval Scenarios and Recreation.They brought TONS of clothes and costumes for kids to look at and try on, and answered questions about fashion from this time period.
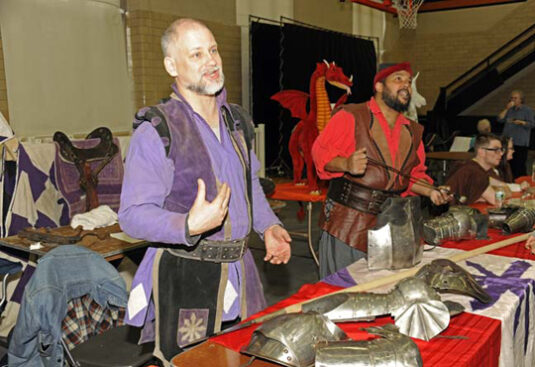
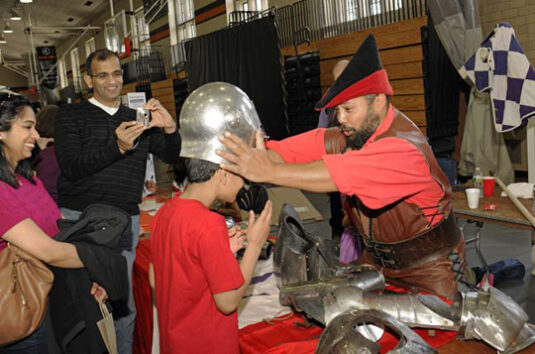
 At another table, we had a different take on wearables. Namely, the armor of Sir John Williams (right) and friend (left), two knights who professionally joust at Renaissance Fairs! They brought all their gear and expertise and were simply amazing.
We had a TON of other activities as well…the chemistry of alchemy, venison chili, musical performances on period instruments, live hawks, the science of stained glass, actual longbows with a kid-safe shooting range, illuminated art, the math of taxation, a big play space with multiple cardboard castles, the science of stained glass, herbal amulets, siege engines, gargoyle sculpting, nature tracking, professional stage fight demos, forest conservation, two free roving court jesters, and more! And yes…a table on all the Medieval jobs you DON’T want.
Another fantastic component of the event is that it was a food drive. Families were invited to bring can and box goods to the event to benefit the Arm in Arm food pantry (formally the Crisis Ministry of Mercer County). We donated almost 500lbs of food!
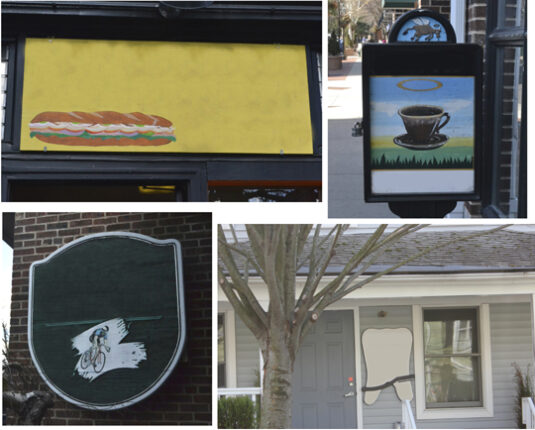
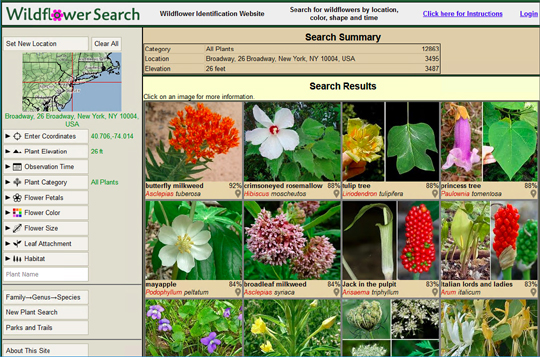
I’ll finish today’s post by sharing the literacy-based table the Princeton Public Library hosted. Since literacy was uncommon during the Middle Ages, shops typically featured pictures of their goods and/or services on their signs. So we designed a game! First, we selected a bunch of images of Medieval signs. Then, we asked kids to guess what the signs represented. Rothenburg, Germany has some fantastic signs currently in use (it being an actual historic Medieval town, wow!).
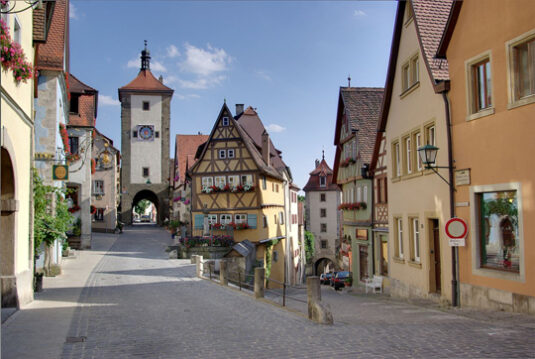
Image source Wikipedia
We also wanted kids to make a personal connection, so Katie and I photographed a few local shops. We photoshopped out any words, then asked kids to guess what the signs represented. They were tickled to recognize signs they saw everyday and make a Medieval literacy connection!
* Images used for Medieval Vogue may be subject to copyright. Please contact danas@princeton.edu if you are the author of one or more of images used here and have objection in such a use.
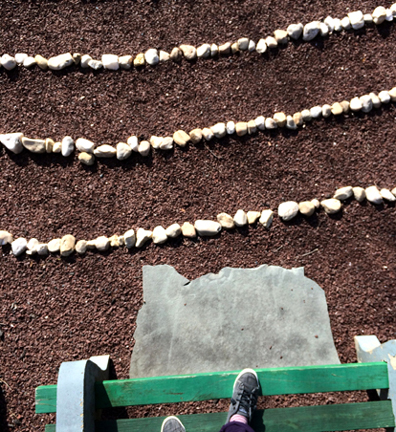
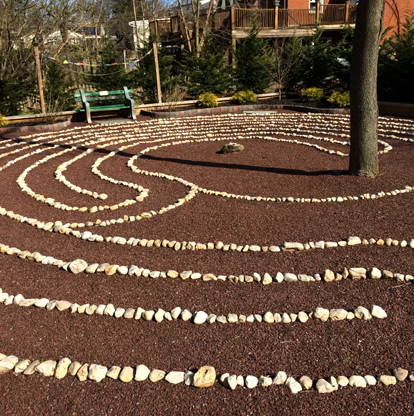 Do you have some restless rovers in the house? How about sending them out to build and navigate a custom labyrinth or maze…for less then five dollars! This idea came courtesy of the Princeton Buddist Meditation Group, which hosts this little labyrinth in the community space behind their center.