 Prior to 2007, if you had asked a young reader to name a famous bucket, I’ll wager most would have replied “Charlie.” But that was before a new bucket arrived on the scene. A fire-engine red bucket, wielded by an acrobatic young lady with a blonde ponytail. I speak, of course, of Kate Wetherall. Katie is one of the fantastic characters in The Mysterious Benedict Society, written by Trenton Lee Stuart (Little, Brown, 2007).
Intrigued by a curiously-worded advertisement in a local paper, orphan Reynie Muldoon spends a most unusual afternoon taking a series of strange tests. Later, he joins three other children (Sticky Washington, Constance Contraire and Kate Wetherall) who also passed the tests in unique ways. The children are invited to join a secret mission to stop Ledroptha Curtain, a criminal mastermind. The book is filled with puzzles, riddles, and action, but what I love the best is the friendship that forms between the children as their strengths (and weaknesses) are put to the test.
In the books (there are 3 in the series, plus a prequel), Kate always carries a red bucket stocked with a number of useful supplies. So when To Be Continued, our story time program for 6-8 year-olds finished the book, I just knew we had to something with Kate’s bucket! So I designed this game.
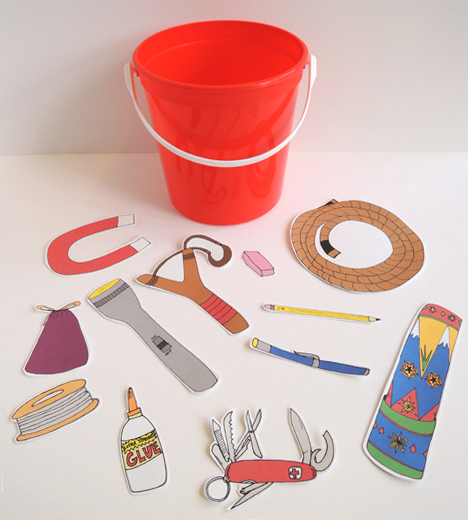 All you’ll need is 1 red bucket, a bucket game template printed on white card stock, and a copy of the bucket game scenarios. You’ll need markers to color in the template (or you can just go with the full color version), and scissors. I also gave kids a list of the bucket’s contents.
A quick word about the bucket. The 6.5″ bucket in the above photo can be purchased from Lowe’s for $2.35. However, since I required close to 20 buckets for my program, I needed something cheaper. I found a 4.5″ treat pail at Party City for 99¢. Nice! I also spotted 8.5″ paper bags at Party City for 79¢. Yes, a bag is technically not a bucket, but it’s a budget-friendly option nonetheless.
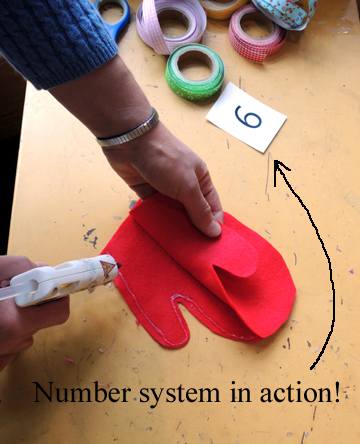
 To play the game, read a scenario aloud. Ask the kids to select the bucket items they would use to solve the scenario. Once everyone’s selections are made, go around the room and ask them to display which tools they selected, and how they would use them to solve the scenario. As you can imagine, there were some pretty innovative answers!
I’m a big fan of the Mysterious Benedict Society books, and in 2010 I was delighted to interview the author. If you’d like to listen to (or read) my interview with Trenton Lee Stewart, just click here.
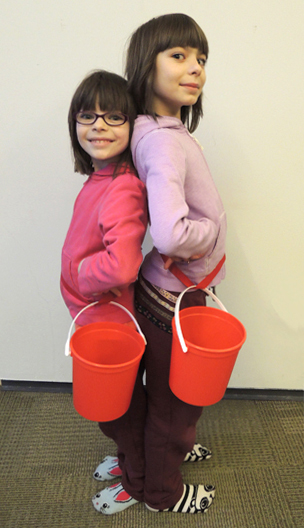
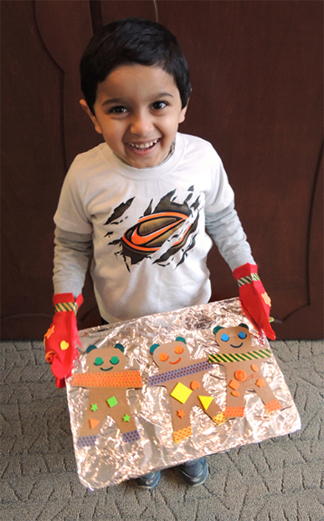
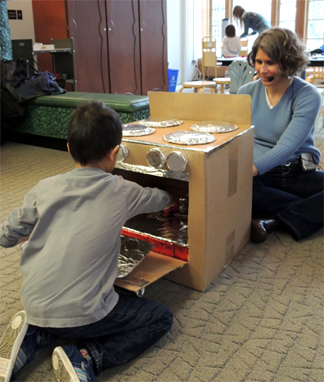
Also, I don’t know if you noticed the amazing footwear on the two models at the top of the post (who also happen to be huge fans of the books). If not, scroll back up and prepare for some serious cuteness!
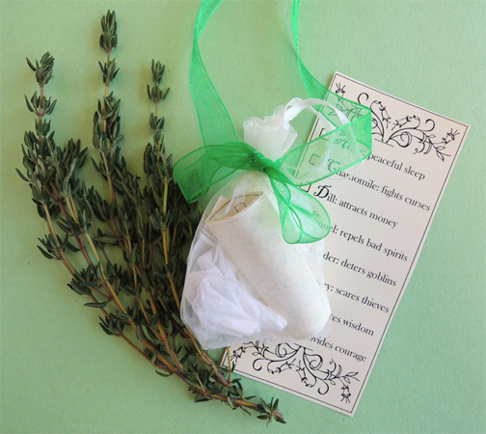
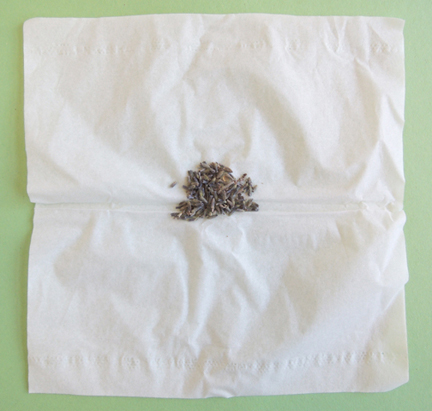
 At the event, kids checked off which herbs they wanted in their amulets. Then a student volunteer helped the kids put dried herbs on squares of tissue. A little herb goes a looooong way, so just a sprinkle is needed – especially if kids select multiple herbs. Here’s about how much you want in your amulet in total: