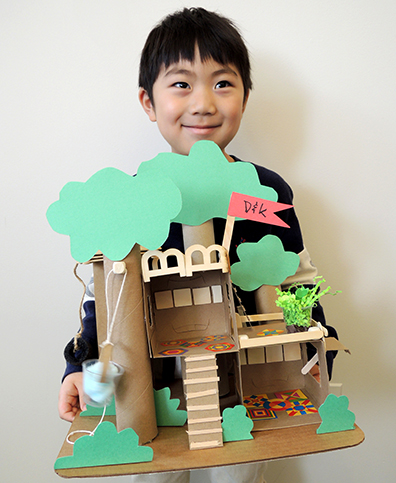
 Design you own tree house complete with tire swing, water bucket, and stunning views of the verdant foliage. Best of all, it can be crafted with just about anything!
We read The Tree House that Jack Built, written by Bonnie Verburg and illustrated by Mark Teague (Orchard Books, 2014). Jack lives in a tree house with his animals friends who cavort and cause a bit of mischief throughout the day. But when it’s bedtime, everyone settles in for a peaceful night of moonlight and ocean waves. Raucous and then relaxing, this is an especially awesome bedtime story choice!
You’ll need:
- An assortment of small boxes, toilet paper tubes, and paper towel tubes
- 1 flat corrugated cardboard base (we used a 9.5″ x 13.5″ cake pad)
- Green poster board
- Scissors, glue and tape for construction
- Markers for decorating
- Hot glue
Building off your corrugated cardboard base, simply hot glue boxes, toilet paper, and paper towel tubes in whatever way works for you! We also offered natural craft sticks, wooden letters (leftover from this project), stickers, fabric flowers, and green paper crinkle for added texture. The results were fabulous!
Note: the tire swing is a little snippet of foam pipe insulator you can get in the plumbing section of Lowe’s or Home Depot. It was definitely a big hit! And if you’re looking for a slightly more fantastical spin on this project, please see our fairy houses. Or at the very least, check out Katie’s hilarious real estate listings at the end of the post!

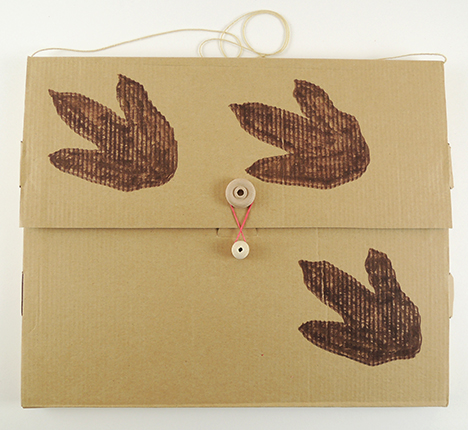
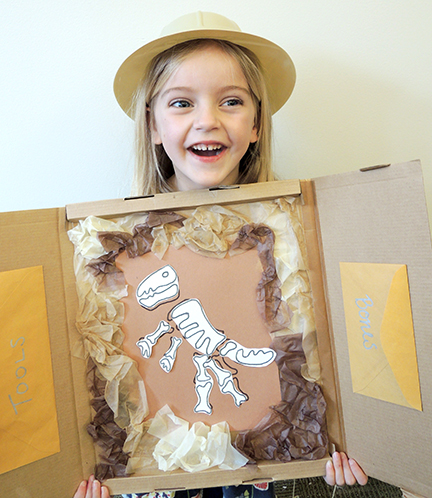 It begins as a simple brown briefcase, but unfolds into a magnetized dino dig! No briefcase? No worries! This Katie-designed masterpiece can be replicated with any box top or cardboard surface.
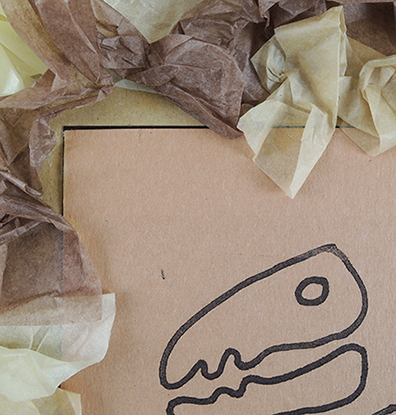 Now cut the dino bones from the template. Section the magnetic strip into pieces, then stick them onto the backs of the various bones. The bones will now connect to the dino template (and you can see we added a tissue paper border for extra fun)!
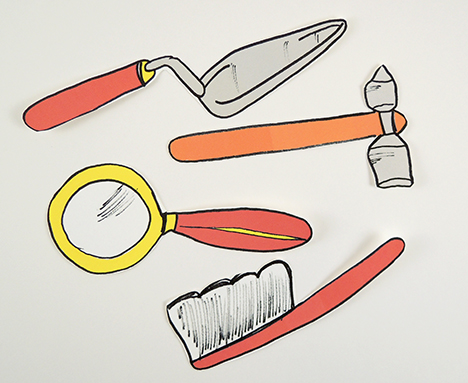
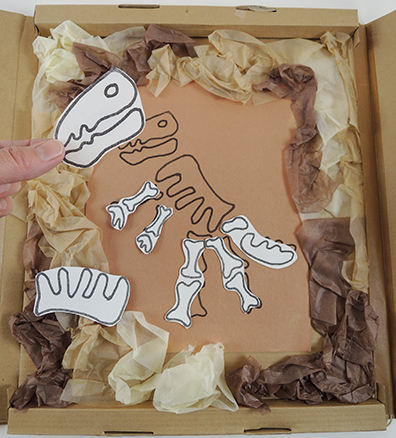 Scatter the bones through a room and have your little paleontologists discover, dig, and collect them up using the paper tools from
  We had the good fortune of scoring some flat cardboard boxes with flaps through
 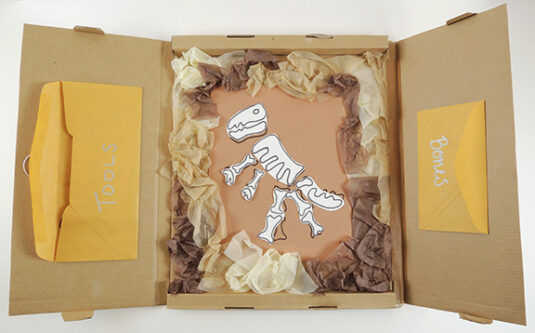 We added a string strap to turn in into a portable briefcase, complete with a wood bead and rubber band closure and
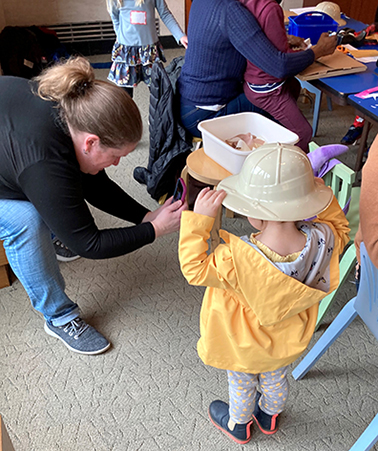
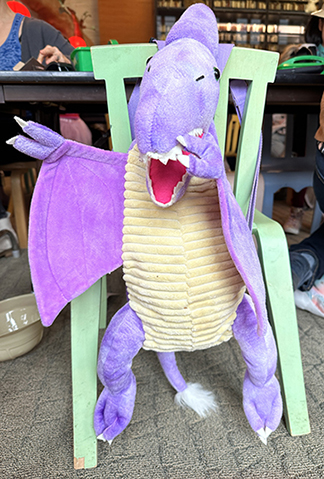 And I can’t resist adding this photo of Katie snagging the above photo whilst being carefully supervised by the dino bag’s owner. So sweet!
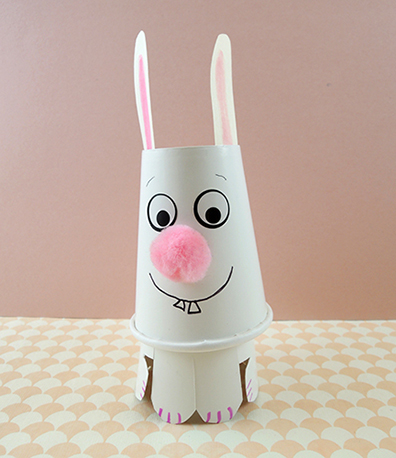
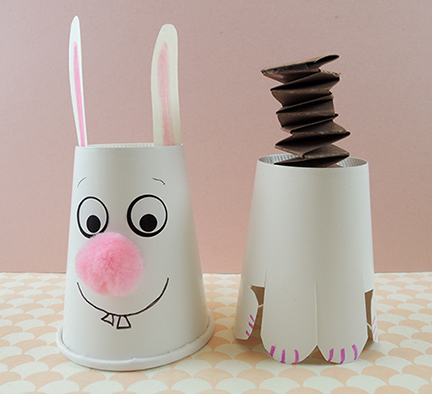 This project is essentially two cups stacked on top of one another with a paper spring in the middle. To begin, flip both cups upside down, then use markers to draw a face on the first cup. Add some paper ears (and an optional pom-pom nose if you desire!). Use scissors to cut bunny legs on the second cup.
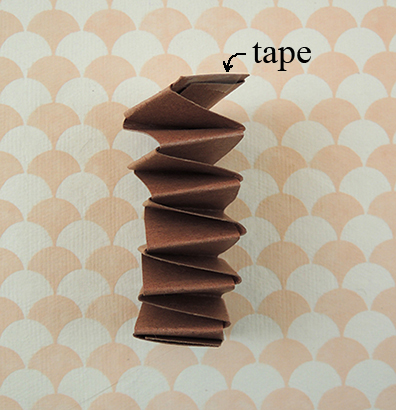
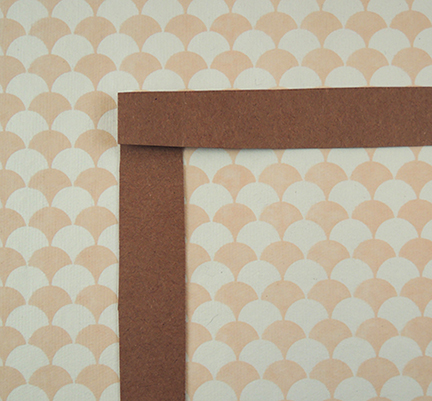 Keeping the corners together, alternately fold each strip up towards you. Continue until the strips are completely folded into an accordion spring. Tape the end sections together for more stability.