Our exhibit “They’ve Got Game: The Children’s Books of Toni & Slade Morrison,” wrapped this spring, and we’ve had such an amazing time making connections to these extraordinary books. We’ve chatted with the exhibit’s featured illustrator, Pascal Lemaître, made an unusual reunion with retired teacher June Volk, and hosted a Zoom panel with the five outstanding illustrators who brought Toni & Slade’s words to life: Joe Cepeda, Pascal Lemaître, Giselle Potter, Sean Qualls, and Shadra Strickland.
In May, we made one last exhibit connection, which also had the special distinction of being our first in-person community event since the pandemic! Titled Colors & Words, the program was based on Toni & Slade’s final book, Please, Louise, which is illustrated by Shadra Strickland.
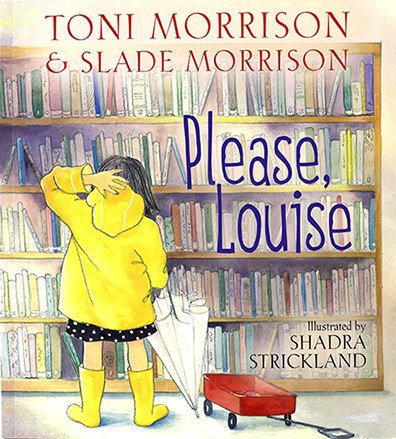
Please, Louise written by Toni & Slade Morrison, illustrated by Shadra Strickland. Simon & Schuster, 2016.
In the story, Louise discovers solace, freedom, imagination, and joy inside her local library, and it just seemed the perfect fit. The book is filled with images of storms, clouds, sky, and rainbows, so we went all out!
Perhaps one of the most touching thing about the Morrison’s children’s books is that they are a collaboration between mother and son. So we also brought that element to the event with Farmside Crafts, an artistic duo of stepmother and stepdaughter. There’s an interview with them at the end of this post!
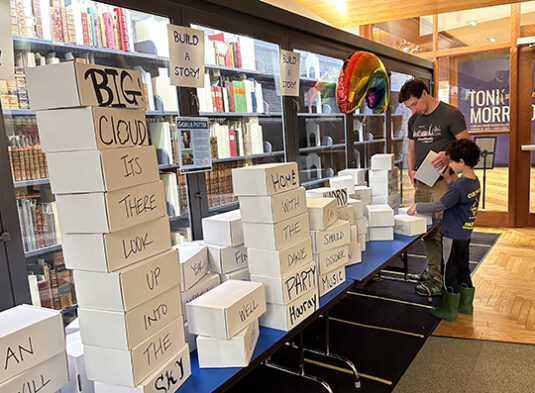
As visitors entered our gallery, they were greeted by “Build A Story,” which is the same concept as magnetic fridge poetry, re-imagined as building blocks. Our blocks were 7″ x 5″ x 2″ white cardboard shipping boxes ($15 for a pack of 25 boxes on Amazon). Katie put together this fabulous list of words, keeping Toni & Slade’s stories in mind.
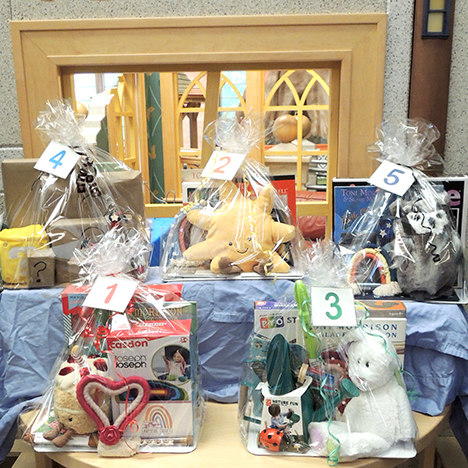
 Guests could also register to win one of five giveaway baskets, each matched to a Morrison children’s book. We had SO much fun putting these together at JaZams, our local independently-owned toy store!
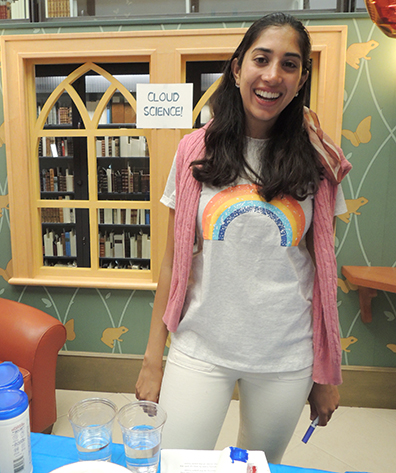
 A little further back in the gallery was the science area, which had three way cool experiments: microwave clouds, grow a rainbow, and a rainbow optical illusion from our special collections (seen on this post and you can print it here!) The table was staffed by one of our super star volunteers, grad student Shruti Sharma!
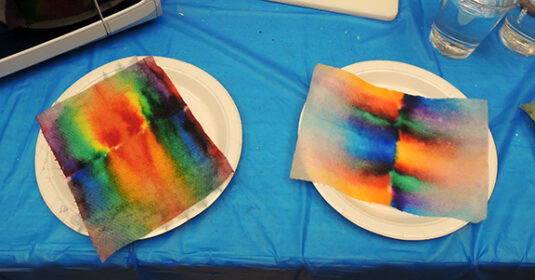
The science was a little messy, but oh so fabulous! Just look at the results of the grow a rainbow! All you need are paper towels, cups of water, and washable markers…
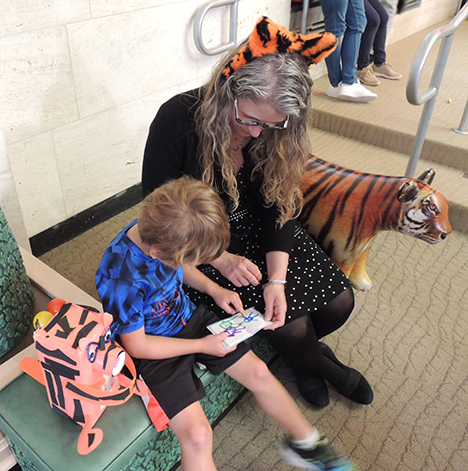
 Perhaps one of our favorite part of the program was the quietest. Inside our library’s famous tree, Katie rigged up a tiny blue tooth speaker ($20 on Amazon) and streamed Toni Morrison’s Grammy-nominated reading of her Who’s Got Game series. Throughout the day, you could peek in and see kids & caregivers relaxing on pillows, listening to Toni and paging through their books.
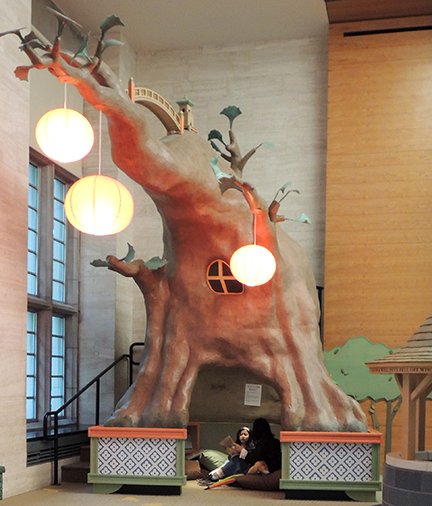
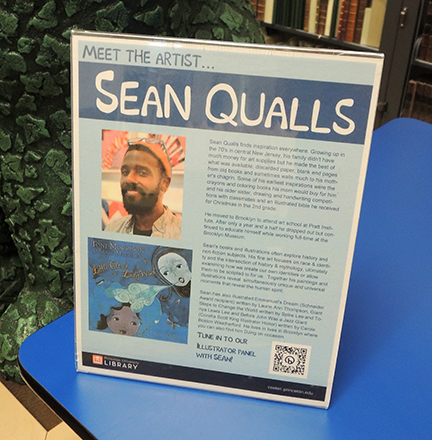
Displayed throughout the library were bios of the five illustrators who created children’s books for Toni & Slade. Each had a QR code linked to our Zoom panel. Fun fact: Sean’s book Little Cloud and Lady Wind has a surprise appearance in Please, Louise (you’ll have to listen to the panel to find out where!):
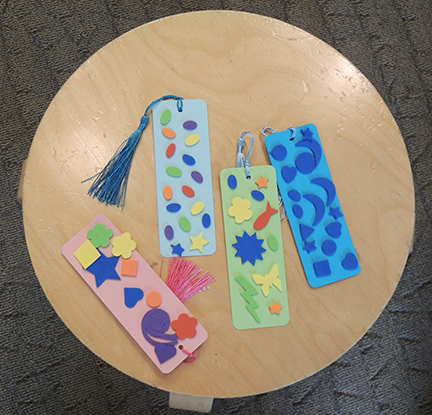
The event two hands-on craft projects. The first was a simple bookmark making station (basic foam shape stickers – very popular with the younger set).
 The second was a custom umbrella decorating area. The umbrellas were a direct nod to Please, Louise, who carries an umbrella throughout the entire story. We purchased the plain white child-sized umbrellas from Oriental Trading Company. A pack of 24 costs $75 (basically $3 an umbrella), so this project IS a splurge, but the great thing is you can return anything you don’t use to the company for a refund. We used Crayola fabric markers, which are 100% waterproof (we tested!) and very vibrant.

Some kids worked 10 minutes on the project, some took longer. The record was a whopping 2 hours of concentrated artistry resulting in the most fabulous umbrella I have ever seen.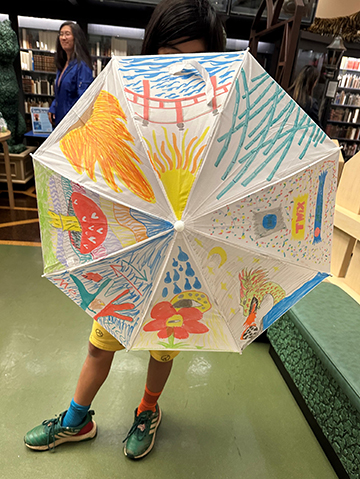
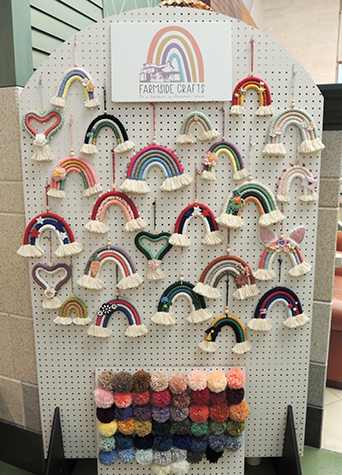
Finally, we had the honor of hosting Farmside Crafts at the event! They brought a plethora of macramé rainbows, did live craft demos, offered sweet coloring sheets, and donated five custom pieces to our giveaway baskets!
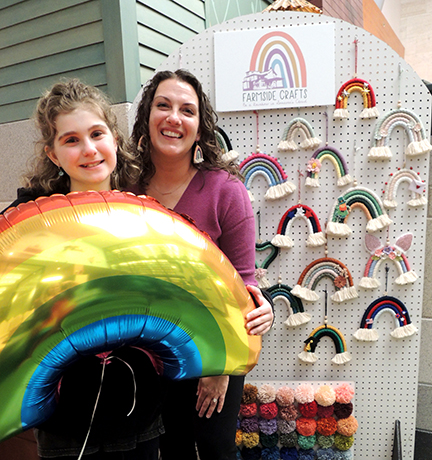
Farmside Crafts began as a rainbow project between stepmom Amber and stepdaughter Lucy. It quickly grew into a business, with the entire family contributing their efforts and skills. Later, I caught up with Farmside Crafts for an interview:
Tell us a little about yourself!
We are a stepmom/stepdaughter team creating macrame rainbows together. It started when we made one for Lucy’s room and thought it would be fun to create custom rainbows for family and friends. It’s become a family affair with everyone helping and supporting. It’s been a wonderful bonding experience within the blended family struggle.
What has it been like to turn your passion into a business venture?
Lucy: I love that my art can make people smile. So I get to make people happy while also making money to be able to fund my other passions like theater, college savings, and having my own money to buy fun things.
Amber: We’re just getting started, but so far we’ve made over 22 custom rainbows and more than 200 rainbows for artisan markets, including other shapes like hearts, stars, and candy canes. We participated in Bryon Barn’s Christmas & Spring artisan market as a Junior Artisan. We’ve enjoyed meeting other young artisans, connecting with people in the community we wouldn’t otherwise meet, and the opportunities that have come out of it such as connecting with Cotsen Library. It always feels good to see that the hard work is recognized and appreciated by others.
What’s your favorite thing about your art?
It’s really fun to create beautiful & unique rainbows. It’s fun to get pictures from customers of our rainbows in their homes and to go shopping and find cute extra details to make one-of-a kind rainbow creations (i.e. adding bunny ears to a rainbow that we repurposed from some clearance bunny glasses).
Amber: One of my favorite things has been creating the branding with Lucy. She choose the name, came up with the logo concept, and found a quote from Maya Angelo that we use as our tagline, “be a rainbow in someone’s clouds.” She takes pride in packing up the orders to ship, and is thrilled when someone buys our rainbows. Watching her get excited about all the little details along the entrepreneurial path is such a joy and has brought me back to that same excitement I felt when I launched my marketing business 10 yrs ago. How cool that she is learning this at such a young age – its our modern day lemonade stand.
What has been the most surprising thing about your journey?
Lucy: The most surprising thing about doing my rainbows was how many people in my life were ready to jump in and help me. My dad made displays, my sister helped man my booth and some of my youth church leaders helped make rainbows. It’s a community effort.
Lucy, what advice do you have for any other young artists or business persons?
My advice to young artists and business people would be to make sure you are having fun. If you are being too hard of yourself, you will not stick with it long enough to improve. If you hate doing it, you won’t last long.
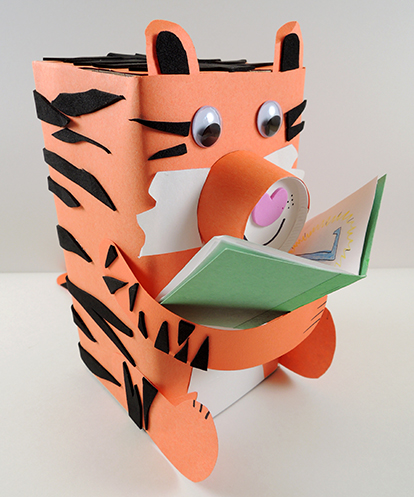 It’s story time, and this sweet tiger is eager to read! Best of all, the book is all about your favorite things. It’s art and autobiography, mixed into one!
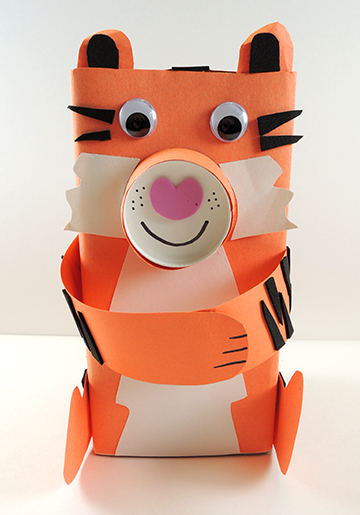 Our book was about 4″ tall. We folded and stapled together some sheets, then filled the pages with drawings of our favorite things…favorite bird, holiday, weather, number, dessert, color, drink, fruit, animal, etc.
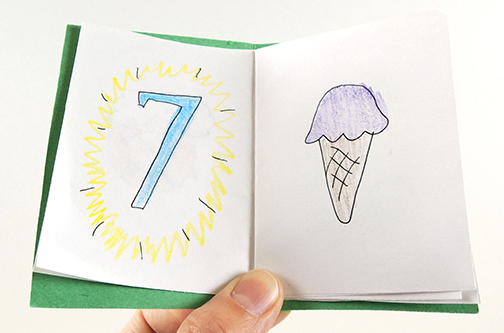
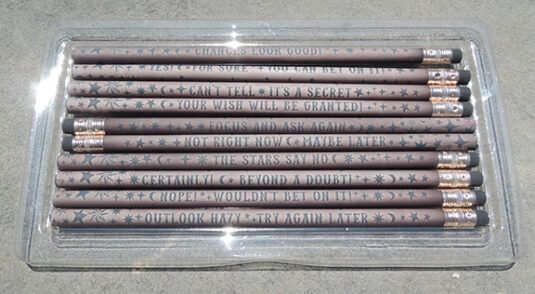
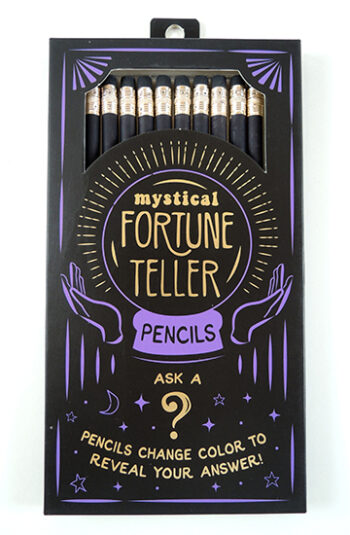 Needing some answers? No problem! We tested this set of Mystical Fortune Teller pencils offered by Snifty. Yes, for a mere $10, you have the opportunity for 10 unique answers to your most burning queries.
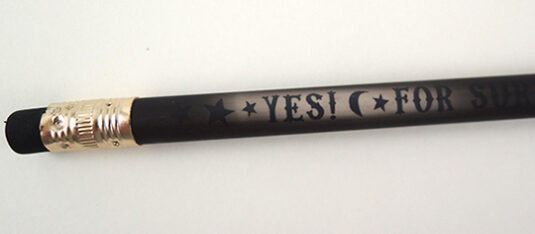 Eventually, the message fades back to its original state. The packaging also warns you not to put the pencils in direct sunlight. So of COURSE I ran outside and did that very thing. The pencils are essentially heat activated – so the hot sun made the messages appear. I also accidentally left them in my hot car and the same thing happened.