 This winter, we had a couple of intense snow storms. Whenever it snows, my program attendance drops dramatically. And yet, there are always a couple of hard core patrons who don their snow pants and brave the drifts to come to story time. This causes a bit of a conundrum. You see, some of my projects involve quite a bit of prep work (a-hem! I’m looking at you candy factory and you haunted house). So the program is prepped and ready for over 20 kids. If I do it with just 3 kids, that’s a lot of prep work going by the wayside…so…
A few years ago, I decided that if fewer than 5 kids came to a snowy story time, the previously-prepped project would be bumped to the following week, and I would offer an unplanned, off-the-cuff creative project instead.
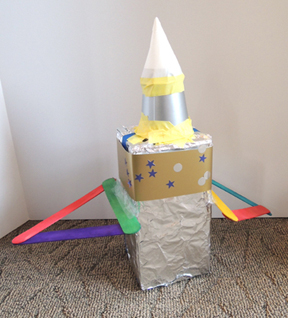
The project I’d like to share today is inspired by the fantastic If I Built a House by Chris Van Dusen (Dial Books, 2012). The story is about Jack, a boy with big ideas for building his dream house. There’s a robotic machine that whips up meals, a bedroom at the top of a 200 foot tower, a anti-gravity room, a race track room, an aquarium room…the sky is the limit!
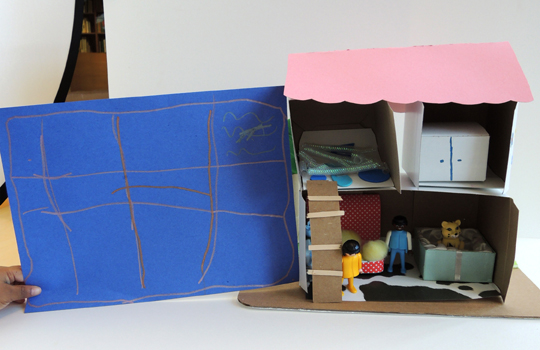
First, the kids and I made “blueprints.” I replicated the look with blue construction paper and silver metallic markers.
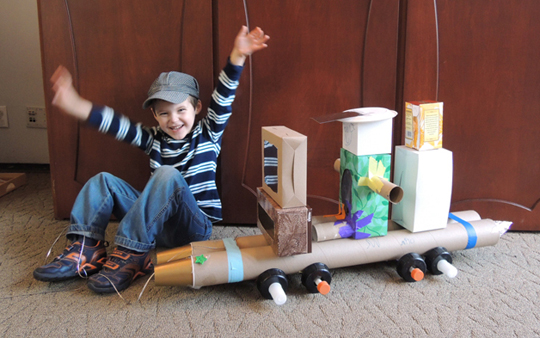
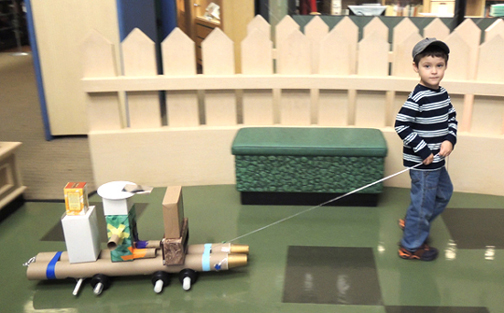
 As the kids drew their houses, I rummaged through the office for boxes, tubes, cardboard, items left over from other projects, and interesting odds and ends (including, of course, the Bling Bin). Then, out came the tape, glue, scissors, markers, and hot glue and off went the little architects, putting together 3D models of their blueprints.
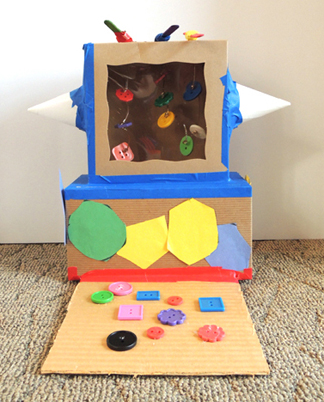
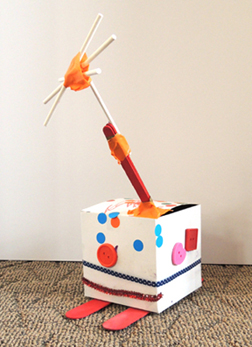
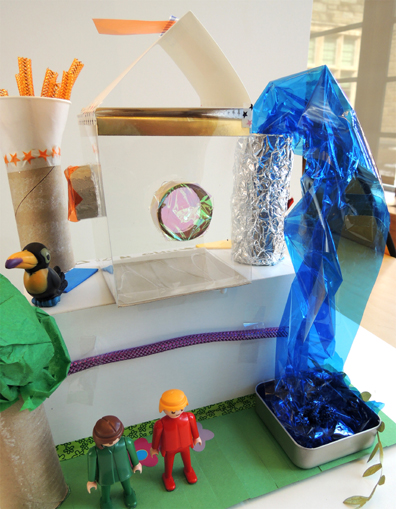
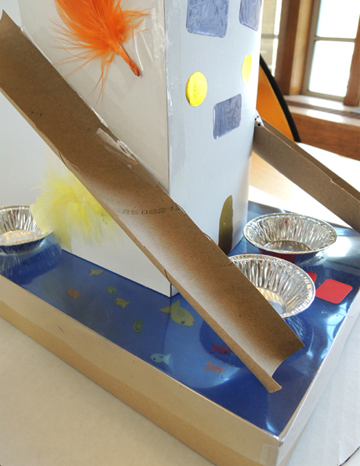
 This house’s base is a box with a clear lid (leftover from this light box project). The architect turned it into a subterranean pond with fish! Perhaps this is our next Frank Lloyd Wright?
 The next architect went for wide and stacked, with multiple boxes for multiple rooms. I like the ladder to the second floor!
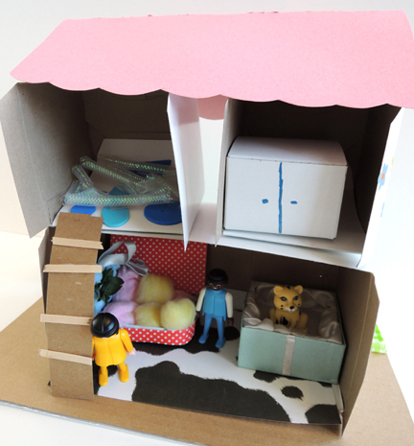
 She also forayed into interior design. That polka-dot couch is made out of patterned paper, pink and yellow cottons balls, and an Altoid tin!
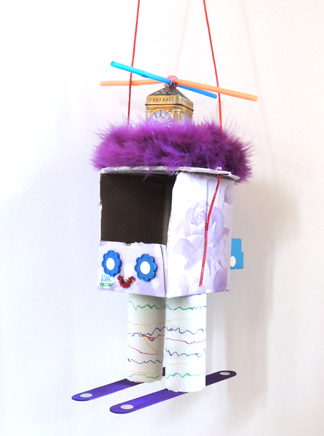
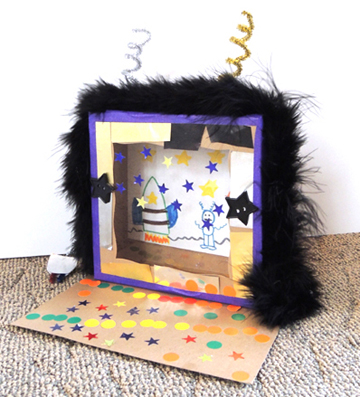
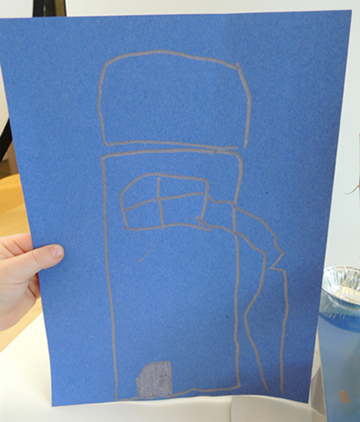
 The final house’s blueprint appeared to have a tree, a squiggle of water, and antenna. I was curious to see how the model would develop, and I was not disappointed.
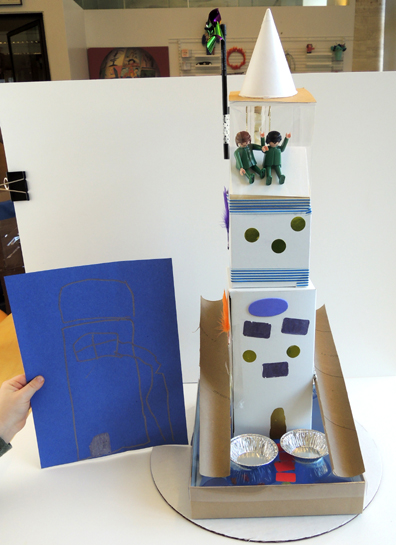
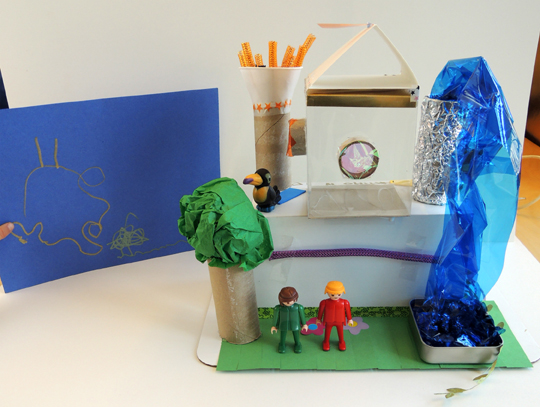 LOVE the fountain! And I’m not sure if you noticed that the “glass” room at the top has multi-color portholes made out of tape rolls with cellophane panes?
If you don’t have an art cabinet to quickly rummage through, or you want to do this with a large group of kids, you could always go with Option #2. Collect a bunch of recyclables and stick them on a table. Then ask the kids to draw their blueprints from the items they see on the table (just make sure you have multiples of each item for each kid to use).
Or, you could do Option #3. Give each kid the same basic “set” of object (ex: a cake pad for a base, a tissue box, a paper towel tube, a cone water cup, and 3 squares of poster board) to build the basic structure, then have other art supplies handy to fancy it up. I promise, the results will be unique!
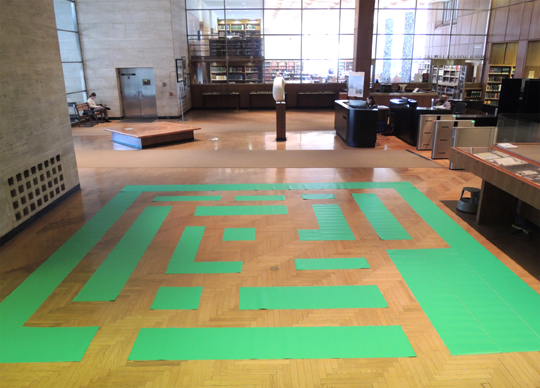 Today, we offer an exclusive first look at something big on our horizon. This month, my library is hosting a major math event. It’s called A Day at Digitopolis (named, of course, after the famed city in The Phantom Tollbooth). Today, you’re going to get a sneak peek at one of the activities – a giant 16′ x 16′ floor maze. But this is no ordinary maze! You have to get from start to finish without taking a single right-hand turn. Want to build one of your own? Read on!
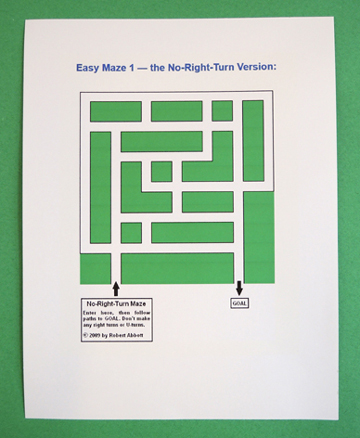
 Once I finalized the maze design and decided that it was going to be 16′ x 16′, I had to calculate how much contact paper we needed. The rolls I found on Amazon were a standard width of 18″, so I just had to determine the length. I work best with models, so I crafted a little maze, in which 1″ = 1 foot.
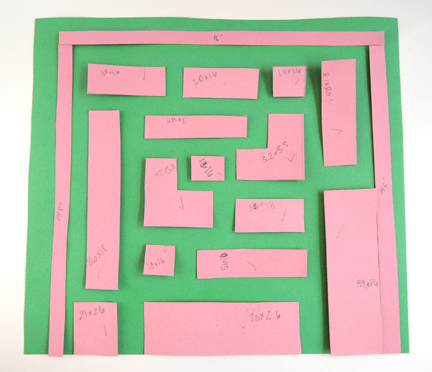 Once I added up the lengths of all the pink pieces, I had a rough estimate of how much contact paper we would need (112.25′). I ordered two, 75′ rolls, which left plenty of extra paper for mistakes. The task of actually building the maze fell on Marissa and Casandra Monroe. Casandra is a Princeton University student and super math whiz!
 Casandra sketched the maze on graph paper, in which 1 square = 1 square foot. Then she drew a 16 x 16 square and sketched the various pieces inside it. To make the calculations nice and simple, she made path through the maze 1′ wide.
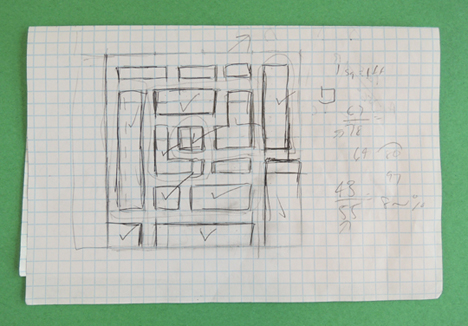 Then, Marissa and Casandra headed to the library’s cavernous main lobby and started building. They laid down the outer walls of the maze first:
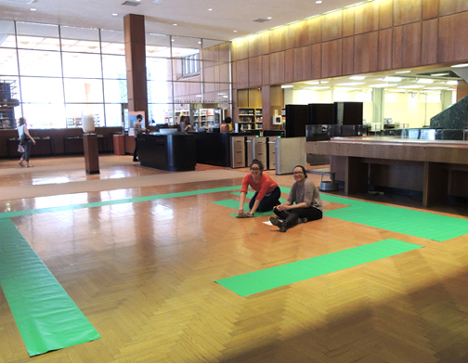 And then cut and placed the internal pieces of the maze.
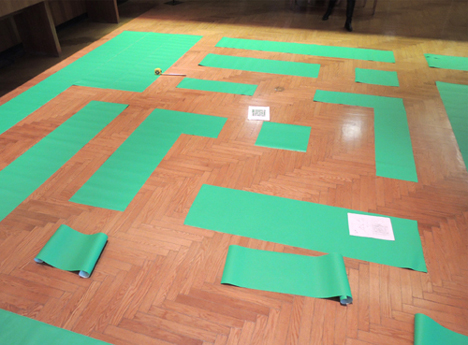 While they were filling in the pieces, they used a measuring tape to keep the path as close to 1′ as possible (even though there were some areas where the path was wider).
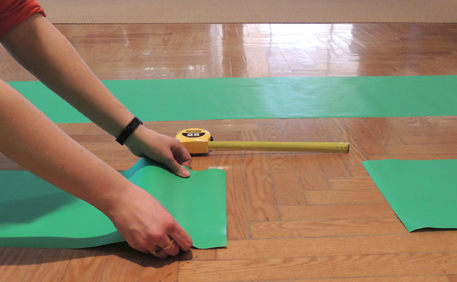 Marissa and Casandra kept the backing on the contact paper. But to keep the pieces from curling up, they used masking tape loops to temporarily adhere it to the floor.
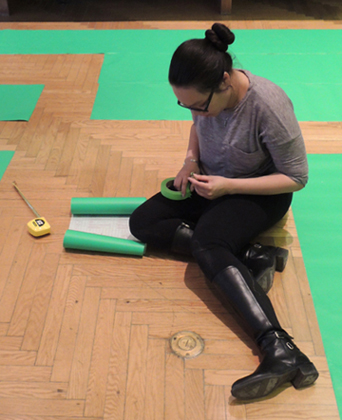 They also used permanent marker to label the backs of all the pieces and match them to a diagram of the maze.
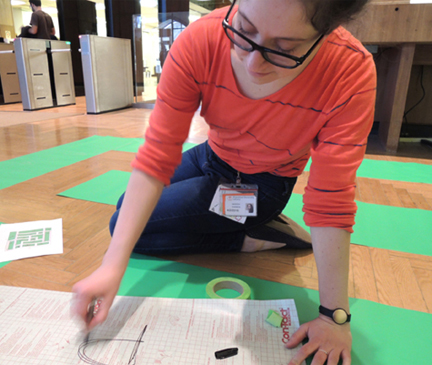 The morning of the event, we’ll be able to glance at the diagram, check the backs of the pieces, and peel and stick the maze quickly (we’ll have a measuring tape on hand to remeasure the pathways too).
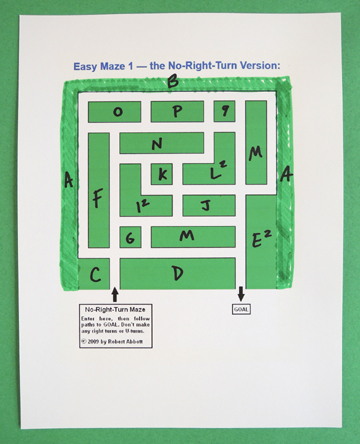 All in all, the maze took about 3 hours to put together. Cue “Eye of the Tiger!”
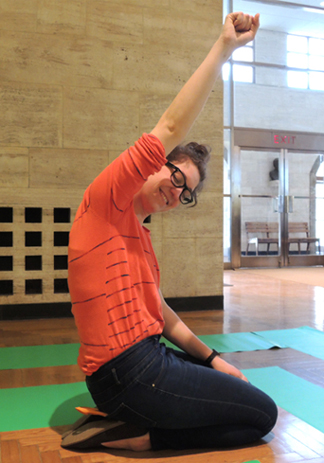 Three important things: 1) Don’t forget to mark the start and finish of your maze (we’re using extra pieces of contact paper with “start” and “finish” written on them in permanent marker); 2) At the event, make sure to have the
 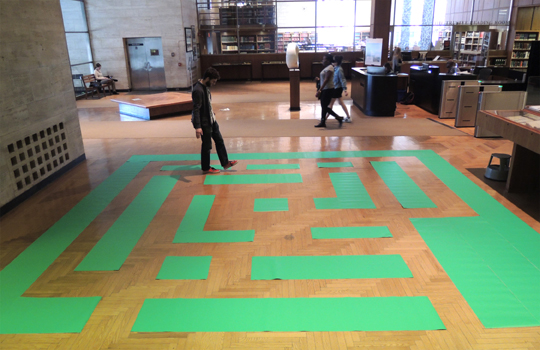 The real test, of course, will be at the