 Today, Katie is broadcasting from our official blog test kitchen (which wow, looks remarkably like her own kitchen!). She’s tackling her old culinary frenemy…that cursed confection, sneaky sweet, diabolical dessert otherwise known as…FUDGE. Take it away, Katie!
It’s hard to believe it has been nearly six years since I tried and spectacularly failed at making Monsieur Bon-Bon’s Secret “Fooj” from the book Chitty-Chitty-Bang-Bang by Ian Fleming. Six years! C’est impossible! But after six years, dear blog readers, it’s finally time. Let’s trying making fudge again.
I found a recipe in a charming book titled Peeny Butter Fudge, written by Toni Morrison, Slade Morrison,and illustrated by Joe Cepeda (Simon & Schuster, 2009 – read here by Sankofa Read Aloud). There’s nothing better than spending the afternoon with Nana. She adds love and extra excitement to play time, story time, even nap time! But the best part is helping Nana make her yummy, delicious fudge before Mom comes home.
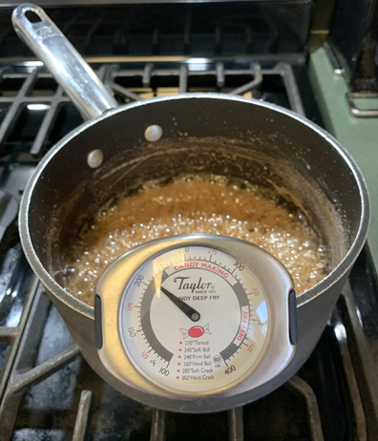
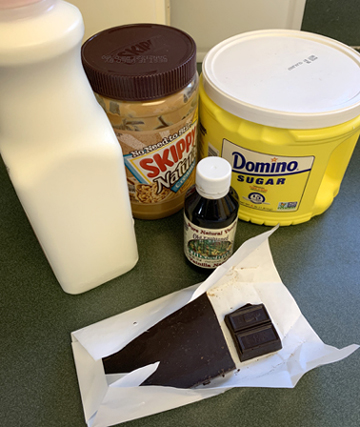 With just five ingredients and clearer directions than the “fooj” recipe, my confidence was high. I carefully followed the instructions exactly as they were written. When it came time to let the milk/sugar/chocolate mixture boil for five minutes, I set a timer and pulled out my candy thermometer (purchased when I attempted to make acid drops from Harry Potter). I remember reading that fudge must reach a certain temperature to solidify and have the correct texture, so I watched the thermometer closely. I also admit I was a bit nervous when the mixture needed to boil for longer than five minutes before it made a tadpole shape when dropped into a glass of cold water.
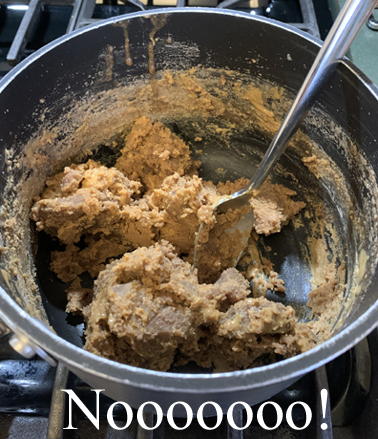
 While the pot was taking its cold-water bath in the kitchen sink, a series of unfortunate events drew my attention away from the task at hand. The pot must have rested in the sink for too long because when I tried to add the peanut butter, the fudge was hard. Absolutely rock hard. I frantically tried putting the mixture back on the stove to see if it would soften up as I mixed in the peanut butter, but the result was a colossal, clumpy mess. Fudge failure, yet again.
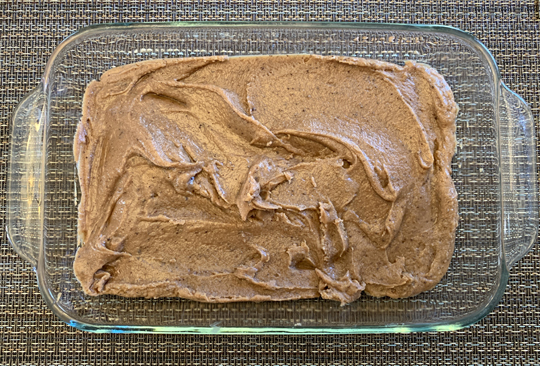
 I wasn’t about to give up on Nana and her peanut butter fudge, so I started over from scratch. Armed with the knowledge from both of my failures, I focused wholly and completely on the fudge and finding the sweet spot of victory. And somehow, against all odds, I did it. I made fudge!
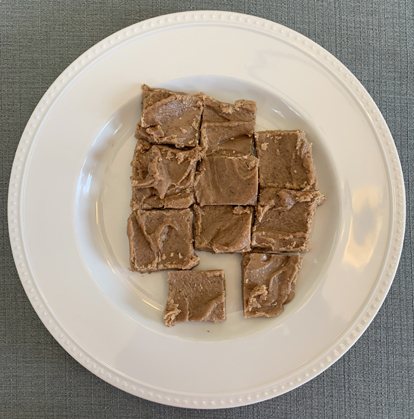 Peeny Butter Fudge is delightfully rich and provides the perfect flavor mixture of chocolate and peanut butter, which is one of my favorite dessert combinations. I provided samples for my teen son and his neighborhood friends to try, and all of them said “this is so good!” My son also said it tastes exactly like the filling in Reese’s Peanut Butter Cups. Collectively we give Peeny Butter Fudge our official seal of tastiness approval.
There’s an art to making fudge. You must balance a fine line between delicious success and disastrous failure. I’m very grateful my third attempt was a charm. And though I still consider myself an amateur fudge maker, I’m definitely planning on making Nana’s fudge again.
 Just posted! A webcast and podcast with New York Times best-selling author and illustrator Adam Rex.


 Today, Katie is broadcasting from our official blog test kitchen (which wow, looks remarkably like her own kitchen!). She’s tackling her old culinary frenemy…that cursed confection, sneaky sweet, diabolical dessert otherwise known as…FUDGE. Take it away, Katie!
 With just five ingredients and clearer directions than the “fooj” recipe, my confidence was high. I carefully followed the instructions exactly as they were written. When it came time to let the milk/sugar/chocolate mixture boil for five minutes, I set a timer and pulled out my candy thermometer (purchased when I attempted to make
  While the pot was taking its cold-water bath in the kitchen sink, a series of unfortunate events drew my attention away from the task at hand. The pot must have rested in the sink for too long because when I tried to add the peanut butter, the fudge was hard. Absolutely rock hard. I frantically tried putting the mixture back on the stove to see if it would soften up as I mixed in the peanut butter, but the result was a colossal, clumpy mess. Fudge failure, yet again.
 I wasn’t about to give up on Nana and her peanut butter fudge, so I started over from scratch. Armed with the knowledge from both of my failures, I focused wholly and completely on the fudge and finding the sweet spot of victory. And somehow, against all odds, I did it. I made fudge!
 Peeny Butter Fudge is delightfully rich and provides the perfect flavor mixture of chocolate and peanut butter, which is one of my favorite dessert combinations. I provided samples for my teen son and his neighborhood friends to try, and all of them said “this is so good!” My son also said it tastes exactly like the filling in Reese’s Peanut Butter Cups. Collectively we give Peeny Butter Fudge our official seal of tastiness approval.