Get ready for the coolest possible way to get some steps in. In late spring, a curious ad popped up in Katie’s social media. It was a call for adventure, one that Katie answered with her intrepid pup, Finley.
Specifically, it was THE LORD OF THE RINGS Virtual Challenge series, offered by Conqueror Virtual Challenges. An online community that provides virtual fitness experiences and encourages participants to hike famous trails, you can meander through historical locations or climb massive mountains. There are challenges as short as 20 miles through Angor Wat, or as long as 2,485 miles to complete the entire Pacific Coast Trail. The cost varies between $30 to $50, depending on the challenge. THE LORD OF THE RINGS has five different sections you can complete individually for $50, or you can follow the entire journey from The Shire to Mordor for $200, which is a stunning 680 miles. Katie signed up for just one challenge, The Shire, which starts in Hobbiton at Bag End and ends in Bree. Take it away Katie!
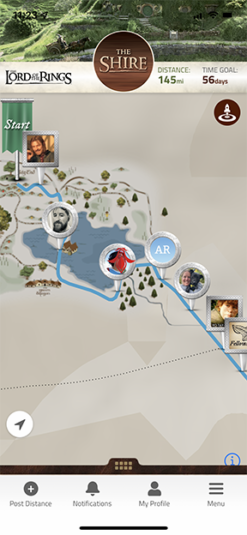
In J.R.R. Tolkien’s The Fellowship of the Ring, Frodo Baggins recalled sound advice his cousin, Bilbo, had once shared with him: “It’s a dangerous business, Frodo, going out of your door. You step into the Road, and if you don’t keep your feet, there’s no knowing where you might be swept off to.” It was Bilbo’s adventurous spirit that led me to The Conqueror Virtual Challenges LORD OF THE RINGS adventure. After registering, you gain access to an app that allows you to virtually follow your path through the location.
 You either manually enter your miles (or kilometers) or you can sync your activities from your smartwatch or fitness tracker. Participants can walk, run, bike, swim, row – it doesn’t matter how you get there, it just matters that you are meeting your fitness goals and making every mile count. And you can see other participants on their journeys!
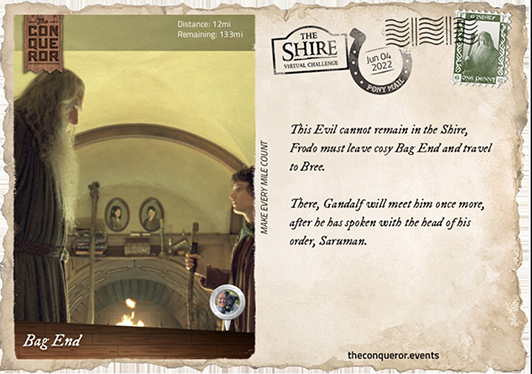
 As you travel, you are sent digital postcards to commemorate the distance or to share information about your location. Here’s the first one I received:
Another very cool thing? For every 20% of the challenge you complete, you choose to either plant a tree or stop 10 plastic bottles from entering the ocean. In the spirit of the Ents, I decided on trees. This was my first one:
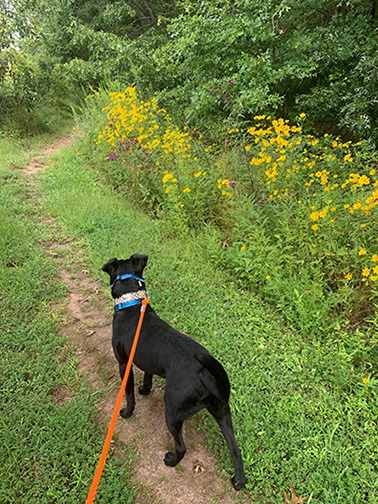
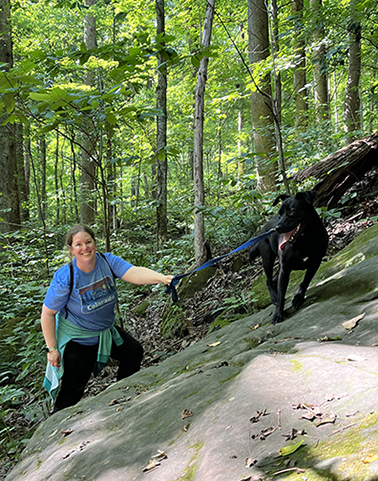
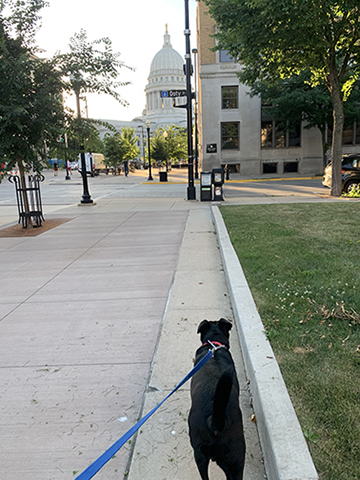
 Most of my miles were completed while walking with my own Samwise Gamgee, my pup Finley, who was more than happy to accompany me on this epic trail. Finley and I typically walk three miles a day around our neighborhood, but there were times when we found ourselves strolling down city streets or on a winding footpath in the woods. I also discovered the route I take on Princeton’s campus from the parking garage to Cotsen is exactly one-mile round trip. And here are me and Finley heading to an outdoor concert in Madison, WI this summer.
 I left Bag End on June 2 and arrived in Bree on July 14, trekking 145 miles in 42 days. I thoroughly enjoyed checking in on the virtual map. The digital postcards were a nice added touch of encouragement, along with knowing I planted five trees. Here’s my finish screen:

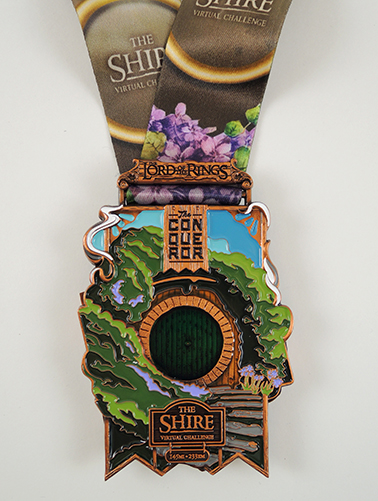
What shocked me was the medal I received after I completed the challenge. You get one for every section of the trail you sign up for. It was mailed to my address, and arrived about 10 days after I crossed the finish line. The medal is AMAZING! It is beautifully crafted on both sides with stunning intricate details. Here’s the front:
 The back includes an envelope that contains the One Ring, which you are instructed to “Keep it Secret, Keep it Safe.”
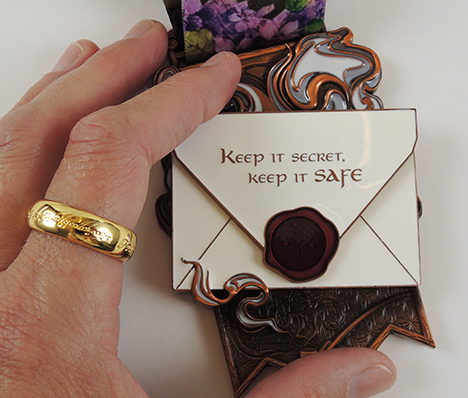 And yes, if you look closely, you can see that ring does have the famous Mordor inscription in Tengwar! The Conqueror Virtual Challenges are fantastic motivation to either kick-start a personal exercise plan or to encourage you to keep moving forward on the path to good health. And now that My Precious… I mean… the One Ring is in my possession, I must continue the journey to Mordor. I’m going to extend my subscription and further the adventure!

And just one more triumph to add…today is officially Finley’s “Gotcha Day!” Adopted two years ago from Texas, we are so happy to have him as part of the blog family!

 Just posted! A BiblioFiles interview with graphic novelist Victoria Ying, creator of City of Secrets and its sequel, City of Illusion.
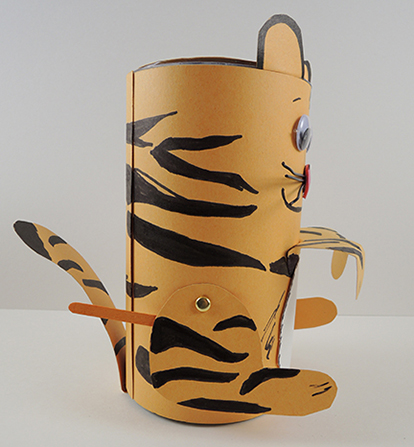 Use a box cutter to make small slices in the oatmeal container, then attach the tiger’s back legs to the body using brass fasteners. Next, attach two, 3″ long craft sticks to the legs, leaving plenty of room for you to grasp the sticks. To operate, move the sticks up and down while gently sliding the oatmeal container forward, and you have yourself a splendid tiptoeing tiger!