
 Q: In the background of your story time photos, I always see amazing stuff like a cross section of a house, a big wall of book, and a giant tree??? What is that? Can you give us a tour?
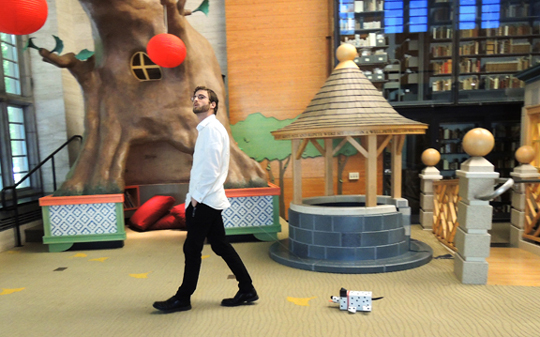
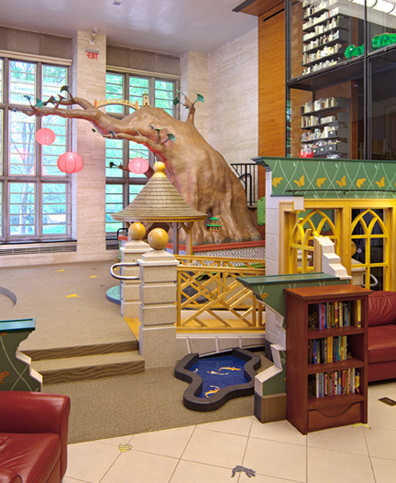
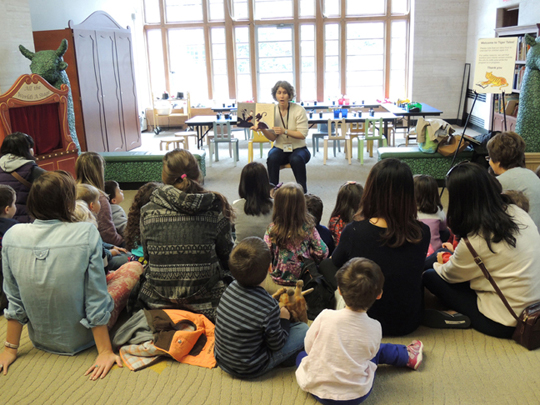
Sure! That fantastical landscape you’re seeing behind Ian and his box dog is Bookscape, the Cotsen Children’s Library’s public gallery. You might be surprised to learn that while Cotsen is technically a library, the “library” part of it contains our rare books and special collections. We don’t, for example, have circulating copies of books like public libraries. We do, however, have reading copies of books available in the Bookscape gallery. And like our programming, Bookscape is open to the public and free of charge. Ready for a tour?
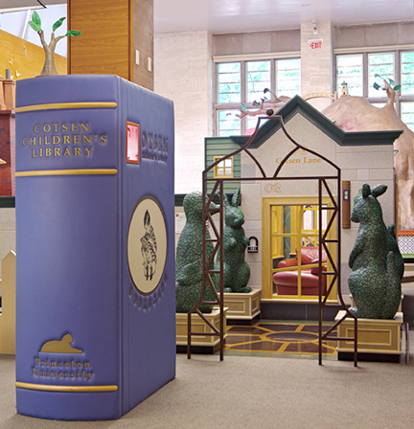 The Cotsen Library opened its doors in 1997. Back then, its public gallery looked a little different. But in 2002, architect James Bradberry, artist Judson Beaumont, and Cotsen staff collaborated to create the now-iconic Bookscape.You enter Bookscape through a topiary garden. In the below image, you can see that garden from another angle. The giant glass wall of books you see rising in the background is a 3-story rare books vault. And that’s only about 1/5 of our collection!
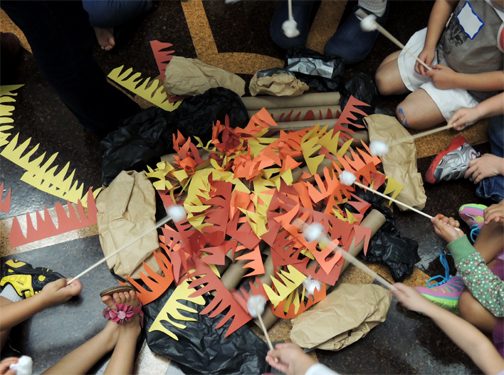
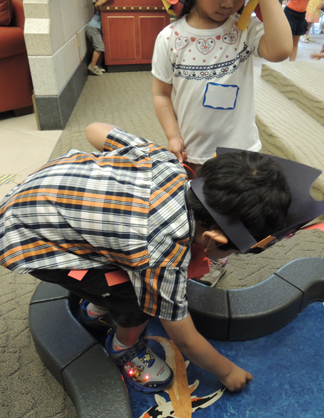
 I love the inlay on the floor of the garden. Not only is it beautiful, it also made a great fire pit for a camping story time (you can just see it underneath all the construction paper fire and cotton ball marshmallows).
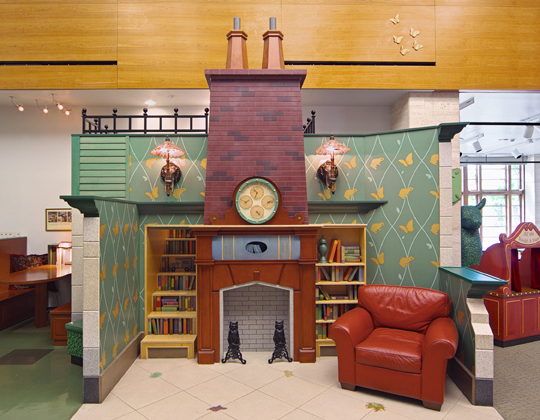
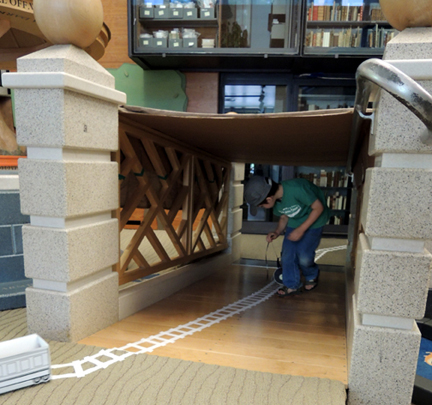
 Past the garden, you find yourself in a little house. Stretched across one side of the house is a fireplace.
 See the black railing on the top of the house? That marks the perimeter of a little hidden room. You climb the bookshelf stairs on the left and unlock a trap door to gain access to the room. We currently use it for office storage. But sometimes, I climb up there to launch UFO or two.
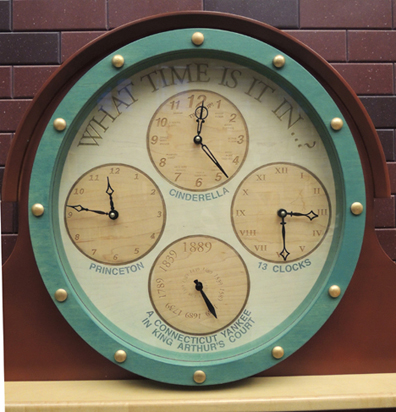
Above the house’s fireplace is a clock. A closer look reveals that it tells Princeton, Cinderella,13 Clock, and Connecticut Yankee time.
 The bookshelves that flank the fireplace are stocked with wooden books. Many of them have tongue-in-cheek titles, courtesy of the Cotsen staff.
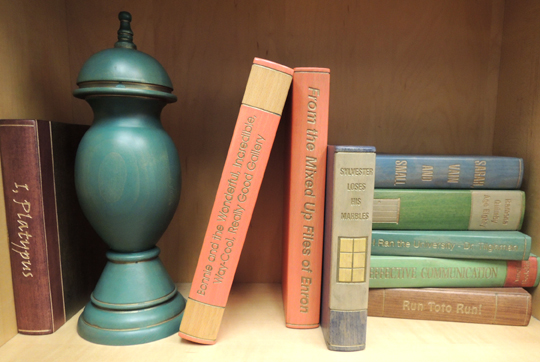 Here are just a few titles:
The Feline in the Fedora
Fly Through Your O.W.L.S by H. Granger
Just So-So Stories
Step-Mommy Dearest
Dare to Be Different by U. Duckling
Richard’s Scariest Word Book Ever
From the Mixed Up Files of Enron
Ramona Quimby, Age Eighty
Effective Communication by Amelia Bedelia
Goldilocks: My Story
Never-Never Land on Pennies a Day
Strega No-No
The Very Hungry Multinational Conglomerate
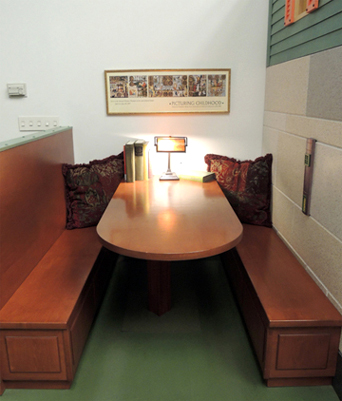
To the left of the fireplace is a cozy study booth. Often, this is where I’ll find Princeton University students reading, writing, and working on their laptops.
 Opposite the fireplace is the “study.” Here you’ll find bookshelves and big, squashy leather coaches. This is also the chapter book section of the gallery.
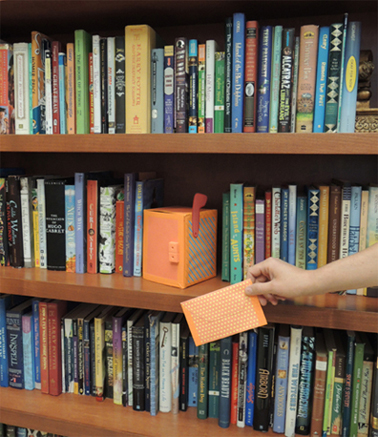
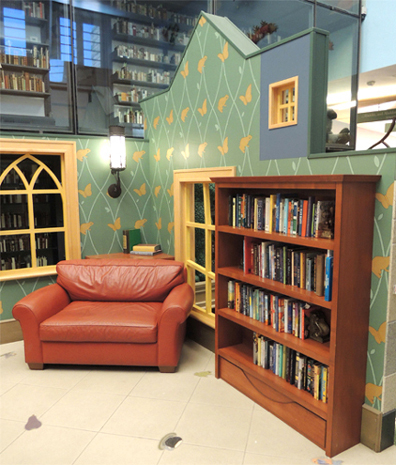 Over the years, I’ve used the bookshelves for hiding things during scavenger hunts, or for holding items like this orange mailbox during a mailman story time.
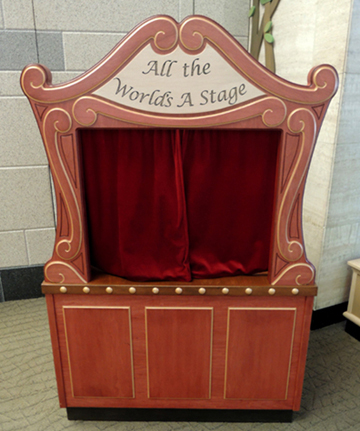
Not too far from the house is our wooden puppet theater. I can’t tell you how much use this gets! The theater has a puppet storage bin built into the back (I buy animal and insect puppets from Folkmanis), and an extra-deep stage so puppeteers can comfortably rest their elbows during performances. The velvet curtains slide back and forth on a rod. Best of all, our puppets are multilingual! I’ve heard performances in English, French, German, Japanese, Hebrew, Italian…
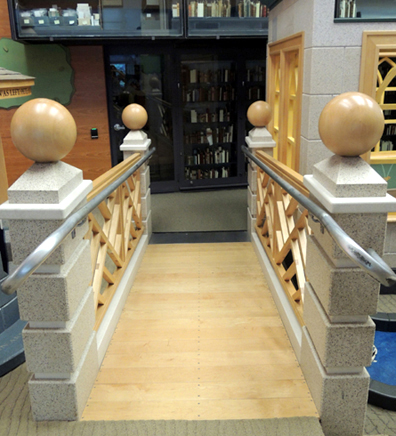
 Outside the house, in the back of the gallery, is our bridge, wishing well, and bonsai tree.
 The bridge is prime toddler territory. They love to test out their walking skills on its gentle slope.
 But the bridge also comes in handy when you need a train tunnel during story time!
 The wishing well is next to the bridge…
 There’s an entrance to the well on the right – it’s shaped like a jagged crack. Look closely in the above photo and you’ll see the water “escaping” from the right side of well and flowing under the bridge. It ends in this cute little koi pond.
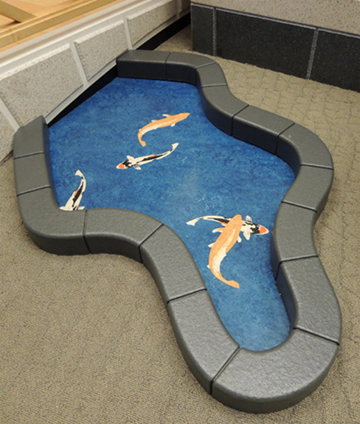 We’ve certainly done a lot of fishing and splashing in the pond at story time. It’s also a popular location for Vikings and Pirates to search for coins!
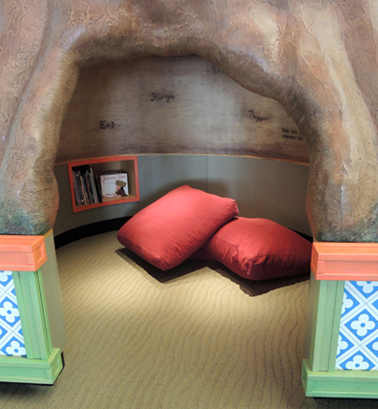
 In the back right-hand corner of the gallery is our giant bonsai tree.
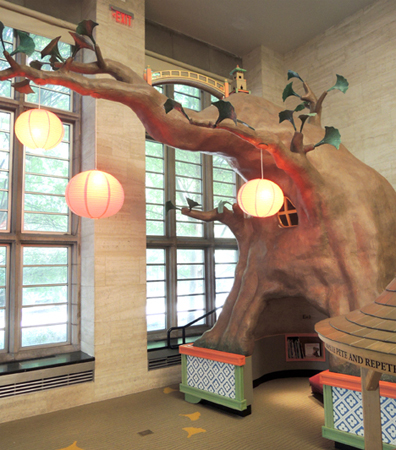 The tree has two floors. The ground floor can comfortably fit a family or a group of kids. There are 3 alcoves for picture book storage, and big puffy floor pillows.
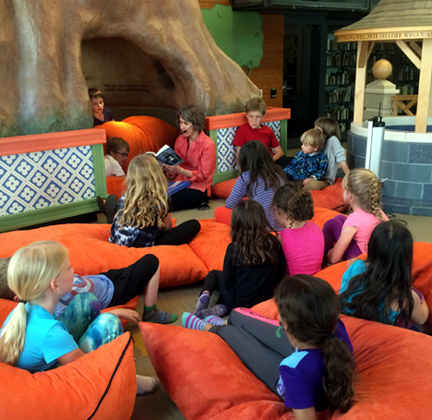
 When our To Be Continued chapter book program is in session, I bring out even more floor pillows and we spread out!
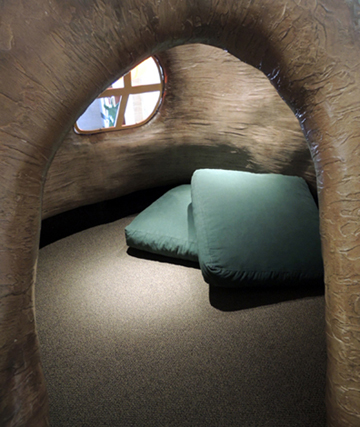
 Curling along the back of the tree is a staircase that leads to a small upstairs room and another pair of comfortable pillows.
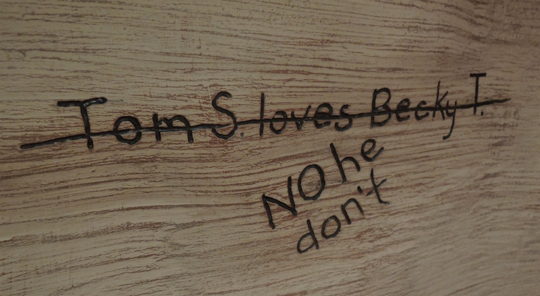
 Both tree rooms have graffiti carved into the walls by literary characters. Here’s my favorite:
 The back left-hand corner of Bookscape isn’t the most glamorous area of our gallery, but it’s certainly the place closet to my heart. It’s our program area.
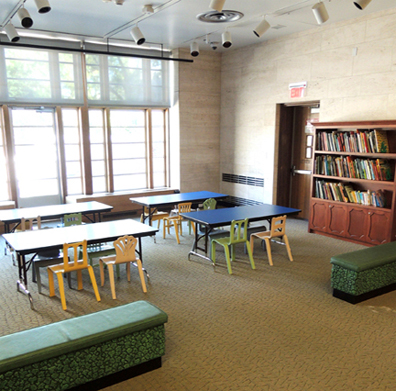 This is where the magic and the mess happens.
 There are lots of other little touches and surprises in our gallery, but I won’t reveal them all. You’ve got to come and discover them for yourself! Ten years ago, when I was interviewing for my job at Cotsen, I walked into the gallery and was overwhelmed with emotion. Yes, I had seen pictures of Bookscape online, but they didn’t prepare me for what it felt like to be fully immersed in the gallery. I silently swore that if I got the job, I would do my best to create programs that would match the love, care, and consideration that went into designing this amazing space for kids.
 If you’d like to see a little video the University made about our space, and meet some of the students who work here, you’ll find it here!
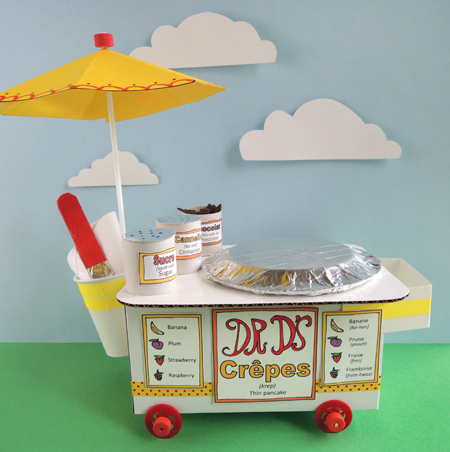 Make delicious crêpes to order with this fantastic crêpe cart! Pour the fabric batter onto the griddle, add a number of felt toppings, sprinkle on a bit of sucre from your counter top shaker, then use your spatula to fold the crêpe at just the right time. The cart’s signs are printed in both English and French (with helpful pronunciation guides), so your customers can order like Parisian pros! C’est Magnifique!
 Two important things about the cart’s counter top! 1) Make sure it’s wide enough to fit your small paper plate (our counter tops were 7.5″ x 9.75″); 2) It’s a little hard to tell in the above photo, but make sure the paper cup end of the counter top is flush against the side of the box. Otherwise, your umbrella won’t attach correctly. And speaking of paper cups, notice how ours is taped towards the back of the cart? That’s so you won’t keep bumping into the umbrella while reaching for your crêpe supplies.
 The umbrella comes next! Cut the umbrella octagon from the template (we printed ours on yellow card stock). Decorate it with markers, then use scissors to cut a slit from one of the points of the octagon to its center.
 Carefully mountain fold the octagon along its remaining points.
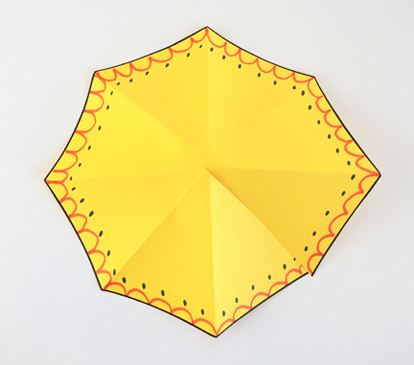 Cut a small slice in the top (this is where your umbrella pole will poke through). Next, slide one of the octagon’s triangle folds under another, then tape the octagon closed.
 This results in a seven-sided umbrella canopy with a hole in the top.
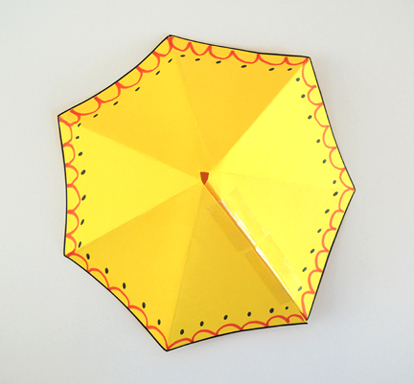 Now stick a foam bead on the end of a balloon stick.
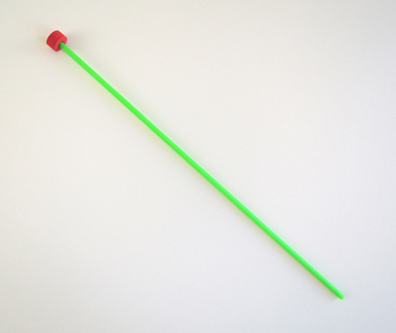 Slide the umbrella canopy up the stick to meet the foam bead.
 Slide a second foam bead up the stick to secure the umbrella’s canopy in place. In the below photo, you can see the umbrella canopy wedged between a red bead and an orange bead.
 Tape the umbrella to the stand. If the balloon stick extends past the bottom of the cart, use scissors to clip off the excess.
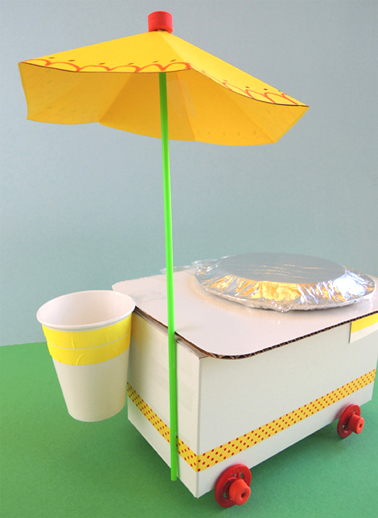 Now it’s time to stock your cart! Cut and decorate the signs from the crêpe cart template, and glue (or tape) them to the front of the cart. The crêpe batter and spatula go into the paper cup. Our “batter” was an old fabric tablecloth (thank you
 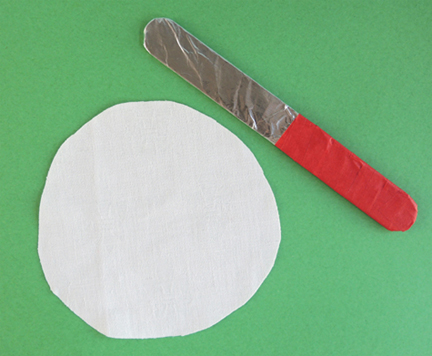 Sitting on top of the cart are your sugar, cinnamon, and chocolate canisters. Each canister was 1/2 of a toilet paper tube with a template label affixed to it. The sugar and cinnamon had little circles of silver mirror board hot glued to the tops (we used Sharpie to draw little holes in the tops too). The chocolate canister’s circle is hot glued to the bottom of the tube. Then it gets stuffed with bits of brown felt.
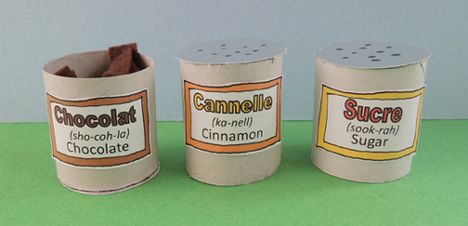 The little plastic cups on the back of the cart are also filled with bits of felt. Pink for strawberry, red for raspberry, yellow for banana, and purple for plum.
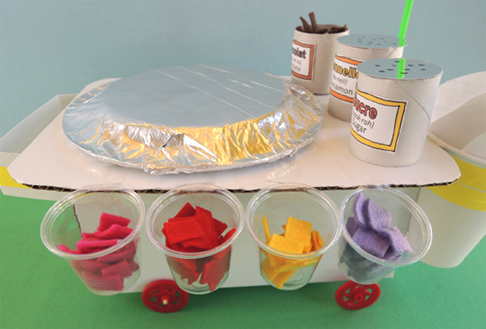 Voilà! Your cart is finished! So, how exactly do you make a crêpe? You put the circle of batter on the griddle, add some felt ingredients, fold the crêpe in half with the spatula, fold the crêpe in half again, then serve it to your customer.
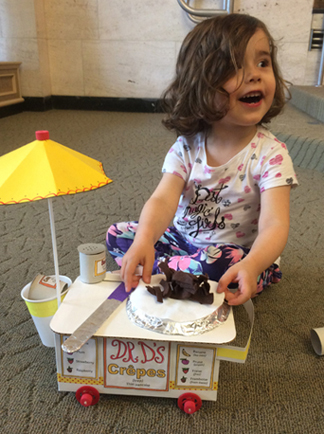 Or maybe it would just be easier to show you…in French no less
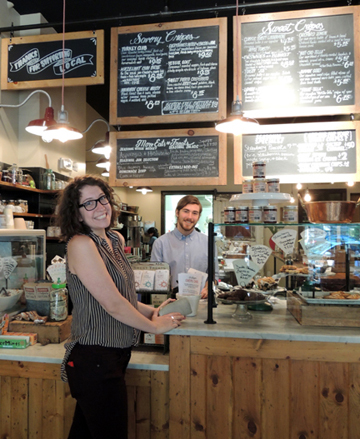 Here’s a griddle at work. You can just see the special spatula on the white cutting board…
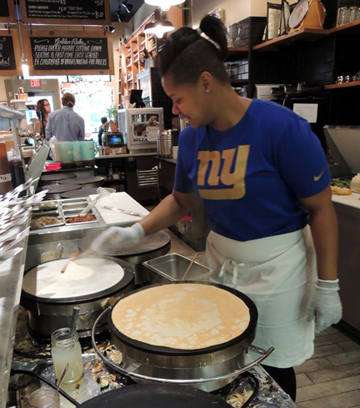 The crepe arrives at your table in a beautiful, warm wedge of deliciousness. I’m trying to work my way through the restaurant’s generous menu of sweet and savory crêpes, but I keep getting stalled on their hammin’ cheese melty with seasonal pickles and mustard aioli. Mmmmmm…
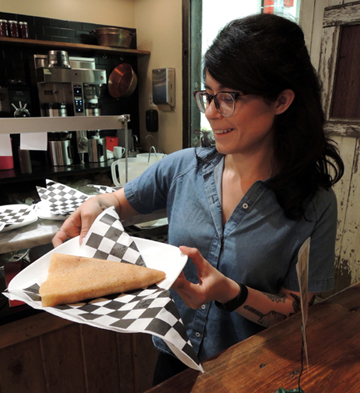 Jammin’ Crêpes LOVED the little crêpe cart! It received their official stamp of approval.
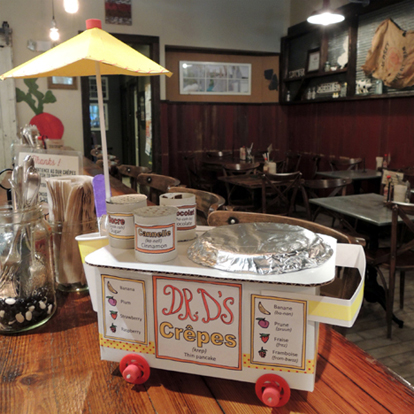 Did I – heh heh – mention Jammin’ Crêpes makes their own nutella spread with hazelnuts, almonds, and chocolate? I think…I need to do some more crêpe research. Right. NOW.
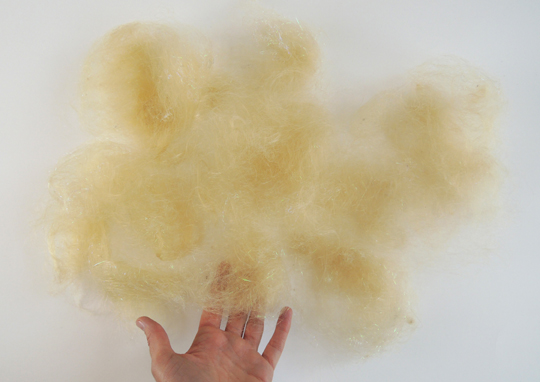
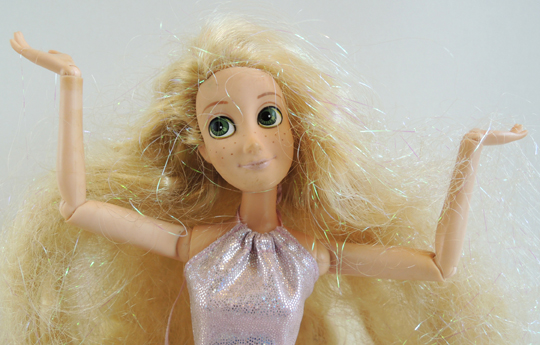 Rapunzel! Rapunzel! Let down your hair…GAAAAAAAAAAAH!
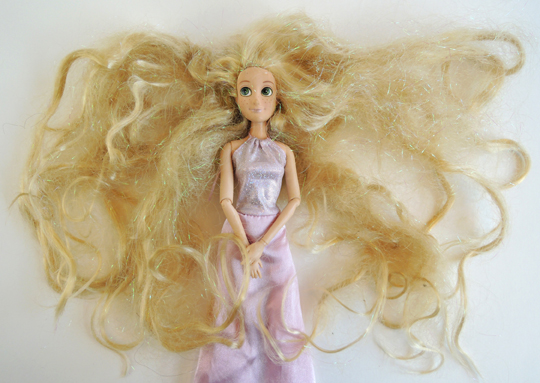 Whoa! What is this snarled, knotted, mess? Sigh. Our children’s dolls come out of the box looking so perfect. But somehow, over the course of a few weeks, their hair slowly begins to revert to a feral state. Eventually, a severe scissor intervention is required. But is a dramatic haircut really necessary? Or is there a magic recipe for working out those knots? We decided to tackle six of the Internet’s most popular methods for getting Rapunzel’s hair a little less, well…Tangled.
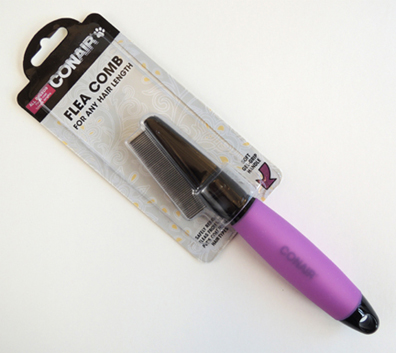 To find testing subjects, I went to the local thrift store. There, I found plenty of dolls who were having bad hair days, including Rapunzel. Then it was on to research and supply acquisition. For detangling, we decided to try spray-on detangler, fabric softener, regular hair conditioner, and white vinegar. For curling, we tried drinking straws,
 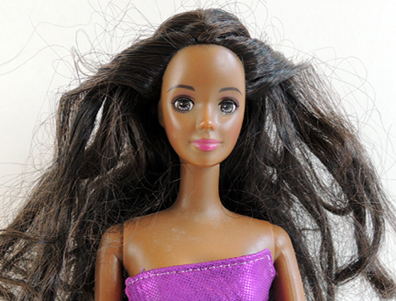 First, I thoroughly covered the doll’s hair with spray detangler (purchased from the baby care section of Target). Then, I used a plastic comb to work on the knots, brushing from the bottom of her hair and working my way up. My first piece of advice – make sure you hold the doll’s head tightly. Otherwise, it could pop right off! My second piece of advice – don’t use a plastic comb. It doesn’t work. In fact, I broke a tooth off mine and had to dig through the mess of her hair to find it. Phew! Eventually, I laid the doll’s hair flat on the counter and really tore into it with the comb. The knots came out, but so did chunks of her hair!
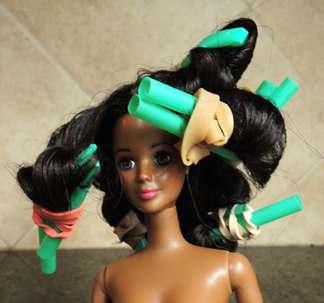 I had read that dunking the hair in hot water would lock in the curl, so I dunked the doll’s hair. Note! Be careful when you remove the doll from the water, because hot water gets into the straws and can dribble out, giving you a nasty burn. I let the hair air dry with the straw curlers in it. And…the results were great! Smooth, untangled hair with lots of soft curls.
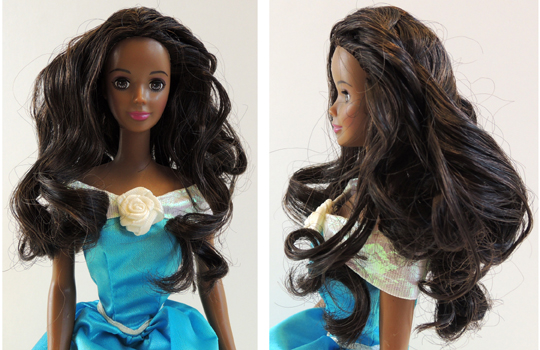
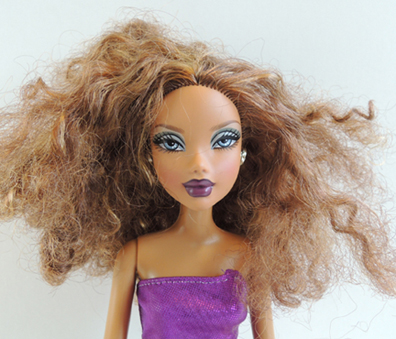 I’ll start by saying that this doll’s hair was SUPER knotted. I didn’t think I was going to get any of the tangles out! I filled a plastic cup halfway with warm water and added a tablespoon of fabric softener (Mrs. Meyer’s Natural). Then I soaked the doll’s head in the mix for a minute or two, swirling her around to make sure her hair was completely soaked. This time I used the flea comb. It was much better than the plastic comb, but her knots were still pretty crazy. So I dunked her head in fabric softener again. It was much easier to comb after that! Finally, the knots were out, and her hair was thoroughly rinsed. Unfortunately, the doll lost a significant portion of her hair during testing, leaving parts of her scalp visible. She also lost an earring. Huh.
 I rinsed the doll’s hair under warm water, then added regular hair conditioner (Alba Botanica’s Hawaiian Coconut to be exact). Using a quarter-sized amount, I massaged it evenly through her hair. Then I started combing with the flea comb. It worked well, but pretty soon the conditioner and the loose hair make a kind of paste, which was really gross. I was happy when I finally got to rinse it out. Interestingly, this doll did not experience as much hair loss as the previous 2 dolls. Maybe it was because her hair was much shorter? In the end, her hair turned out puffy and soft. Maybe a little too puffy. It necessitated a binder clip in the back to get the wave under control for her reveal photo.
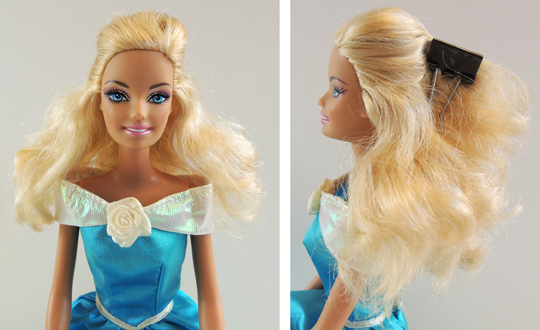
 This doll had greasy hair (ewwww!). I’m thinking a previous owner had put some product in it which left it quite unpleasant to touch. I thought she was the prime candidate for a white vinegar treatment. Hoping to dislodge some of the goop, I let her hair sit in very hot water for a few minutes. Then I used the flea comb to get the knots out.
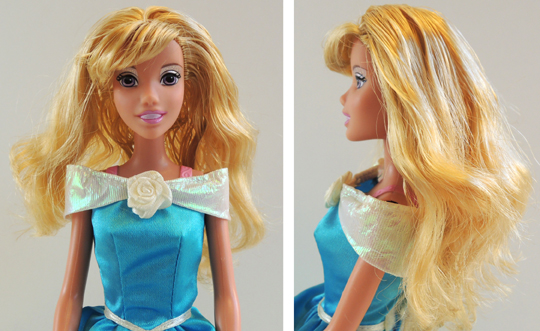
 I decided to not use any product on this doll’s hair. I just dry combed it with the flea comb. It was a bit challenging. If you use this method, I recommend laying the hair flat on the counter and working from bottom to top. Once the tangles were out, I decided to curl it using fatter
  Yes, it worked! Even soaking wet, the hair was curled. It held its curl while drying too!
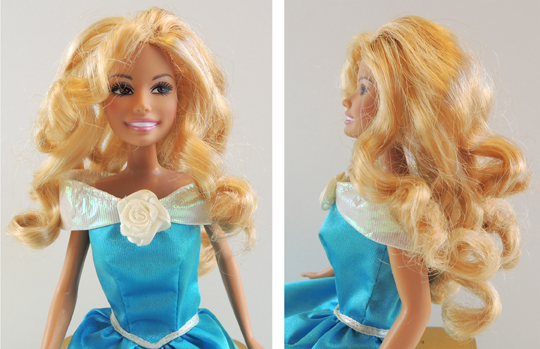
 The curl results from Method #1 and Method #5 got me wondering about the radius of the curlers and the sort of curl it produced. So for my final doll, I decided to do a side-by-side comparison. For the wide curls, I decided to try something firmer than bubble tea straws. This time, I used fat Crayola markers.
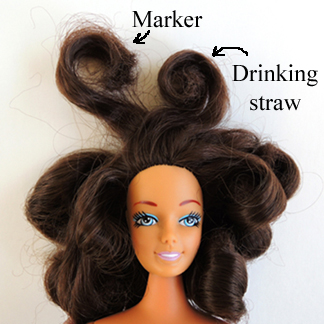 She definitely had lots of body to her hair, so we brought out the binder clip once again.
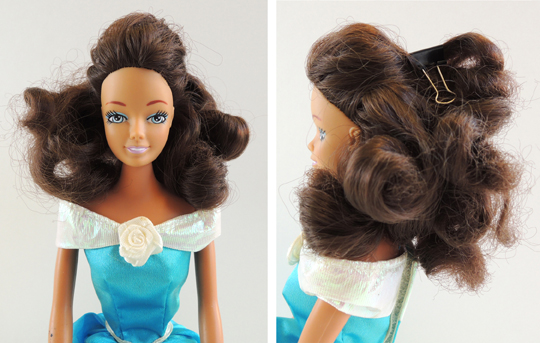
 Since her hair was 15″ long, I decided to use markers to curl it (I also read good things about using
 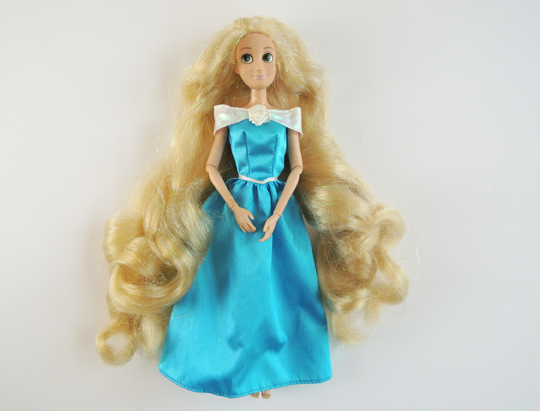 TA-DAH! You know, I think she looks pretty good! Sure, she lost a lot of hair, but there’s still enough left to climb a tower!