 It’s flip-a-riffic! This sweet little set flips over to display two landscapes that look very different, but are definitely part of the same big, beautiful world.
We read Up Above and Down Below by Paloma Valdivia (Owlkids Books, 2011). There are different kinds of people in the world, different kinds of weather, different seasons, and different ways of doing things. But everyone dreams, loves, and celebrates, regardless of where they are and what direction they’re facing. Bonus – flip this book upside down while reading, and your story time kids can enjoy a second set of illustrations!
You’ll need:
- 8 small boxes, all the same height
- 1 corrugated cardboard base (I used a 9.75″ x 13.75″ cake pad)
- House and landscape decorating supplies (more on those below!)
- A box cutter
- 2 craft sticks (ours were 4.5″)
- 4 foam beads
- 8 pieces of green self-adhesive foam
- 4 wine corks
- Scissors, tape, and glue for construction
- Markers for decorating
- Hot glue
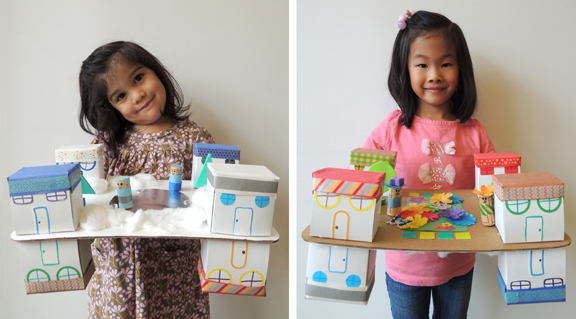
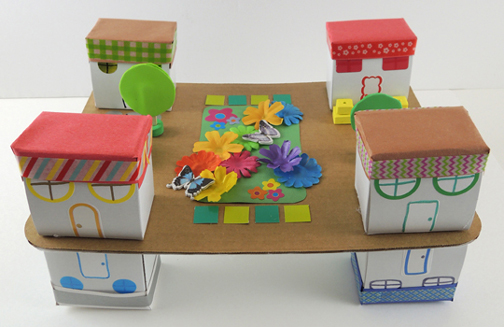
First, decorate 8 small boxes like houses (we used construction paper, patterned tape, old address labels, and dot stickers, but markers work too!). The most important thing is to keep the roofs flat. Otherwise, your project will wobble. Hot glue the houses to both side of a corrugated cardboard base, then fill in your landscapes! The summer landscape had fabric blossoms, flower and butterfly stickers, and construction paper pieces.
The winter landscape had a frozen lake made out of a silver mirror board with a few flat glass marbles hot glued to the edges. Finish the look with fluffy drifts of cotton ball snow.
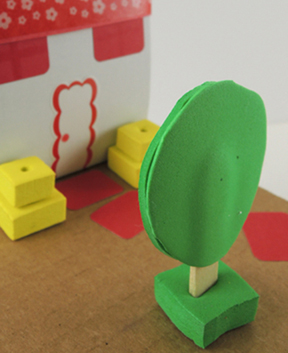
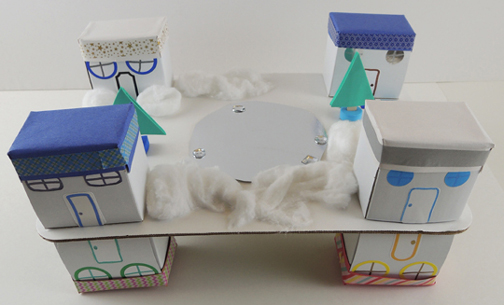 Want to add some trees? Use a box cutter to make a slit in the cardboard base, then insert a craft stick halfway into the slit. Push a foam bead down the craft stick to keep it steady, then press 2 triangular pieces of self-adhesive foam together to make an evergreen tree.

Flip the project over, slide a second foam bead down the stick, and press two circular pieces of self-adhesive foam together to create a leafy summer tree.
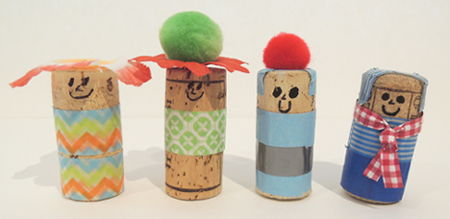
The final touch? People! We used wine corks, patterned tape, and some craft odds and ends to make 4 cheerful members of the general populace. Here’s the gang, so happy together:
OK…all together now…1…2…3…
IT’S A SMALL WORLD AFTER ALL! IT’S A SMALL WORLD AFTER ALL! IT’S A SMALL WORLD AFTER ALL! IT’S A SMALL, SMALL, WOOOOOOORLD!
 Some news! Our library is undergoing renovation for the next 6 months, and our gallery programming (which includes our weekly story times) will be temporarily suspended until early 2018.
 The Friday posts will continue as well. You might, however, notice that there will be more blog breaks than usual. You might also find yourself saying “Hey, wasn’t Dr. Dana’s hair shorter last week? How did it grow so fast?” or “It’s December…why are all the kids in the photos wearing shorts and running around a flower garden?”
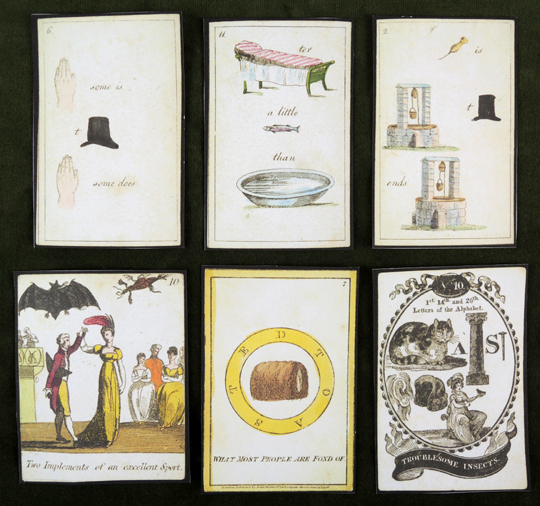
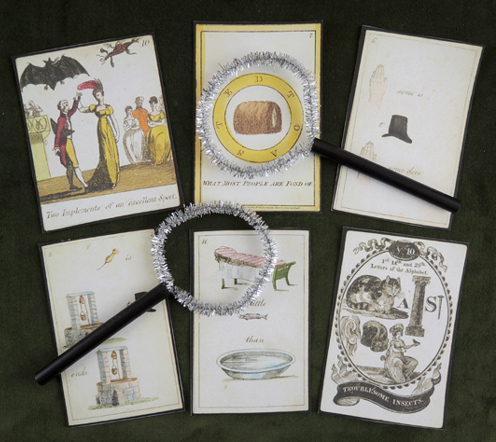 Calling all consulting detectives…grab your sparkle stem magnifying glass and examine this most intriguing collection of 18th and 19th century puzzle cards. And, while the individual man is an insoluble puzzle, the answers to these cards are at the end of the post (and you can print a set of your own)!
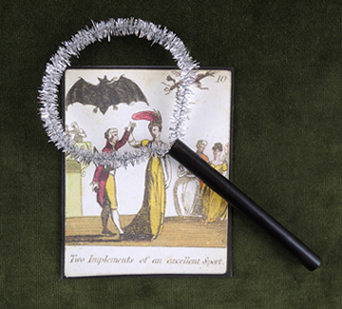 And what of those curious cards? They are reproductions of 18th and 19th century rebus puzzle cards in our library’s