 In the world of crafting, just about anything can be adjusted, changed, or redone according to your budget, staffing, and audience. In fact, adaptation is one of the things I love about developing craft projects for kids. Today, I’m going to show you how I took a simple project and made it even simpler and less expensive for a large-scale event. I’ll throw in a couple hints about running large-scale event tables to boot.
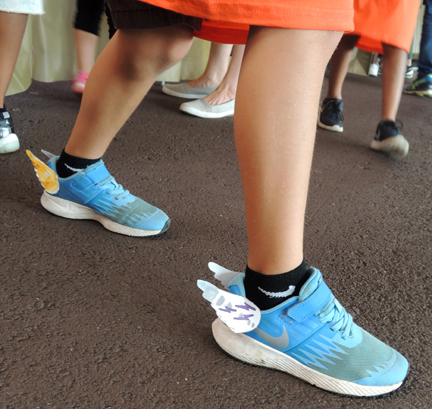
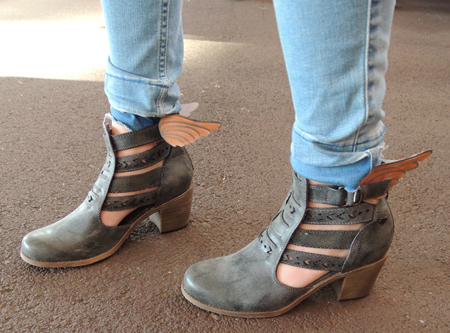
Our event table had a Lightning Thief theme. So for our project, we went with these winged sneakers made out of stiffened felt, glitter glue, glue dots, and paperclips (you’ll find the original instructions here):
 The project was already easy to assemble, but since we needed to produce 200 pairs of wings, the art supplies were a problem. We made 4 cost-saving changes:
- We made the wings out of card stock instead of stiffened felt
- We replaced the glitter glue with metallic markers
- We used tape instead of glue dots
- We scavenged paper clips from various office stashes, rather than buying new ones
Oh, and I adapted the original project template to include more pairs of wings. Instead of 4 pairs of wings per sheet, there are 6 (the adjusted template is here). I turned a couple copy paper box lids into trays housing small, medium, and large wings.
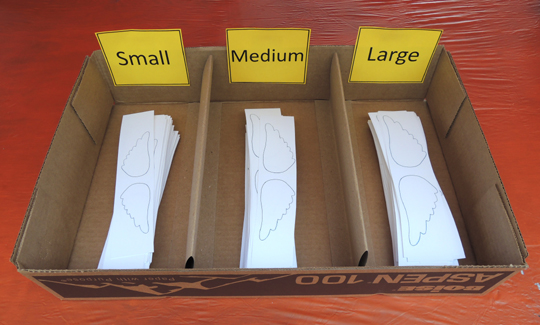 Notice how we just did a rough cut of the wings (meaning we left each pair on a single strip of paper instead of cutting them out individually)? This is event pointer #1: Prep Up to a Point. Rather than cutting out 200 pairs of wings before the event, we let 200 event participants cut the wings themselves. This definitely saved us prep time, and spared us some wicked hand cramps. Another event pointer? Present the Project.
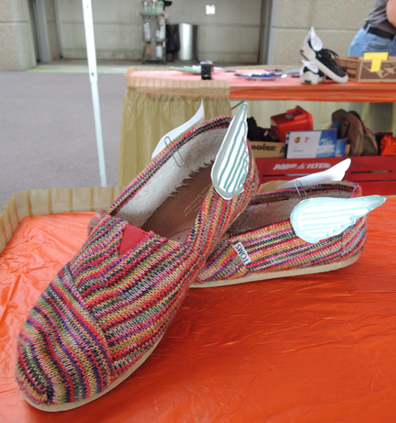 Always have an example of the finished project on the table, so matter how simple it is. That way, you can show kids (and their grown-ups) exactly what they’re aiming to create. If you’re lucky, they’ll be able to get started the project just by looking at the finished version (which will also save you having to explain it 200 times). Next event pointer: Set Up a Self-Cleaning Table.
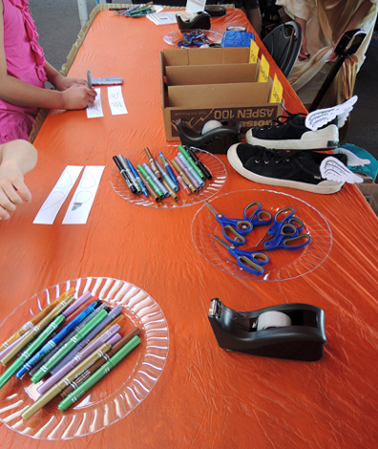 Event tables get crowded quickly, and supplies fly everywhere. However, I find that when supplies are on paper or plastic plates, the plates actually encourage people to return the supplies to their proper places. I don’t know what is it – the plates are wide and flat? They’re super obvious? Impossible to toss something at and miss? Whatever the reason, with plates I spend 75% less time cleaning up the table. And that’s huge when you’re staffing a table for 4 or 5 hours. Pointer #4: Table Skirts are a Good Thing.
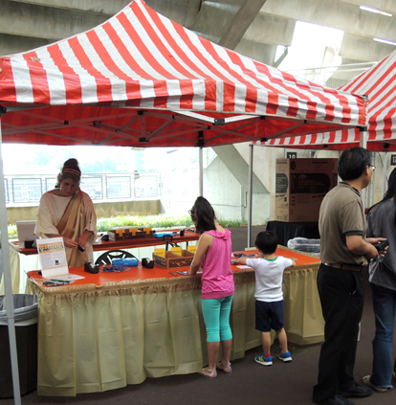 Table skirts are an inexpensive way to make your event table look more finished. They also hide all the unattractive supply boxes you need to stash under your table, as well as your purse or backpack. OK. My final event pointer. Costumes are Awesome.
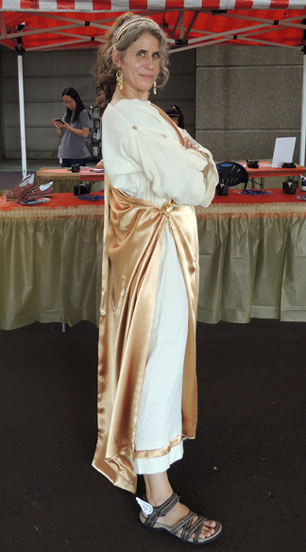
You want your table to get attention and a fair amount of traffic, right? Well, there’s no better way to get it – and show your team spirit – then wearing a costume. The above outfit is recycled from an event I did in 2011. Katie’s costume was borrowed from the Lewis Center for the Arts’ costume shop. But we totally could have rigged something up with sheets too.
Your costumes don’t have to be fancy – even a color-coordinated t-shirt will do. But I will say the more you dress up, the bigger an audience you draw (as well as event photographers! We’ve definitely ended up in local papers, blogs, and Facebook because of our costumes).
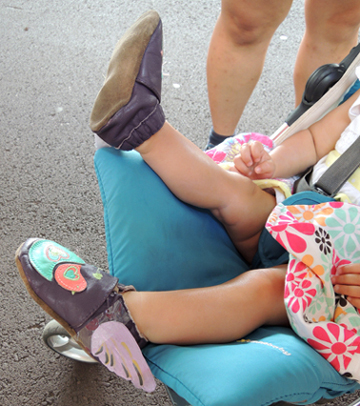
How did our adapted project go over? Really well! Check out these truly amazing shoes…
This slideshow requires JavaScript.
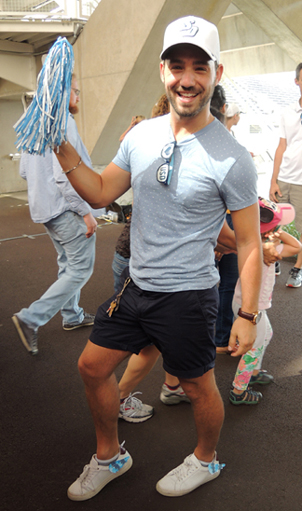
Adults were encouraged to make wings too! I absolutely LOVE this guy. Even if was rooting for USD at a Princeton Tigers football game.
 And speaking of adaptation, people made a couple project adjustments of their own at the event! A lack of straps on the backs of one’s sandals? Quickly remedied with tape:
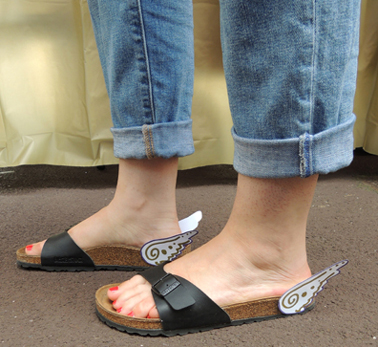 Not into the paper clip part of the project? Tape, once again to the rescue:
 Some skipped the shoe part and simply taped the wings to the backs of their shirts!
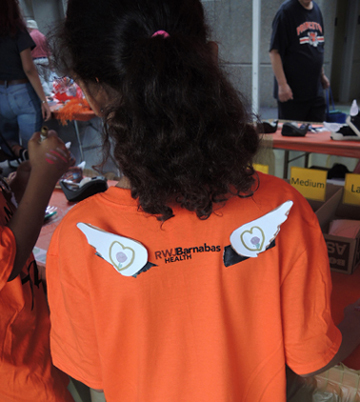 Do you see how the wings are attached to the back of the shirt with black masking tape? That’s another project modification we came up with. Kids without socks (or kids who might be bothered by the paper clips rubbing their feet) were offered masking tape to cover the section of paperclip inside their shoes. It worked great, and it gave the wings a little extra reinforcement too.
Thus, to summarize my 5 event pointers:
- Prep Up to a Point
- Present the Project
- Set Up a Self-Cleaning Table
- Table Skirts are a Good Thing
- Costumes are Awesome
And just in case you missed them in the slideshow, here’s someone who TOTALLY rocked the project. The colors! The matching lines! The placement of the wings! Perfection.
 Looking for other event table projects that have worked for us? Check out these pom-pom cannons, Cheshire Cat grins, magic quill pens, and Digitopolis’ number mines. You’ll also find more ideas on our Simple Projects Pinterest board.

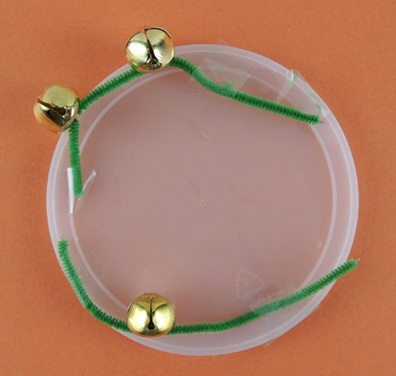 The credit for today’s simple project goes to my 6-year old daughter! She told me she wanted to make a tambourine, scrounged through art supply central at home, and came up with this a few minutes later.
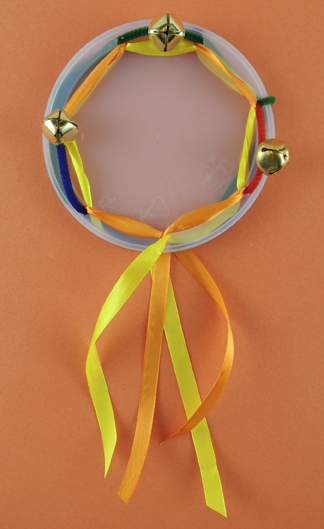 You’ll need:
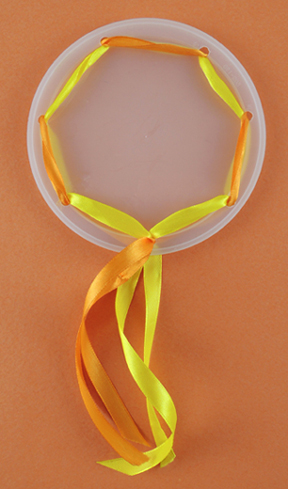 Quick hint for threading floppy ribbon through holes…create a “needle” using masking tape. When you’re finished, just unwrap the making tape, or cut it off the ribbon entirely.
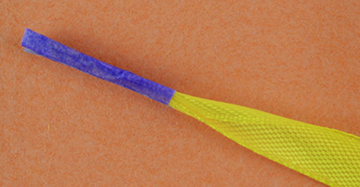 Thread a jingle bell onto a piece of pipe cleaner, fold it into a U, and and insert both ends into a pair of holes. Unfold the ends of the pipe cleaner and secure them to the back of the lid with tape. Repeat these steps with the remaining 2 bells.
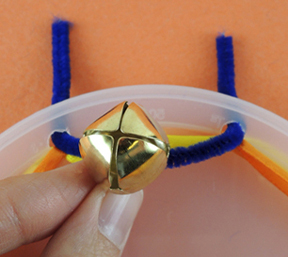 Your tambourine is finished!
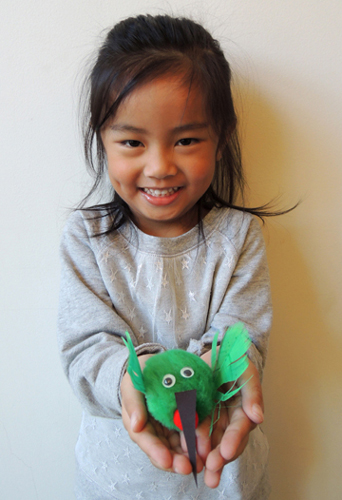
 The hummingbirds were created by Katie. Aren’t they cute? She made a green version modeled after the ruby-throated hummingbird, and a purple version modeled after the violet sabrewing hummingbird.
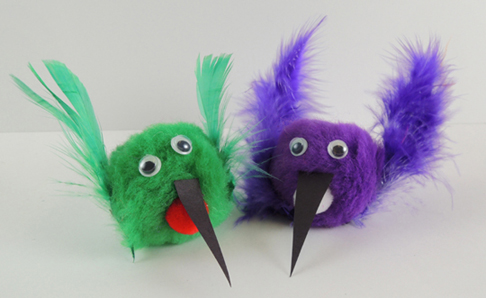 To make a hummingbird, glue a thin black construction paper beak onto a large (1.5″ diameter) pom-pom. Glue a smaller (.75″) pom-pom underneath the beak. Add a pair of small wiggle eyes and 2 feathery wings and you’re set!
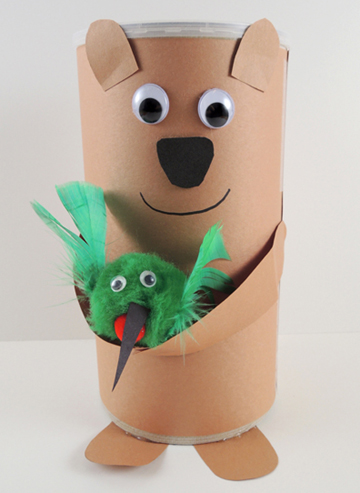
 Then, slowly, and oh-so-quietly, kids and their bears went in search of their hummingbirds.
 Looking for more feathered friends? Check out this