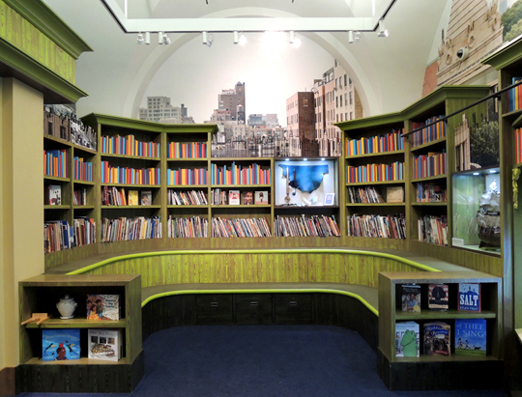
Ladies and gentleman, may I introduce the Barbara K Lipman Children’s History Library? This gorgeous gem is adjacent to the stunning DiMenna Children’s History Museum, which in turn is located inside the amazing New-York Historical Society, Central Park West.
While the New-York Historical Society was established in 1804, the Children’s Museum is a more recent edition, springing to life in 2011. The museum and the library have a packed programming schedule, from historical book clubs to living history days. They’ve also recently introduced a new initiative, History Detective Briefcases. It’s incredibly clever. I’ll circle back to it at the end of this post. But for now…on to the children’s library!
I always head straight for the books, and these shelves do not disappoint. To the left as you enter the library are multiple stories of bookshelves filled with historical fiction and non-fiction picture books and chapter books. The curved benches not only serve as handy reading desks, they also act as risers for school group visits.
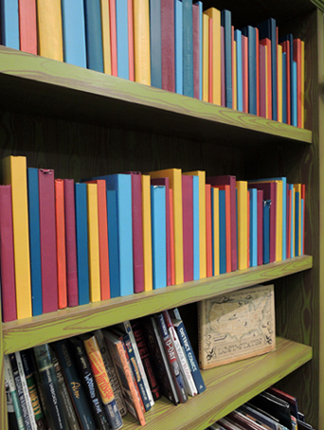
 Notice the colorful books on the uppermost shelves? Those are old books that have been painted! So the easily-reachable lower shelves contain the books for kids to browse. But the painted books fill out the upper shelves, looking beautiful and colorful.
 The history library doesn’t just contain books, however. Multiple exhibit cases are built into the shelves and tables in unique ways. For example, see the “Amazing Atlas” case below?
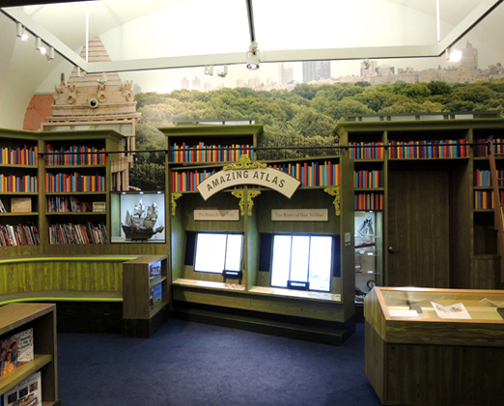 There’s another case hidden behind it, displaying a curved panorama of period ships!
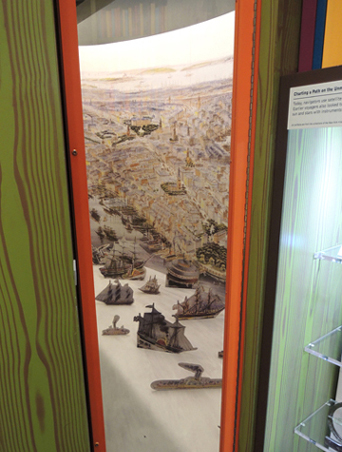 Another exhibit clever case? Check out the library ladder in the photo below.
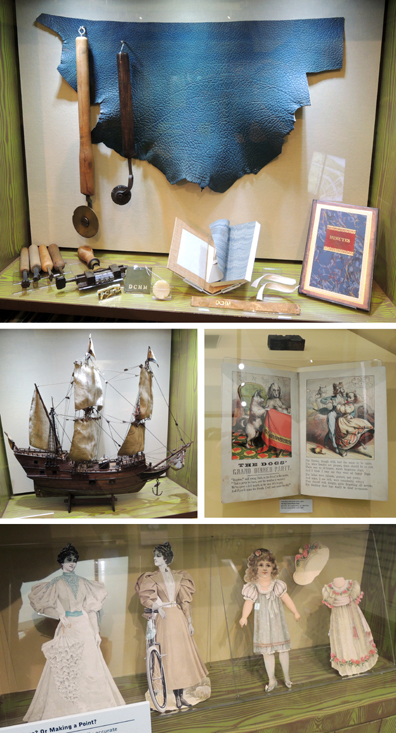
The ladder holds 4 cases, each displaying artifacts related to reading and writing. By the way, the case next to ladder contains the original mold for the famous Alice in Wonderland statue in Central Park.
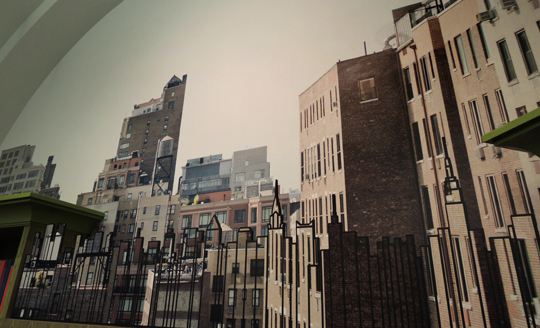
 Also, did you notice the NYC skyline soaring above the shelves in the library? That’s the actual north-south-east-west skyline you see from the roof of the New-York Historical Society building. A photographer shot the views from the roof, and then the exhibit fabricators transported them to the library walls.
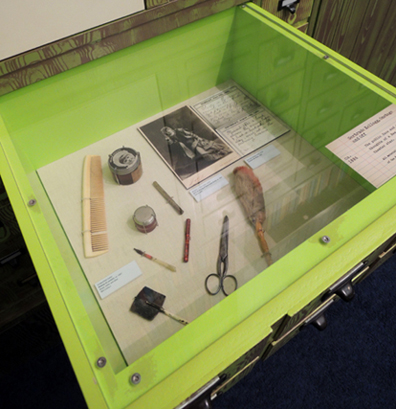
 And now, my favorite exhibit case, which is masquerading as a card catalog:
 Pull open the drawers to view multiple exhibit cases. Notice the exhibit label you can just see in the lower right hand corner? Yup, it’s modeled after an old catalog card. I love it!
 The cases are marvelous, but I also want to give a big nod to the artifacts in the cases. Book-making tools, period paper dolls, detailed model ships, colorful illustrated books – these are actual collections items carefully selected and displayed for the youngest patrons.
 In the beginning of the post, I mentioned the New-York Historical Society’s new History Detective Briefcases. So very, very cool. They’re currently part of a new educational initiative on the building’s 4th floor.
 These handsome little cases are filled with activity cards, tools, and art supplies. There are several types to choose from. Here’s just one of them:
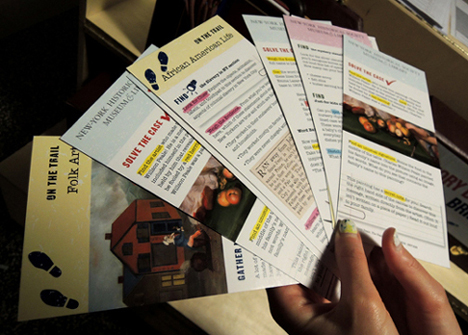
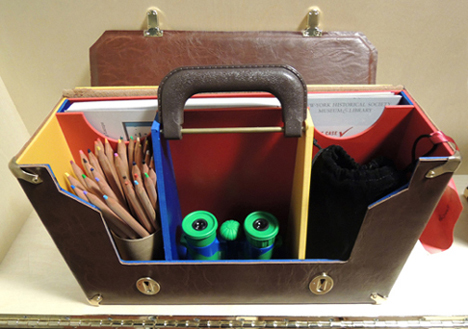 Tucked across the very back of each briefcase are activity cards matching the 4th floor exhibits. Grab a case, read the cards, and use the contents of the case to explore and learn more about the exhibits. HOW FANTASTIC IS THIS???
 If you haven’t been to the New-York Historical Society, please head there posthaste. It’s beautiful, and the exhibits are fantastic. Additionally (and for me, most importantly) kids are warmly welcomed to learn from, and engage with, the exhibits. History, for everyone!
Thank you to Alice Stevenson, Director of the DiMenna Children’s History Museum, for allowing us to visit your amazing space!

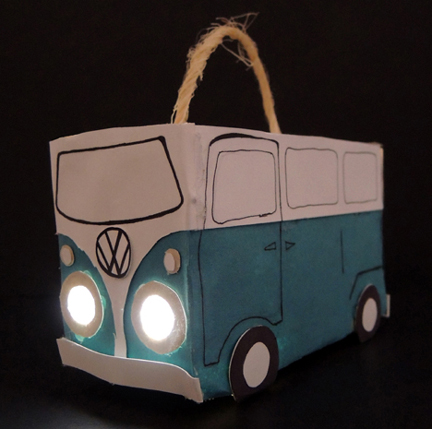
 We used a submersible LED to light Marissa’s van. You can find them in the floral section of Michaels craft store – 9 cost $21, but I always use a 40% off coupon.
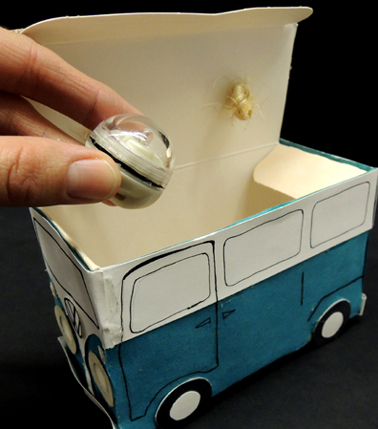 If the LEDs are too pricey, a glow stick will do the trick. Drop the illumination of your choice in the vehicle box, close the lid, and you’re done. Vroom vroom vroom!
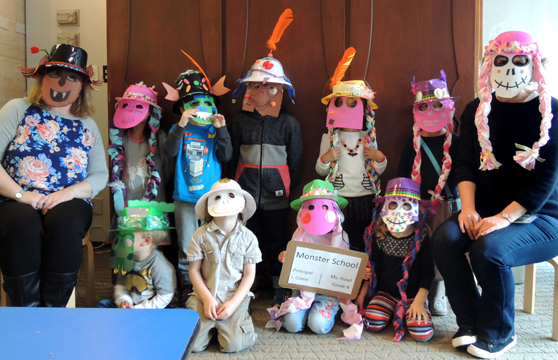
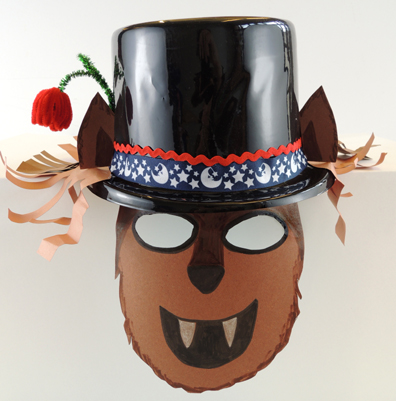 We offered 3 different types of hats, all purchased from Oriental Trading Company:
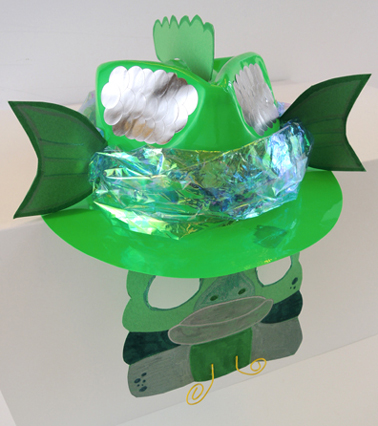 However! It’s best to decorate the mask before you attach it to the hat. Just make sure you leave some empty space at the top of the mask so it rests flat on the inside of the hat.
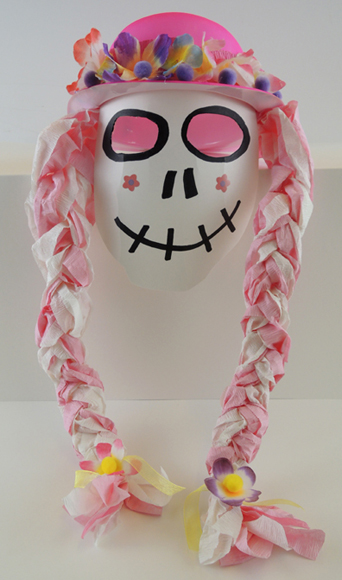 Once the transformation to monster students was complete, we gathered in the “classroom” to learn the monster alphabet. Basically, I created a
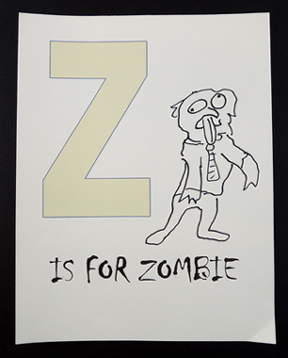
 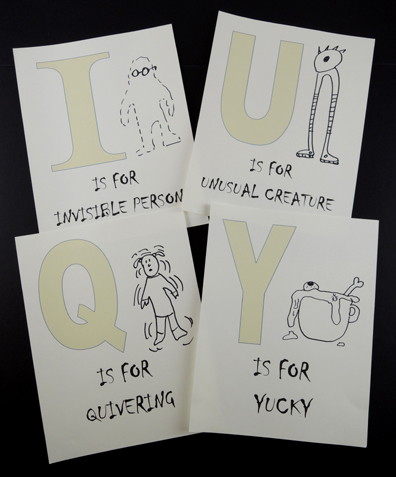 We also printed and stapled together a set of alphabet letters for kids to take home a illustrate themselves. And yes, Z is for ZOMBIE!