
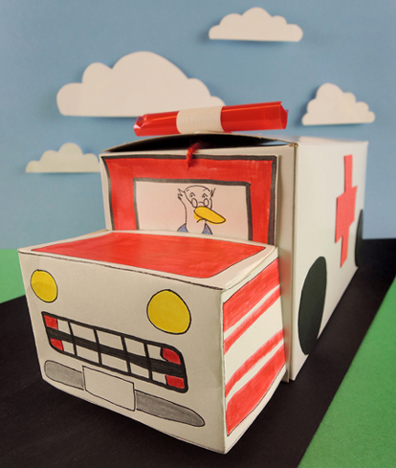
Rev up this fantastic ambulance stocked with medical equipment…your patients need you, stat! This project is entirely Katie’s brainchild, including the BEST craft stethoscope and syringe the world has ever seen. Ever.
We read Dr. Duck, written by H.M. Ehrlich, and illustrated by Laura Rader (Orchard Books, 2000). Dr. Duck is a very busy doctor indeed, visiting various patients in his big red van. There are weasels with sneezles, hoarse cows, and a moose whose antlers are loose. At the end of the day, however, it’s Dr. Duck who catches a bug and crawls into bed, feeling horrible. His panicking patients rush to his bedside with advise and TLC. Soon, Dr. Duck is back on his feet again, thankful that he has friends who care so much about him.
You’ll need:
- 1 box (ours was 4.5” X 4.5” x 9” – a large tissue box works too)
- 1 ambulance template, printed on 8.5″ x 11″ card stock
- Red, black, and white construction paper
- 1 small piece of bubble tea straw (ours was 2.75″)
- 1 small rectangle of red cellophane (ours was 3.5″ x 5″)
- 1 piece of yarn (ours was 40″ long)
- 1 doctor kit template, printed on 8.5″ x11″ card stock
- Doctor’s kit contents (more on this later!)
- Scissors and tape for construction
- Markers for decorating
- Hot glue
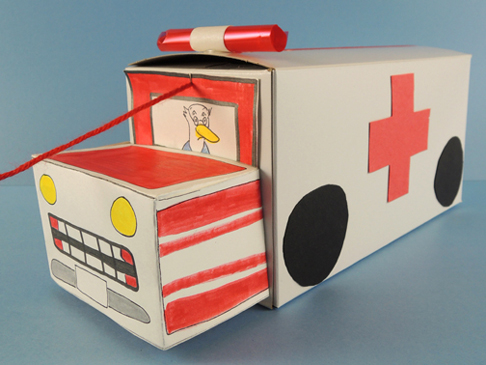 We’ll start with the ambulance! It’s basically a box on a pull string…but look at Katie’s awesome light on the roof! That’s a rectangle of cellophane wrapped around a snippet of red bubble tea straw. Wrap a piece of masking tape or white construction paper around the middle, and hot glue it to the roof. Add a construction paper windshield, wheels, and red crosses for the sides (or draw them on with markers).
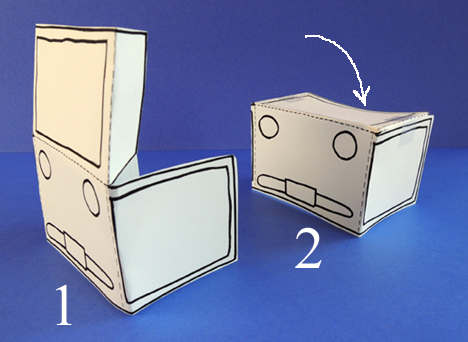
The hood of the vehicle is exactly the same as this pickup truck project, so I’ll repeat the steps here. Cut the front of the truck from the template. There are 5 folds you’ll need to make on the template. Each fold is marked with a dotted line. First, fold the 2 tabs on either side of the hood.
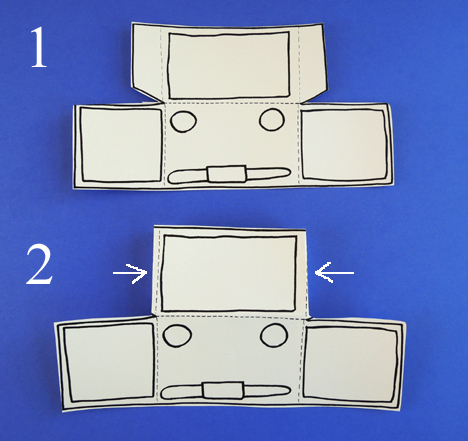 Next, fold the 2 panels on either side of the truck’s headlights.
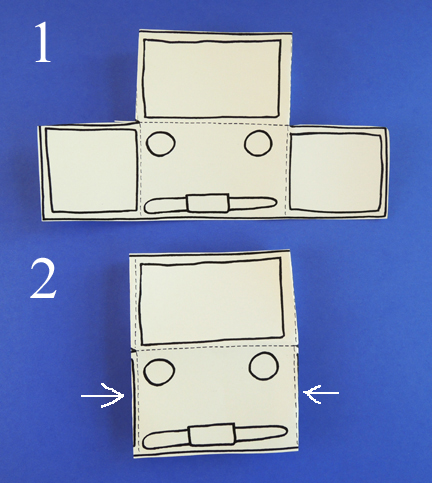 Finally, fold the hood down to meet the side panels, and secure it with tape.
 Tape it to the front of the box (use markers to color it before you fold it, or after). Finish the ambulance by attaching a yarn pull string to the front. Up next is all your medical equipment, which gets conveniently stored in your ambulance box.
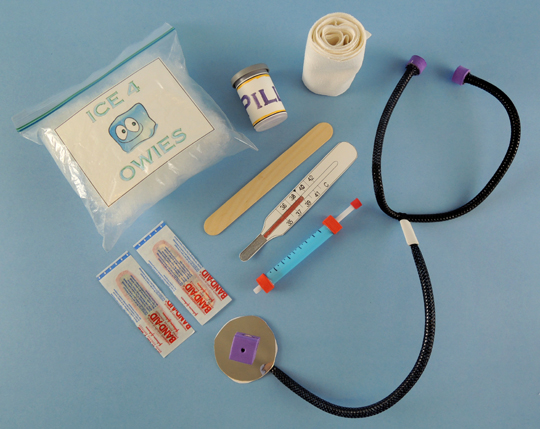 Most of the items in the kit are quick to assemble. The ice pack is polyester fill in a sandwich bag with a template label. The pill bottle is a plastic film canister with mini pom-pom pills and a template label. The bandage roll is cut is from a white tablecloth someone donated, and the thermometer is on the template. A craft stick tongue depressor, a couple real Band-Aids, and you’re set!
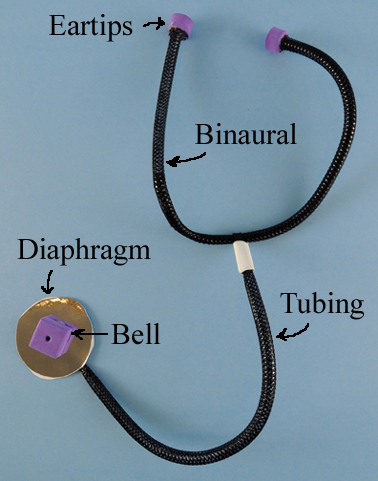
Now for the most amazing craft stethoscope of the century. It’s easier to explain it if I label the stethoscope parts with their actual names (I had to look these up – you learn something new every day!).
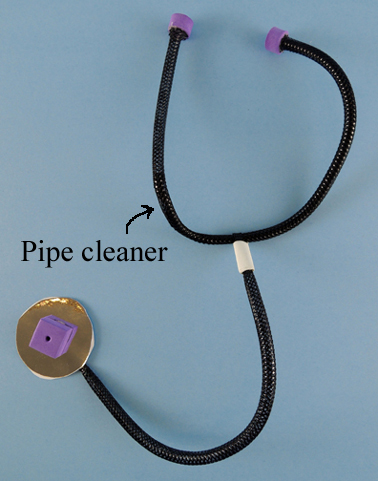
 The stethoscope is basically constructed out of of two, 15″ pieces of black mesh tubing. To make the binaural, insert a black pipe cleaner into the center of a piece of mesh tubing, then bend it upwards into a U shape. You can just see the pipe cleaner in the image below.
 Hot glue 2 foam beads to the end of the mesh tubing to create your ear tips. What’s cool is that these actually fit in your ears and stay there, making your stethoscope look all the more fabulous. The dangling tubing part of the stethoscope is the second piece of mesh tubing. The mesh tubing is folded around the binaural, and secured with a piece of masking tape. The diaphragm is a piece of mirror board, and the bell is a foam bead.
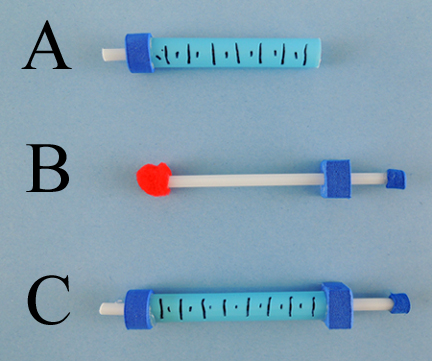 To make the syringe, you’re going to need a 2.75″ piece of bubble tea straw, a 4.25″ piece of balloon stick, a mini pom-pom and 3 foam beads. You’ll need a square foam bead, a round one, and a little itty bitty one (or another round one). Here are the steps:
A. Hot glue the round foam bead to the bottom of the bubble tea straw. Cut a 0.5″ piece off the balloon stick, and hot glue it to the foam bead. Use a Sharpie to add lines to the syringe if you wish.
B. Hot glue an itty bitty (or round) foam bead to one end of the remaining section of the balloon stick. Then slide a square bead up the stick. Make sure the foam bead slides easily up and down the stick. Hot glue a mini pom-pom to the bottom of the stick.
C. Slide the pom-pom into the syringe, then hot glue the square bead to the bubble tea straw. The pom-pom acts as a cushion as you push the plunger up and down in the syringe. It feels legit!
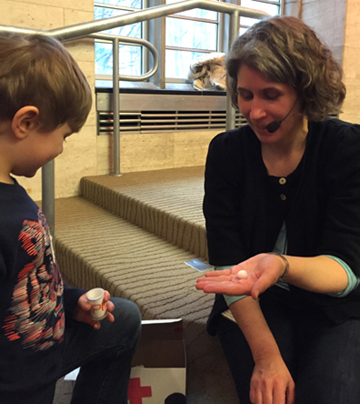
After that, it was time to treat some patients! I must say, I got quite a few treatments that day. Some pom-pom pills…
 Lots of bandaging…
 And LOTS of shots…
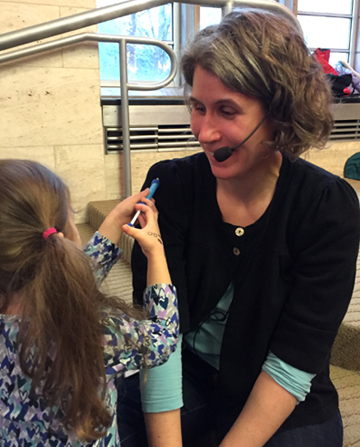 At one point, six kids were crowding around me, administering shots. I was a very, very, healthy person by the end of story time.

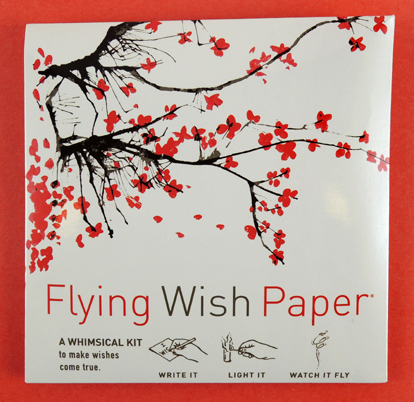 No, it’s not the name of my new romance novel. It’s this…Flying Wish Paper by Hux Creative! Write a wish on the special paper, ignite it, and watch your wish float away, granted. Does this kit actually work? Or will the fickle realities of wish-granting manifest themselves? Our brave yet tempestuous heroine, Katie, tempted cruel fate and tested the kit in her dining room. Take it away Katie!
 The kit contains 15 sheets of Flying Wish Paper, 5 paper platforms for your wishes, a special mini pencil, and a set of instructions. It retails for $12 at our local Paper Source. The first part of the kit is easy enough. You think of a special wish and write it on the Flying Wish Paper, which closely resembles tissue paper. If you choose, you can slide the Wish Platform (more on that shortly) under your Wish Paper to help you write more easily. Our Wish Platform had a gorgeous picture of blossoming cherry trees on it, but there are many other images in different kits to choose from.
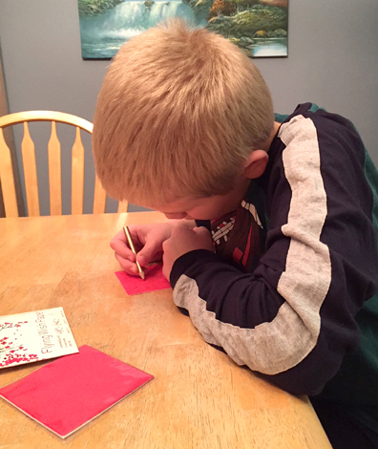 Once you have written your wish, crumble the Wish Paper into a ball about the size of a marble. Next, carefully unwrap and smooth out the paper so it is flat, albeit crinkled from being smashed into a ball.
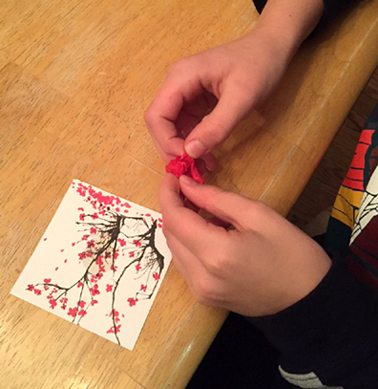 Once the paper is flat, roll it into a tube using the darkened circle on the Wish Platform as a guide. The tube needs to be open enough to allow the Wish Paper to easily burn, just like a chimney. Stand your Wish Paper upright on the Wish Platform and you are ready to send it to the heavens!
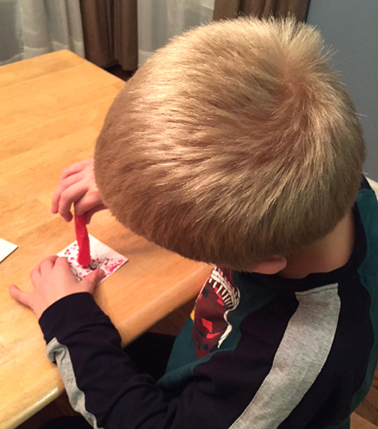 This is when I became a little nervous. I was going to light paper on fire inside of my home. Rather, I was going to let my son (who was thrilled to have full parental permission to strike a match indoors) LIGHT PAPER ON FIRE INSIDE OUR HOUSE! It took a few tries to stand the Wish Paper on the Wish Platform without it toppling over, which also made me nervous.
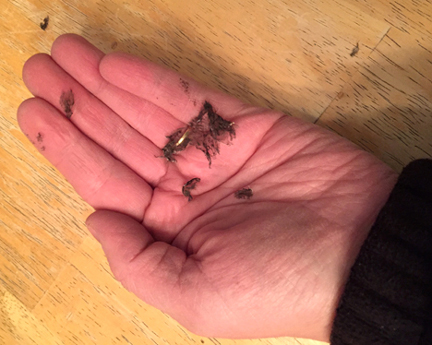 I was also fearful the burning Wish Paper would fall over, (or off!) the Wish Platform. Well, it did fall over during one of our tests. It left a small burn mark on the Wish Platform, but thankfully nothing else happened.
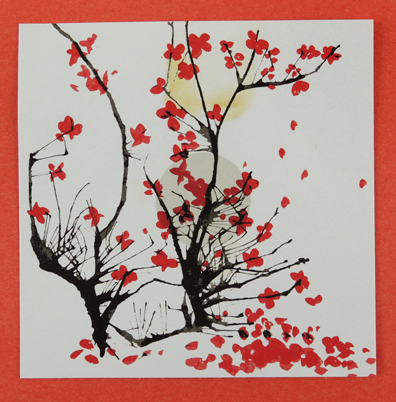 Flying Wish Paper is a fun activity that my son and I thoroughly enjoyed doing together. There are numerous fire concerns and it is definitely something parents can’t let their children do on their own, but I highly recommend it. It’s a whimsical and thoughtful activity for kids to really think about what their deepest wishes may be. It would be awesome for magic spells at a Harry Potter program too (and so would