 It’s a big world out there. A world with lots of things in it. And those things need HUGS. The question is…are you up to the task? Are you a Hug Machine?
We recommend Hug Machine by Scott Campbell (Atheneum, 2014). Prepare yourself world. The Hug Machine (a little boy in a striped shirt and red rain boots) is on a mission to cheer people up, calm people down, and make things right. Tree? Hug! Park bench? Hug! Crying baby? Hug! Even a spiky porcupine gets a special padded hug. It’s impossible to read this book without smiling. Highly recommended!
Today’s simple project was designed by Jennifer Hyde, an ingenious teacher in Logan, Utah. Jennifer’s “Paper Hug” was featured in Family Fun magazine many years ago. I modified it only slightly for today’s post.
You’ll need:
- Poster board
- Scissors
- Markers
Trace your left and right hands at each end of a 5.5″ x 27″ strip of poster board. Keep the hands connected as you cut them out of the poster board.The result is a long “hug.” Decorate the hug with markers (or use color masking tape like we did).
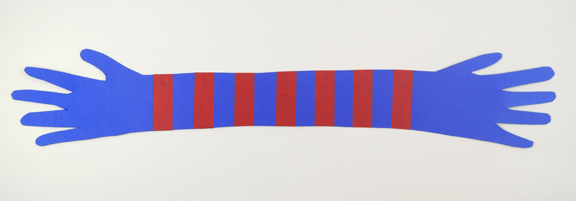 OK, you’re ready to start hugging – and by hugging we mean go forth and find things to wrap your poster board hug around! You can just use the paper hug, or get right in there and use your arms too. Always dedicated to seeing a project through, Katie and I hit the streets on a rainy afternoon to share the love with Princeton.
Hugging John Witherspoon, Founding Father and past President of Princeton University…

The classic tree hug. It was a little damp, but who cares?
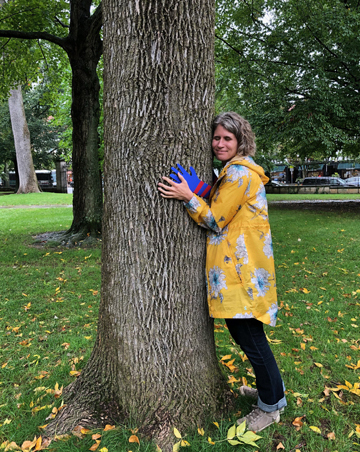 A mailbox clearly in need of a hug.
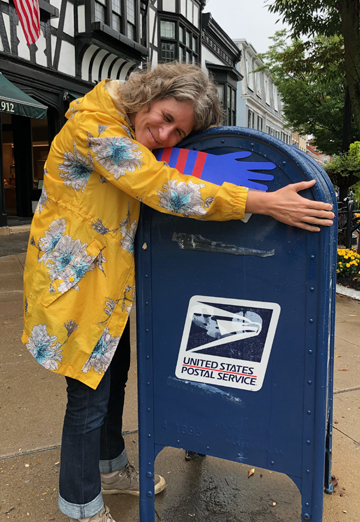 Hugging a roaster and barista pal at our awesome local coffee shop, Small World.
 A hug for House of Cupcakes, who sell me donuts and cupcakes. Like, everyday.
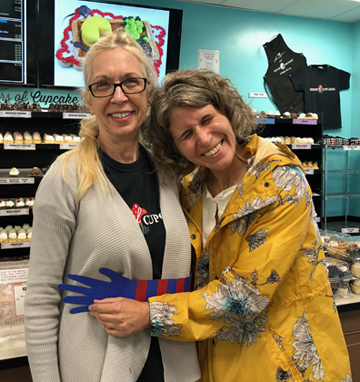 Hugging a rainbow narwhal at JaZams, our stupendous local toy store.
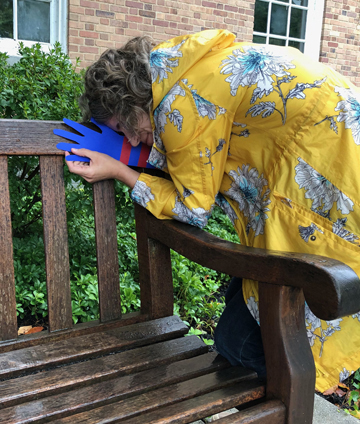
 No park bench escapes me…
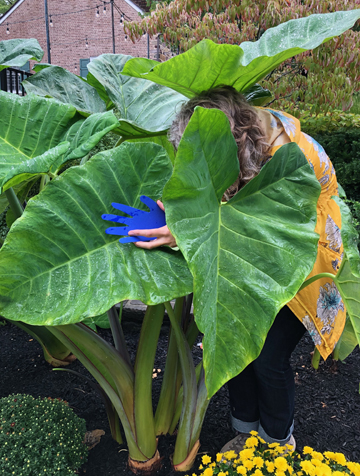
 Nor jungle-like foliage…
A super-sweet hug from the folks at the Bent Spoon, best bakery in the world.
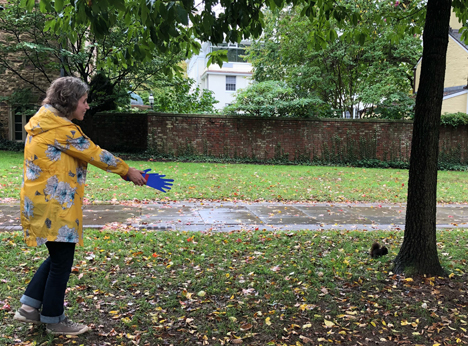
 An attempted hug of one of Princeton’s famous black squirrels…yeah, no go.
 Finally, a hug from a random person who totally rocked the love. Awwwww!

Sending hugs to those experiencing devastation and loss in Florida following Hurricane Michael. Our thoughts and prayers are with you.


 We read Pilot Pups, written by Michelle Meadows, and illustrated by Dan Andreasen (Simon & Schuster, 2008). Join a pair of enthusiastic stuffed dogs as they fly through the house in a toy plane. Dodging mountaintops (Dad’s head), encountering fog (tea kettle), and careening past the creek (kitchen sink), and returning to the bed before anyone notices their daring adventures.
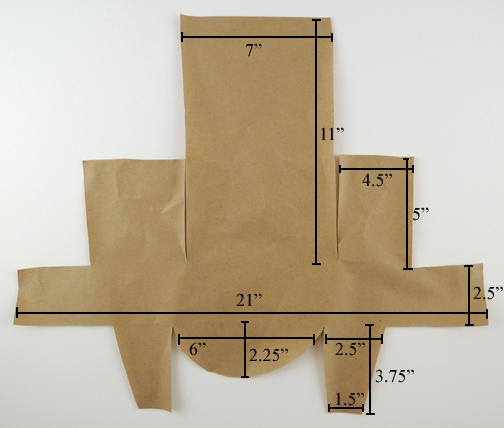
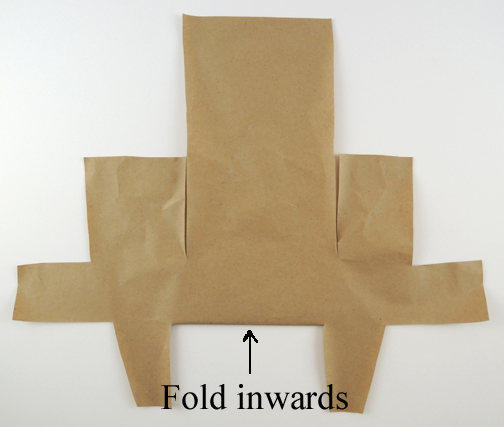
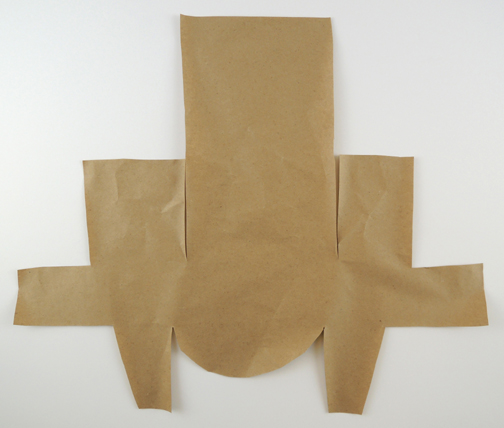 First, fold the rounded part of the template upwards and inwards, so it tucks under the back of the template. Later, this will be the bill of your aviator hat.
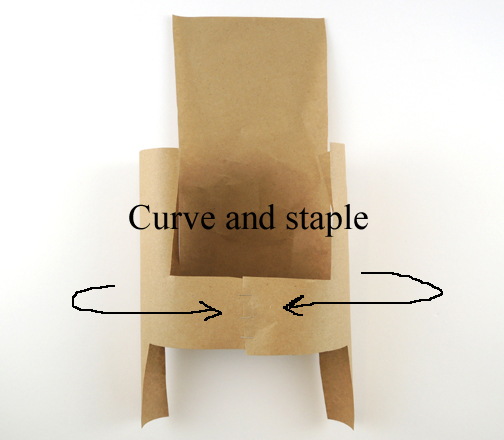
 Hold the template to your forehead and curve the long ends around your head. Secure the ends together with staples. This is the headband of your hat (and, if the template band doesn’t go all the way around your head, just add a little extender piece in the back).
 Next, fold the right and left flaps over the top of your head. Secure them together with staples. Note: you want the flaps to form a bit of a “dome” over your head, not fit super tight on top of your skull.
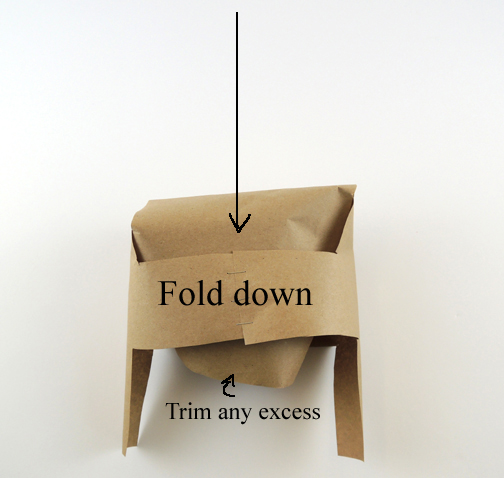
 Fold the the center flap down over the top of your head, gently tucking it into the back of the hat brim. Trim off any excess flap sticking out from under the brim.
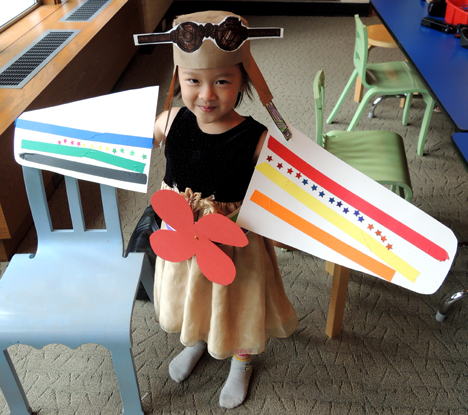
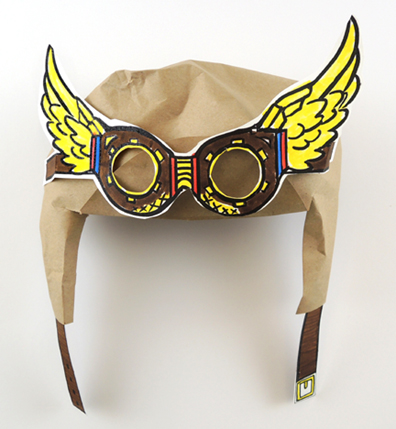 That’s your hat, now for the rest of the costume! The wings are super simple. We cut pairs of 9.5″ x 16″ wings from white poster board, which the kids decorated with markers,
 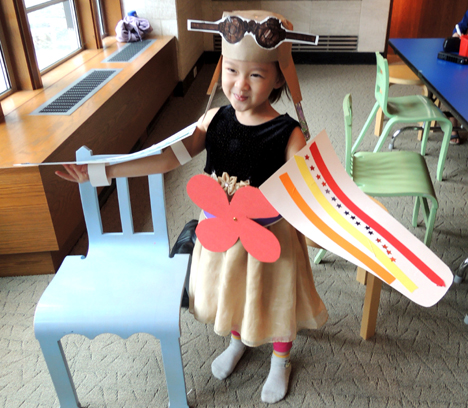 The propeller belt is a strip of poster board with holes punched in each end. Wrap the belt around your waist and secure it in place with a snippet of ribbon (decorate with markers and color masking tape of you like to) threaded through the belt holes. You can simply attach a poster board propeller to the front, or you can make it spin by using a
  Just posted! A webcast with Nidhi Chanani, writer and illustrator of the graphic novel, Pashmina.