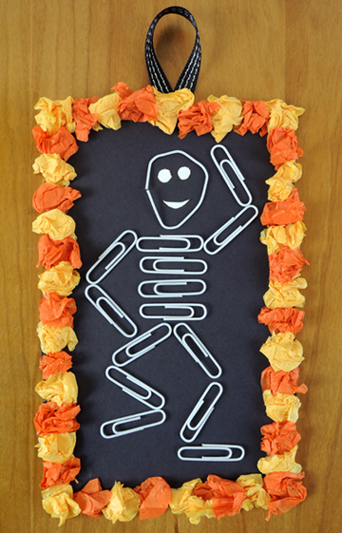
Celebrate Día de Muertos with this jolly paper clip skeleton ornament! All it takes is 15 paperclips, paper, and a little glue!
You’ll need:
- 15 paperclips
- 1 rectangle of black poster board (approximately 4.75″ x 7.75″)
- A number of yellow and gold tissue paper squares (approximately 3″ x 3″)
- 1 snippet of ribbon (ours was 8″ long)
- Scissors and squeeze glue for construction
- Hole punch
The most important thing about this project is to use squeeze (i.e. liquid) glue. Glue sticks, alas, do not work! You’ll really have to glop the glue on to anchor the paper clips, but the good news is that everything dries clear and muy bueno!
First, punch a hole in the top of the black poster board rectangle. Next, glue crumbled yellow and gold tissue paper squares around the rectangle, making sure NOT to cover the hole you just punched.
Glop glue inside the rectangle, then arrange 14 paper clips to create your skeleton. The 15th paper clip gets unfolded and rounded to form the skeleton’s skull. Use hole punch remnants to make eyes, and a little snippet of paper to make the mouth.
Allow the frame to dry completely, then thread the ribbon through the hole. Done!

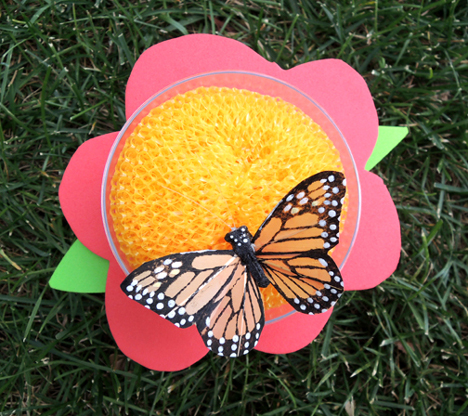 Tomorrow, our library is kicking off the programming year with a Secret Garden event at
 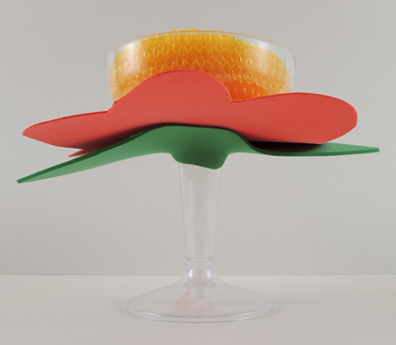 To make the homemade butterfly nectar, mix 9 teaspoons of water with 1 teaspoon of white sugar. Pop it in the microwave for about 45 seconds. Pour the nectar on top of the pot scrubber…your butterfly buffet is ready!
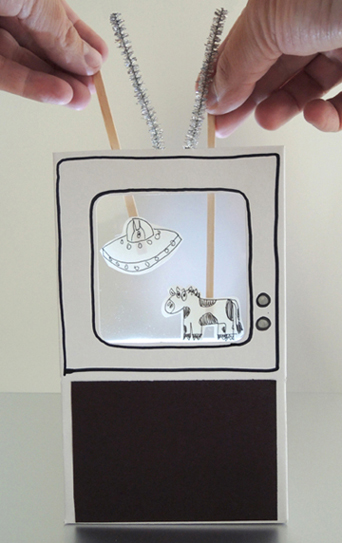
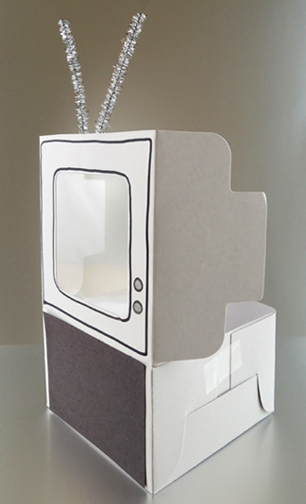 The mini theater is basically the cupcake box with the lid raised. Simple, right? I cut the tab off the lid and added a sparkle stem antennae, but I left the sides of the lid intact because it makes the screen more stable. I also added a rectangle of black construction paper to make the television appear to be resting on something, but that’s optional.
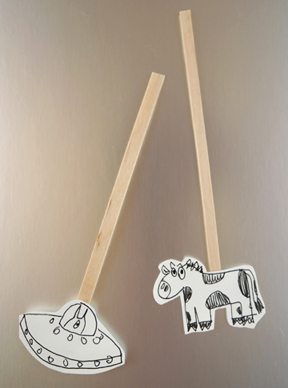 The real fun is when you turn down the lights and illuminate your screen by dropping a submersible LED light in the box! You can find these lights in the floral section of Michaels Craft store:
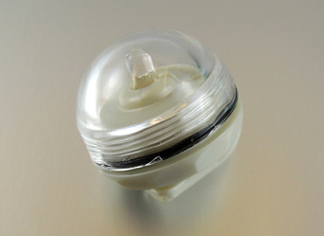 However, at $20 for 12, they can get pricey. So bring one of Michaels’ standard-issue 40% off coupons, or go with a cheaper alternative, like a glow stick. Here, for example, is a green glow stick in action…
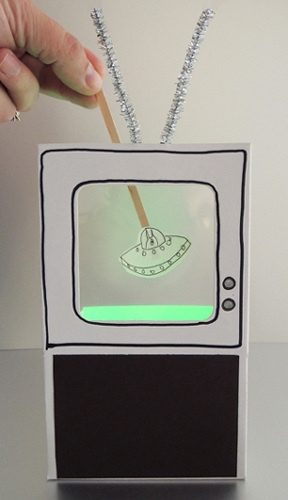 Definitely gives new meaning to the phrase “green screen special effects.”