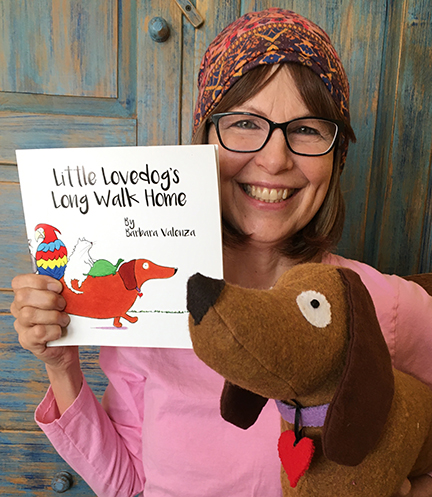
What do you do when your friends need some support? You make room for them of course! We had an awesome visit from author & illustrator Barbara Valenza, who shared her book and brought a VERY special stuffed friend with her! Don’t miss the interview with Barbara after the project in this post!
We read Little Lovedog’s Long Walk Home by Barbara Valenza (Potato Publishing, 2021). It’s time for Little Lovedog’s birthday, but no one wants to come to his party. The dachshund begins to sadly trudge home. But what’s this? Along the way, he meets a number of animals who could really use a lift on his long back. Soon, the entire gang arrives home with Little Lovedog, ready to party and celebrate his big day!
Annnnnd update! Little Lovedog’s Long Walk Home won a 2023 Rubery Book Award, was a finalist for the National Indie Excellence Award, and won Honorable Mention at the Purple Dragonfly Book Awards. Way to go Barbara and Little Lovedog!
You’ll need:
- 2 boxes (ours were 4.5” X 4.5” x 9” craft boxes, but large tissue boxes work too!)
- 1 paper cup
- 1 jumbo pom pom
- Construction paper
- String or yarn
- A variety of small boxes and cups
- Scissors, tape, and glue for construction
- Markers for decorating
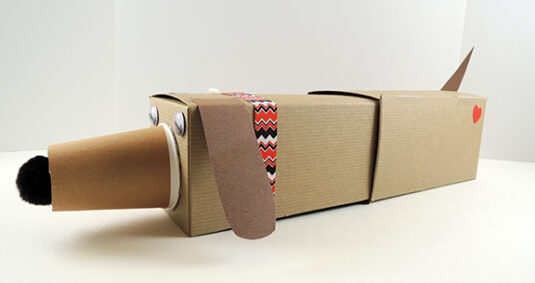
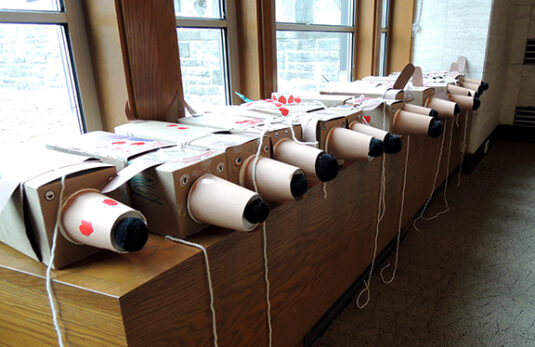
This project is basically a simple pull strong box dog (very similar to this one). Just add a paper cup muzzle, a pom pom nose, some ears, eyes, and a tail! We used a ribbon to create the collar, and a piece of yarn as the leash. We also couldn’t resist adding some little heart stickers.
 However! Since Little Lovedog is a story about a dachshund, we nested one box inside another to create an expanding pup that can carry lots of friends on its back!
 Next, we made five friends with various little cups and construction paper. We also added some snippets of self-adhesive foam to the sides of the cups to prevents them from sliding off the dog’s back.
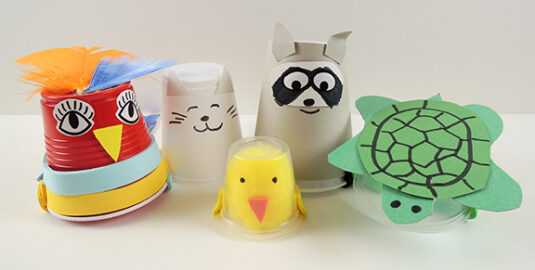
And while the kids were working on those animals, their dogs took a little rest on our windowsill:
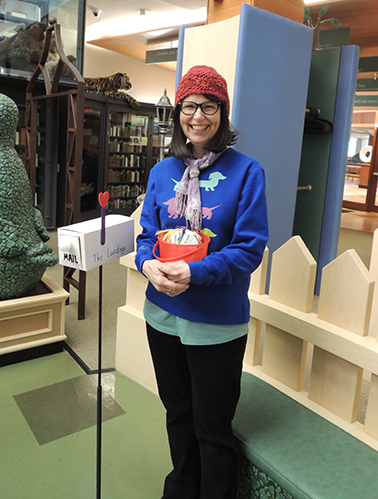
 Kids then placed their animal cups around the gallery and took a walk with their dogs, picking up friends as they went! The journey ended at the Lovedog family’s mailbox, where Barbara was waiting to hand out heart erasers and special bookmarks!
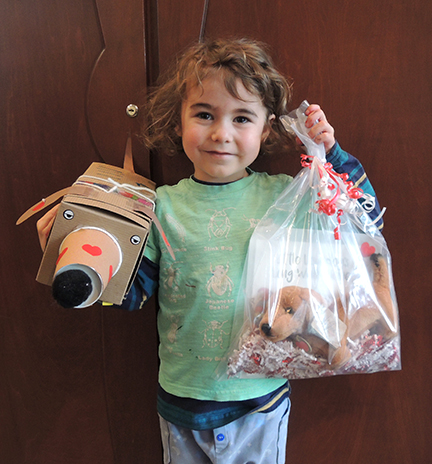
We also had a drawing for three super cute gift bags with signed copies of the book and a very furry stuffed dachshund. CUTENESS.
I was delighted to catch up with Barbara after story time, and ask her a few questions!
Please tell us a little about yourself!
Storytelling has been one of my favorite things to do since…forever! I remember when I was about seven years old, my best friend and I would sit under a cherry tree, writing and drawing stories about little animals. I carried my love of storytelling to college with me, where I earned a degree in communications and theatre. After college, I moved to New York City where I worked in the art department of Jim Henson Productions (The Muppets—super fun), and then in educational publishing at an editorial and design firm with wonderful clients like Scholastic and the Museum of Natural History. I have worked for many years in professional communications from public relations to branding and messaging to graphic design. No matter what form of storytelling I’m working on, I just love the way images and words complement each other to bring a story to life, and that is definitely at the heart of picture books!
How did Little Lovedog’s Long Walk Home come about?
One of the things that makes me really mad is bullying, especially when someone is made fun of for being seen as different from others. I was working on a completely separate story about cats and dogs not getting along when I drew an unusually long dachshund. The minute I saw him, I knew he was the one getting bullied. I just fell in love with him. He was so full of love with no one to share it with. And so, Little Lovedog’s story began. I thought about being little and those awful feelings of being laughed at or being lonely because no one wants to come to your party. I asked myself questions: Where does he go after being laughed at? What happens on his way home? As he began his long walk home, the one thing that quickly came to light was his spirit of kindness, regardless of being bullied. I really wanted him to wind up surrounded by love with lots of new friends.
There are a lot of characters Little Lovedog carries in the story – do any of them have special significance to you?
Actually, it’s the dog who follows Little Lovedog home who makes me smile the most. He’s at the beginning of the story near the crowd of other dogs who are making fun of Little Lovedog, but he’s not laughing with them. I think maybe he has been bullied too, for being small, for being a Chihauhau (the number one smallest dog breed!). But, he thinks for himself and does the right thing—he’s nice to someone who needs a friend. He even brings a new balloon to cheer Little Lovedog up.
What’s the best part of reading your book aloud to kids?
Oh, my gosh! Their reactions are priceless. One little girl, who couldn’t have been more than two, kept coming up during a reading pointing at Little Lovedog and saying his name. And one little boy, who found out I draw my illustrations using color pencils, asked me to come over and draw with him because he has color pencils too. I just love when they all react happily to Little Lovedog ultimately having the best birthday ever. And I hope it stays with them—celebrating our differences.
What are you working on now?
I’m working on a new picture book about animals trading places and learning to be their true self as well as more stories about kindness triumphing over bullying!
Many thanks for Barbara Valenza (and her adorable homemade stuffed Little Lovedog) for coming to our library and sharing your fabulous story with us!

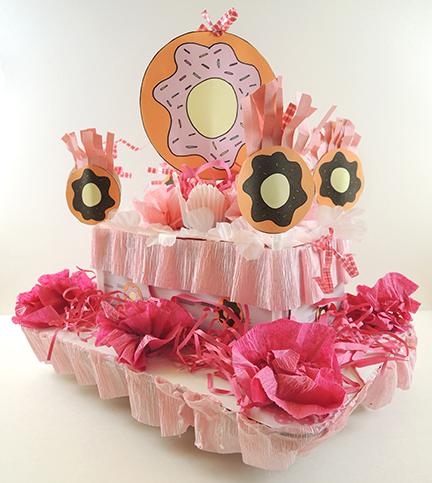 What do you think…is this too much pink? Display alllllll your fabulous frills with a delicious donut float, then join a march around the library. Today, we’re celebrating frosting, filling, glaze, and sprinkles. And yes, we have parade footage!
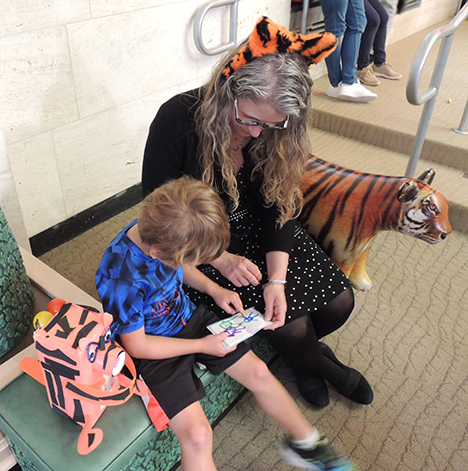
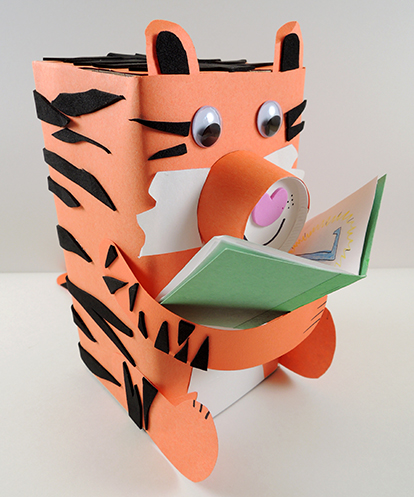 It’s story time, and this sweet tiger is eager to read! Best of all, the book is all about your favorite things. It’s art and autobiography, mixed into one!
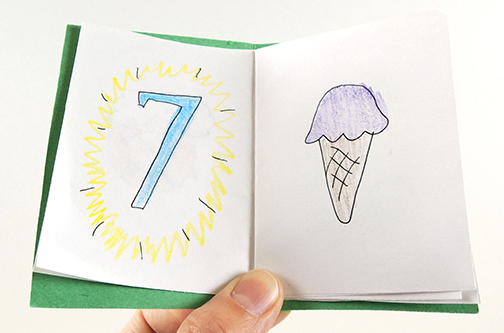
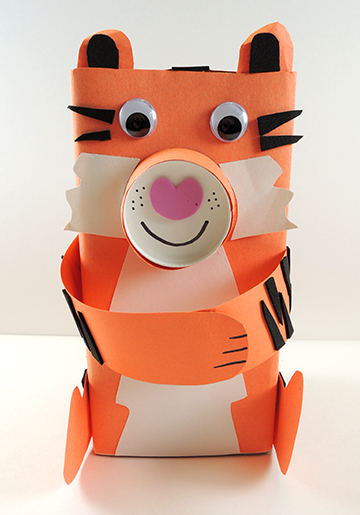 Our book was about 4″ tall. We folded and stapled together some sheets, then filled the pages with drawings of our favorite things…favorite bird, holiday, weather, number, dessert, color, drink, fruit, animal, etc.