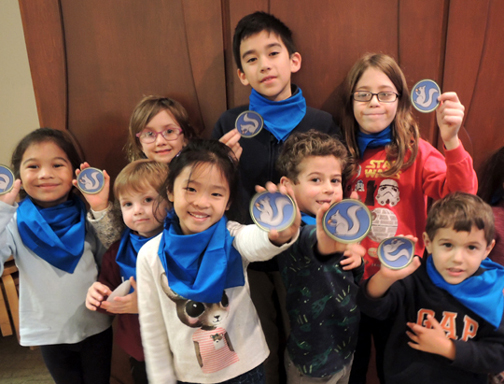
Bust out your compass and conjure up some snaplights! The Blue Ranger Patrol is prepared for all eventualities…including the supernatural ones. Those handsome Squirrel badges and neckerchiefs were earned at To Be Continued, our chapter book story time for 6-8 year-olds.
We read Arlo Finch in the Valley of Fire by John August (Roaring Brook Press, 2018). After moving from place to place, Arlo Finch, his big sister Jaycee, and their mom have landed in Pine Mountain, Colorado. Pine Mountain is remote, the cabin is creepy, and Arlo’s Uncle Wade is even creepier. Also, something is wrong with the surrounding woods, beginning with the ghost dog that prowls the property. Arlo joins the Rangers, which is not unlike Boy/Girl Scouts until you factor in the seemingly supernatural abilities of his fellow patrol members. As time passes, Arlo and his friends learn not only the secrets of the Long Woods – they also learn its many dangers.
Arlo and his fellow Rangers have some memorable camp outs, so we decided to replicate that by setting up a tent (which you might recognize from this story time) in our gallery…
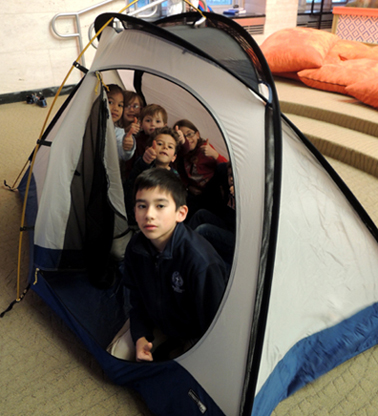 After “night fell” (i.e. I turned off all the overhead lights), individual campers journeyed to our gallery tree for a survival quiz. I queried them about 3 scenarios involving creatures from the book. You definitely have to read the books to know the answers (which are in bold below):
1) You’re camping with your patrol and see some dancing lights in the woods. Do you: a) Follow them; b) Take a photo; c) Tell your patrol leader you see something unusual?
2) A nightmare had just emerged from the woods in front of you! Do you: a) Run – they aren’t very fast; b) Throw salt at it; c) Conjure a snaplight.
3) A hag is chasing you through the Long Woods! Do you: a) Throw salt at her; b) Climb a tree; c) Throw Faerie beetles at her.
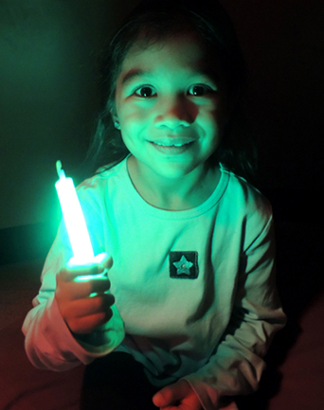
After correctly answering the quiz, campers were asked to demonstrate a “snaplight,” which is a short-lasting light Rangers can produce by snapping their fingers in the Long Woods. In our case, the snaplights were glow sticks, which do produce a very satisfying snap! before beginning to glow.
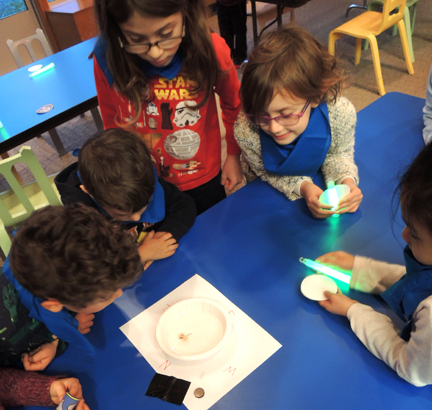
 The final activity was making a water compass using a sewing needle, a button magnet, and a bowl of water. I demonstrated how to do it, and then gave each kid a little kit to try at home (here are the instructions if you’re interested).
 In the book, Rangers earn patches for each level of accomplishment, and Squirrel is the first level. So, after completing the creature quiz, snaplight trial, and learning about compasses, campers were awarded a blue neckerchief (purchased for $2 each in the t-shirt decorating section of Michaels Craft store) and a a Squirrel patch (you can print your own set here):
 Arlo Finch in the Valley of Fire was massively popular with the kids in our program – it’s scary, suspenseful, and also very funny. I was delighted to learn that the sequel, Arlo Finch in the Lake of the Moon will be released February 2019. YES!


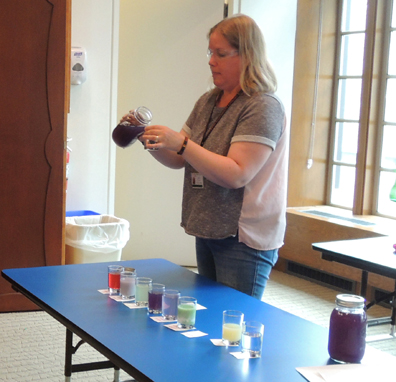 The red cabbage indicator demo is simple, inexpensive, but impactful. The experiment involves adding red cabbage juice to various household acid and bases, and then observing how the acids and bases change color according to their pH level. Katie used
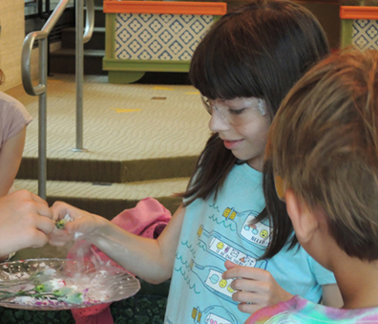
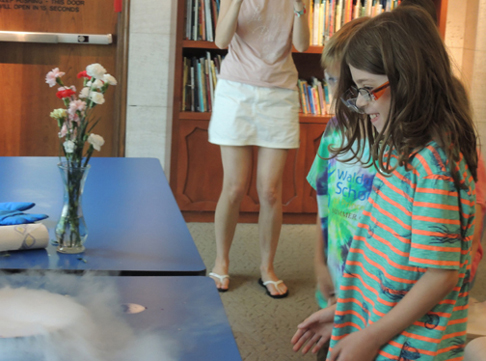
 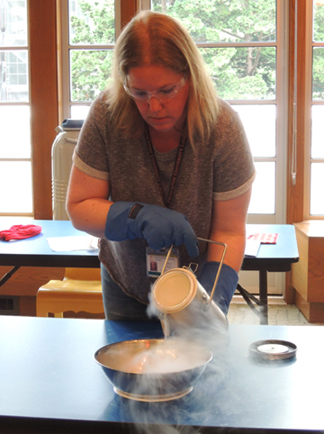 Wearing gloves, wielding protective eye gear, and armed with her knowledge of nitrogen-infused particles, Katie froze balloons, carnation flowers, and made clouds. It was AWESOME.
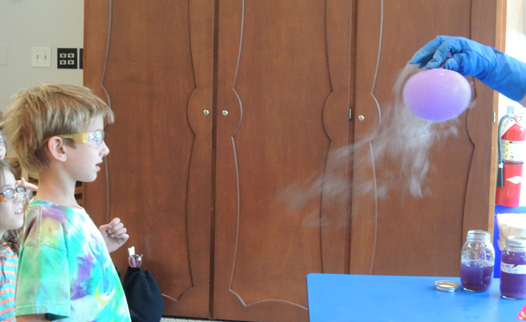
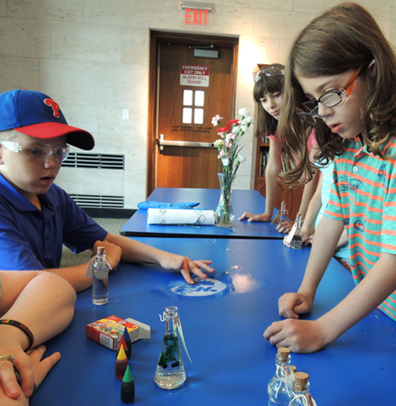
 The grand finale was mixing your very own bottle of “Love-Never-Lies” potion to take home. Katie purchased some 5″ vintage replica bottles with corks from Amazon (10 bottles cost $20). These are the same bottles we used with much success for our Sherlock Holmes
 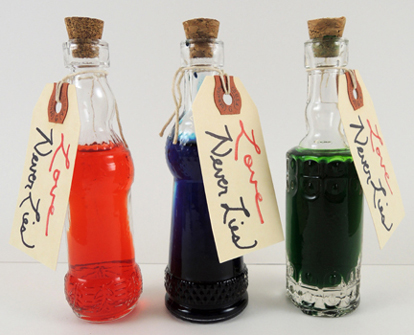 Katie filled the bottles with water, and then kids came forward to choose the color and amount of food dye for Katie to drip into the bottle. As the colors mixed, the kids predicted the final color of the potion.
 Cressida Cowell is also the author of the How to Train Your Dragon series. If you’d like to see what we did with that book, you’ll find the post
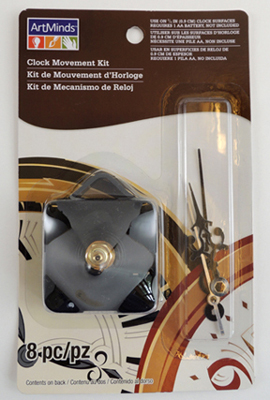 At $8.50 a pop, they can get pricey, especially if you’re doing this project with multiple kids. However, you can find them for a couple bucks cheaper on Amazon. The important thing to keep in mind is the length of the motor’s shaft (i.e. the part that the clock hands slide on to). The shafts can range anywhere from .25″ to 1″. For this project, you want to aim for the shorter shafts. Otherwise, your clock hands will stick pretty far out of your cardboard clock base. Also pay attention to the lengths of the clock hands. You don’t want them to extend past the body of your clock.
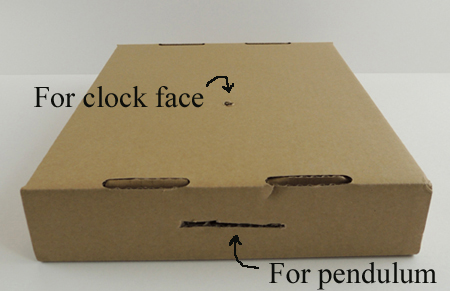 Next, place a piece of tagboard and a circle of white card stock over the hole, then redrill the hole. The circle is your clock face, and the tagboard piece elevates the clock face a little bit.
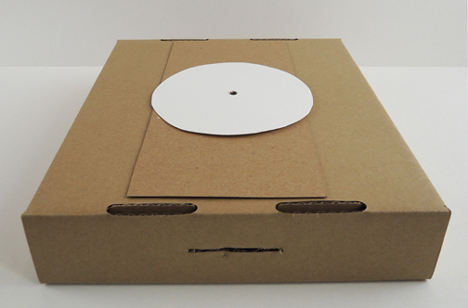 Before you glue the tagboard and the clock face to the lid, however, you’ll want to use markers to add numbers and decoration to your clock face. Check out these awesome clock faces. The smiling kitty!
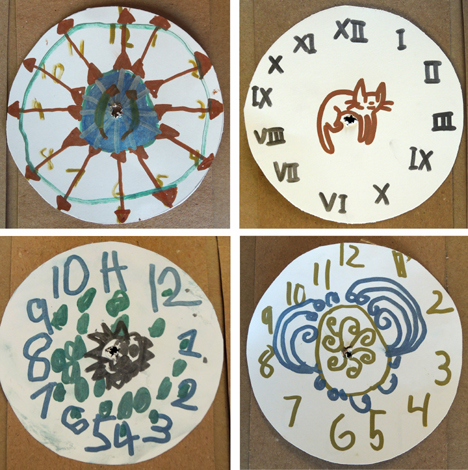 When your clock face is finished, glue it to your clock. Then start adding a bunch of tagboard flourishes. We cut a bunch of different shapes and styles of flourishes, and let the kids decide what they wanted to use on their clocks. The more layers and texture, the better it looks.
 You can also use markers to decorate the clock. We offered Crayola metallic markers, and the results were fantastic.
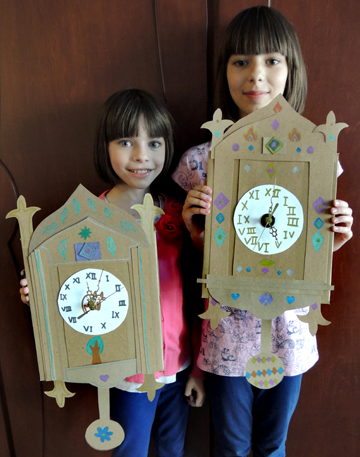 When all the decorating is done, install the clock movement. Just follow the instructions on the packaging, add a battery (a single AA), and you’re done!
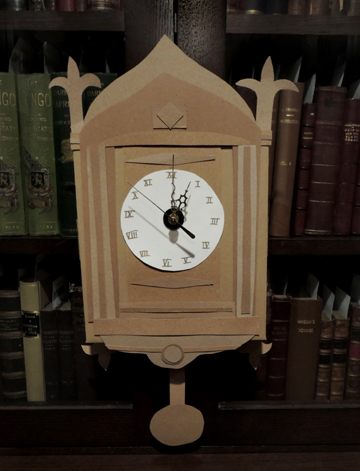
 Tap the pendulum to watch it swing back and forth. Eventually, it winds down and comes to a stop, but while it’s swinging, the illusion of a working clock is quite real!