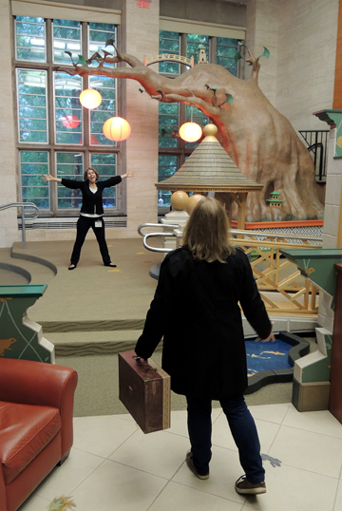
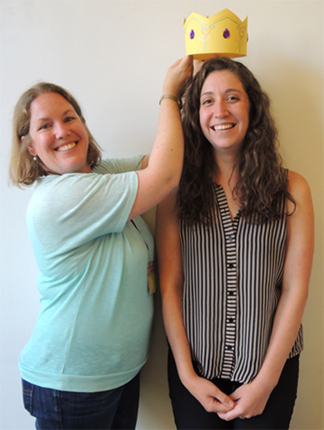
 After a year of globe-trotting and fine chocolate, Katie is back! You might recall last year’s story time post about royal pizza. At the end of the post, I introduced Katie’s interim replacement, Miss Marissa. Here’s Katie passing along the crafting crown:
So where did Katie go? Everywhere. Her husband was on sabbatical in Brussels, and the whole family went with him to experience the wonders of Europe. But Pop Goes the Page was never far from Katie’s mind. Cue the music…it’s time for a photo montage!
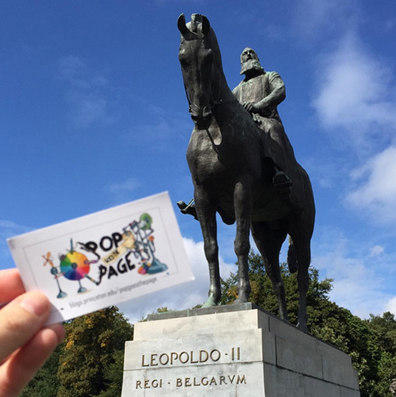
Statue of King Leopold II, Brussels
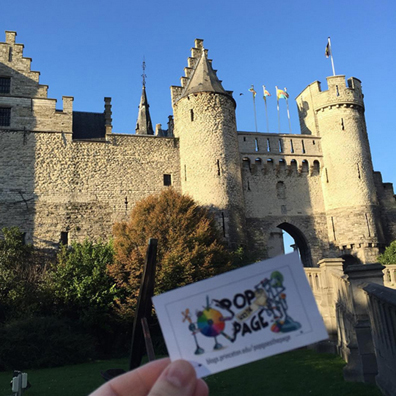
Steen Castle, Antwerp
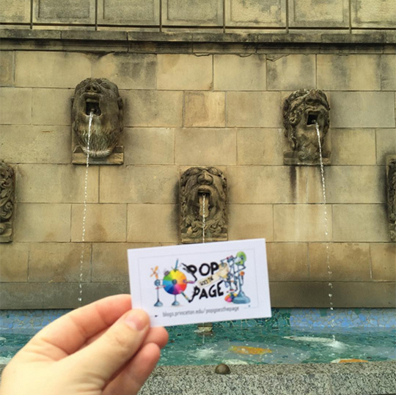
Fountains, Luxembourg City
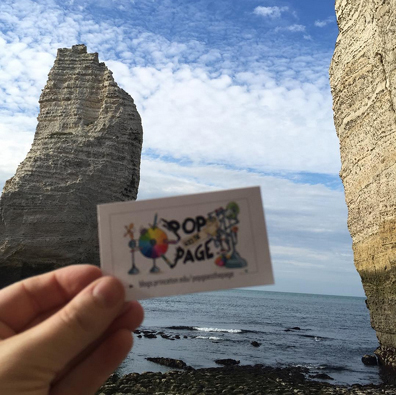
White chalk cliffs in Etretat, France
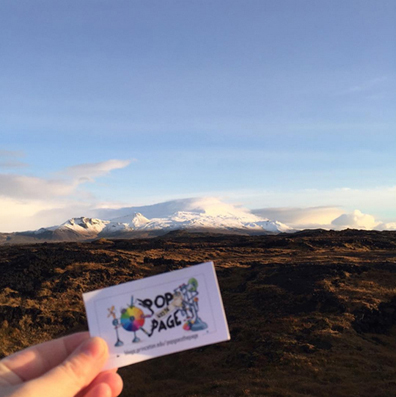
Snaefellsjokull National Park, Iceland
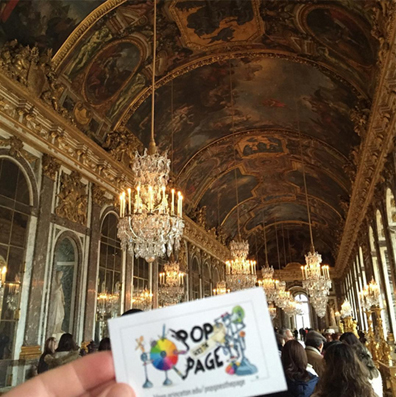
Hall of Mirrors in Versailles, France
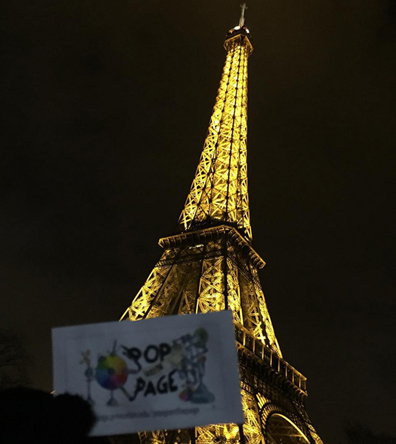
Eiffel Tower, France
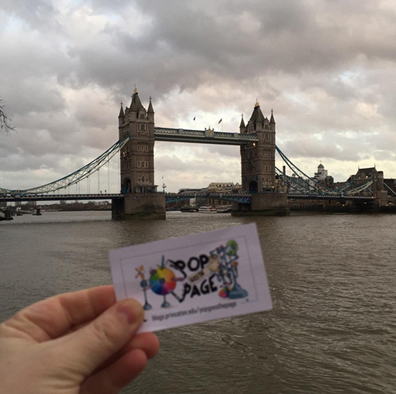
London Bridge, England

The Matterhorn, Switzerland
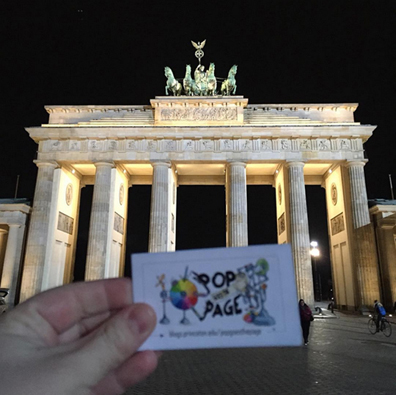
Brandenburg Gate, Berlin
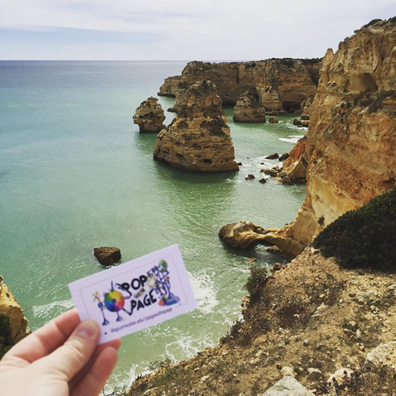
Limestone rock formations off the Algarve coast, Portugal
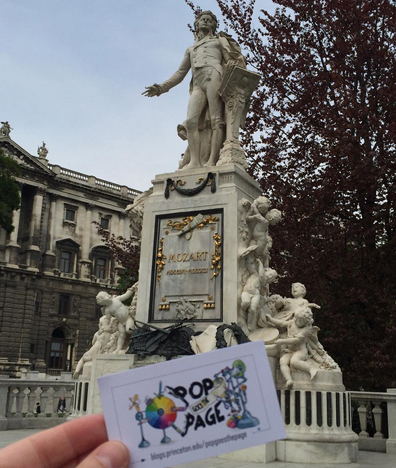
Mozart Memorial in Vienna, Austria
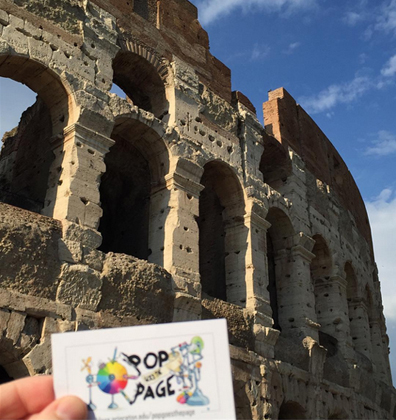
The Colosseum, Rome

Notre Dame Cathedral, Paris
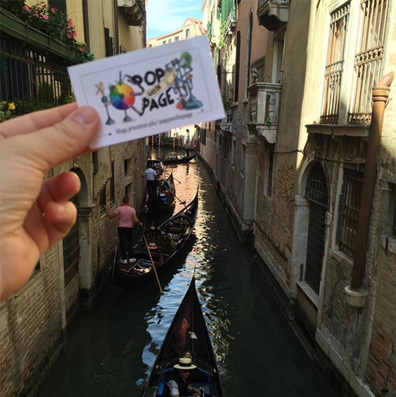
Venice, Italy

Krka National Park, Croatia
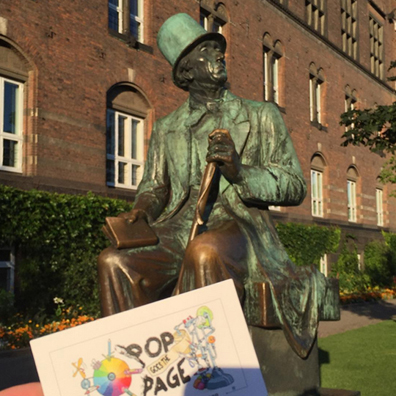
Hans Christian Andersen statue, Copenhagen
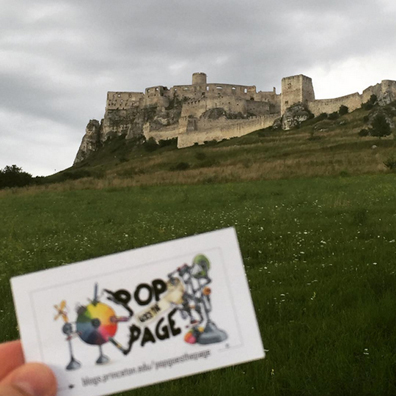
Spis Castle, Slovakia
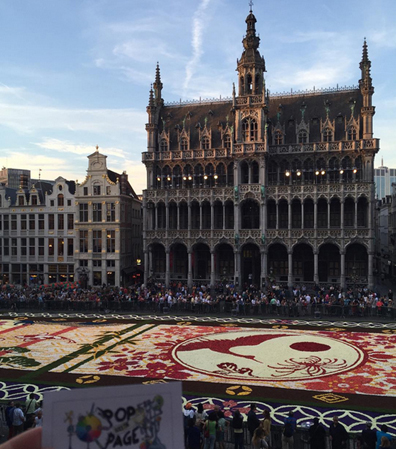
Flower carpet in the Grand Place, Brussels
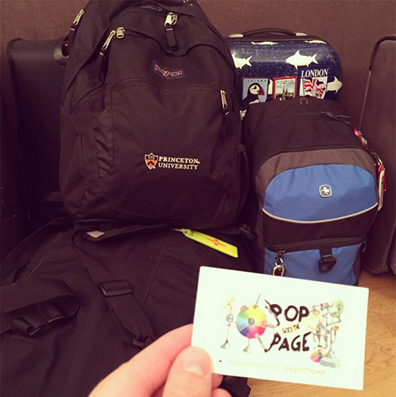
Luggage packed, Brussels
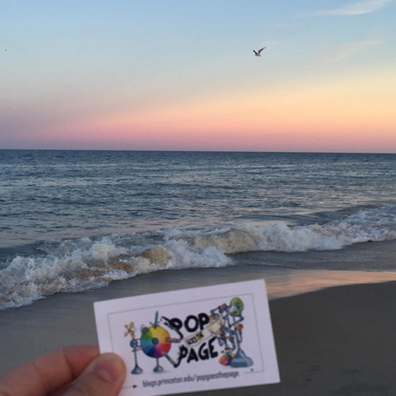
The journey ends in Rehoboth Beach, Delaware
What was your favorite travel destination?
I have to choose just one? I would have to go with Iceland. The unrivaled beauty of the island is amazing. Everywhere we went, we stopped to take a million photographs or more. There is unique landscape to behold, friendly people to meet, delicious food to eat, and rich history to learn. Something about that place touched a deep spot in my wanderlust soul and I must go back. My husband and son wholeheartedly agree.
What did you miss about the States?
My family and friends. It was very hard to be that far away. And peanut butter. We found peanut pate in Brussels, but it did not taste at all like good ‘ol fashioned American peanut butter.
What do you miss most about Europe?
I miss being able to jump on a train and be in a different country within a few hours. It was incredible to suggest going to Paris or Luxembourg City or Amsterdam for a quick weekend trip and just being able to go. I also loved the convenience of living in the city and not needing a car to go about my daily business. We had everything we needed within a five block radius of our apartment: our son’s school, several grocery markets, a bakery, a meat and cheese shop, a pharmacy, many retail stores, a movie theatre, and dozens of great restaurants. It was such a freeing feeling to not have to drive a car everywhere and that I really miss. When I returned to Princeton after not driving for nearly a year, I was dizzy from all of the crazy traffic on the New Jersey Turnpike!
Do you have any awesome travel hints?
Skip the preplanned tours (if possible) and explore on your own. It may require you to step out of your comfort zone, but you could end up in places you never knew existed. One of the last trips we took before coming back to the States, we went to Poland, Slovakia and the Czech Republic with little planned other than to explore the towns where my husband’s ancestors lived. We ended up stopping one night in an old walled city in Slovakia that dates back to the 13th century, and the next day we explored nearby Spis Castle. We hadn’t at all expected to spend a day pretending to be knights in an enormous castle, but it was well worth the unexpected detour.
If Dr. Dana could guilt trip you about your glorious year of travel while she remained confined to the States, what would be the most effective angle for her to take?
Hmmm, she could demand I deliver more Belgian chocolate, which I’m happy to do. And she doesn’t even need to share.
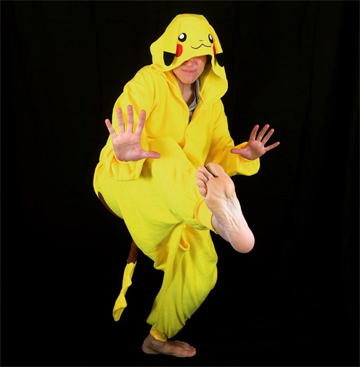
So Katie has returned to the library, and got back into the swing of things immediately. Here she is testing out a new photo backdrop whilst wearing a Charmander onesie. Yup. Just another day at the office.
 In the spirit of full disclosure, I too was wearing a Pokémon onesie. It was very comfy.
Now that Katie has returned, must we say goodbye to Miss Marissa? Nope! She’s staying on while simultaneously working on her library degree. So you’ll be seeing both Katie and Marissa on the blog from here on out. Aw yeah.

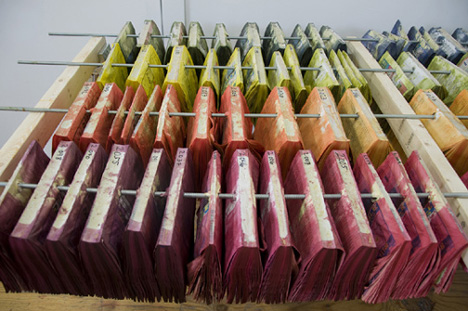
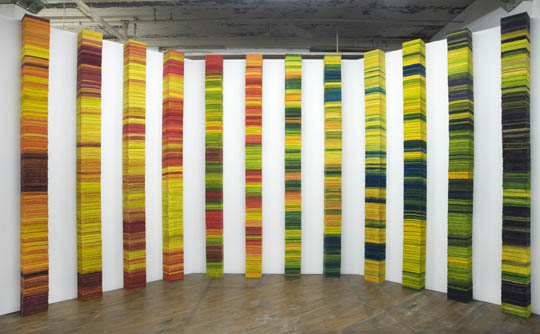 The next time you see a telephone book, look beyond the phone numbers, advertisements, thin pages, and wobbly covers. Philadelphia artist Katie Murken did exactly that when she created Continua, a work that combines recycled phone books, color dye, math, elements of chance, and sculpture.
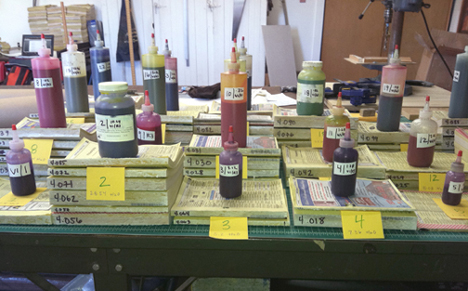
 Then she stacked the altered books into columns. However, the colors she used were determined by a customized color wheel and a pair of dice. A dice roll determined how she would stack the books.
 The result was 24 tall columns of vibrantly colored, gently wavy books pages, arranged completely by chance. And the color! The color! Katie used non-toxic dyes from a small company in California.
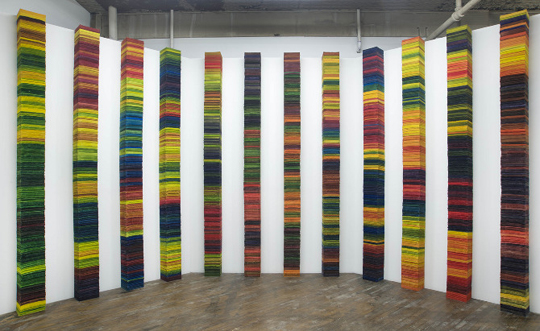 If you’d like to see more images of Continua, or read interviews about Katie and her fascinating process, you will find numerous links on Katie Murken’s site.
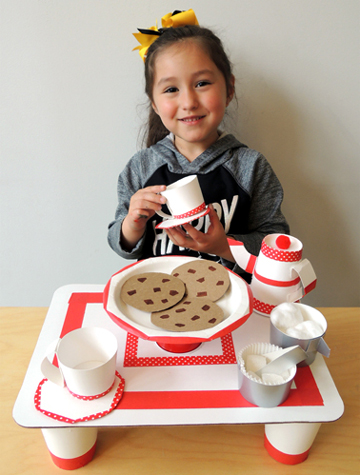
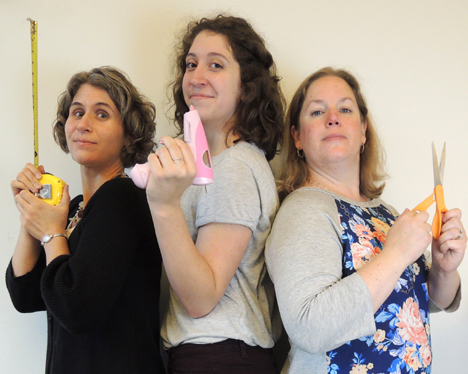
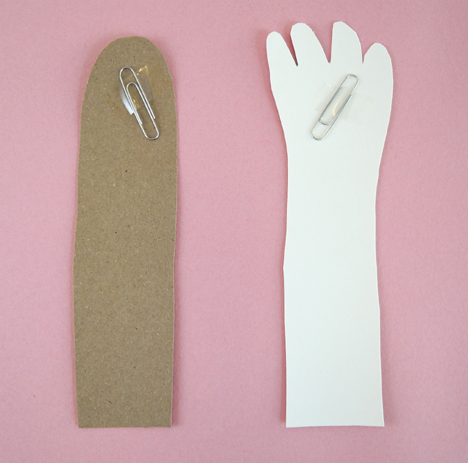
 This project consists of 1) A tea set with cookies; and 2) A pair hand grabbers for the snatching game. The cookies have magnets hot glued to them, and the hand grabbers have paper clips taped to them. Thus, when the hand slaps down on the cookie, it picks it up!
 We’ll begin with the tea set. To make the table, hot glue 4 paper cups to the bottom of a corrugated cardboard base. The cookie platter is a flipped-over cup hot glued to a small paper plate. You don’t want the cookie platter to be too tall, so you can either cut a full size paper cup down to 2.25″ inches, or use a shorter cup (we used 3.5oz plastic drinking cups from Target). Decorate the platter and table with patterned tape, color masking tape, and/or markers. Then hot glue the platter firmly to the top of the table.
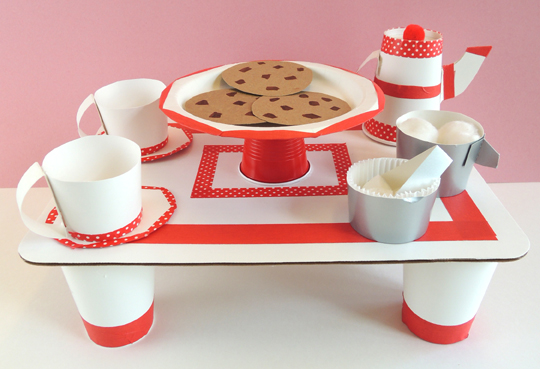
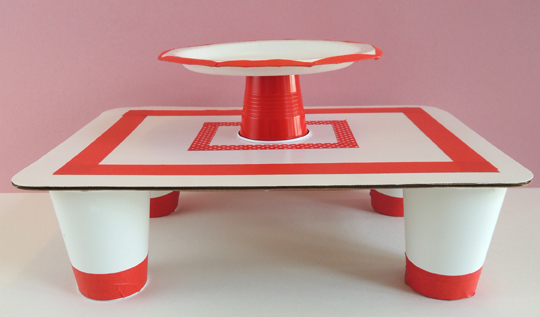 To make the teapot, flip a paper cup over, then tape (or hot glue) a poster board handle to one side. Cut the spout from the template and trace it onto white poster board. Fold the tea pot spout in half (the fold is marked with a solid black line on the template). Next, fold the spout’s tabs outward (the tabs are marked with dotted lines on the template). Attach the tabs to the tea pot with tape (or hot glue). Finish by hot gluing a small pom-pom to the top of the tea pot.
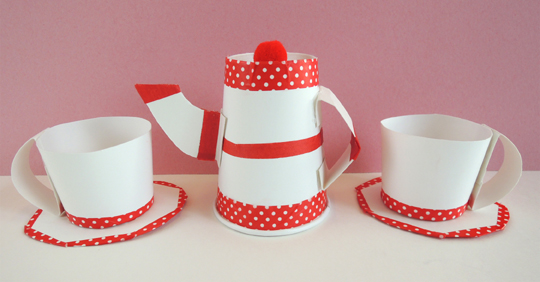 To make tea cups, cut 2 paper cups down to 2″. Use tape (or hot glue) to attach a white poster board handle to the side of each cup. Then place the cups on a white poster board “saucers.” Decorate the teapot, cups, and saucers with patterned tape, color masking tape, and/or markers.
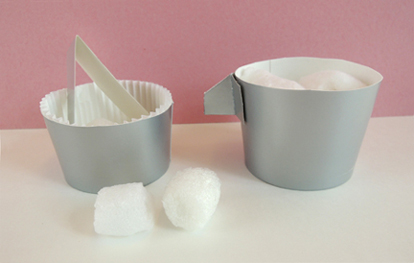 The creamer is a paper cup cut down to 2″. Cut the creamer spout from the template, and trace it into poster board. Fold the spout in half (the fold is marked with a solid black line on the template). Next, fold the spout’s tabs outward (the tabs are marked with dotted lines on the template). Attach the tabs to the cup with tape (or hot glue). We filled the creamer with white cotton ball “cream.”
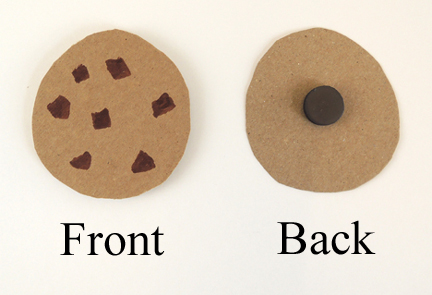
 Ready to play? Have 2 kids select a grabber and sit down at the table. On “Go!” each kid must use his/her grabber to quickly remove cookies from the platter. The kid who grabs the most cookies, wins!