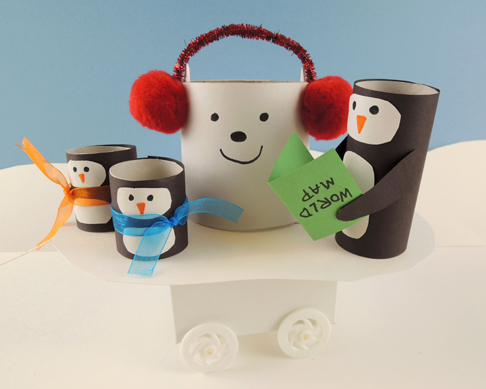
 Heading to the North Pole? South Pole? Or perhaps you’re on an unintentional grand tour of the globe? Hop on this convenient ice floe with some slightly puzzled penguins and polar bear and prepare to see the world!
We read Poles Apart, written by Jeanne Willis, and illustrated by Jarvis (Nosy Crow, 2015). One fateful day, the Pilchard-Brown penguin family depart for a picnic at the South Pole. But a wrong turn takes them to the North Pole and Mr. White the polar bear, instead. Mr. White kindly offers to help the penguins get home. Unfortunately, Mr. White’s sense of direction isn’t much better then the Pilchard-Browns. He leads them through the United States, England, Italy, India, and Australia. Finally, they arrive at the South Pole, where Mr. White must say goodbye and travel back to the North Pole. He’s feeling lonely…and that’s when he discovers a little surprise in his hat.
You’ll need:
- 1 small box (ours was 2” x 4” x 4”)
- White poster board
- 2 sets of wheels (more on this below)
- 1 piece of string (ours was 26″)
- 1 packing tape core
- 2 toilet paper tubes
- Black and white construction paper
- Scissors and tape for construction
- Markers for decorating
- Hot glue
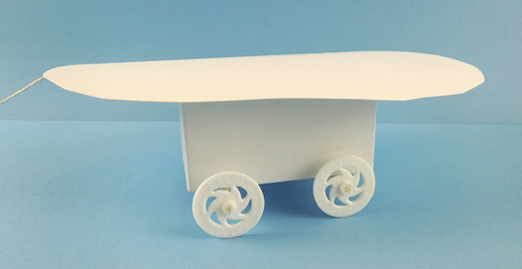
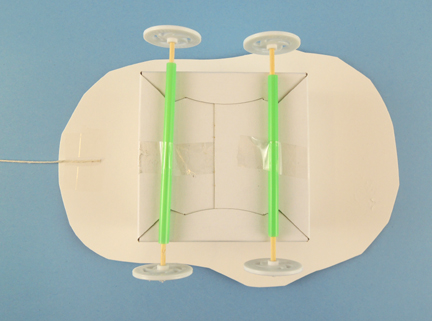
First, the ice floe! This is a white poster board “floe” hot glued (or taped) to the top of a small box (and make sure you make the floe large enough to carry the polar bear and all 3 penguins!). We used plastic wheels from Kelvin Educational (our wheel assembly instructions are here). But wooden spools also work. The pull string attaches to the front. Here’s the finished underside of the floe:
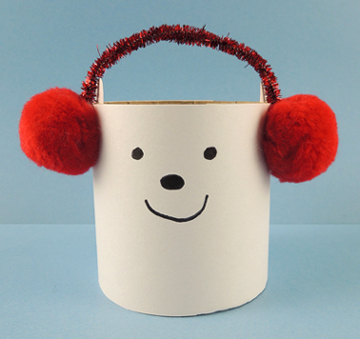
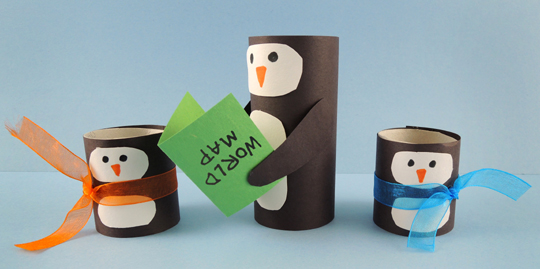
 Now for the polar bear and the penguins! For the bear, we wrapped a 3.5″ tall packing tape core with white construction paper. The earmuffs are a sparkle stem and two pom-poms attached with hot glue.
 To make the penguins, wrap 2 toilet paper tubes with construction paper. Cut one of the tubes in half to create the 2 small penguins. Attach wings, faces, and tummies. We also added ribbon scarves and a world map to our penguins trio (and if you want to be true to the book’s illustrations, attach the map upside down).
 Place the polar bear and penguins on top of the ice floe and travel the world! Some kids opted to tape their passengers to the ice floe to keep them from falling off…
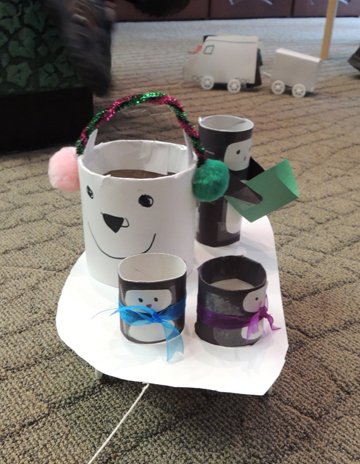 I snapped this adorable traveling quartet en route to our gallery, but did you also notice the vehicle in the background? One little boy decided to create a “snow train” using project materials. The penguins are riding inside the engine. Fantastic!
 Recently, while in Brooklyn, I wandered into a little toy store called Matt & Juliette. There, I discovered some neat-o wind-up butterflies by Seedling. The clerk at the toy store explained that some people like to put the butterflies inside birthday cards. When the recipient opens the card, the butterfly flutters out. If it works for cards, I thought, it’ll totally work for books! I immediately purchased a pair to test out. They retail for $3 each and come in 4 different colors and styles.
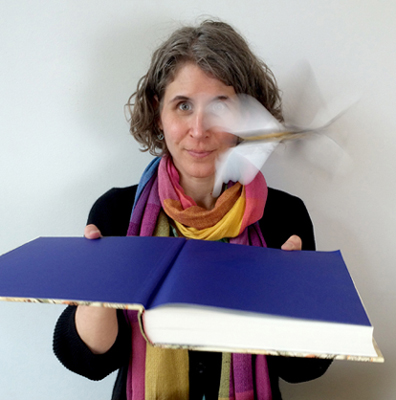
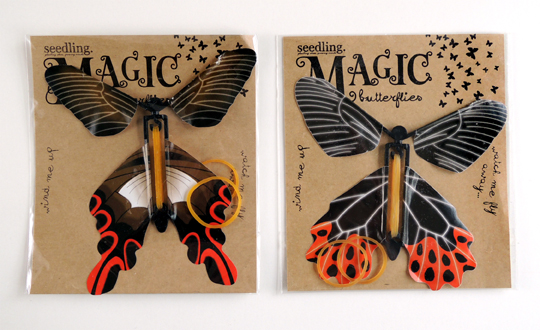 As you can see, the toy is pretty simple. You hold one half and twist the other half. This motion winds the 2 rubber bands, which ultimately propel the toy skyward.
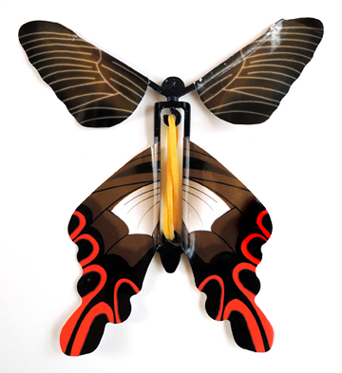 The directions warned that winding the rubber bands too tightly could cause them to snap. This is true. Over the course of 20 test flights, we broke 2 rubber bands. But there are two spare rubber bands in each package, so no problem! Alas, one of the plastic hooks on the smaller butterfly snapped within 5 minutes, rendering the toy useless, but the other one held out just fine. Ready to see a butterfly in action?