Teachers, parents, and librarians, lend me your ears! Today, I present Shadow Puppets Theater by Creativity for Kids, the one stop shop for hours of imaginative narration and story building. Get thee hence and acquire one!
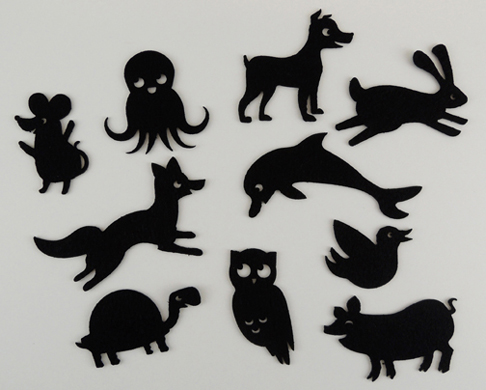
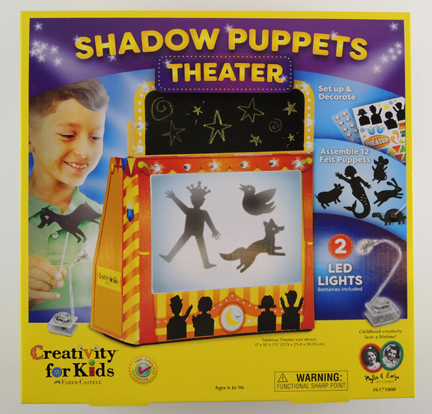 The kit retails for around $20, and is intended for ages “6 to 96.” It contains a theater, a detachable chalkboard marquee, 1 piece of yellow chalk, stickers, rhinestones, 10 felt animal puppets, 2 felt people puppets with accessories, 15 metal brads for the jointed puppets, 12 puppet holders, 8 puppet sticks, and 2 LED lights (batteries included!).
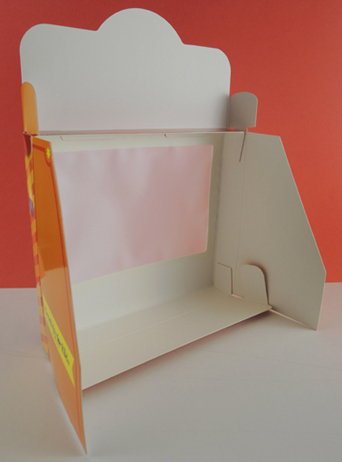
 One of the frustrating things about toy puppet theaters is how flimsy the stage is, and how the slightest nudge will send it tumbling. Not this one! It’s made out of very sturdy cardboard. A few basic folds, and the stage is ready to go, anchored in place with some very helpful velcro fasteners.
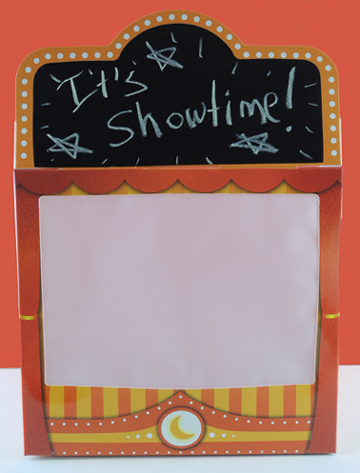
 There’s also a detachable chalkboard marquee for the top, which is super cute. Also, unlike some of the cheaper cardboard chalkboards, the chalk wipes off cleanly and easily with a dry paper towel.
 Also included are some terrific stickers and clear rhinestones (yes!) to decorate the front of the theater. They are easily removable, so you can change your theater’s look. The stage’s screen is thick, high quality, and securely mounted (because there’s nothing sadder then your screen buckling, tearing or falling off during a performance).
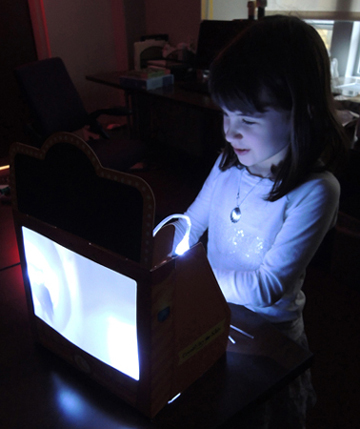
But best of all is the lighting. The sturdy LED lights have flexible necks and are attached to clips. So you can attach them to the top of the theater OR…and I really, really, loved this. They can balance on their clips and act as footlights. Genius.
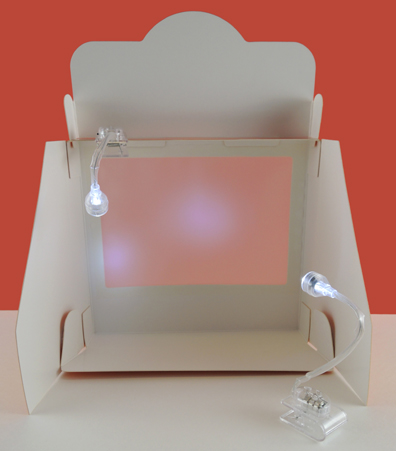 Their illumination power is fantastic. No matter what configuration we put the lights in, we got great shadows and and a well-lit screen.
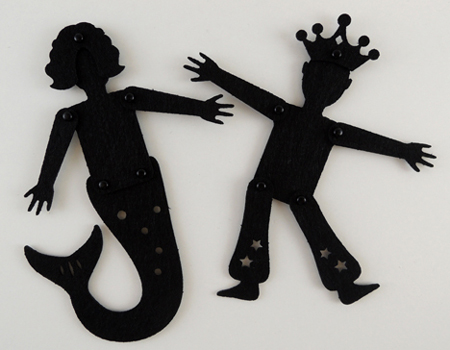
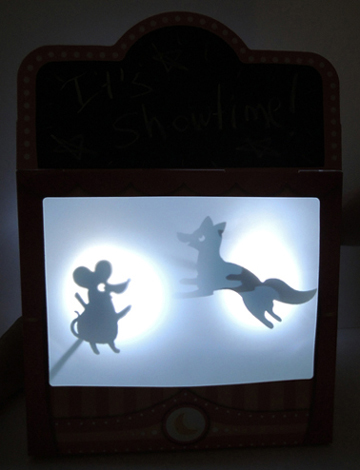 The puppets? They totally rock. Look at them! The mouse! The owl! The happy pig!
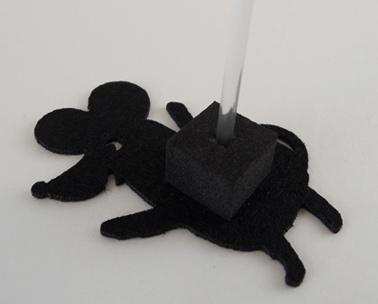
The kit comes with foam blocks that self-adhere to the back of each puppet. Simply stick the block to the back of the puppet, inset the puppet stick in the pre-drilled hole, and you’re ready to go!
There were also 2 jointed puppets, which consisted of a main body piece and some interesting accessories to attach (hair, hats, skirts, pants, etc.). Note to grown-ups: the metal brads used to hinge the puppets joints are tiny. Younger kids are definitely going to need help with them.
 I only have one quibble with this puppet theater kit. There are 12 puppets in the kit, but only 8 sticks! The instructions say to swap out the sticks during the show, but that somewhat breaks the flow. I made a couple extra out of a balloon stick. But this is the only problem I have with the awesome puppet kit.
How did our kid testers (ages 6 and 9) like the theater? They LOVED it! They loved how the screen lit up, all the different choices of puppets, and how they could move the lighting around for different effects. The stage stood up to an HOUR LONG continuous narrative with no breaks. Yes, that was 60 minutes of total concentration that only stopped because it was time to leave the office.
For $20, the Creativity for Kids Shadow Puppets Theater is a fabulous gift, activity, or program resource that will be throughly enjoyed. It’s packed with fun things, the puppets are great, it’s definitely tough enough to be use by scores of enthusiastic amatuer puppeteers. Bonus! The LED lights also work as clip-on mini lamps for late night reading. It doesn’t get any better than that.
Five out of five stars!
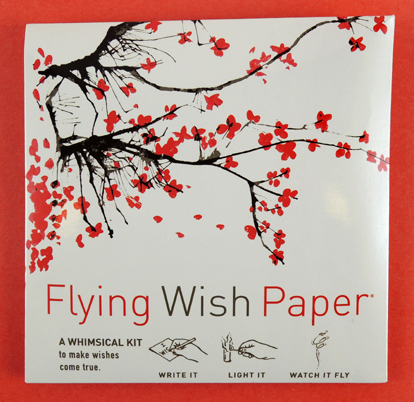 No, it’s not the name of my new romance novel. It’s this…Flying Wish Paper by Hux Creative! Write a wish on the special paper, ignite it, and watch your wish float away, granted. Does this kit actually work? Or will the fickle realities of wish-granting manifest themselves? Our brave yet tempestuous heroine, Katie, tempted cruel fate and tested the kit in her dining room. Take it away Katie!
 The kit contains 15 sheets of Flying Wish Paper, 5 paper platforms for your wishes, a special mini pencil, and a set of instructions. It retails for $12 at our local Paper Source. The first part of the kit is easy enough. You think of a special wish and write it on the Flying Wish Paper, which closely resembles tissue paper. If you choose, you can slide the Wish Platform (more on that shortly) under your Wish Paper to help you write more easily. Our Wish Platform had a gorgeous picture of blossoming cherry trees on it, but there are many other images in different kits to choose from.
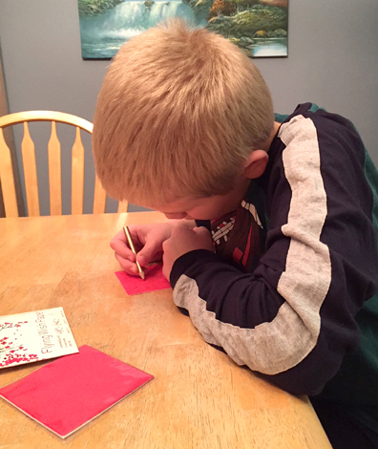 Once you have written your wish, crumble the Wish Paper into a ball about the size of a marble. Next, carefully unwrap and smooth out the paper so it is flat, albeit crinkled from being smashed into a ball.
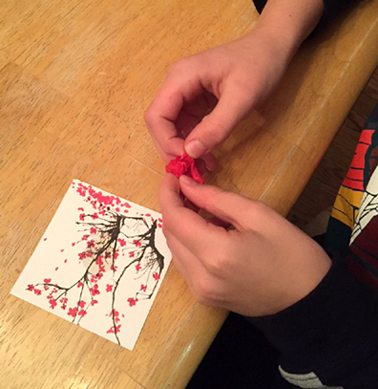 Once the paper is flat, roll it into a tube using the darkened circle on the Wish Platform as a guide. The tube needs to be open enough to allow the Wish Paper to easily burn, just like a chimney. Stand your Wish Paper upright on the Wish Platform and you are ready to send it to the heavens!
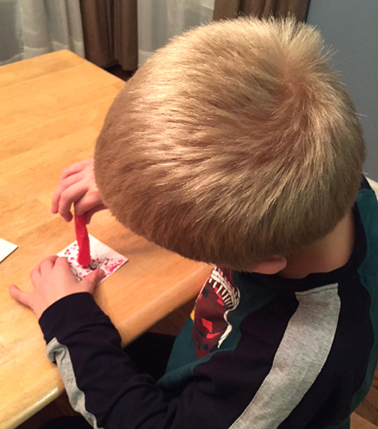 This is when I became a little nervous. I was going to light paper on fire inside of my home. Rather, I was going to let my son (who was thrilled to have full parental permission to strike a match indoors) LIGHT PAPER ON FIRE INSIDE OUR HOUSE! It took a few tries to stand the Wish Paper on the Wish Platform without it toppling over, which also made me nervous.
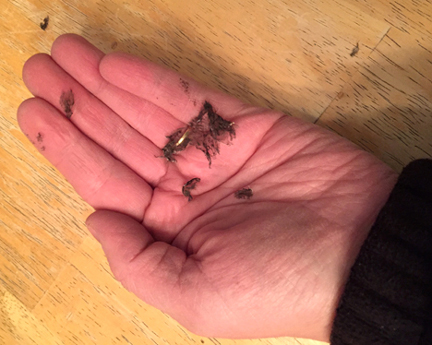 I was also fearful the burning Wish Paper would fall over, (or off!) the Wish Platform. Well, it did fall over during one of our tests. It left a small burn mark on the Wish Platform, but thankfully nothing else happened.
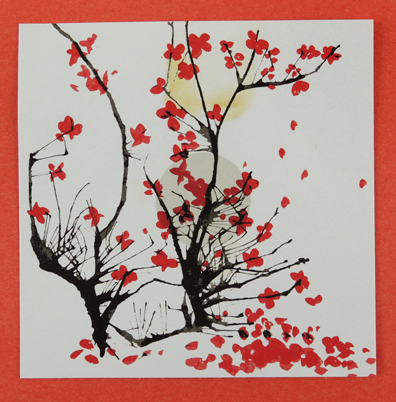 Flying Wish Paper is a fun activity that my son and I thoroughly enjoyed doing together. There are numerous fire concerns and it is definitely something parents can’t let their children do on their own, but I highly recommend it. It’s a whimsical and thoughtful activity for kids to really think about what their deepest wishes may be. It would be awesome for magic spells at a Harry Potter program too (and so would
 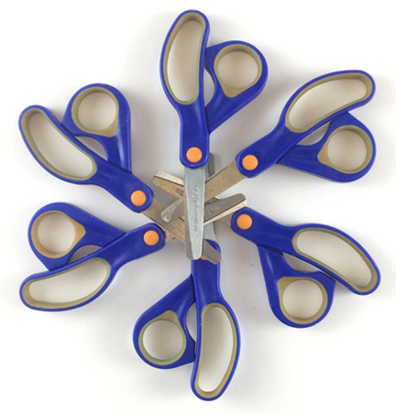 Q: What do I do with my kid’s art projects? They’ll be upset if I toss them out, but I’m being squeezed out of the house by an army of cardboard creations!
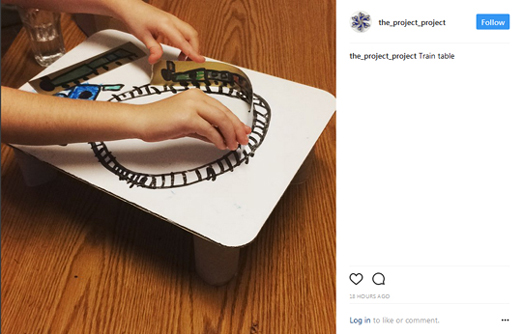
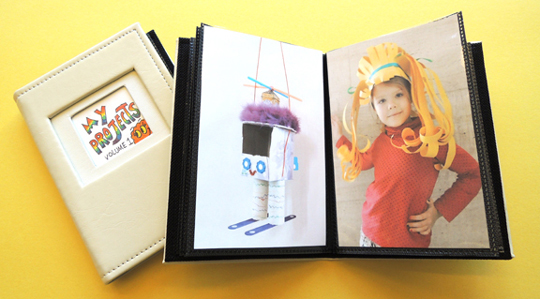 Last weekend, however, I came up with another solution! I created an Instagram account. Now, anytime a project needs recycling, I just upload a photo of it to my Instagram.
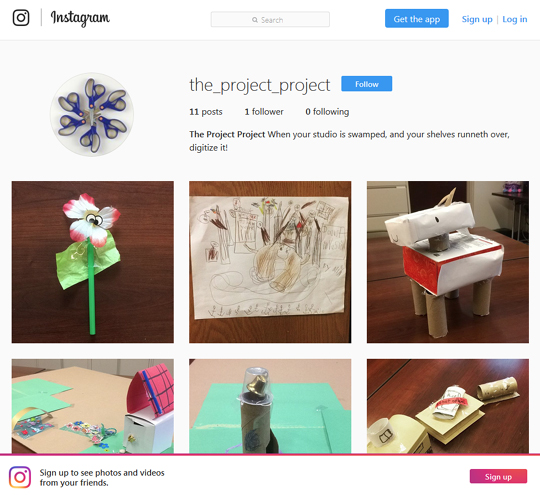 There the project remains, forever validating my kids’ imaginative musings. It’s a fun gallery documenting their tremendous creativity AND a digital representation of one less job for Mom the Recycling Cop. Bonus! Grandma and Grandpa can follow our Instagram to see what those clever grandkids are up to.