 I use hot glue. A lot. And the projects on this blog? 99.9% of them use hot glue in some way, shape, or form. Hot glue is the perfect solution when you don’t have much time, but need something to stick quick. The drawback, of course, is that hot glue guns need to be plugged into an electrical outlet in order to operate.
That’s fine if you’re making a project at your desk. But not so fine when you need to glue projects for 22 kids and their caregivers. During out workshops, kids either have to carry their projects to hot glue stations, or I have to walk around the program area, dragging a cumbersome daisy chain of extension cords behind me.
That was why I was so very, very excited to learn that hot glue guns were going cordless.
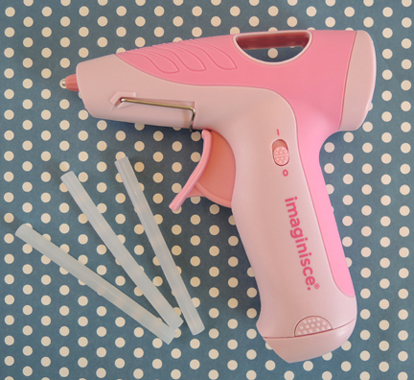
Today, I’m reviewing the Imaginisce i●bond cordless hot glue gun. It retails for around $30 and requires 4 AA batteries to operate. I’ll cut to the chase…it doesn’t really work that well. The Imaginisce burns through batteries like crazy. Just one hour of use and the batteries are dead (I tested this twice, with new batteries each time). Also, the batteries just don’t seem to have the same oomph my plug in glue guns have. The glue isn’t as hot, and it dries quicker with less adhesive properties. I tested this with the glue sticks that came with the gun, and with another brand of stick.
Interestingly, Imaginisce added an LED light to the end of their glue gun, presumably to illuminate your work area. But if you’re working in sunlight or with a light on, you can already see your area clearly, right? Unless you like to craft in the dark?
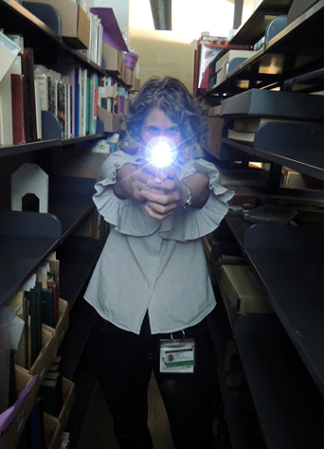
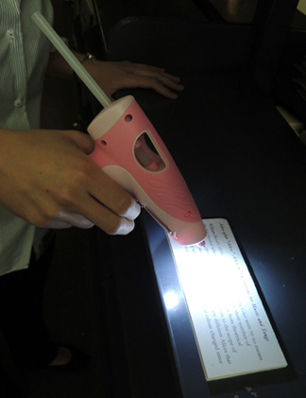 So the LED light wasn’t very useful. Mostly, it allowed me to take cool pictures like this:
I will admit, the cordless aspect of the glue gun was sheer heaven. I could go anywhere! No dragging cords! No knocking things over on my desk! But the trade off was a glue gun that didn’t heat up or last very long. If, however, you have a small job to do in a limited amount of time, the Imaginisce glue gun could work for you. But I since I use my glue guns for heavy construction, this cordless model’s batteries just didn’t produce.
Looks like I’ll remain tethered for the time being.
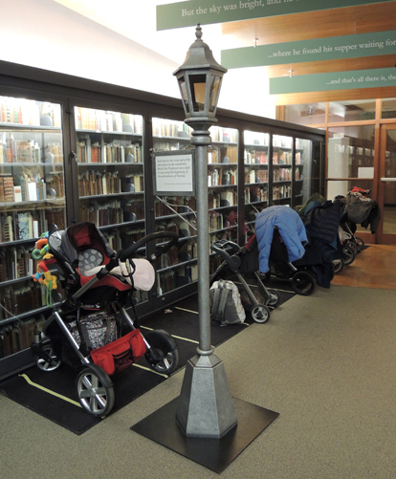 Today, I will address an issue that affects anyone who coordinates programs with children – be it in a library, children’s museum, or activity room. Like silent pack animals they wait, blocking doors, tracking mud, and leaving behind a smatterings of Cheerios. The issue of which I speak, of course, is strollers.
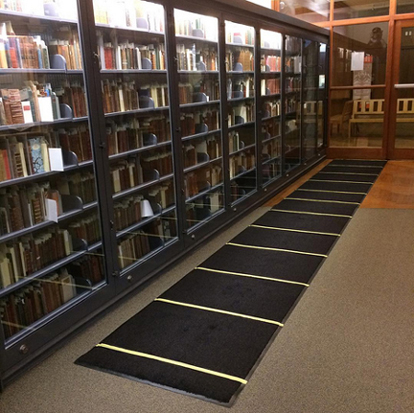 Well, it worked like magic. Immediately, strollers started parking in tidy little lines at the front of our gallery. And it’s still going strong! Since stroller parking started over a year ago, we haven’t had any strollers wandering into the gallery. Here’s a shot on a busy Monday morning, all parked and proper.
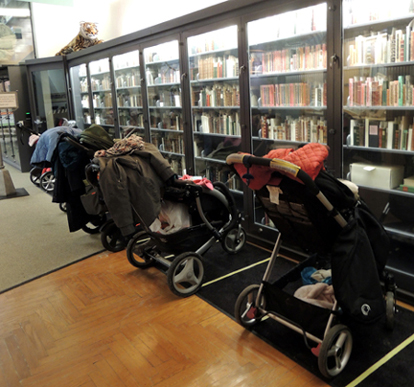 Every once in a while a masking tape line gets ripped and we have to replace it. Otherwise, this little parking lot takes care of itself! Mind you, we still have a sign up. I think you need both the rug and the sign to get this to work. Recently, we re-purposed an old gallery element as a new sign post:
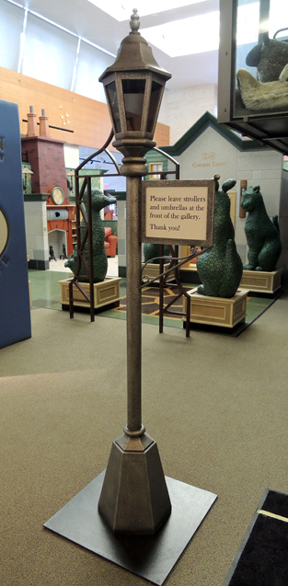 Best of all, the lamp’s sign holder is open on both sides. So as you’re exiting the gallery, you can read the final sentences from The Lion, the Witch, and the Wardrobe:
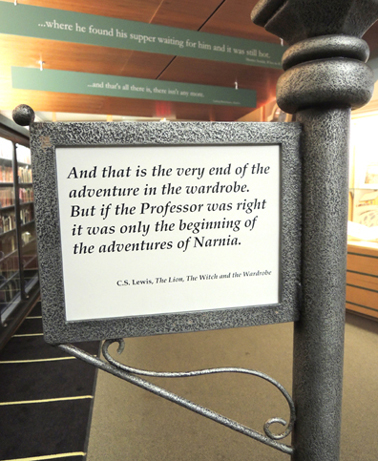
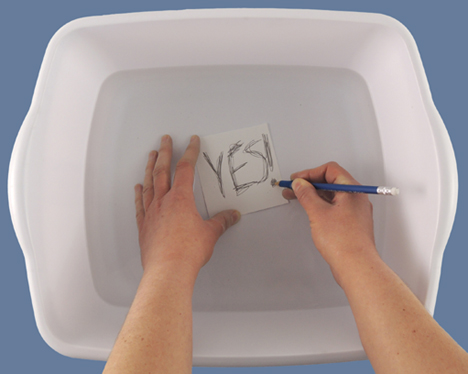
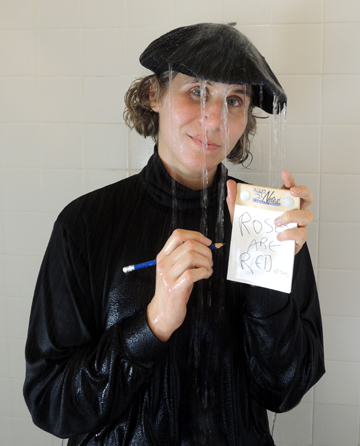 It all started when Marissa ask me if I wanted a shower notepad. Whaaaat? It turns out that, yes, there is a writing device specifically designed for the shower. Intrigued, I donned my black beret and turtleneck and headed to the bathroom to pen some poetry on the Aqua Notes Waterproof Notepad.
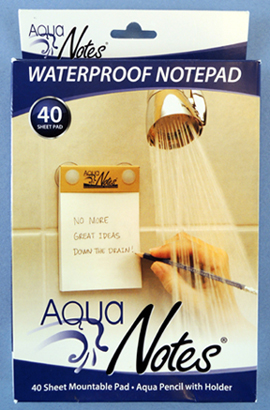 Aqua Notes retails on Amazon for $8. The set includes a 40 sheet pad that’s perforated for easy tearing, and an “aqua pencil.” The pad (which is 3.5″ x 5.25″) has two suction cups on the back. The pencil has a suction cup holder as well.
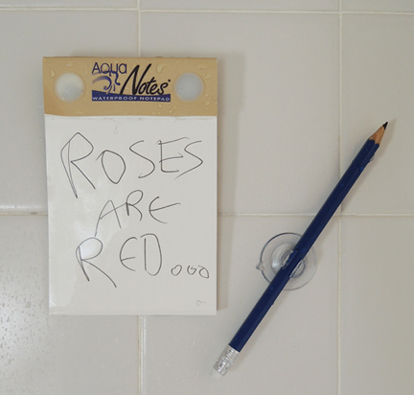 Ripping the pages off the notepad, however, was considerably more difficult than a regular pad. You had to line up the perforation just right. Unintentional bonus for those of you composing long poems – the wet pages stuck to the walls of the shower like a felt board. They stayed up there too! Pages stuck to my shower wall at 1pm were still going strong at 9pm. I removed them, noting that they peeled off easily and left no marks.
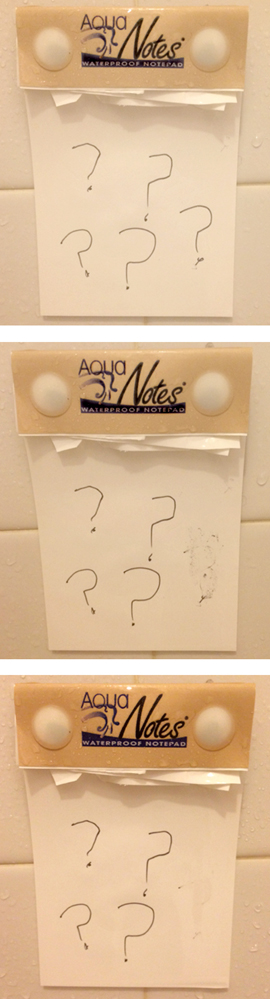 In terms of hardware, the suction cups held up well. For two weeks, the notepad clung to the wall, even after my kids discovered it and were sliding it, pulling it, and enthusiastically illustrating on it. Their testing efforts also revealed that once an individual page is removed from the shower, it takes about 45 minutes to completely dry.
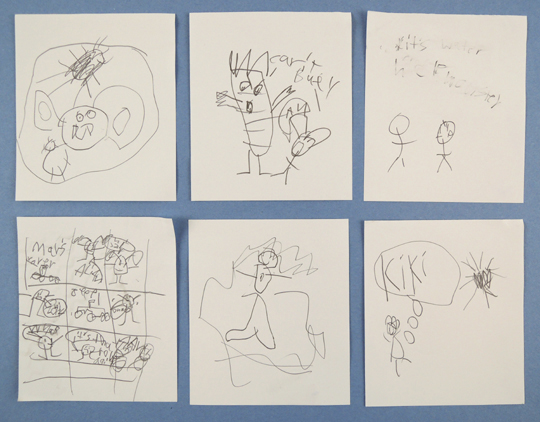 And just in case you are wondering: