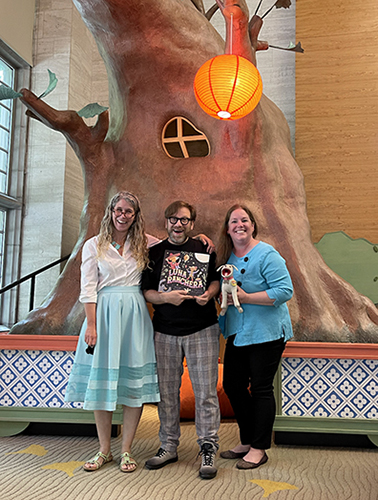
Some meetings are written in the stars! A few weeks ago, we were wrapping up a story time when I noticed a gentleman carrying a stuffed dog around the gallery. The way he was carrying the dog, grinning so happily, and just thoroughly enjoying the library seemed so significant, I struck up a conversation with him.
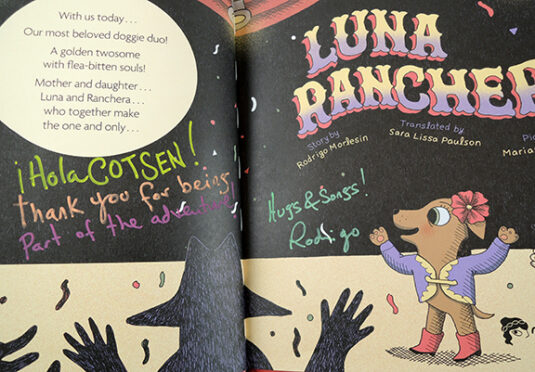
Turn out the stuffed dog’s name is Elvis. And the gentleman? It’s author and graphic artist Rodrigo Morlesin, who just released Luna Ranchera, his first children’s picture book in English!
Rodrigo is the very definition of ebullient. How do I know this? Well for starters, he doesn’t sign books in one color pen. He carries a rainbow assortment and enthusiastically signs in multiple colors!
We had a wonderful time getting to know Rodrigo and hearing about his adventures in the States. Later, I had a chance to ask him about his book, which is now proudly displayed on our shelves…
Hello! How did you find your way to the Cotsen Children’s Library today?
Sunny outside but sunnier inside the library! I came because of the recommendation of my friend Leonard S. Marcus, he told me about this oasis of books. In the beginning, I didn’t believe him about so many marvels… But he never lies so I decided to come and see it by myself!
And who is your handsome doggie companion?
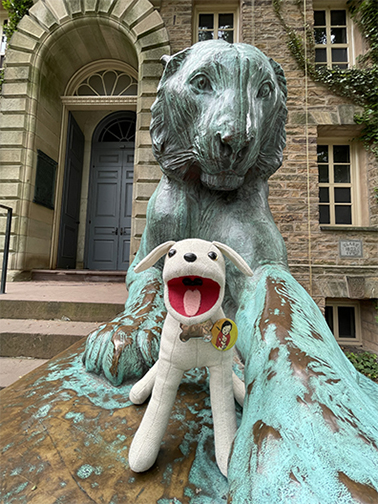
He is Elvis, the main character of my first book Elvis Nunca se Equivoca (Elvis is Never Wrong), a middle-grade novel about a dog who lives on the streets but by accident is adopted by Ana and her family. I’m from Mexico, so my first book was published in Mexico and later in Turkey, China, Colombia, and Japan. It is illustrated by Satoshi Kitamura, one of the greatest Japanese illustrators. When the book came out I was very impressed because it received very good comments, like one from Barry Cunningham, the Editor who discovered Harry Potter: “Very funny and very lovely. It has a great heart and soul – and so charming!” So, this little guy represents so much to me and accompanies me on all my trips.
Tell us a little about your new book!
Oh! Let me introduce you to Luna and Ranchera… Mother and daughter… the world’s most beloved singing doggie duo. They are the main characters of my new book Luna Ranchera. This is my first picture book and my first book in English! And it can’t be better! Amazingly illustrated by Mariana Ruiz Johnson and published by Minerva (an imprint of Astra Publishing Group). I came to the US to have some presentations.
Your characters, Luna and Ranchera, overcome their hardships to follow their singing dreams. What advice do you have for little readers who have big dreams too?
Big dreams demand big efforts! This kind of effort fills our every day with joy and learning. This is what we call our passion To write, a sport, to dance, to cook… Any that you love to do and you would like to do forever… keep your passion, hug your passion, feed your passion! It doesn’t matter if it scares you a little, making your first cake can be scary, writing your first poem and reading it in front of the class can be scary… But remember: fear is a curtain that hides wonderful treasures. I learned it when I was scared with my first book.
Are Luna and Ranchera based on real dogs?
Yes, they are! How do you know it!? Did they tell you? Before the pandemic, I was on tour with Elvis in Colombia. I was staying at the house of my friends Leandro and Faber. And they have two dogs: Luna and Ranchera and a cat named Canela (Cinnamon) can you find Canela in my book?
They told me the story of Luna, who had been a wild dog who stole food from houses and trout from a hatchery to be able to support her puppies; Ranchera and her little siblings. A hard life for these dogs who inspired me to write this story. But the inspiration has strange ways to talk. Because the song “Crazy” by Patsy Cline inspired me to find the rhythm of the story.
Your books has an amazing serenade in it…have you ever performed the song yourself (and if not, WILL you)?
Oh! No! I’m the worst singer ever! You could cry with my singing and not for the right reasons! But Sara Lissa Paulson, the translator of Luna Ranchera sang this song during the presentation and she made all the people cry for the best reasons!
You are also a successful graphic designer…could you please tell us your favorite color and why?
Oh, thank you! I’m very lucky I had designed some famous Latin American children’s books, but now I work as a designer and editor at UNESCO in Mexico. I love my job because we work on very important matters like education, culture, science, and communication. So I’m very lucky!
Many many years ago I worked at a newspaper and I interviewed Stan Lee. He told me that he has a superpower. His superpower was to be lucky. when you are lucky everything works out for you. So, I like to think I have that superpower too!
My favorite color changes from time to time… Past year I loved the electric yellow!
This year I’m finding myself attracted to orange…But always the black color is one of my favorites. Which is yours?
I wanted to add a quick post note to the interview…a few days after Rodrigo departed, I received the most wonderful card and package stuffed with all sorts of fun Luna Ranchera things…including my now-most-favorite blue bandana. ¡Gracias Rodrigo, te apreciamos mucho! ¡Ven a vernos pronto!
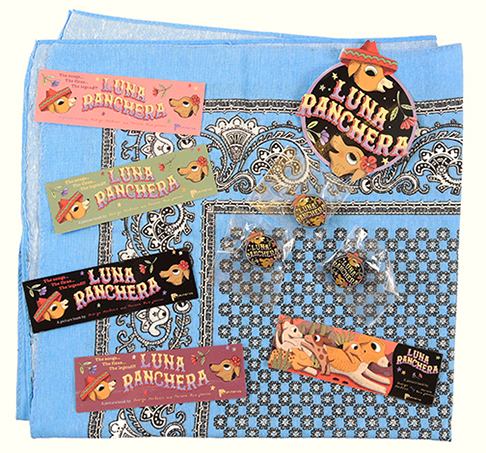
Images courtesy of Rodrigo Morlesin
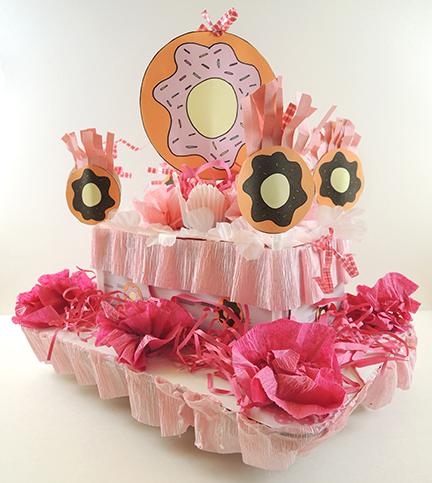 What do you think…is this too much pink? Display alllllll your fabulous frills with a delicious donut float, then join a march around the library. Today, we’re celebrating frosting, filling, glaze, and sprinkles. And yes, we have parade footage!
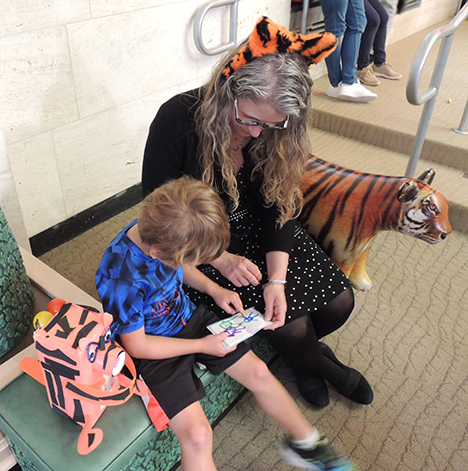
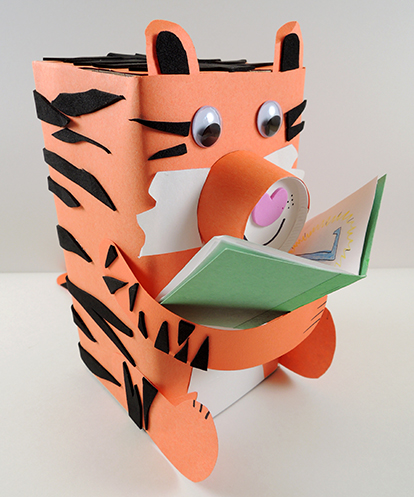 It’s story time, and this sweet tiger is eager to read! Best of all, the book is all about your favorite things. It’s art and autobiography, mixed into one!
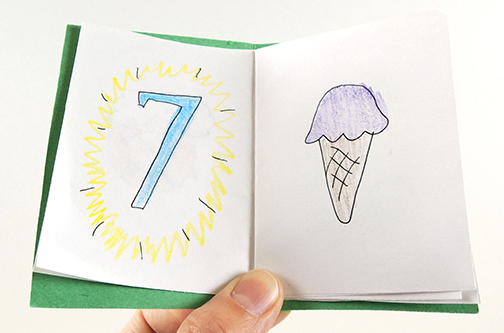
 Our book was about 4″ tall. We folded and stapled together some sheets, then filled the pages with drawings of our favorite things…favorite bird, holiday, weather, number, dessert, color, drink, fruit, animal, etc.