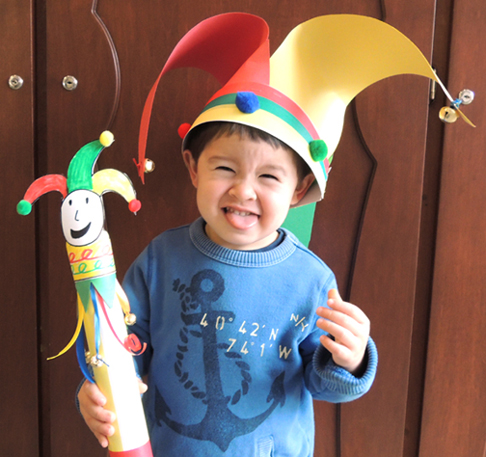
 It’s comedy old school style with this jester motley (a.k.a. “cap ‘n bells”) and scepter (a.k.a. “bauble”). A scroll of hilarious jokes is included, such as: Why did Cinderella lose the football game? Because her coach was a pumpkin! Oh ho ho!
We read Serious Trouble by Arthur Howard (Voyager Books, 2007). Prince Ernest has very serious parents who expect him to proceed seriously through life and eventually rule the kingdom. Seriously. The problem is, Ernest wants to be a jester. But his occupational dream couldn’t come at a worse time, because the kingdom is being threatened by a terrible three-headed dragon. When Ernest sneaks out of the castle to practice some jokes, he unfortunately runs into the dragon. The grumpy dragon agrees to let him go if Ernest can make him laugh. Can the princely comic deliver? Of course he can (it helps that dragons are way ticklish)!
You’ll need:
- 1 large poster board strip for hat band (approximately 2.5″ x 22″)
- A selection of color masking tape
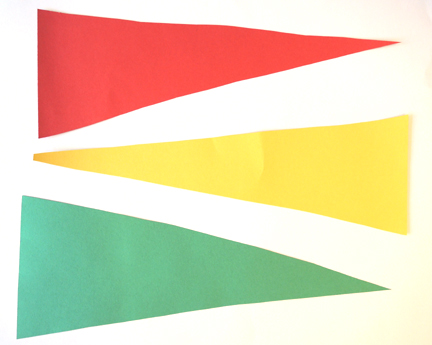
- 3 poster board triangles in different colors (mine were approximately 8″ at the base and 17.5″ tall).
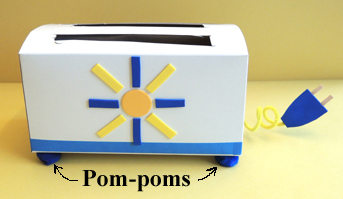
- 5 medium pom-poms (mine were 1″)
- 6 jingle bells
- 1 paper towel tube
- 1 piece of construction paper, any color
- Multiple pieces of curling ribbon
- Multiple pieces of fabric ribbon
- 1 small rectangle of construction paper (approximately 2.75″ x 6.5″)
- 1 jester head template, printed on 8.5″ x 11″ white card stock
- 3 small pom-poms (mine were 0.5″)
- 1 set of Ye Olde Funny Jokes, printed on standard 8.5″ x 11″ paper
- Stapler, hole punch, scissors, and tape for construction
- Markers for decorating
- Hot glue
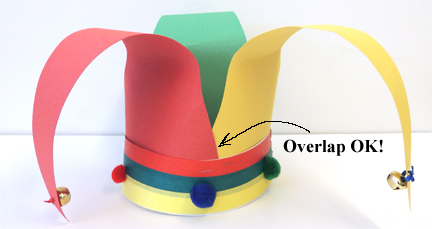
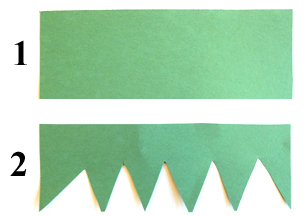
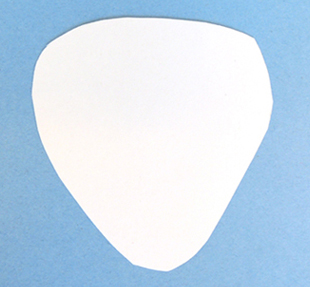
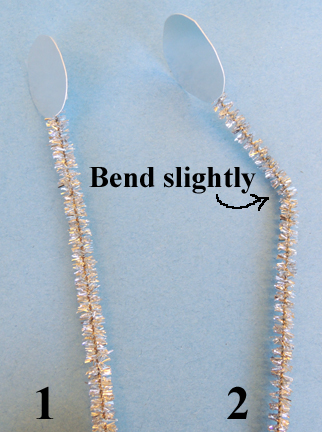
 Start with the hat! Decorate the large strip of poster board with color tape. Then circle it around your head, remove, and staple to create a hat band. For the pointy part of your hat, use long poster board triangles that look like this:
 Tuck each triangle inside the hat band and staple into place. It’s absolutely OK if the bases of the triangles overlap. In fact, it looks rather snazzy.
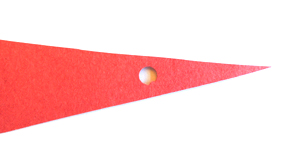
 Next, punch a hole at the end of each triangle. You want the hole to be close to the tip of the triangle, but not so close that the jingle bell might tear loose.
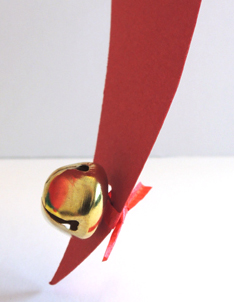
 Thread a small piece of curling ribbon through each jingle bell, and then knot a bell through each hole. Don’t knot the ribbon too tight, or it will cut through the poster board!
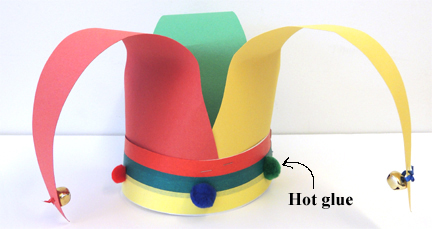
 Finish by hot gluing 5 medium pom-poms around the exterior of the hat band. Done!
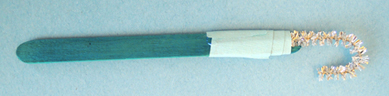
 Now for your scepter. Wrap a paper towel tube with construction paper, and use color masking tape to add some stripes. Then, take a 5.5″ piece of color masking tape and place it sticky side up on the table. Gently press the ends of the curling and fabric ribbon onto the tape. Include at least 3 pieces of curling ribbon.
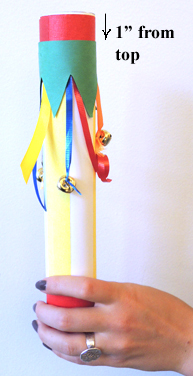
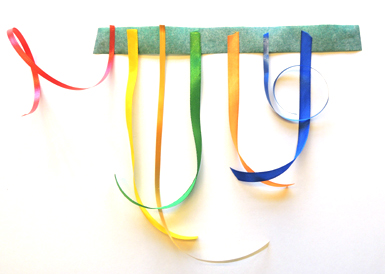 Wrap the ribbon tape around the top of the paper towel tube BUT…drop it about 1″ from the top of the tube.
 Trim the ribbon if it seems too long, and then knot a jingle bell onto each curling ribbon (the fabric ribbon is too soft for threading). Next, cut a zig-zag pattern into the small rectangle of construction paper…
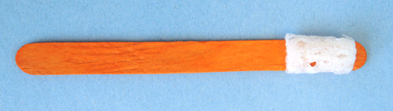
 Then wrap it around the top of the paper towel tube. Like the ribbon tape, you’ll want to drop the zig-zag paper about 1″ from the top of the tube.
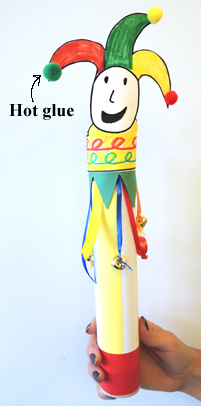
 Use markers to color the jester head template, then curl the long tabs of the template around the top of the paper towel tube and fasten with tape. Finish by hot gluing 3 small pom-poms on the ends of the hat.
 All you need now are jokes! I printed the joke sheets in advance and used a piece of curling ribbon to turn them into scrolls. Then I hid the jokes around the gallery and turned it into a jester quest. The gallery was full of giggling, jingling kids. It was fabulous!
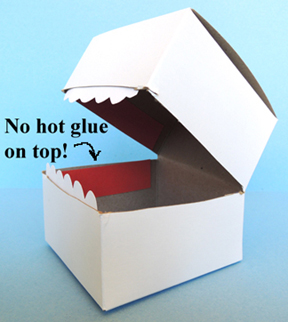
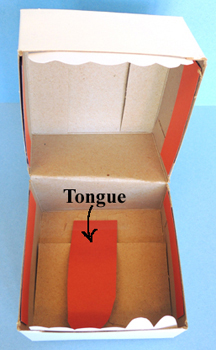
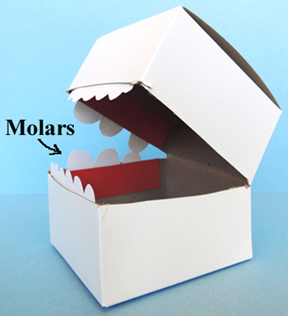
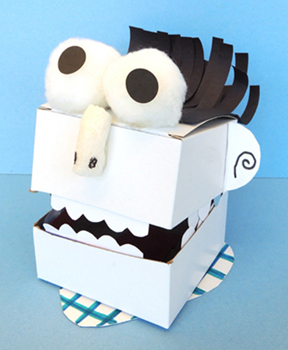
If you are in need of a dragon to accompany this project, try this fella!
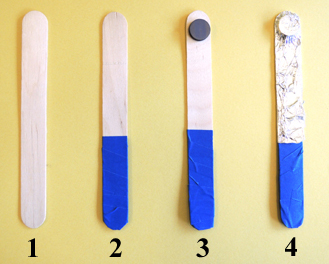
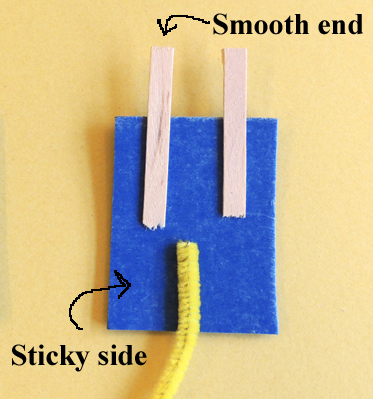 Peel the backing off the second rectangle of self-adhesive foam and press it firmly on top of the first rectangle. Use scissors to cut the rectangles into a plug shape.