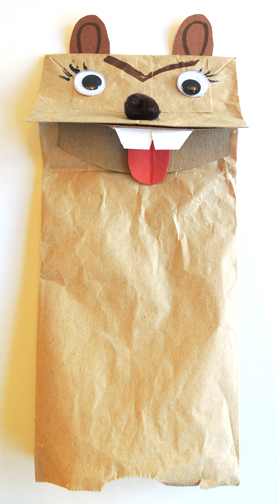
Time for bed? Not for this little fellow. His head barely touches the pillow before he launches himself out of bed! The secret: a craft stick catapult concealed beneath the covers!
 We read Jake Stays Awake by Michael Wright (Feiwel & Friends, 2007). Jake refuses to sleep in his own bed, preferring instead to knock on his parents’ door at night and insist on joining them. But it’s definitely not working for his parents. So they make a deal. Jake can sleep with them, but perhaps he can think of a different place for them to bed down for the night? So they try many places (including the roof, the stairway, the kitchen counter, garbage cans, the family car) until exhausted Jake finally hits on the one place that might just work – his own bed.
You’ll need:
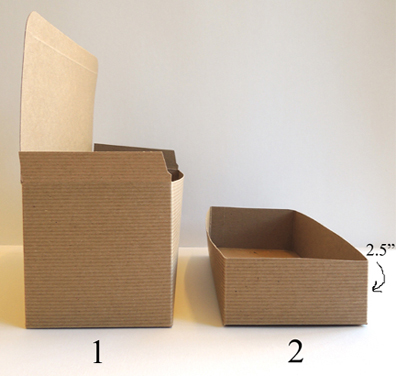
- A box (mine was 4 ½” X 4 ½” x 9”)
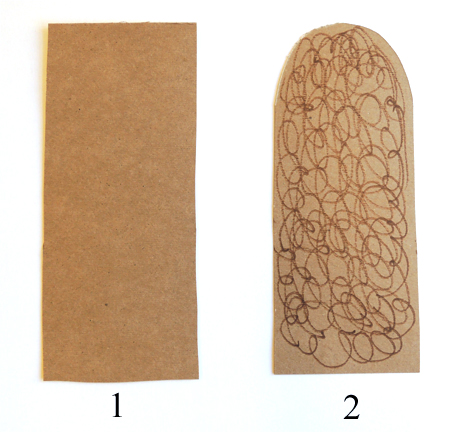
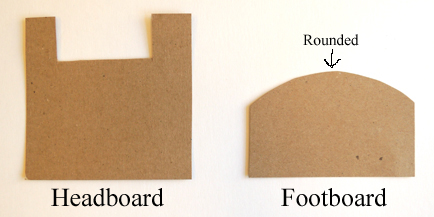
- A 5″ x 5″ square of tagboard for the headboard
- A 3″ x 4.5″ rectangle of tagboard for the footboard
- Extra pieces of tagboard for bed decor
- 2 jumbo craft sticks (mine were 6″ long)
- 6 medium craft sticks (mine were 4.5″ long)
- A selection of color masking tape
- 2 medium rubber bands
- A small rectangle of white poster board for pillow (mine was 2.25″ x 2.5″)
- A rectangle of tissue paper for blanket (mine was 5.25″ x 7″)
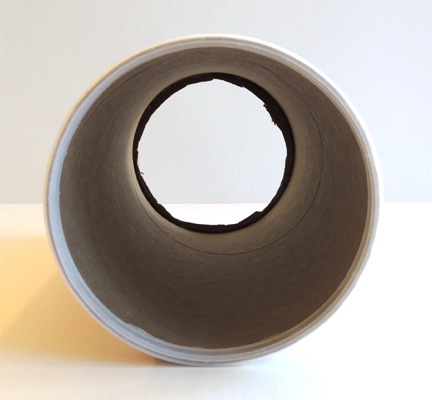
- 2 toilet paper tubes
- A selection of multicultural construction paper
- A selection of patterned paper
- Construction paper for hair
- A small rectangle of stiffened felt for teddy bear (mine was 1.5″ x 2″)
- Scissors, tape, and glue stick for construction
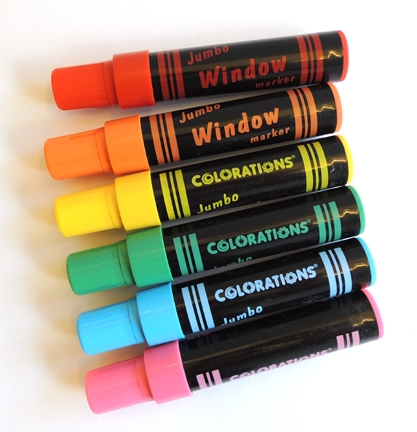
- Markers for decorating
- Hot glue
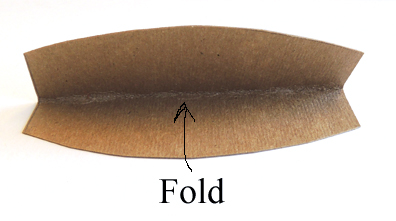
We’ll start with the bed! Cut the box down until it is approximately 2.5″ deep.
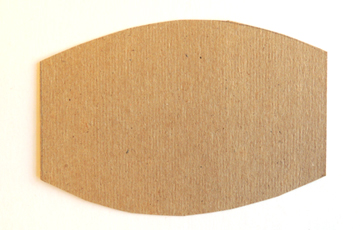
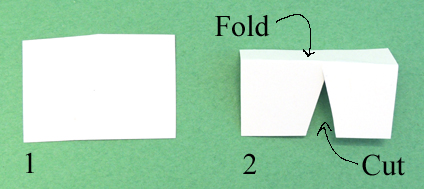
 Now cut your headboard and footboard out of tag board. Make sure the footboard is low and rounded. Otherwise, your tube person might not clear it when catapulted.
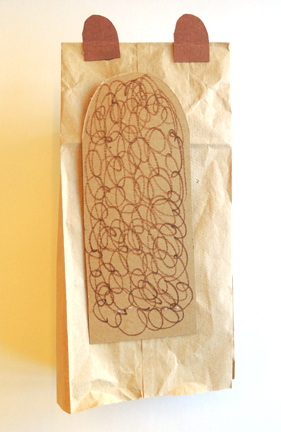
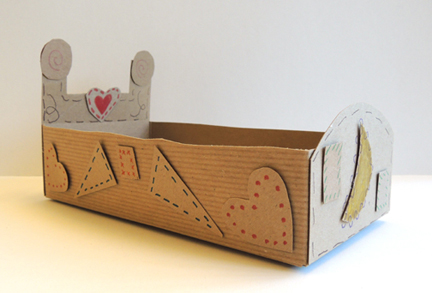
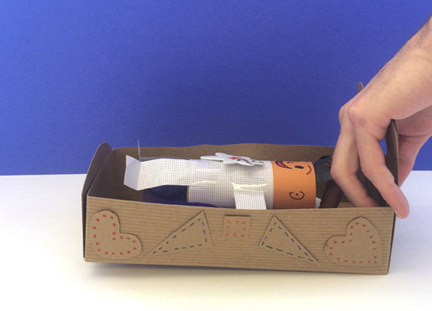
 Hot glue (or tape) the headboard and footboard to the ends of the box. To create some texture on the bed frame, we made some simple tag board shapes. The kids decorated them with markers and glued them to the bed.
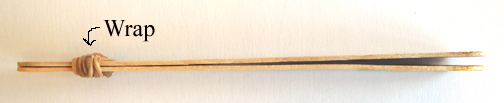
 On to the catapult! Stack 2 jumbo craft sticks on top of one another, then wrap a rubber band tightly around one side.
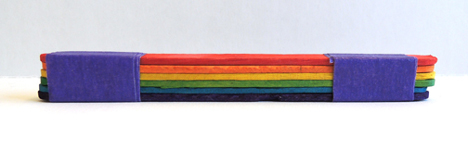
 Now stack 6 medium craft sticks on top of one another and wrap both ends tightly with color masking tape.
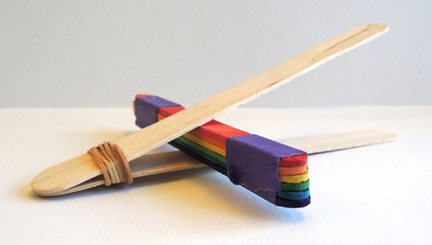
 Wedge the stack of 6 craft sticks in between the jumbo crafts sticks like so:
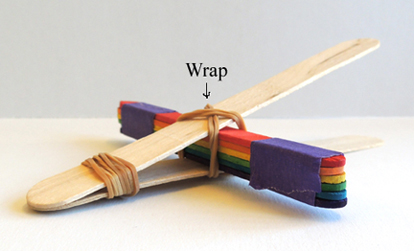
 Then wrap a second rubber band around both sets of craft sticks to secure the catapult mechanism (a criss-cross wrap works best).
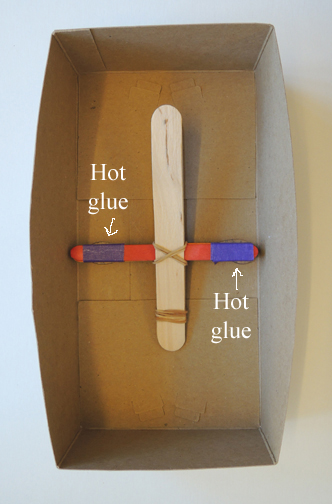
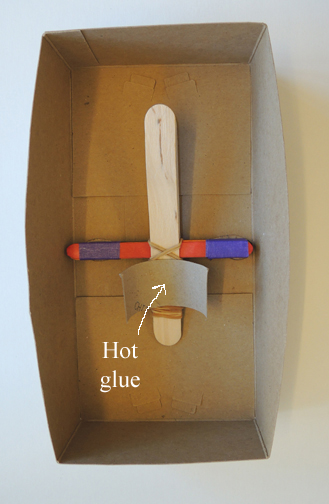
 Hot glue the stacked craft sticks to the inside center of the box. Really glob the hot glue on. You don’t want the catapult to come loose!
 Cut a toilet paper tube in half lengthwise, then cut a 1.25″ segment off the bottom of one of the halves. This is the “catapult cup” that will hold the lower section of your tube person steady whilst it awaits launching. Attach the catapult cup with hot glue, but avoid getting hot glue on the rubber bands.
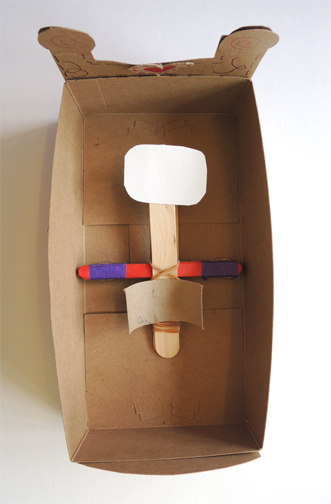
 Round the edges of the white poster board rectangle to create a pillow, then hot glue it to the top of the catapult arm. The pillow should be flush with the end of the craft stick.
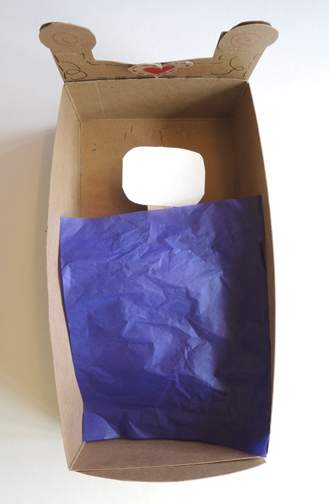
 Finish by draping the tissue paper “blanket” over the top of the catapult.
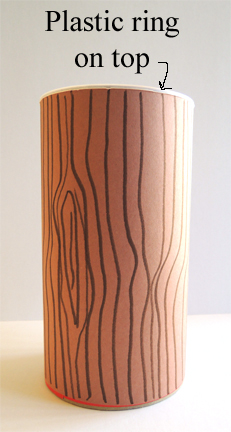
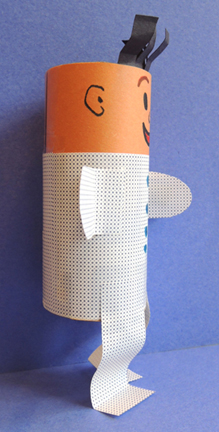
 The catapult is ready. Now for your person! Wrap the top of a toilet paper tube with a strip of multicultural construction paper. Then wrap the remainder of the tube with patterned paper. Add construction paper hair and use markers to draw a face.
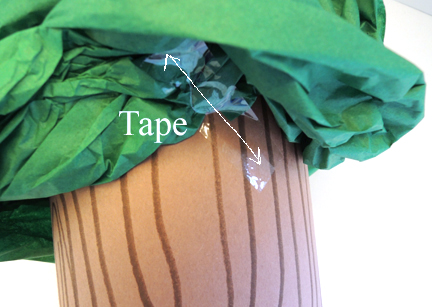
Lastly, cut arms and legs from the patterned paper and tape to the tube. Make sure, however, that you attach the arms and legs to the front of the tube. This produces the best launch from the catapult.
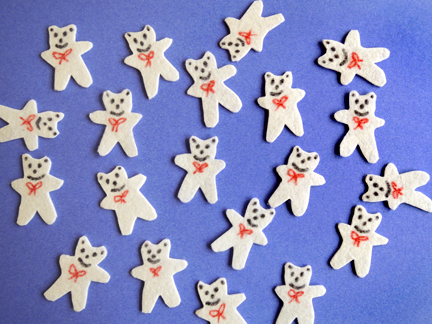
 Place your person on top of the catapult. His/her head should rest on the lower part of the pillow, and his/her rear end should rest in the catapult cup. But before you launch, how about a fuzzy companion? I cut a teddy bear shape out of white stiffened felt and used Sharpies to add some details. Then I prepped a bevy of bears for story time!
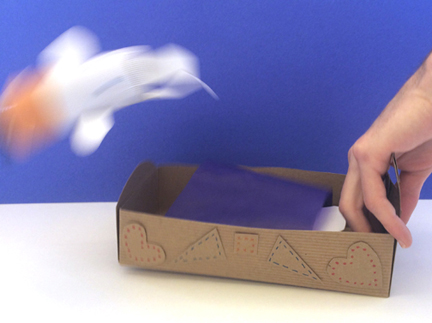
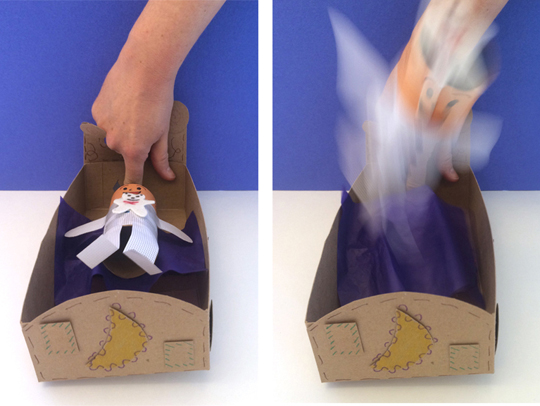
 Place the teddy bear on top of the tube person. Then reach between the posts of the headboard and press firmly down on the top edge of the pillow.
 Remove your finger quickly and watch as your person launches out of bed, teddy bear flying!