 It’s dinner time and the peas are flying! Can your land the pom-pom peas on the plates, bowls, and cups? Bust out your pea catapult and get ready to do some physics and math!
We recommend reading Eat Your Peas, Ivy Louise by Leo Landry (HMH Books, 2005). Toddler Ivy Louise has been tasked with eating her dinner. However, those energetic peas are running a full-scale circus on her plate, complete with acrobatics, impressive weight-lifting, and a high dive act. The grand finale? We’ll let you guess. Very entertaining for Ivy Louise. Not so much fun for Mom and Dad to clean up!
You’ll need:
- 2 jumbo craft sticks (ours were 8″ long)
- 6 medium craft sticks (mine were 4.5″ long)
- Masking tape
- 4 medium rubber bands
- 1 plastic spoon
- 5-10 green pom-poms
- Paper plates, bowl, and cup
- Markers for decorating
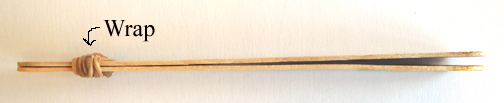
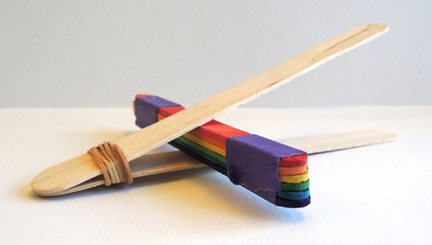
Our awesome craft stick catapult is from this bouncing bedtime post, so I’ve repeated the instructions below. Stack 2 jumbo craft sticks on top of one another, then wrap a rubber band tightly around one side.
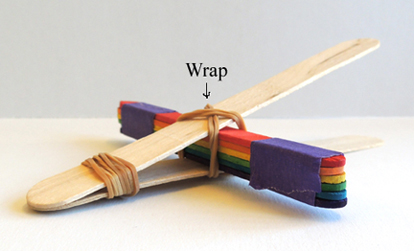
Now stack 6 medium craft sticks on top of one another and wrap both ends tightly with masking tape.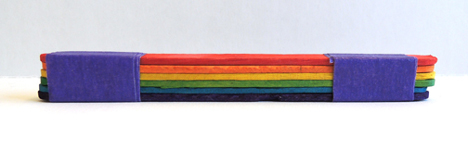 Wedge the stack of 6 craft sticks in between the jumbo crafts sticks like so:
Then wrap 2 rubber bands around both sets of craft sticks to secure the catapult mechanism in place (a criss-cross formation works best).
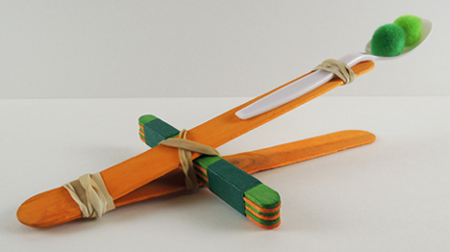
An additional step for you pea catapult…secure a plastic spoon on the end of the catapult arm with a rubber band. Don’t secure the spoon with tape – you might want to adjust the placement of the spoon later when you’re launching peas. Here’s our finished pea catapult, all loaded up:
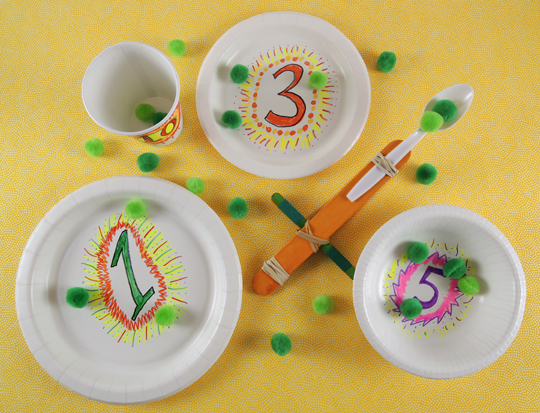
 Now for your targets! Use markers to decorate paper plates, bowls, and cups. Make sure to assign a numerical value to each item.
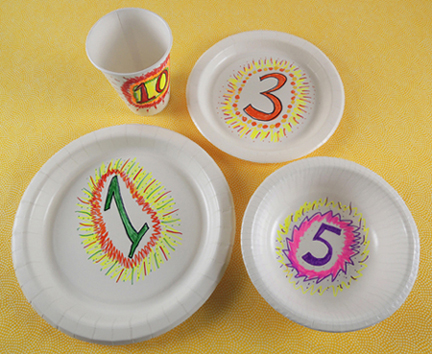 Ready to play? Set your table, load up your catapult, and launch some peas! Use your math skills to tally points, and play around with physics as you adjust your spoon and your catapult to achieve maximum results.
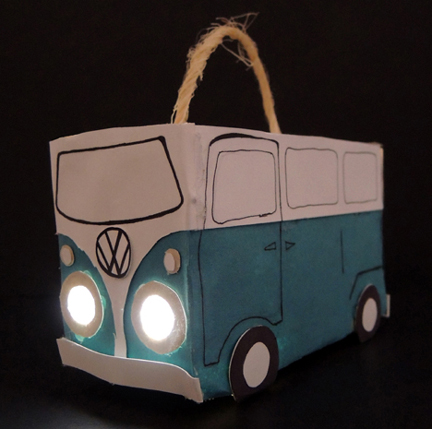
 We used a submersible LED to light Marissa’s van. You can find them in the floral section of Michaels craft store – 9 cost $21, but I always use a 40% off coupon.
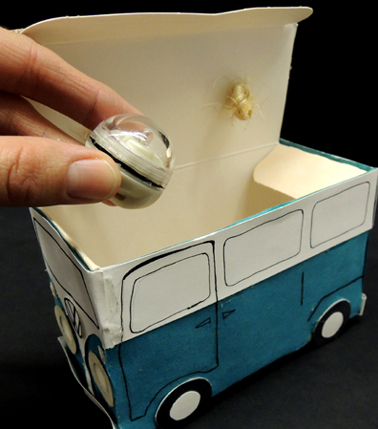 If the LEDs are too pricey, a glow stick will do the trick. Drop the illumination of your choice in the vehicle box, close the lid, and you’re done. Vroom vroom vroom!
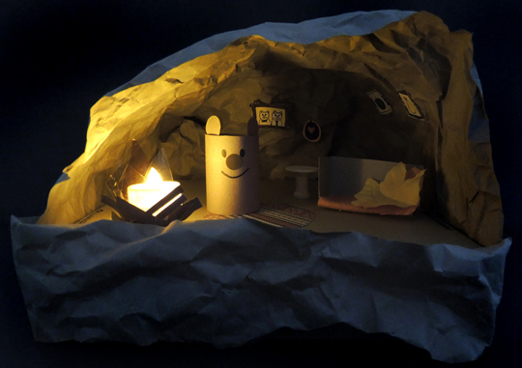
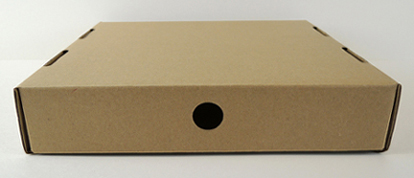 First, crinkle up brown packing or wrapping paper. Then arch it over the top of the base and secure to the sides and back of with tape. We taped a strip of crinkled paper to the front of the base as well.
 Now, for the inside! We made a half a toilet paper tube bear (with a
 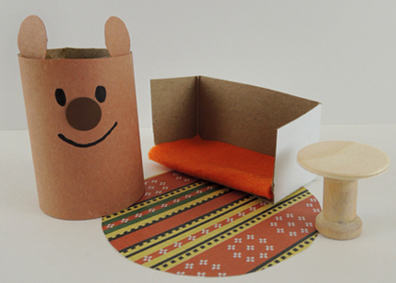 Ready for some artwork? Cut the frames from the template, draw some pictures, and attach your artwork to the walls of the cave with
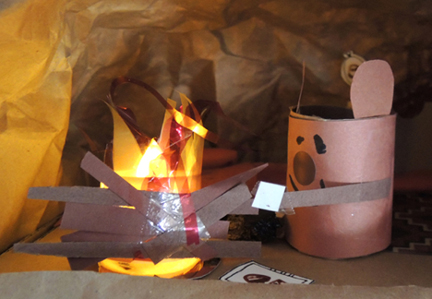
 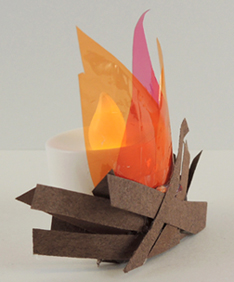 To make things extra fun, we turned off the lights during the fire construction portion of the program. It was so cute to see these little illuminated caves on all the tables. But here’s the cave that completely captured my heart…this bear is roasting a marshmallow!