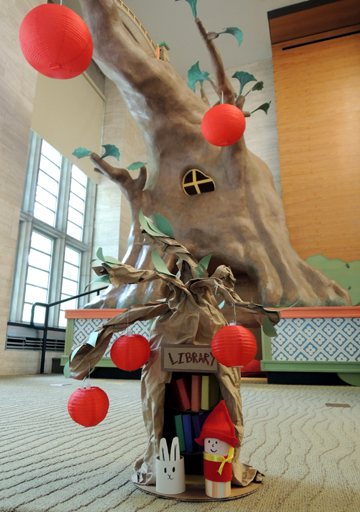
Bookscape, our library’s gallery, has a giant tree kids can walk into and read (or take the secret stairs to the second floor and curl up with some pillows). The tree is so iconic, we are often referred to as the “tree library.” So when we were presented with an adorable picture book that featured a library in a tree, well, we just had to send a little of the magic home!
We read Red Knit Cap and the Reading Tree by Naoko Stoop (Little, Brown, 2014).
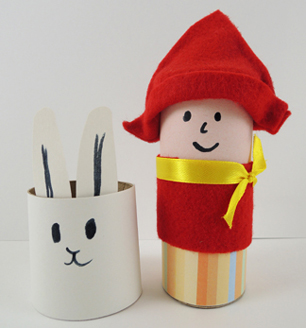
Red Knit Cap Girl and White Bunny are happily reading when Squirrel drops by to show them something interesting – a big, hollow oak tree. They have a brilliant idea. Why not turn the tree into a library? Soon all the animals are dropping things off (except Sly Fox – she keeps sneaking off with stuff). Beaver makes some shelves, Sheep brings snugly blankets, and Owl and Moon make a sign for the new Library. Now everyone can share a love of reading, even Sly Fox!
You’ll need:
- 1 large box (ours was 4.5” X 4.5” x 9” – a large tissue box works too)
- 1 corrugated cardboard base (we used a 10″ diameter cake circle)
- Brown wrapping or packing paper
- A selection of construction paper
- A selection of poster board
- White paper
- 6 mini craft sticks (ours were 2.5″ long)
- 2 toilet paper tubes
- Markers for decorating
- Scissors and tape for construction
- Hot glue
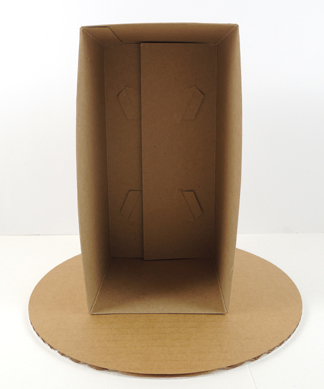
First, cut the lid or bottom off your box, and hot glue it to a corrugated cardboard base.
 Next, crumble up a swath of brown packing paper (ours was 25″ x 36″). The more wrinkly it is, the more it will look like bark! Wrap the paper around the sides of the box, anchoring it tape or hot glue. Hot glue the paper to the base as well. One thing to note – you want the brown paper to extend about 14″ – 16″ above the top of the box. This will give you nice, fat branches on your tree.
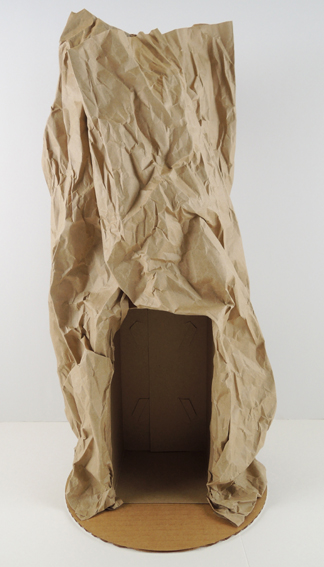 Cut sections into the paper, then twist the sections tightly to create branches. Notice in the photo below that the branch sections end 4-5″ above the top of the box. If you cut them too close to the top of the box, your branches will droop.
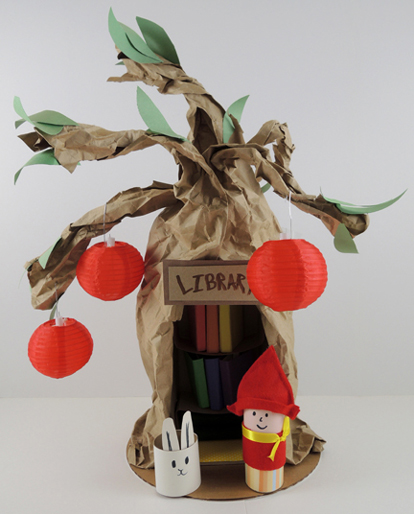
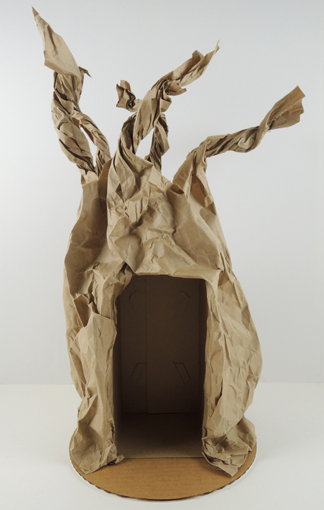 Add some green construction paper leaves, and your tree is done! We used the box lid to create shelves for the library, tucked a couple felt blankets in place, added a patterned paper rug, and made a library sign. Here’s a shot of our library’s interior.
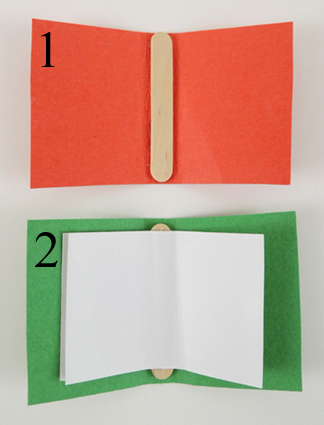
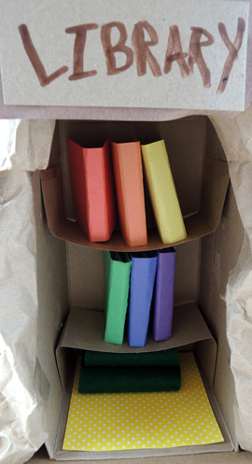 We wanted the library books to sit solidly on the shelves, so we hot glued mini craft stick spines to 2.75″ x 4″ pieces of poster board, then hot glued a couple 2.25″ x 3.25″ pages on top. It worked great!
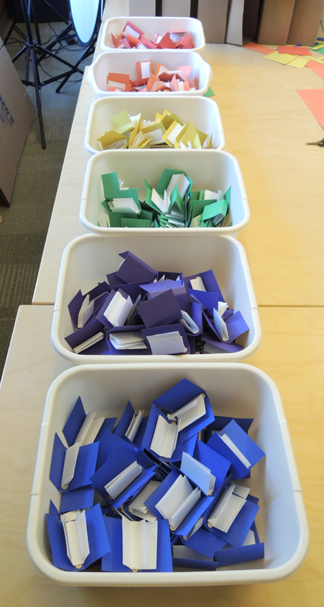
 It takes a little time to make the books, and we really wanted to fill the shelves, so we prepped 6 books per kid in advance (132 books total!). Behold the fruits of our labors…
 Finally, your library readers! We fashioned ours after the characters in the book, using 2 toilet paper tubes and construction paper. We couldn’t help making a red knit felt cap for the girl, too.
 Our library tree has red lanterns so those were the final touch to our project. We recycled them from this Creepy Underwear project and hung them on the branches with ornament hooks.
This project is adorable, but it has special significance too. Like this robot project, Red Knit Cap and the Reading Tree was selected by a little girl who was a die-hard story time regular and was moving out of New Jersey. So we asked her to share a very, very special book with us, and this was what she selected. This project’s for you Vivian!
Want to see a real-life library tree? You’ll find it here!

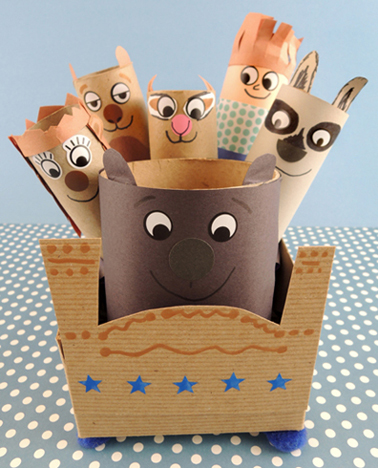 Tired and ready to jump into bed? You might have some competition. Can you toss the bear, chipmunk, groundhog, raccoon, porcupine, AND yourself safely into the bed?
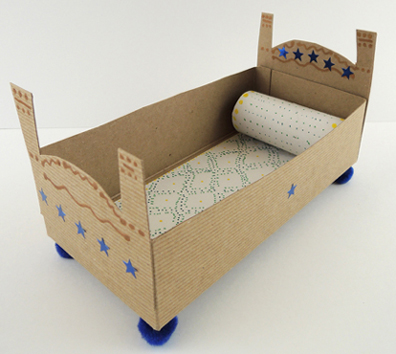 The bed’s occupants are toilet paper tubes (the chipmunk is a 2″ snippet of tube). The bear, however, is a packing tape core. We used construction paper and markers to decorate them, as well as eye stickers and dot stickers.
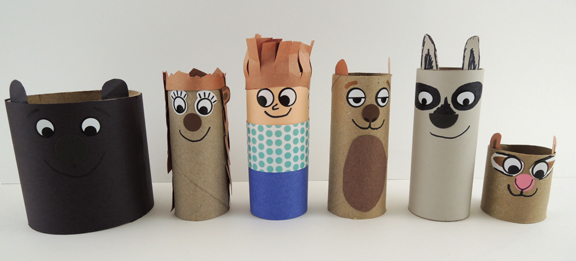 To play the game, simply set the bed up, move back a few paces, and let the tubes fly! The big bear is especially fun to toss, as he/she is prone to sending the other tubes bouncing out of the bed and into the air!
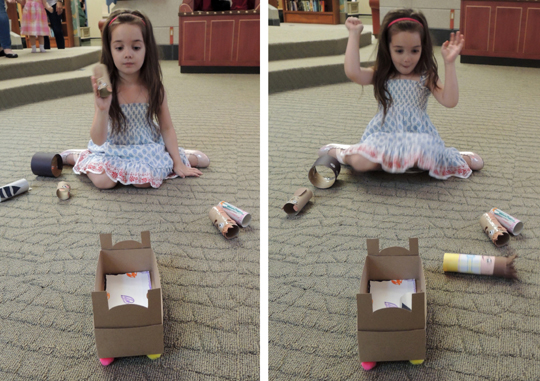
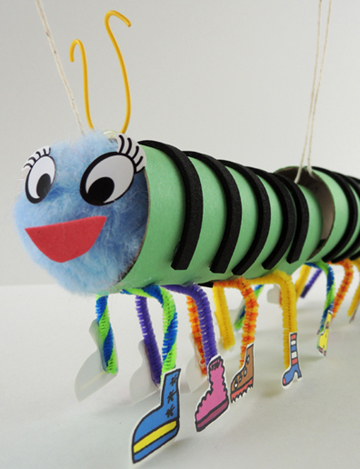 Sneakers, boots, bunny slippers, and galoshes. When you have 100 legs, you’re going to need a LOT of shoes. Good thing we have just the shoe store for you and your centipede marionette!
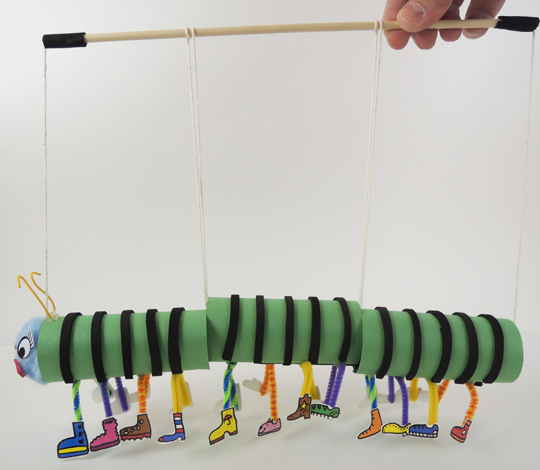
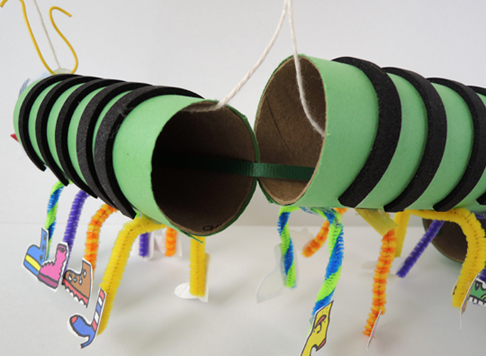 Katie came up with fantastic, easy method for stringing the marionette. Tie a 4 ft string to the end of a wooden dowel. Thread the string through the first tube, then loop it up and around the wooden dowel. Repeat this threading and looping through the second and third tubes, then tie the end of the string around the back end of the wooden dowel. Wrap the ends of the dowel in masking tape so the string doesn’t slide off. You can see the string loops in the photo below:
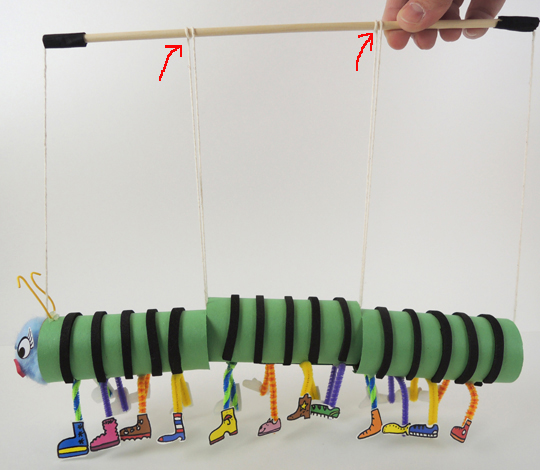 Last but not least, your centipede’s face. You don’t want to put the face on BEFORE you thread the marionette string, because the pom-pom will be blocking the end of the tube! the face is a jumbo pom-pom (which we hot glued in place), eye stickers, a self-adhesive foam smile, and twisteez wire antennae.
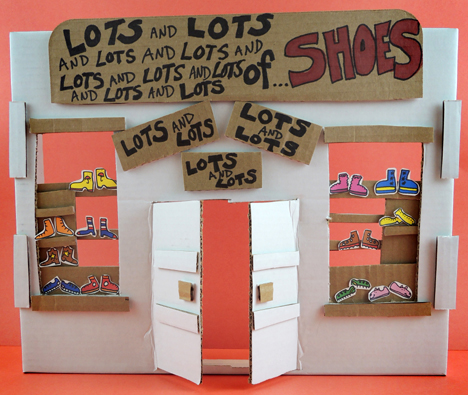 The kids walked over with their centipedes, and I slid the shoe templates through the front door of the shop.
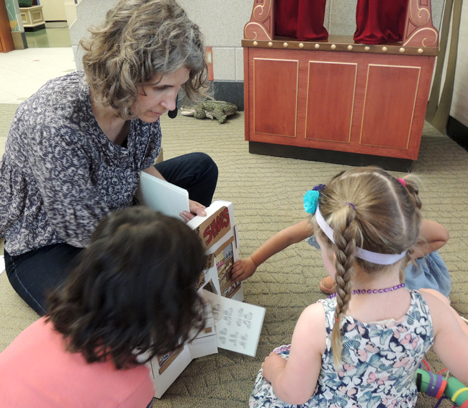 The shoes were then colored, cut, and taped the centipede’s legs. Admittedly, this marionette can be a little floppy while it’s getting its shoes attached. Which brings me to this clever technique a parent came up with:
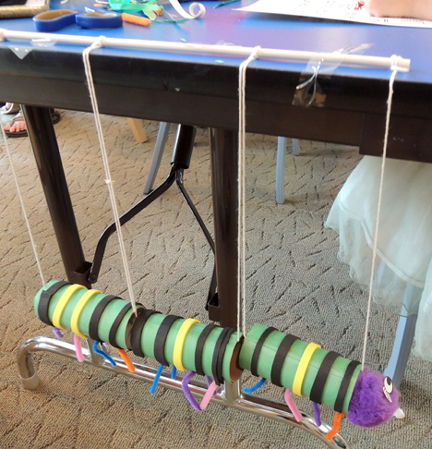 Tape the dowel to the table, and you are free to attach the shoes on a dangling marionette with minimal flopping. ABSOLUTELY BRILLIANT!