 Move over Leonardo! You too can draw like an Old Master. And you don’t need a studio, an aristocratic benefactor, or an artistic temperament. You just need one of these…
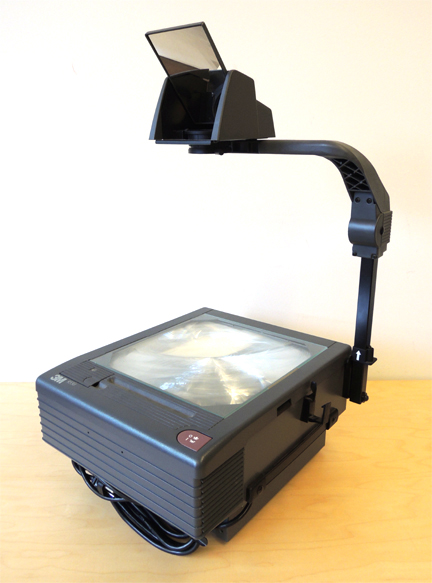 Yup, it’s an overhead projector. Remember these things? They used to be a fixture in classrooms. Now, you can probably find one in a forgotten corner of a school storage closet, or buried in the back of a library office, its head peeking out from a pile of mimeograph sheets like the Loch Ness of the office realm.
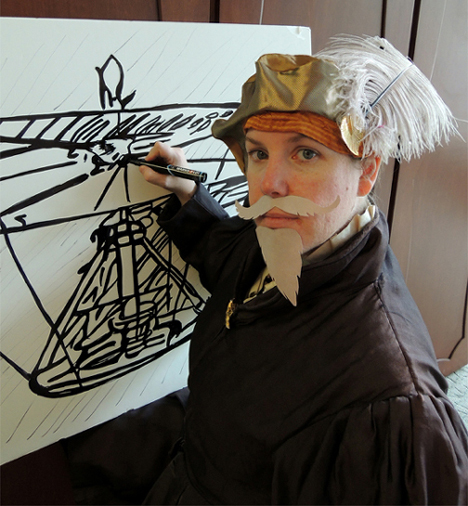
I rescued this overhead projector from the surplus pile at my library and am proud to house it in my stable of useful outreach tools. Among other things, I’ve used it to make inexpensive event signs, salvage presentations when PowerPoint went kaput, light up shadow puppet shows, and replicate iconic pieces of Renaissance art. Here’s how it works.
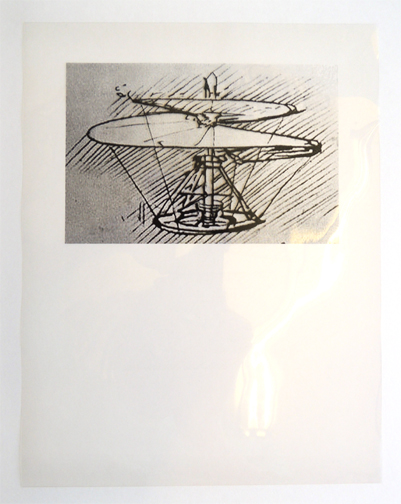
First, select the image you want to replicate (we used Leonardo da Vinci’s helicopter sketch). Then, print the image on transparency film made specifically for printers…
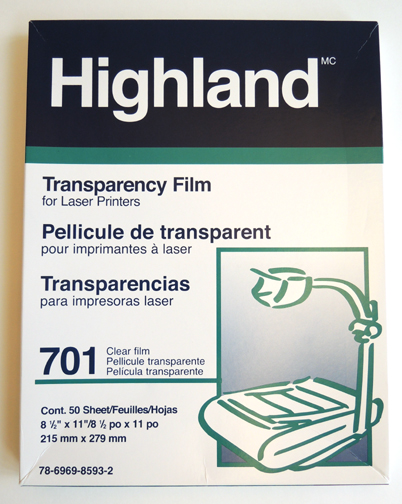 Load the transparency film into a computer’s printer like a regular piece of paper, and lo! It comes out with the image printed on it.
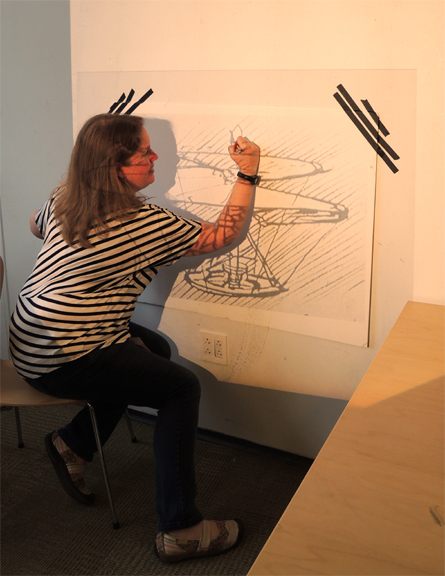
 Fire up the overhead projector, drop the transparency film in place, aim the projected image at a piece of paper, poster board, foam board, or wall and…start tracing!
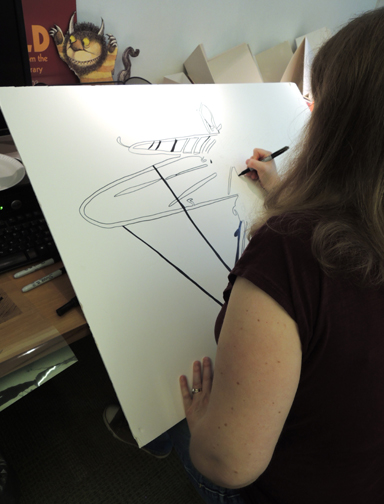
 When you’re finished tracing, simply fill in the outlines with markers or paint.
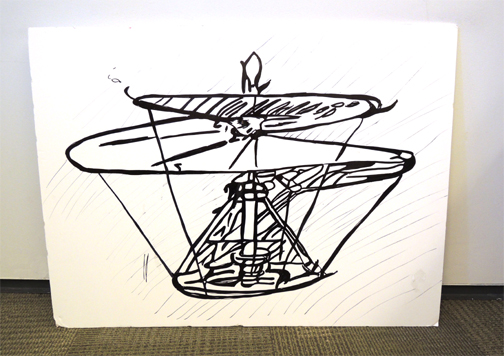
 Voila! You now have a lovely image that requires zero artistic ability.
 To make inexpensive event signs, simply print the titles of the signs on transparency film, trace them onto the top of a piece of foam board or poster board, and fill the outlines in with paint. Once I had the title, I’d use computer print outs to create the images and/or copy I needed for the rest of the sign. Our most popular event sign ever was created this way (and you can see it here).
If I hired a professional printer to have the titles of the sign printed on foam board, it would have cost between $15 – $25 per sign. Since I would typically create 10-15 signs for a large event, it added up pretty quick. On Amazon, transparency film is about $20 per pack of 100, 8.5″ x 11″ sheets. Vinyl letters and/or stencils are another option for creating signs, but they don’t always come with the widest variety of fonts (and they can get a little pricey too).
The overheard projector tracing method does require some time. If you have an event with a small budget and volunteers looking for work, however, you might just consider trying this method. It also works for theater sets and/or murals. Or you can just, you know, whip yourself up some classic art for the fun of it.
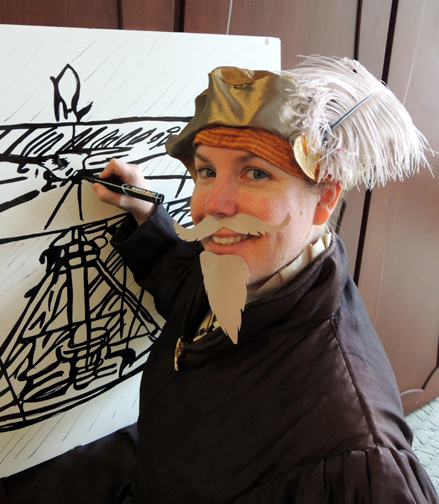 This person featured in this post, by the way, is my new part-time assistant Katie! You actually already met her foot in this post, when she was operating a skeleton marionette. Katie was my temporary event assistant for 2 years before I managed to reel her in to work for me on a permanent basis.
So she’s way used to my odd requests and strange job requirements. Such as selecting hundreds of specifically-sized rocks at a local quarry, folding 500 origami hats, helping me shove University students into 8′ cardboard tubes to install archery targets, developing a tax game for kids, locating an Etsy artist who could make a cuddly Ichthyosaur, and dressing up as a Victorian Steampunk spelunker at a Journey to the Centre of the Earth event.
So she was totally game for throwing on a doublet, taping on some construction paper facial hair, and posing as an Old Master. No problemo.
Special thanks to the Lewis Center for the Arts’ costume shop for the doublet and hat loan! Thou rock!