 This project is a unique blend of literacy, non-fiction, and the high seas! I designed these personalized nautical flag necklaces for a Treasure Island event we hosted in 2010. In addition to being easy and fun to make, the inexpensive supply list won’t deplete your buried treasure stash.
You’ll need:
- 1 maritime flag letter template, printed on 8.5″ x 11″ white card stock
- If needed, extra maritime flag letters, printed on 8.5″ x 11″ white card stock
- String
- Scissors
- Tape
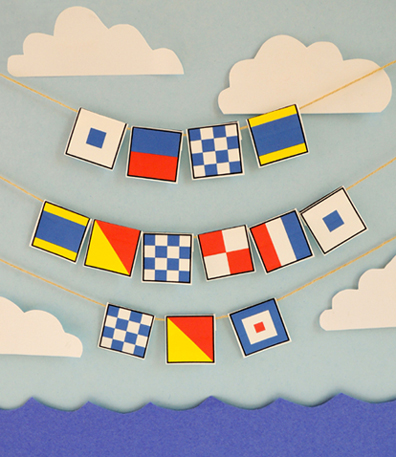
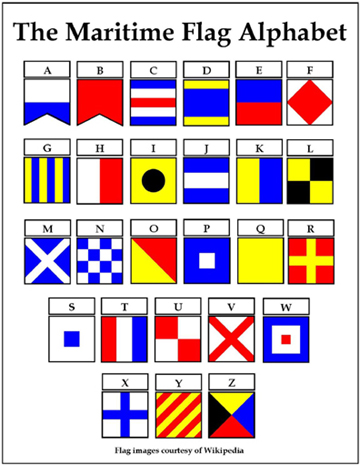
International maritime signal flags are flags of different colors and shapes that allow crews to send messages between ships. For example, Alfa, the flag for the letter A, also means “I have a diver down; keep well clear at slow speed.” Since there is a flag for every letter of the alphabet, I thought it would be cool to have kids spell their names…in flags!
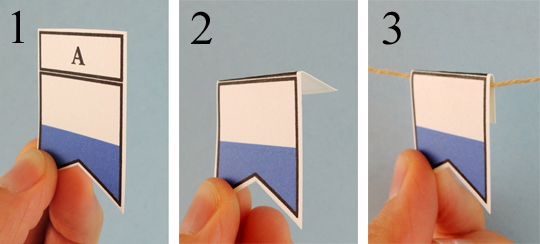
Start by selecting the letters you need to spell your name. Next, fold the white box (i.e. the box with the alphabet letter in it) backwards. Hand the folded flag over a piece of string, then tape the fold to the back of the flag. Knot the string behind your neck to wear it like a necklace, or just leave the ends loose and hang it up like a banner!
 If you’re doing this project for a big event like we did, I suggest you make a letter tray to put the individual flags in. This can be as simple as paper cups, marked with post-its, hot glued to the inside of a copy paper lid.
If you’d like to have a table top display sign with the complete flag alphabet (or you want to send kids home with their own copies), here it the alphabet as a full sheet of paper, and here it is as 2 half sheets.
 You could also use the alphabet to decode my flag message at the top of this post! Ha ha!
Flag images courtesy of Wikipedia
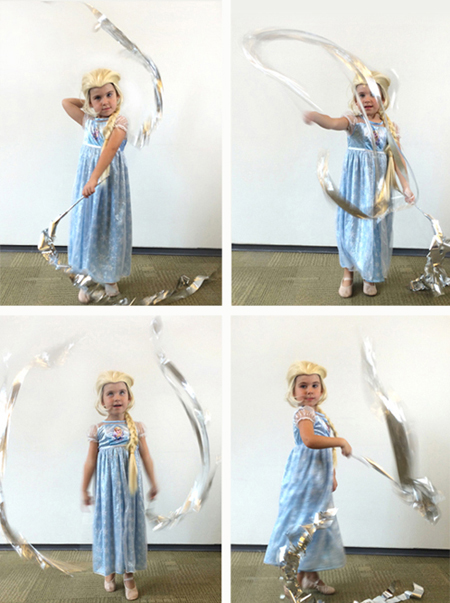
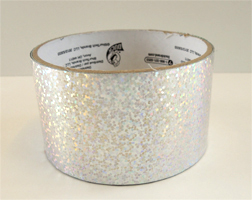
 You’re walking through the jungle when, suddenly…a snake slides onto your shoulders. Stop! Do NOT panic! It’s perfectly safe. This snake is made out of self-adhesive foam!
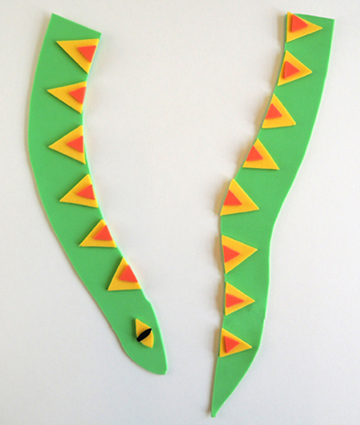 When the snake is decorated to your satisfaction, peel the backing off the big pieces and stick them to the front of your shirt. It looks best if you wrap the ends a little past your shoulders.
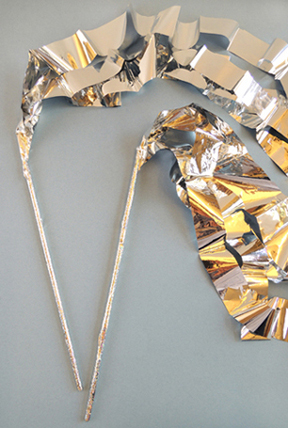
 If you’d like to add a tongue to your snake, fork one end of a 2″ piece of curling ribbon, and stick it to the underside of the snake’s head.
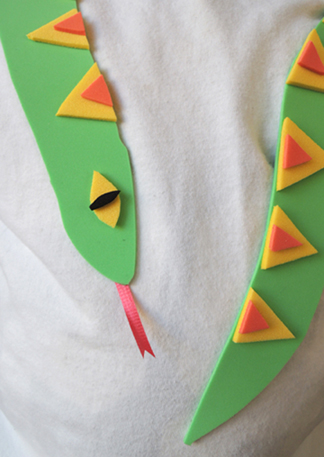 It’s important to note that the snake doesn’t go all the way around your neck. This foam doesn’t do too well on long, uneven curves. I didn’t want it to buckle, pop off, and tangle in (or stick to) longer hair.
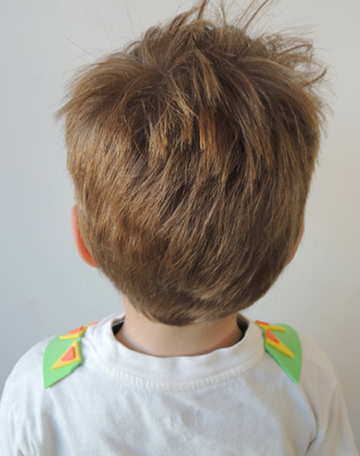 I tested the foam on plain t-shirts, as well as shirts with embroidery, plain decals, and glitter decals. All of them were fine, with the minor exception being the glitter decal. The foam did take some glitter off with it, but no more than comes off when you rub the decal with your fingers. However, when I peeled the foam off a mesh sports jersey with vinyl numbers, bits of the foam ripped off the snake and stuck to the vinyl numbers! So if you’re wearing a mesh sports jersey, peel slowly, and know that you might have to do a little extra peeling where the foam sticks.