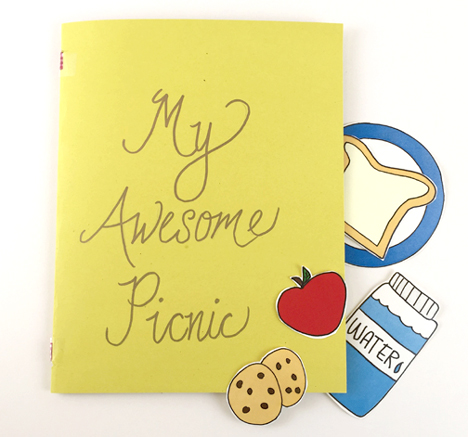
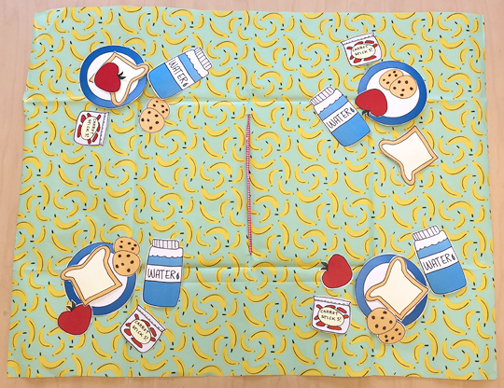
No need for a basket, this little picnic folds right up into a book! Unfurl your picnic blanket, pull your food from the built-in pockets, and you have yourself a feast with friends!
The inspiration for this project comes from a rather unusual source – a Princeton University Library Special Collections exhibit entitled “Piranesi on the Page.” It details the work of Giovanni Battista Piranesi, the foremost printmaker in 18th-century Europe. Originally seeking to be an architect, Piranesi eventually turned to printmaking and experimented with the architecture of books, innovating on the concept of what a book can be.
An example of this is Ichographia, Campo Marzio dell’antica Roma, created in Rome in 1762. Below you can see a huge map of the Campo Marzio, the ancient district of Rome used as a military training ground.
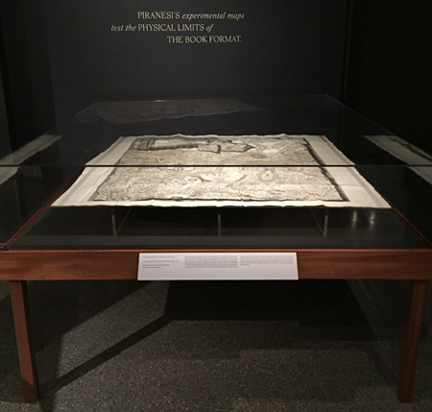
But what you can’t see at first glance is that this map is also part of a book! The photo was difficult to capture what we me crouching, the low lighting, and a highly reflective case, but hopefully you can see the open book below and how the map extends from it!
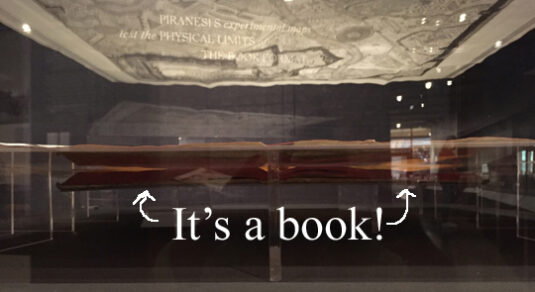 Amazing, right? It got me thinking of a huge page unfolding from a book…maps…the great outdoors…picnics…picnic blankets…aha! Today, we bring you…the picnic book!
You’ll need:
- 1 sheet of posterboard
- Wrapping paper
- 1 craft tie or pipe cleaner
- A set of picnic set templates, printed on 8.5″ x 11″ cardstock
- Scissors and tape for construction
- Markers for decorating
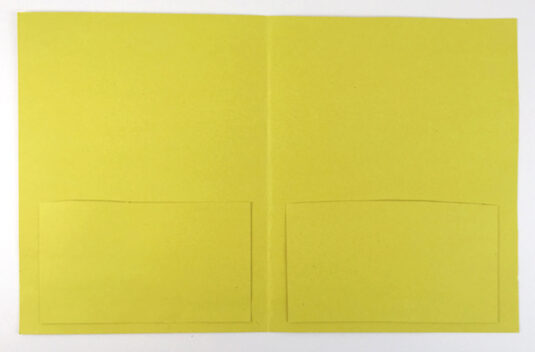
First, prepare the cover of your book. Fold an 11″ x 36″ piece of posterboard in half to create a cover, then tape or glue two, 4.5″ x 7.5″ pockets to the inside.
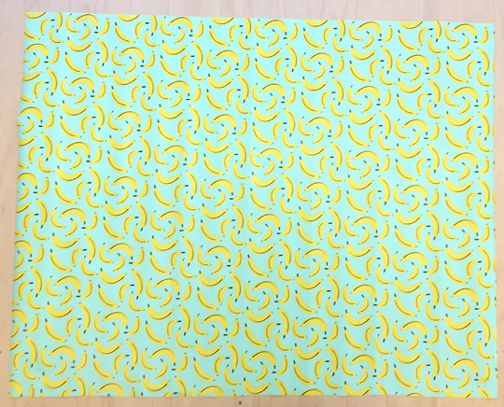
Now for the picnic blanket page! Begin with a 25″ x 31.5″ piece of wrapping paper, laid out flat, design side up…
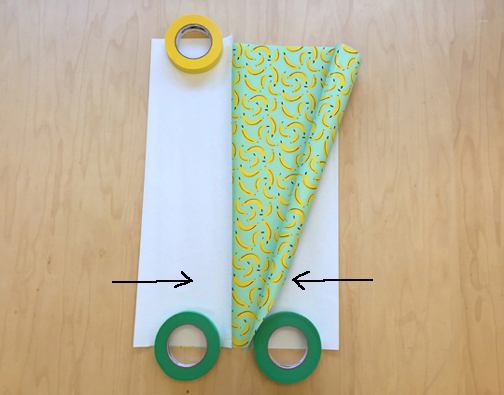
Fold the right and left sides of the wrapping paper inwards, meeting in the center (apologies for the masking tape rolls…the wrapping paper wouldn’t stay flat for the photo!).
Next fold the top and bottom upwards and downwards, meeting in the center.
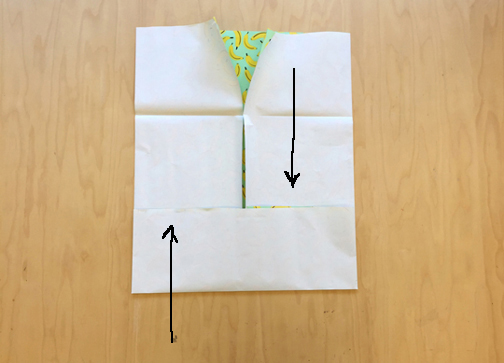
Finally, fold the wrapping paper in half, to the right, so it fits inside the book’s cover like a page…
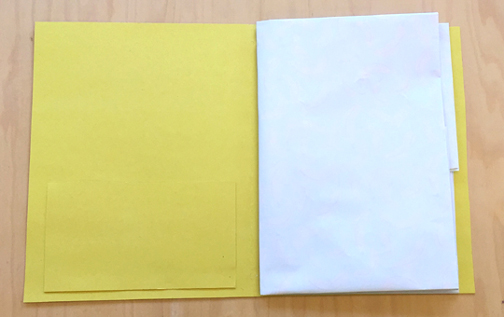
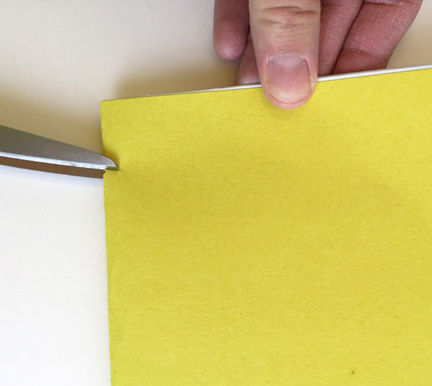
To attach the page to the book cover, use scissors to cut 2 small slits, each about 1″ from the top and bottom of the cover. Make sure to cut through both the cover and the pages!
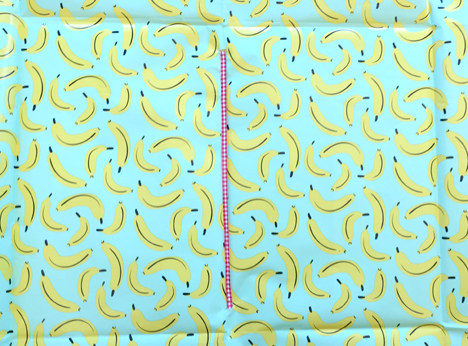
Now unfold the picnic page, located the slits, and thread the ends of a craft tie or pipe cleaner through both.
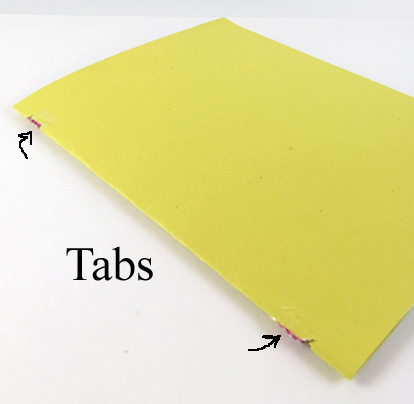
Refold the picnic page, close the cover, and locate the two ends of the craft tie. Tab them sharply to the spine of the book cover, and reinforce the connection with tape.
Print as many picnic place settings as you would like from the template, then color and cut them out. Slide them into the pockets of your book.
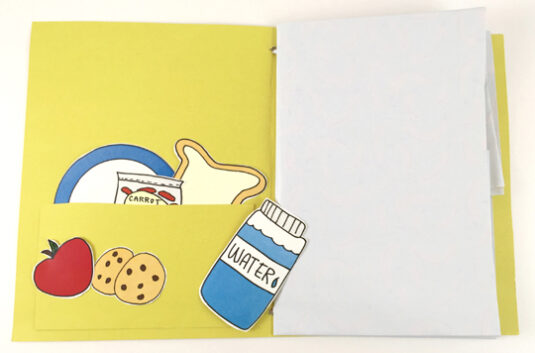
Add a title to the front of your book, tuck it under you arm, and head out for a picnic with your favorite friends or stuffed animals!
If you’re feeling extra creative and Piranesi-inspired, instead of having a picnic blanket with a wrapping paper design, flip it over to the blank side and draw a map leading to your favorite picnic spot or literary landscape!

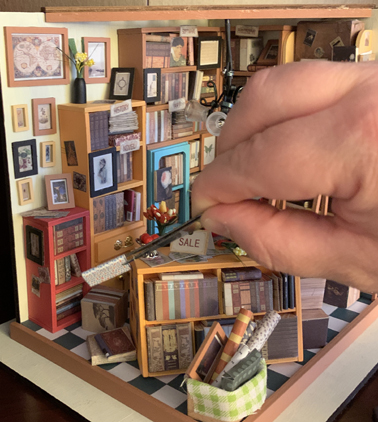
 When Katie saw this DIY miniature library online, she was entranced. It’s perfectly adorable with its tiny little books and knick knacks on the bookshelves and darling framed pictures and actual working chandelier with four lights. But she did NOT love the lengthy process of constructing it. It took 46 hours. 46 HOURS. Katie, share with us your epic journey…
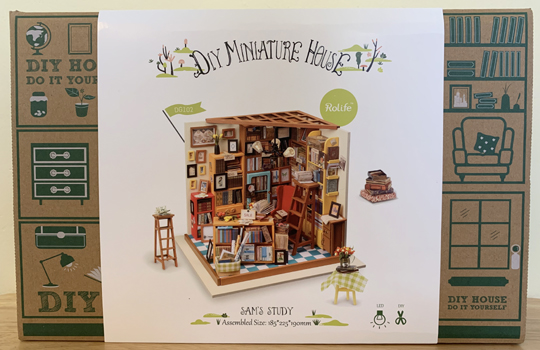
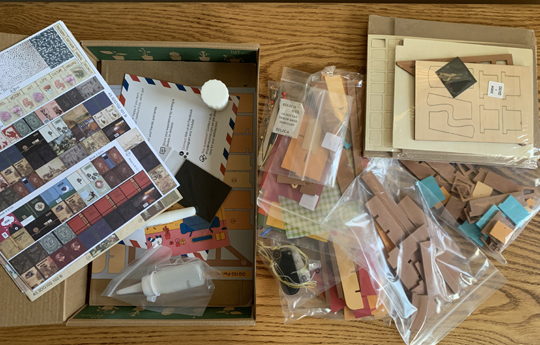
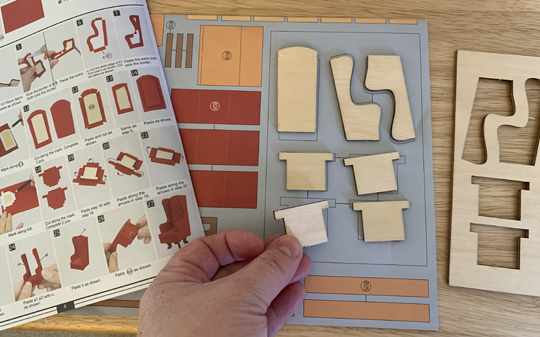 So many pieces! So much glue! Oftentimes I had to be creative with figuring out ways to assist the various parts to hold together as the glue dried. Elastic hair bands for the win!
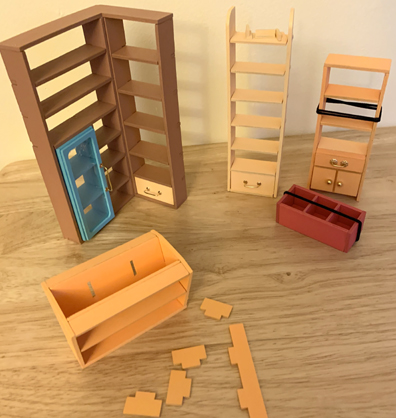
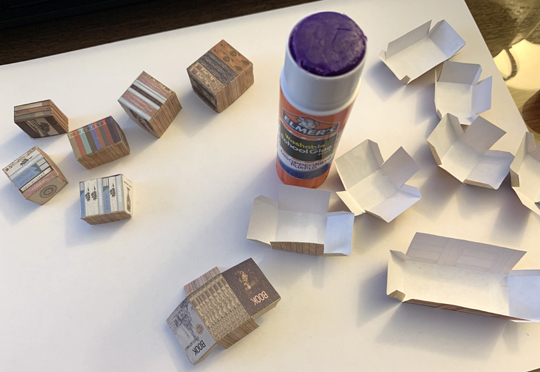 The pièce de résistance was constructing the walls and floor of the bookstore, as well as creating the realistic chandelier that provided the gentle glowing light. The bookstore was relatively easy. The chandelier was complicated. And frustrating. And it nearly didn’t happen because I almost ran out of wire necessary to provide electricity to the bulbs.
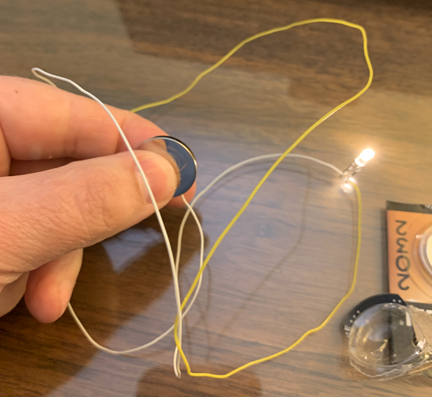
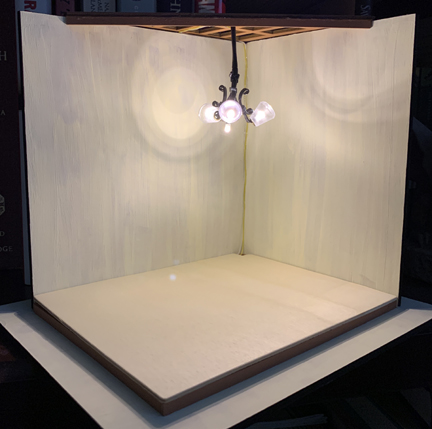 I was just about ready to furbish the bookstore, but I still had to finish the wing back armchair. The various bits and pieces of the chair were ready to go, but I was not looking forward to the actual construction. Begrudgingly, I used every last bit of my dogged patience to put the chair together. It’s not pretty, in fact it’s far from perfect. One side of the chair is slightly taller than the other and there are many areas of the wood frame showing through the red cloth, but I finished it.