Great Snakes!

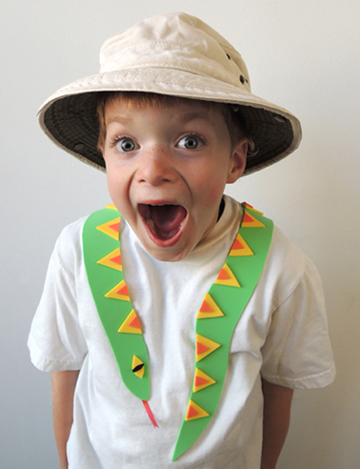
great snakesYou’re walking through the jungle when, suddenly…a snake slides onto your shoulders. Stop! Do NOT panic! It’s perfectly safe. This snake is made out of self-adhesive foam!

You’ll need:

First, trace the 2 halves of your snake onto a 9″ x 12″ sheet of self-adhesive foam (I purchase my sheets from Blick Art Supplies and Michaels Craft store). The “head” half of my snake was approximately 11″ long. The “tail” half was approximately 12″ long.

Cut both snake halves out, but don’t peel the backing from them just yet. The next step is to cut, peel, and stick little pieces of foam to your snake’s body. I did a triangle pattern, but stripes also look fantastic. And don’t forget the eye!
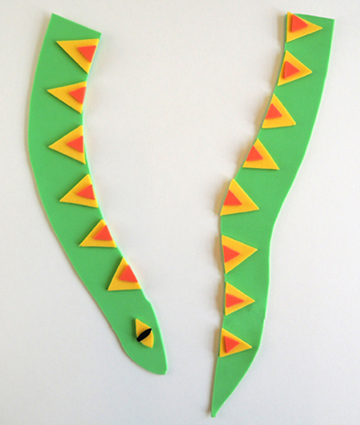
snake halvesWhen the snake is decorated to your satisfaction, peel the backing off the big pieces and stick them to the front of your shirt. It looks best if you wrap the ends a little past your shoulders.
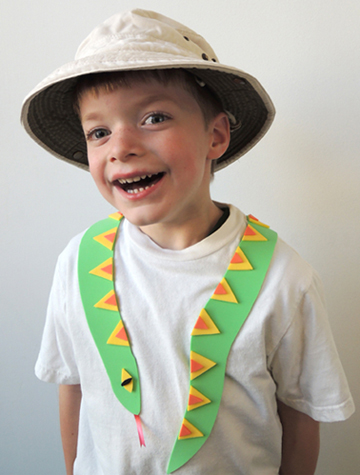
finished shoulder snakeIf you’d like to add a tongue to your snake, fork one end of a 2″ piece of curling ribbon, and stick it to the underside of the snake’s head.
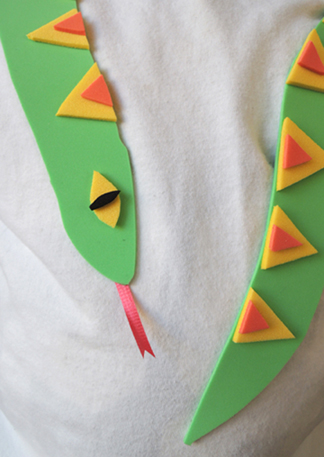
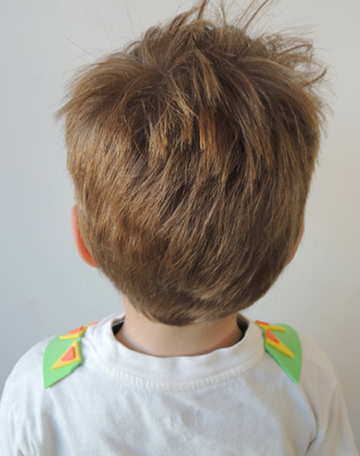
snake tongueIt’s important to note that the snake doesn’t go all the way around your neck. This foam doesn’t do too well on long, uneven curves. I didn’t want it to buckle, pop off, and tangle in (or stick to) longer hair.
snake from the backI tested the foam on plain t-shirts, as well as shirts with embroidery, plain decals, and glitter decals. All of them were fine, with the minor exception being the glitter decal. The foam did take some glitter off with it, but no more than comes off when you rub the decal with your fingers. However, when I peeled the foam off a mesh sports jersey with vinyl numbers, bits of the foam ripped off the snake and stuck to the vinyl numbers! So if you’re wearing a mesh sports jersey, peel slowly, and know that you might have to do a little extra peeling where the foam sticks.

And there you have it! A super easy shoulder snake, ready for your next story time. May I suggest Snake, His Story by James Marshall? It’s one of my favorites!

Ever-Ready

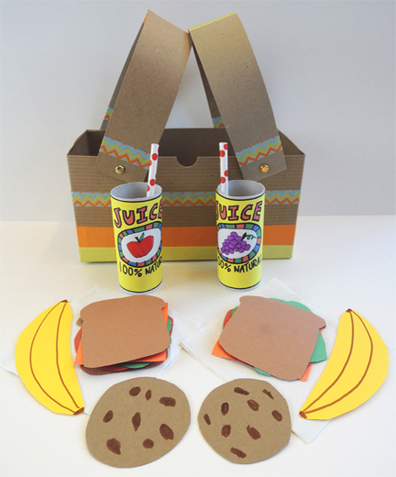
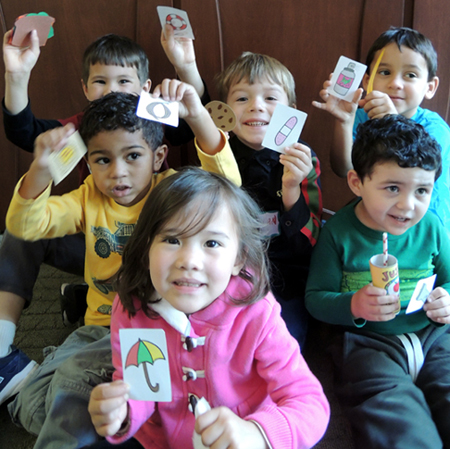
ever readyFrom sandwiches to personal flotation devices, we’re prepared for whatever picnicking perils come our way. We made a delicious paper picnic lunch for two, and then tested our emergency preparedness with a problem-solving card game. Bust out the marshmallows and the umbrella. Nothing’s going to get in the way of THIS picnic!

We read Ready for Anything! by Keiko Kasza (G.P. Putnam’s Sons, 2009). Duck wants to go on a picnic, but Racoon is feeling a bit paranoid. What if they get attacked by killer bees? Or fall in a river? What if a terrible storm blows in, they take shelter in a cave, and find a dragon inside?!? Duck counters his friend’s dire predictions with happier ones. What if it’s butterflies instead of bees? What if the river is cool and refreshing? What if they roast marshmallows with the dragon in the cave? Finally, Raccoon agrees to go, but he fortifies himself with all sorts of emergency equipment. At the picnic site, Duck realizes that he forgot the picnic basket. Uh on! A true emergency! Luckily, Raccoon is ready for anything. He’s brought a delicious back-up lunch.

You’ll need:

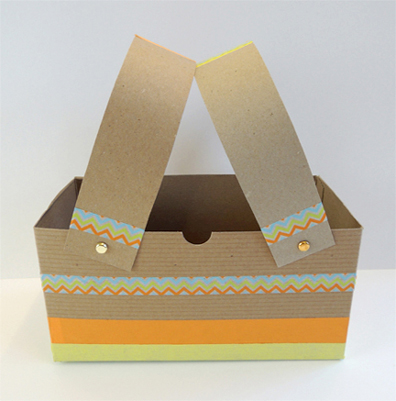
picnic basket with lunchFirst, the picnic lunch! If your box has a lid, cut the lid and tabs off (if you’re using a tissue box, just cut the entire top off). Decorate the box with patterned tape and color masking tape (or just markers).

To create movable picnic basket handles, punch 2 matching sets of holes in both sides of the box. Next, punch a hole at both ends of your tagboard strips. Curve the strips over the box, line the holes up, and use brass fasteners to attach the handles.

finished picnic basketIf you don’t want moveable handles, simply staple a tagboard strip to the center of the box.

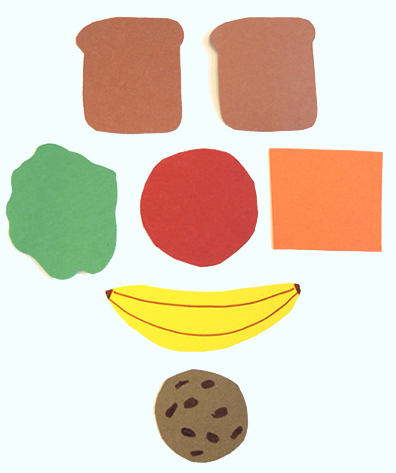
Now for the food! Use construction paper to make two sets of the following picnic items: 2 slices of bread, 1 piece of lettuce, 1 tomato slice, 1 piece of cheese, 1 banana, and 1 cookie circle. Use markers to decorate the banana and cookie. Here’s what our pieces looked like (carefully arranged in what I’ve dubbed the “happy picnic food face”).

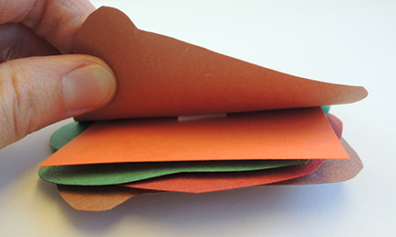
happy picnic food faceYou can simply glue the layers of the sandwich together. Or, if you want to add a bit of bulk to it, use little squares of double-sided foam mounting tape between the fillings. Here’s a shot of a square of tape connecting the bread and cheese:

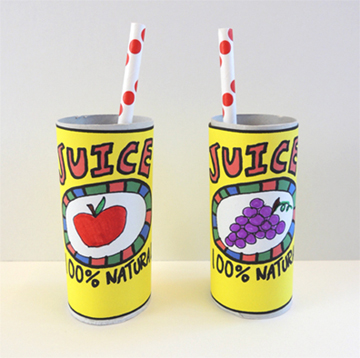
taped sandwichTo make beverages, color the juice label template, then wrap each label around a toilet paper tube. Cut a drinking straw in half, and tape each piece inside a tube.

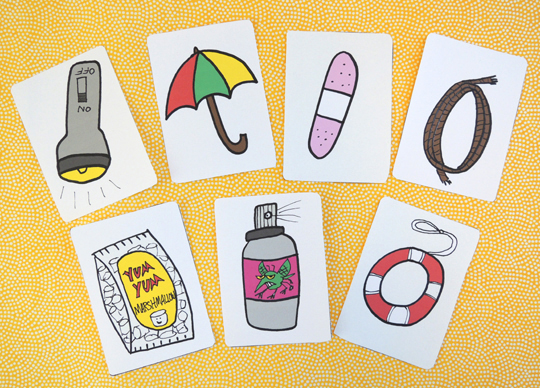
juice bottlesTuck your lunch in the basket (and don’t forget the napkins!). Your final step is to color the picnic emergency equipment cards from the template. You’ll notice there’s a blank card on the template. That’s just in case you’d like to add another piece of equipment. Like a big bar of chocolate. I’ve definitely had chocolate emergencies.

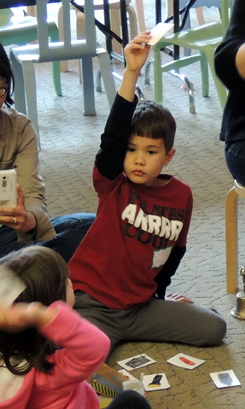
emergency equipment cardsAfter giving the kids a few minutes to play with their new picnic sets (and there was quite a lot of picnicking going on) I asked them to gather in the story time area. Then, loudly and with lots of drama, I read each scenario from the picnic emergency scenario sheet. The kids had to listen carefully and select the equipment card they thought would solve the problem best.

gameI kept the scenarios very simple, but feel free to create more complicated ones. Or write some that require a double card solution!

Let it Go

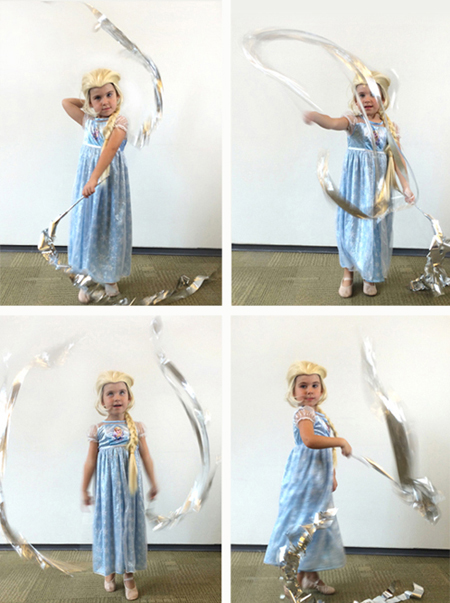
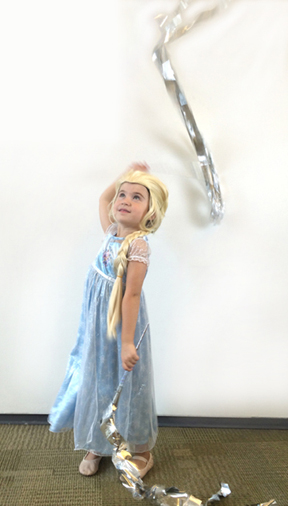
let it go 1Does your Snow Queen need some silvery magic? Try these super simple, super inexpensive, but super fun metallic dance streamers! We took them out on our gallery floor to see how they’d go over. Three little girls immediately asked for a set. I’ll admit, I played with them too. It’s impossible not to twirl them and feel just a little bit magical.

You’ll need:

  • 2 wooden dowels
  • 1 silver metallic tablecloth
  • Scissors
  • Silver tape

The best tablecloth to use is a super-shiny crinkly one (I bought mine at Oriental Trading Company for $3.25). Spread out the tablecloth and cut 8 ribbons from it. Here are my ribbon measurements (you can adjust yours according to the height of your child):

  • 2 ribbons measuring 2.25″ x 41″
  • 2 ribbons measuring 2.25″ x 49″
  • 2 ribbons measuring 2.25″ x 60″
  • 2 ribbons measuring 2.25″ x 66″

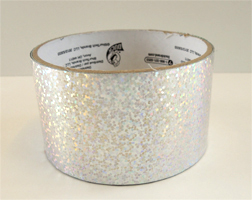
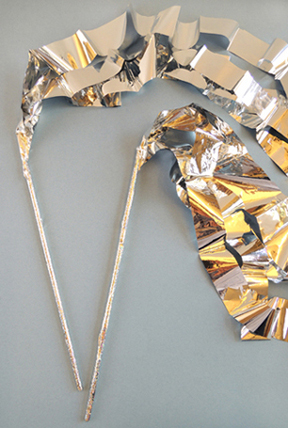
Bunch 4 ribbons (one of each size) together, twist tightly, and tape securely to one end of a wooden dowel. Continue wrapping the tape downward and around the dowel until it’s covered. I used silver prismatic tape from Party City (a roll costs $4.99).

prismatic tapeThe Party City tape is the same width as duct tape, which can be awkward to wrap around a thin dowel. So I cut the original tape pieces in half, creating narrower strips (since the tape has peel-off backing, cutting long strips in half is easy). Repeat the above steps with the remaining 4 ribbons and wooden dowel, and you’re done!

metallic dance streamersCue the music and…LET IT GO!

let it go 2If you’re a fan of Hans Christian Andersen’s original Snow Queen, you might want to check out this fabulous adaptation by the Princeton Youth Ballet!