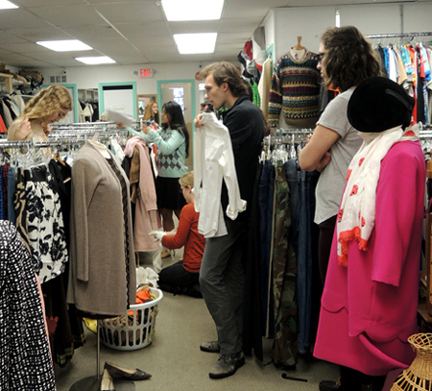
 The challenge? To costume as many literary characters as you can in 180 minutes. The catch? You can only use what you find on the racks of Nearly New consignment and thrift shop in Princeton.
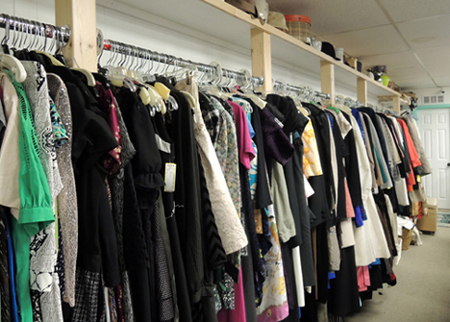 For those of you unfamiliar with Nearly New, it’s an independently-owned consignment and thrift store with tons of fantastic stuff. Toni Maher, the owner, is always helpful when I drop by looking for costume items for work (or, heh heh, just shopping).
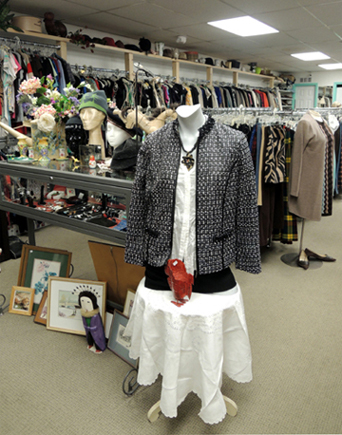 Toni’s also extremely accommodating when it comes to more unusual requests, such as borrowing a mannequin for this Cinderella dress design event, or hunting for teacups and saucers for this Victorian Tea program. She didn’t even bat an eye when I asked her if she’d be up for hosting the costume challenge.
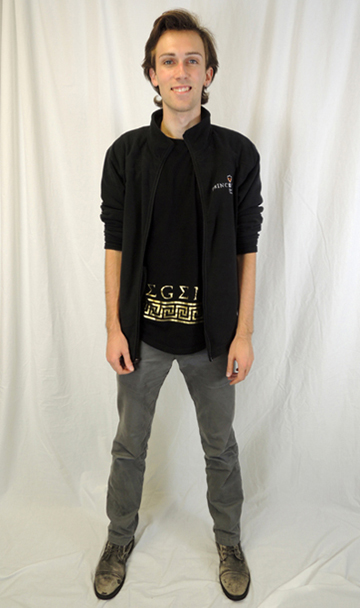
The other major player was Princeton University sophomore James Jared. Last year, James designed and sewed the Mathamagician’s costume for our Day in Digitopolis program (you can see it in this post). He also works in the costume shop at the Lewis Center for the Arts. James is incredibly talented, and was totally game for the challenge. There’s an interview with him at the end of the post!
The big day dawned and Marissa and I headed to Nearly New with photo equipment and a long list of possible characters (we went with female characters because, as James so astutely pointed out, the women’s sections of thrift stores are much bigger than the men’s sections). James and 4 Princeton University students who agreed to model met us at Nearly New. Then it was full steam ahead. In 180 minutes, James costumed 9 characters. Are you ready to see his results?
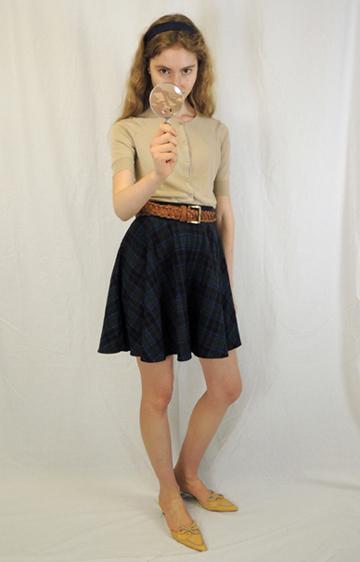
#1 NANCY DREW
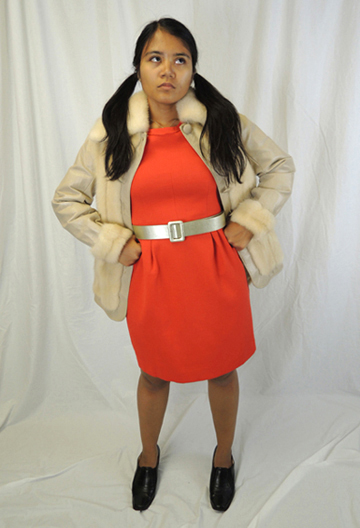
#2 VERUCA SALT
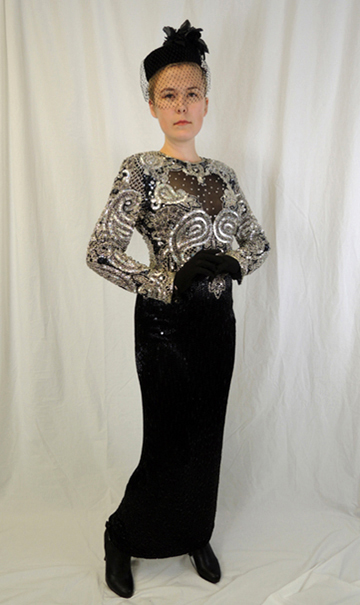
#3 THE GRAND HIGH WITCH
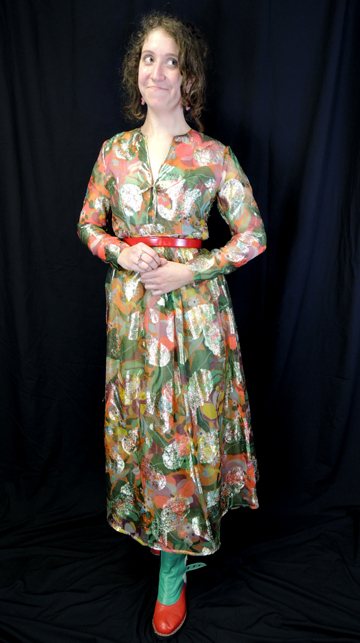
#4 MS. FRIZZLE
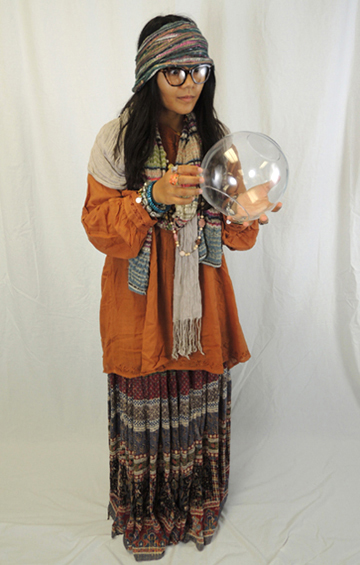
#5 PROFESSOR TRELAWNEY
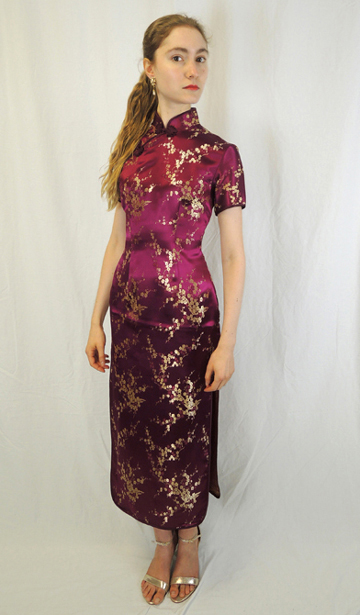
#6 MRS. COULTER
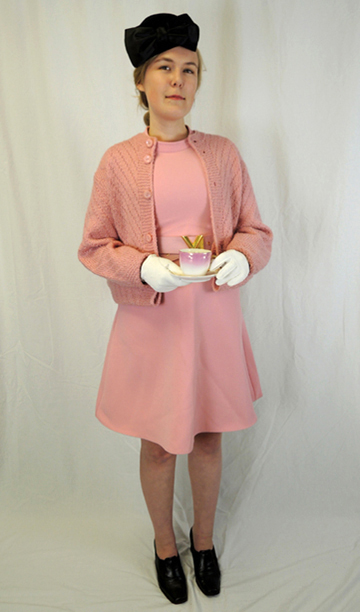
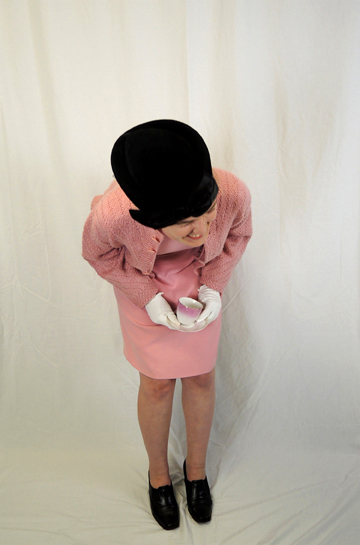
#7 DOLORES UMBRIDGE
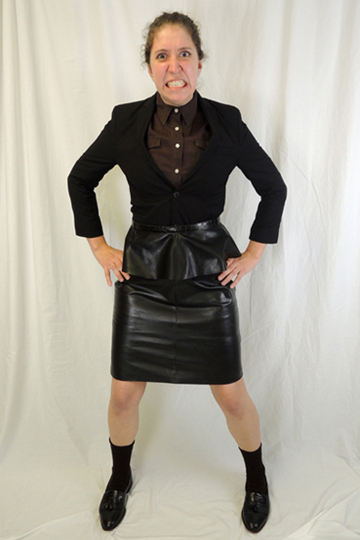
#8 MISS TRUNCHBULL
#9 THE WHITE WITCH
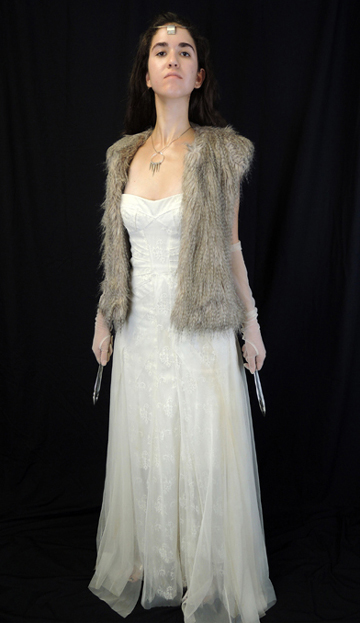
James’ costumes look fantastic, but they’re even more fun when you learn some of the behind-the-scenes facts. Nancy Drew, for example, is wearing a belt in her hair because we couldn’t find a headband. Miss Trunchbull is wearing men’s shoes, men’s socks, and little kid’s jacket to make her look bigger and bulkier. Dolores Umbridge’s sweater was overwhelming her dress, but James expertly pinned it to a better length. Professor Trelwaney is holding a fishbowl. And the White Witch’s crystal daggers? Those are salad forks that she’s holding handle-side-out.
The other thing I didn’t really appreciate until we got there was the volume of items and how fast James had to sift through them. To find the perfect belt, James had to dig through dozens and dozens of belts while simultaneously looking for earrings, dresses, and boots. He did this while expertly delegating the models to bring him possible shirts, skirts, sweaters, and hats. Also, James could find an awesome dress, but if it didn’t fit the model, or match the personality of the character, it was out. Finally, I learned that it’s not easy to make pieces from different decades work together without just the right vision.
JAMES JARED
 What’s your costuming background?
I’ve always loved making Halloween costumes, but I officially taught myself how to sew in high school when I started to cosplay (make costumes based on characters from movies, tv shows, books, etc).
What was the costume challenge like for you?
I was very nervous going into the challenge because I’ve never done anything of the like before, and I was worried that the time constraint would prove difficult to work under. In the end, though, I had a fantastic time and I’m very proud of the costumes that we were all able to make together.
Did you have an overwhelming favorite?
I think my favorite costume had to be Trelawney from Harry Potter. There were so many scarves and shirts that fit the character in the thrift store that her outfit almost seemed to show up without having to look for it. It almost became less of a question of which scarf would be best and more how many scarves we could get away with throwing on her.
Which was the toughest character to costume?
The hardest character to costume was the White Witch from The Chronicles of Narnia. Her character description includes a crown, which the shop didn’t have, so it took a while for us to come up with a way to mimic the crown. Eventually we found a circlet that suggested royalty, as well as some spiky earrings that were reminiscent of icicles to use as a necklace.
If you had more time, which character were you hoping to do?
I would have loved to costume someone as Kate Wetherall, as the Mysterious Benedict Society was one of my favorite books growing up. Unfortunately, her costume is fairly specific and there isn’t much room for leeway.
What’s your major at Princeton University?
I’m just starting out in the Electrical Engineering department.
Do you see any connections between your major and costuming?
Interestingly, I once told an employee in a fabric store I frequent at home about my major, and she said that she often thought of sewing as a type of engineering. Though I’d never have put the two together on my own, as soon as she said that I knew she was right, and I think it applies to costuming as well.
In both costuming and engineering you have to pull materials together using techniques you’ve learned to create a final product that’s more than the sum of its parts. I think I enjoy sewing and costuming so much for the same reason I like engineering, which is that it’s a great feeling to have created something new out of basic materials. And that’s something I think anyone can do.
A big, enthusiastic “Huzzah!” to James Jared, costumer extraordinaire, who aced the costume challenge with style and flair. Warm waves of gratitude to the Nearly New for letting us overrun your store and create chaos in your racks.
And finally, many thanks to models Amanda Blanco, Ailyn Brizo, Joani Etskovitz, Grace Turner, and Marissa Warren. It wasn’t easy to keep a straight face through it all, much less glower, growl, look haughty, or stare intensely into the camera wearing shoes that were at least one size too small for you.
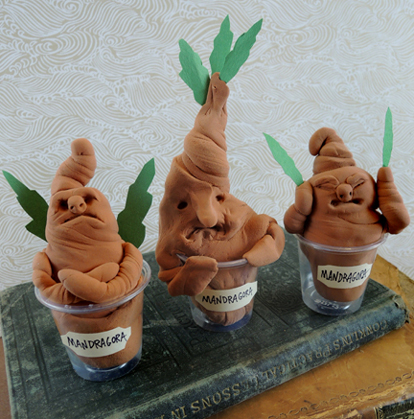
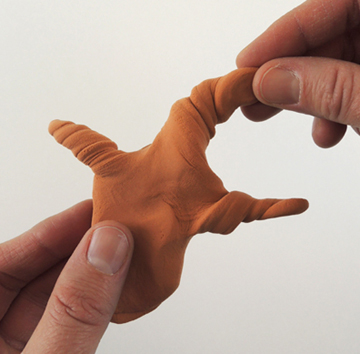 Use sculpting tools and smaller bits of Model Magic to create the face. Then push the mandrake’s plug into a small clear plastic cup. Cut leaves from green construction paper, and gently pinch the Model Magic around the leaves to hold them in place. I love the expression and leaf placement on Katie’s mandrake:
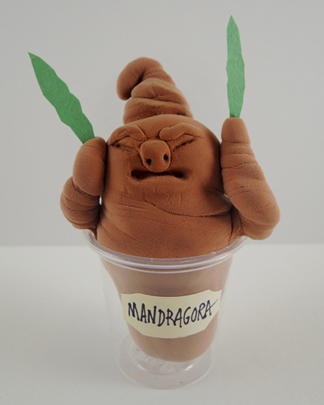 You can add a label to your pot if you’d like. Ours was a bit of manila paper adhered to the plastic cup with a glue stick. We went with the plant’s Latin genus name, Mandragora.
 The challenge? To costume as many literary characters as you can in 180 minutes. The catch? You can only use what you find on the racks of Nearly New consignment and thrift shop in Princeton.
 For those of you unfamiliar with
  Toni’s also extremely accommodating when it comes to more unusual requests, such as borrowing a mannequin for


 What’s your costuming background?
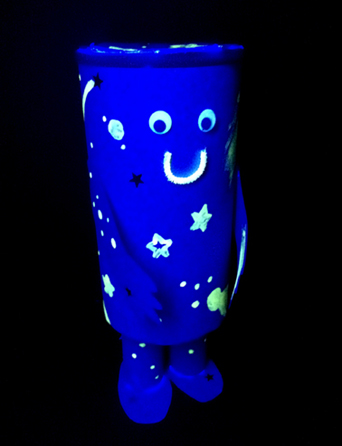 Afraid of the dark? Nah! With this fantastic, illuminating friend, you can discover how much fun the dark really is! And if you’re still not convinced, join us for a glowing balloon bounce bonanza!
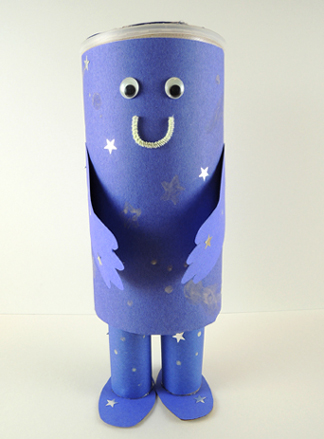
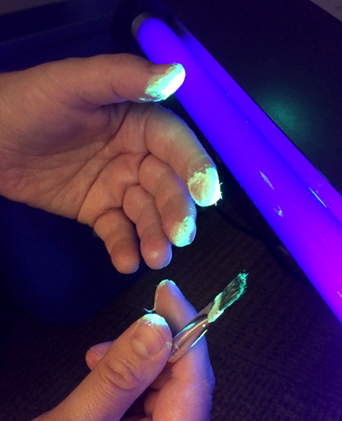
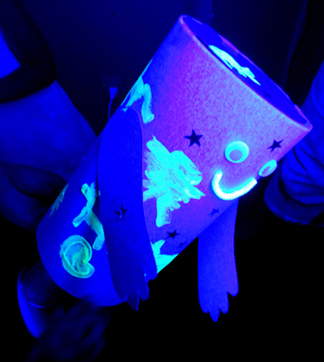
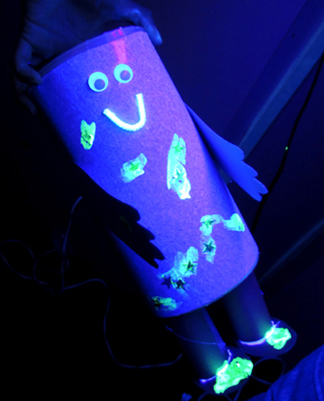
 The neat thing about the glow glue is that it dried semi-clear, so there’s a bit of a dramatic reveal when it illuminates:
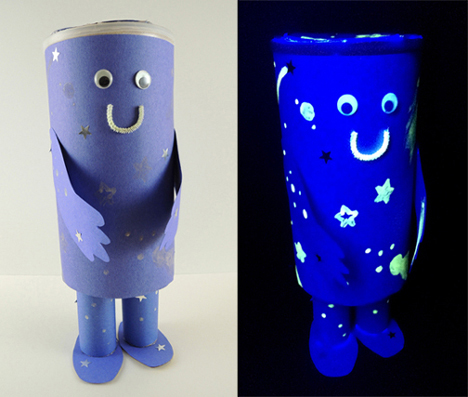 Notice how the eyes and mouth of the project are glowing too? Those are glow-in-the-dark wiggle eyes (available through Oriental Trading Company – a pack of 100 is $3) and a snippet of white pipe cleaner painted with glow glue. We were dubious at first, but the glue stuck to the pipe cleaner very nicely and dried quickly. It also stuck to Katie’s hands, giving her awesome alien fingers.
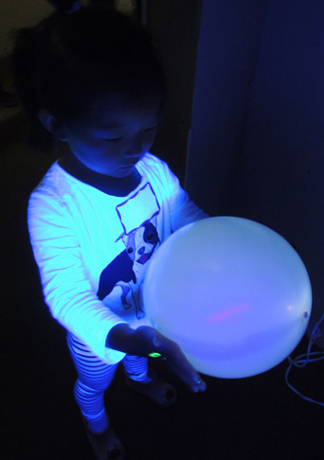
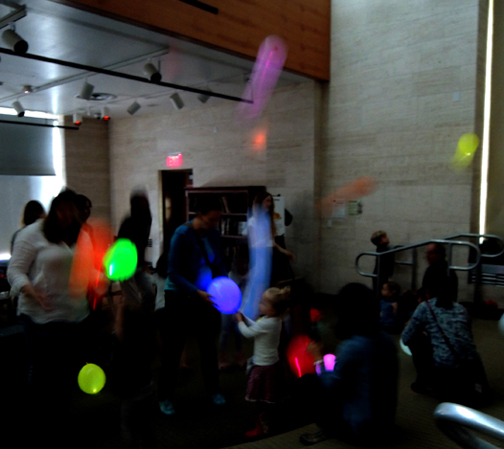
 While the kids’ projects were drying on the tables, we decided to capture the spirit of the book by having lots of fun in the dark. We blew up a bunch of LED balloons (which you first encountered in
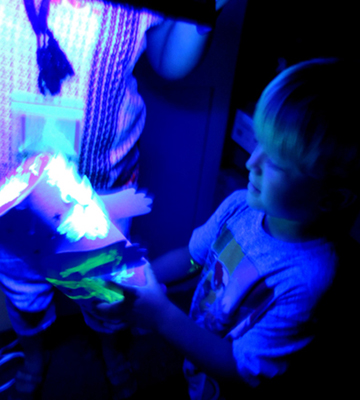
  We also had a little black light closet set up, so kids could get a preview of what their creations would look like later than night.
 Some of the balloon revelers ended up in the black light closet too. Because why not?