
 This April Fool’s day, I decided to transform a tiny, unremarkable closet in my house into what my kids and I have dubbed THE MYSTERY CLOSET. The challenge was to create it for under $20. My friends, the grand total was $19.30. Details below!
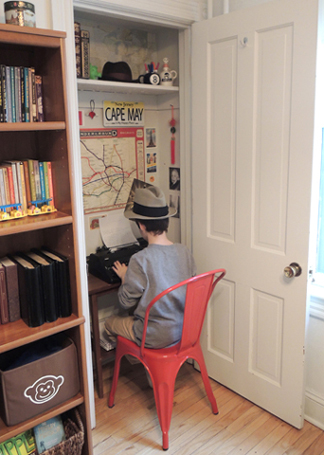
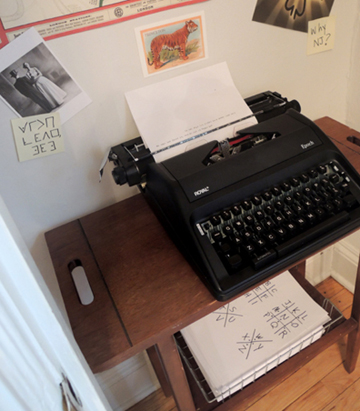
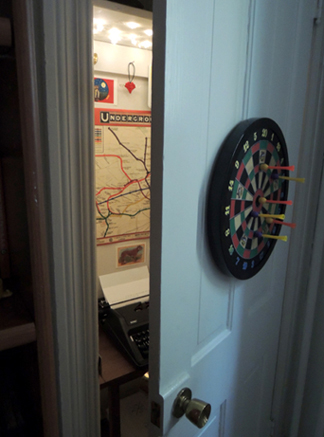
The ultimate goal for THE MYSTERY CLOSET was that it be a place for writing. While we each have a desk in our bedroom, and while there is an art project table in the kitchen, I felt there also needed to be a dedicated space for our household typewriter. It had been sitting on a buffet table in the dining room, but the height and location of the buffet meant you had to stand to type. The results were just a few sentences here and there. I theorized that if I lowered the height of the typewriter, and allowed space for a chair to be pulled up, it would result in longer stories. I was way right.
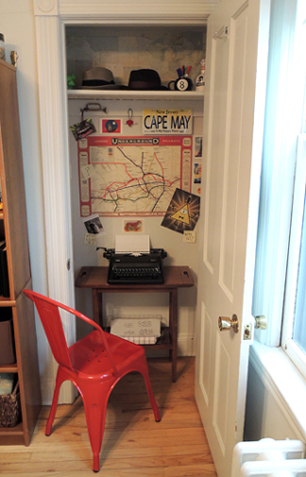
There were 2 major limitations to this project: size and budget. The closet is very tiny. A mere 12″ deep and 43″ across. Luckily, I had an old table in the attic that fit. There’s just enough space on the table for the typewriter and a metal basket with blank paper underneath. Scoot a chair over from the dining table, and you have yourself a desk!
 Budget was the other concern. I solved it by using items already in the house – xmas ornaments, halloween decorations, hats from the costume bin, a red tassel I found in my nightstand, a rediscovered world map, a…uh…green glow-in-the-dark pig that oinks when you squeeze it, etc.
I papered the upper shelf with the world map, but the London Underground map you see on the back wall is actually wrapping paper from a local bookstore! I also bought a dozen postcards. The final purchase was a Magic 8 Ball mug, deeply discounted, from Target.
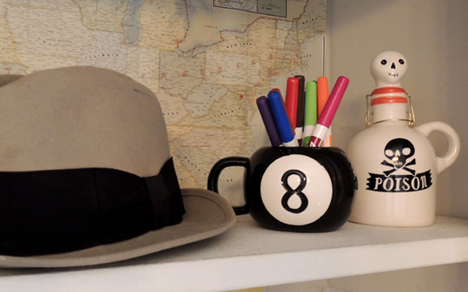 And for you eagle eyes who spotted Bill Cipher, the question mark Post-it note, and the 8 Ball…yes, we are huge Gravity Falls fans. Fun fact: the first sentence I left the kids on THE MYSTERY CLOSET typewriter was “Stan is not what he seems.” #teamwaddles
And speaking of ciphers, the new installation did include a coded message. I dropped 2 copies of the pigpen cipher in the metal basket, and left a Post-it message to the kids nearby:
 The grand finale? This closet is wired with overhead LIGHTS! There’s no electrical outlet, so I used battery-operated LED string light stars from IKEA (a leftover xmas stocking stuffer). The battery box is taped to the interior door frame, within easy reach.
The London Underground wrapping paper cost $4.50, The Magic 8 Ball mug was $2.80, and the postcards cost $12. Project total: $19.30. Reaction from my kids? Priceless.
That morning, I didn’t say anything about the closet. I just waited until my daughter asked “Hey, where’s the typewriter?” A cryptic reply, a house-wide search, and the closet was soon discovered! They were soooo excited. Especially my 10 year-old son. I’m happy to report THE MYSTERY CLOSET has been in steady use by both kids ever since. The typewriter goes at all hours, which is truly music to this mom’s ears. Success!
 It’s a big world out there. A world with lots of things in it. And those things need HUGS. The question is…are you up to the task? Are you a Hug Machine?
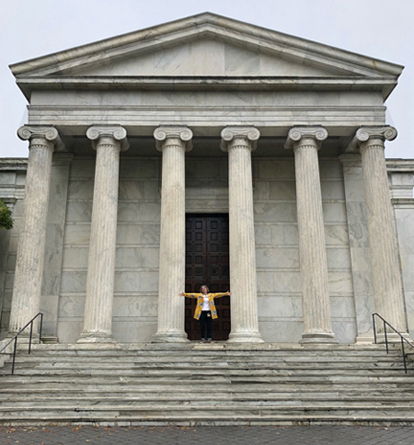
 OK, you’re ready to start hugging – and by hugging we mean go forth and find things to wrap your poster board hug around! You can just use the paper hug, or get right in there and use your arms too. Always dedicated to seeing a project through, Katie and I hit the streets on a rainy afternoon to share the love with Princeton.
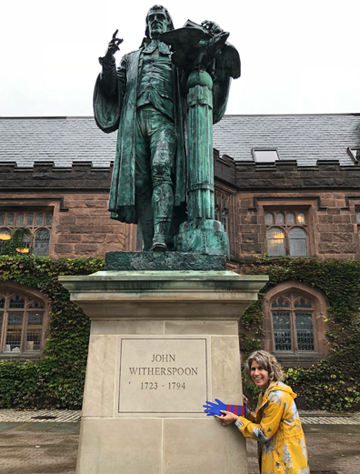
 A mailbox clearly in need of a hug.
 Hugging a roaster and barista pal at our awesome local coffee shop, Small World.
 A hug for
 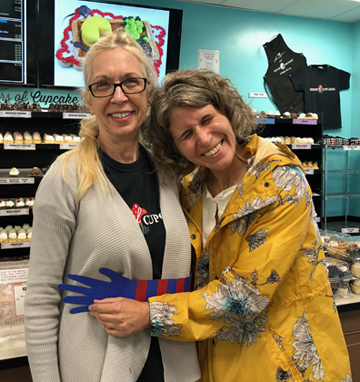 Hugging a rainbow narwhal at JaZams, our stupendous local toy store.
 No park bench escapes me…
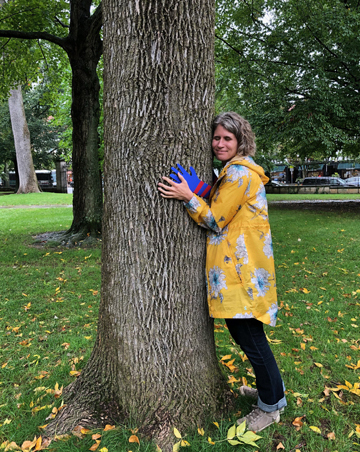
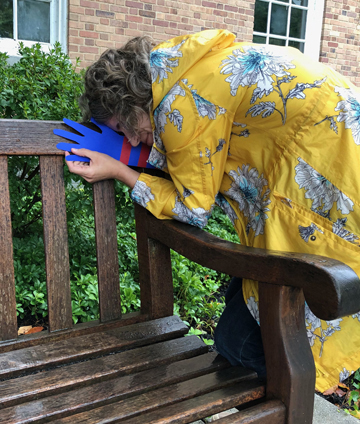 Nor jungle-like foliage…
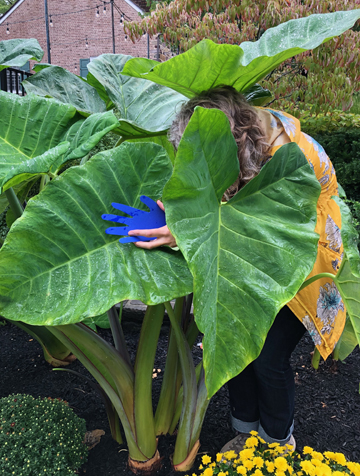
 An attempted hug of one of Princeton’s famous black squirrels…yeah, no go.
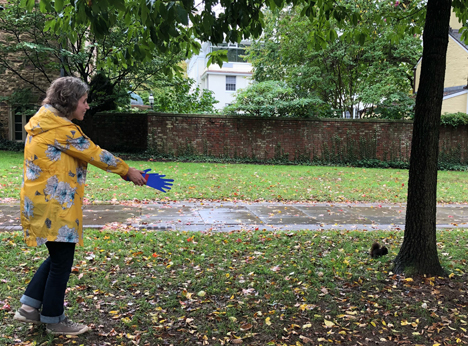 Finally, a hug from a random person who totally rocked the love. Awwwww!
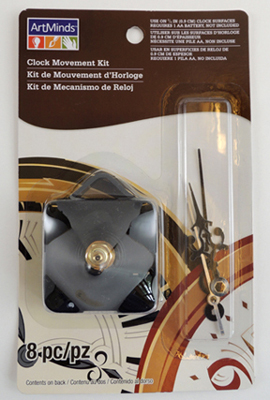 At $8.50 a pop, they can get pricey, especially if you’re doing this project with multiple kids. However, you can find them for a couple bucks cheaper on Amazon. The important thing to keep in mind is the length of the motor’s shaft (i.e. the part that the clock hands slide on to). The shafts can range anywhere from .25″ to 1″. For this project, you want to aim for the shorter shafts. Otherwise, your clock hands will stick pretty far out of your cardboard clock base. Also pay attention to the lengths of the clock hands. You don’t want them to extend past the body of your clock.
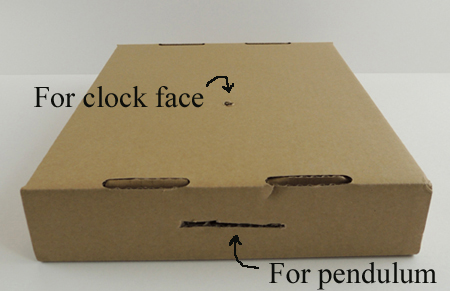 Next, place a piece of tagboard and a circle of white card stock over the hole, then redrill the hole. The circle is your clock face, and the tagboard piece elevates the clock face a little bit.
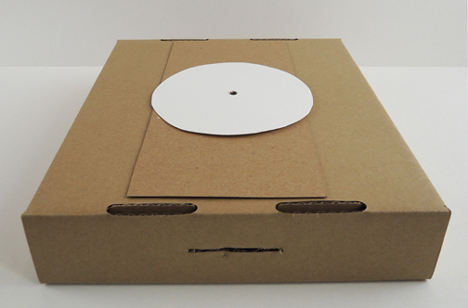 Before you glue the tagboard and the clock face to the lid, however, you’ll want to use markers to add numbers and decoration to your clock face. Check out these awesome clock faces. The smiling kitty!
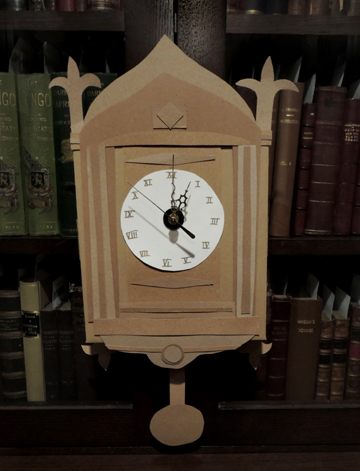
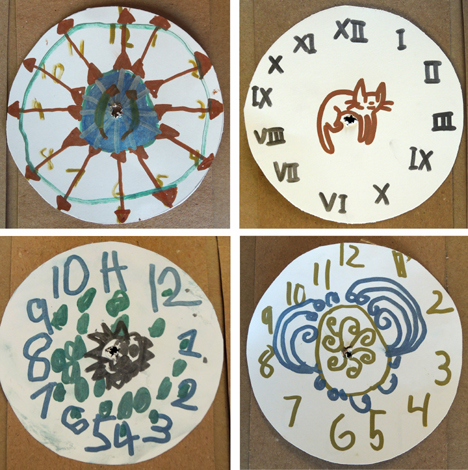 When your clock face is finished, glue it to your clock. Then start adding a bunch of tagboard flourishes. We cut a bunch of different shapes and styles of flourishes, and let the kids decide what they wanted to use on their clocks. The more layers and texture, the better it looks.
 You can also use markers to decorate the clock. We offered Crayola metallic markers, and the results were fantastic.
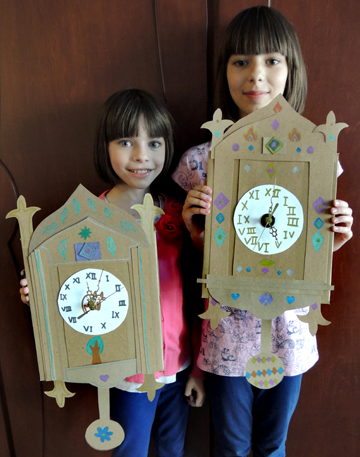 When all the decorating is done, install the clock movement. Just follow the instructions on the packaging, add a battery (a single AA), and you’re done!
 Tap the pendulum to watch it swing back and forth. Eventually, it winds down and comes to a stop, but while it’s swinging, the illusion of a working clock is quite real!