 It’s a diorama, a keepsake box, a mini exhibit, AND a lesson in ecology! Open the lid of this winter landscape and you’ll find the creatures that hibernate, burrow underground, and tunnel underneath the snow, complete with an information card!
 We read Over and Under the Snow, written by Kate Messner, and illustrated by Christopher Silas Neal (Chronicle Books, 2011). A father and child ski over the deep snow in the woods. Even though it’s a world of white, signs of life are everywhere – squirrel, owl, deer, snowshoe hare, and fox. But under the snow is yet another world. Shrews and voles run in tunnels. Bullfrogs burrow in the mud, bears hibernate, and a queen bee sleeps, waiting for the first signs of spring. The book ends with the child in a cozy bed, dreaming of nature. An absolutely beautiful book, with gorgeous, bold illustrations set against snowy white.
You’ll need:
- 1 box with a lid
- Brown construction paper
- 1 woodland template, printed on 8.5″ x 11″ white card stock
- An oval of blue construction paper (approximately 2.5″ x 4.5″)
- An oval of silver mirror board (approximately 2.5″ x 4.5″)
- A rectangle of brown wrapping paper (approximately 7.5″ x 10.5″)
- A smaller rectangle of brown wrapping paper (approximately 3.75″ x 4.5″)
- White cotton balls
- 4 small clear plastic small gemstones (optional)
- Scissors, tape, and glue for construction
- Metallic markers for decorating
- Hot glue
First, find a box with a lid. I used white cardboard pencil boxes with hinged lids from Discount School Supply (a dozen cost $17 so a bit of a splurge). To give the outside of the box a little pop of color, we put a strip of patterned tape around the perimeter, but this is optional (or, just use markers to decorate!).
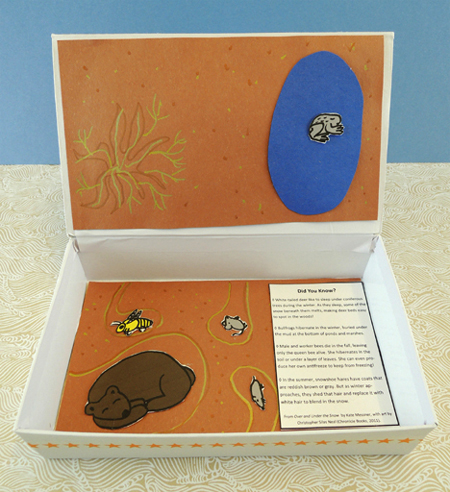
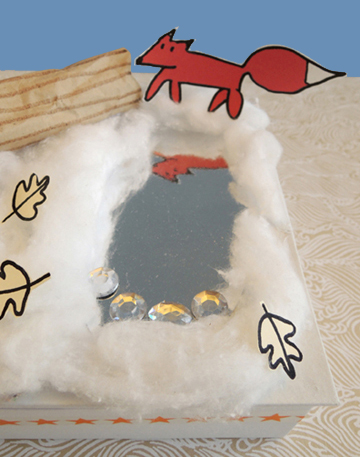
Line the inside of the box (including the underside of the lid) with brown construction paper. Glue an oval of blue construction paper on the right side of the box lid. Cut and color the bear, bee, vole, shrew, and bullfrog from the template, and glue them inside the box. Use markers to draw burrows, dirt specks, and tree roots (we used metallic markers, and they looked great on the brown paper!). Glue the information card to the inside of the box as well.
Close the lid of the box, and glue an oval of silver mirror board to the right of the box, directly above the blue construction paper oval. If you don’t have mirror board, use tin foil.
Now for the tree! Use a brown marker to draw vertical lines on a tall, 7.5″ x 10.5″ rectangle of brown wrapping paper. Then squish, crinkle, and wrinkle the paper. The more wrinkly it gets, the better!
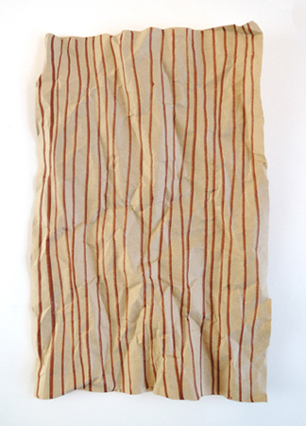 Roll the paper into a tube and secure it with tape. Cut 4 tabs in the bottom of the tube (each tab should be about 1.5″ long). Fold the tabs outwards. Later, you’ll use these tabs to attach the tree to the box lid:
 Cut 5-6 tabs in the opposite end of the tube (these tabs are much longer, about 5″). Fold them out gently, then twist them to create the branches of your tree.
 Hot glue (or tape) the tree to the lid of the box. If you’d like to add a log to your landscape, use a brown marker to draw horizontal lines on a 3.75″ x 4.5″ rectangle of brown wrapping paper. Crinkle the paper, then roll the paper into a tube and secure it with tape. The final length of the log should be 3.75″. Set the finished log aside for a moment.
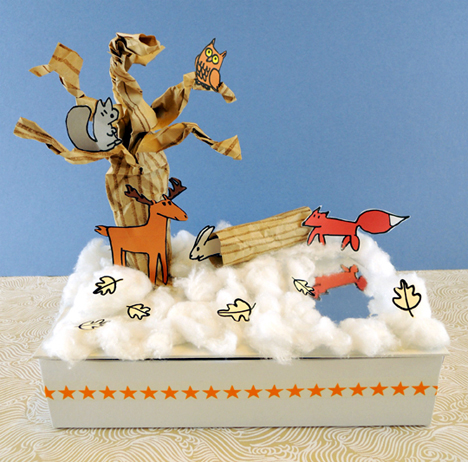
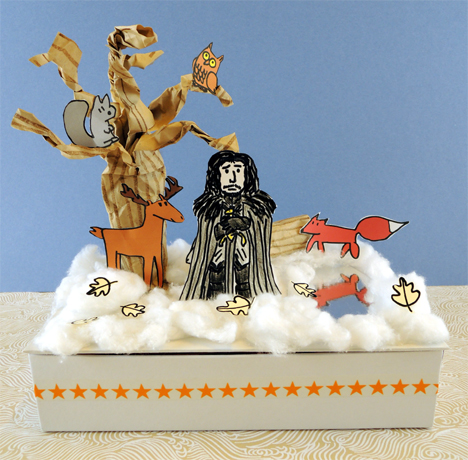
Glue white cotton ball “snow” to the lid of the box. Then cut and color the squirrel, owl, deer, snowshoe hare, fox, and tree leaves from the template. Glue these items, plus the log, to your winter landscape.
For some extra sparkle, I hot glued 4 small clear plastic gemstones to the edge of the lake. But this, of course, is optional.
 Your winter landscape is complete! Well, maybe not quite complete…
 Bet you a 33 pound chocolate dragon egg he’s coming back in season six.
 We get a lot of weird things through our library
 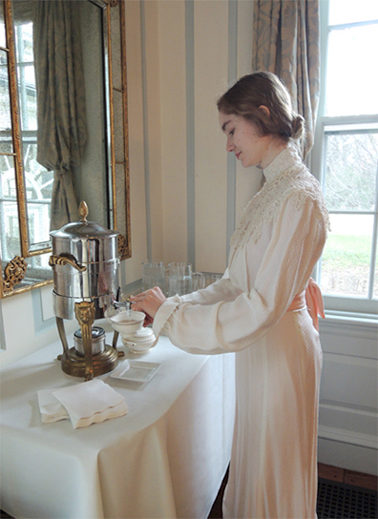 You had a sneak peek
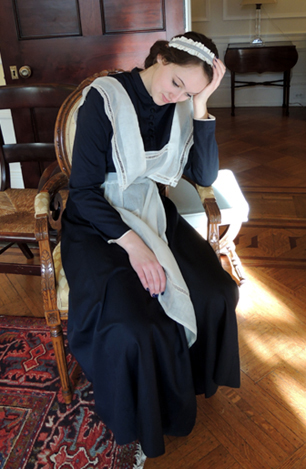
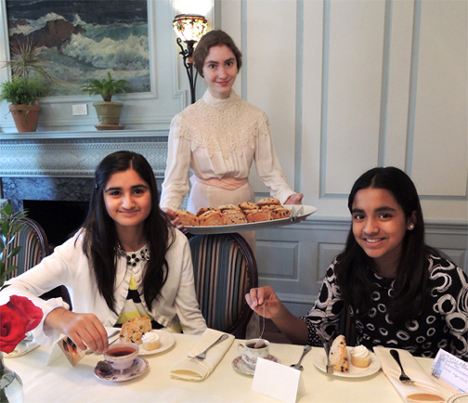
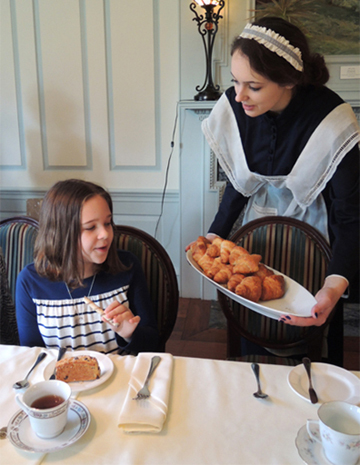
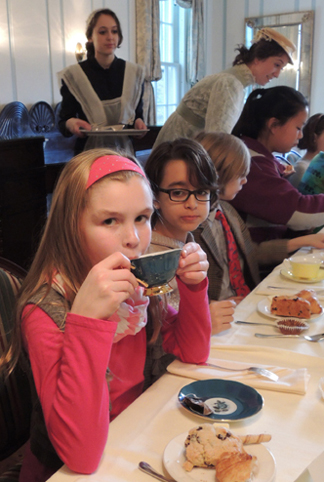
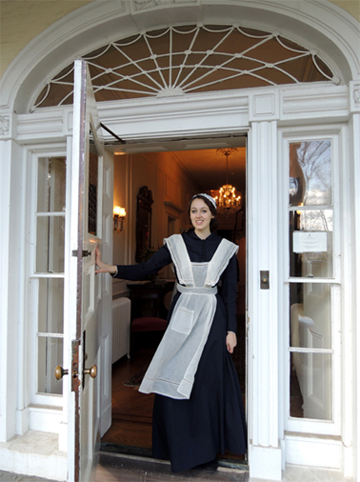 Upon arrival, the kids were greeted by our “maidservant” (otherwise known as Anna, a sophomore at Princeton). Anna stayed in character the entire time. Let me tell you, she does an extremely authentic curtsy and fantastically demure “Yes ma’am.” She shares about her experience
 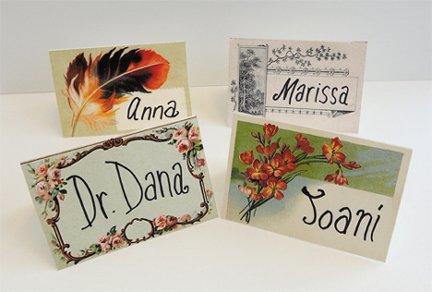 When everyone had arrived, I was officially announced by Anna. I sashayed into the room, greeted everyone, and proceeded to do a 15 minute PowerPoint presentation on the history of tea in England.
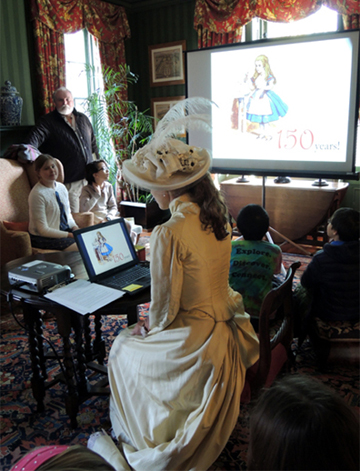 The historical content and connections for this program were quite extensive, and this post is already going to be rather long. So I’m going to describe the historical content in very broad brushstrokes. At the program, kids learned how tea was initially an expensive import available only to the upper class. It was also heavily taxed (sometimes over 100%). This resulted in a roaring trade in smuggled and adulterated tea. However, as tea became more affordable, it was enjoyed by all the citizens of England.
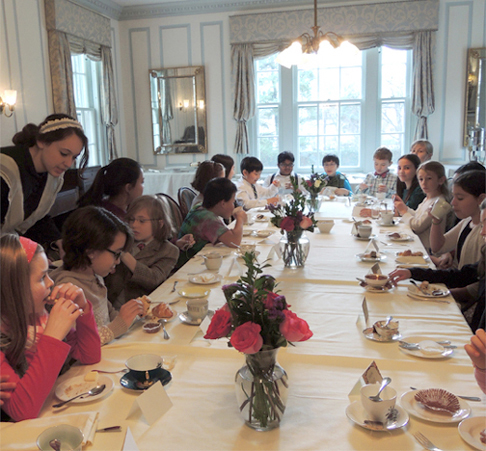
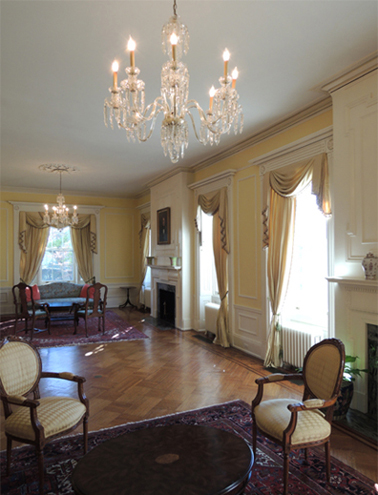 To the dining room where our splendid tea table was laid out!
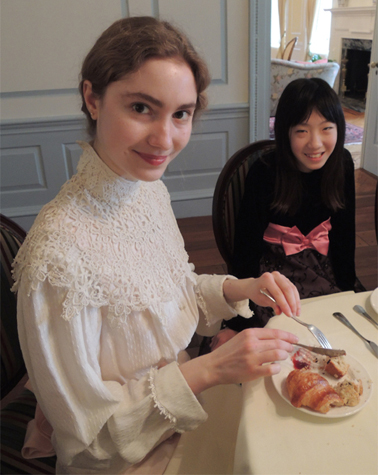
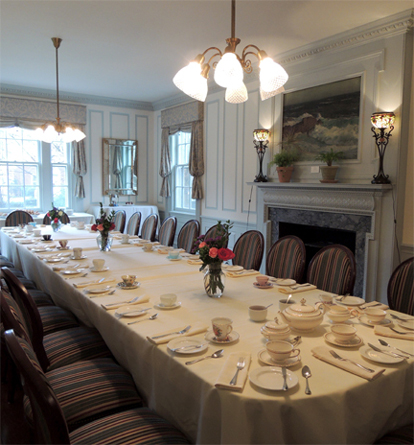 Waiting at each chair was a unique teacup and saucer. The kids got to take home these cups and saucers as mementos. They were so excited.
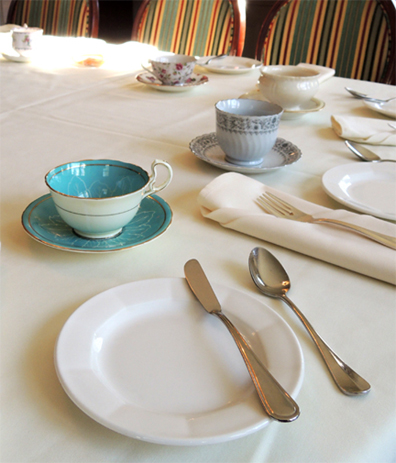 The take-home teacup was something I really, really wanted to do when I first conceptualized this program. So I sent a request through our library’s
 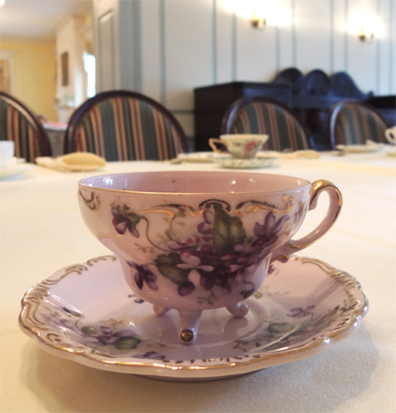 I also stopped by Nearly New, a local thrift store/consignment shop. They completely hooked me up with some delightful cups and saucers.
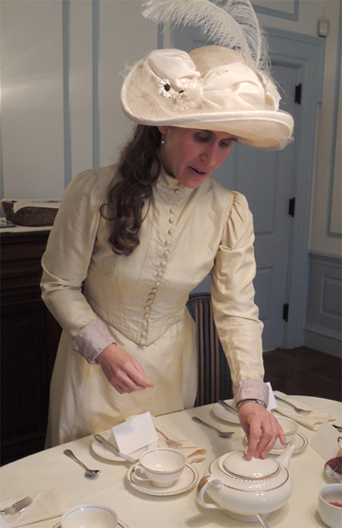 I couldn’t resist demonstrating tea pods as well. Have you seen these things? They are dried herbal pods you drop into hot water, and they “bloom” as they steep in the hot water. I first spotted one in Sophia Coppola’s movie Marie Antoinette. As luck would have it, Infini-T, our local tea shop, had them!
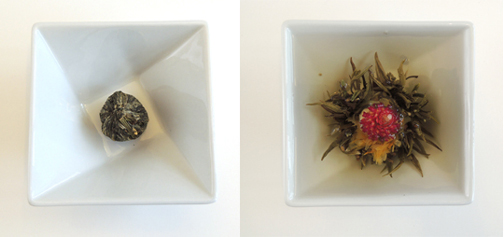
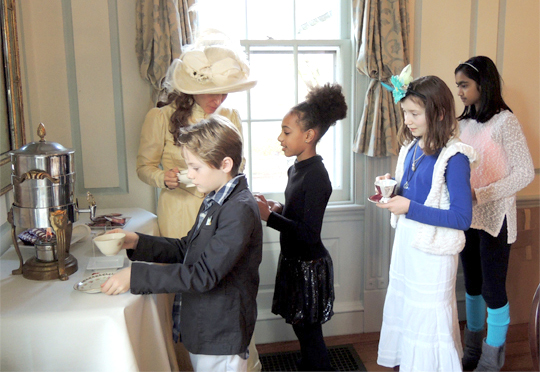 I was stationed next to the urn, offering milk and sugar. I can’t resist sharing this little history fact…way back when, sugar came in big cones you had to break apart with a special tool called sugar nippers. This resulted in irregular lumps of sugar. Hence the question “one lump or two?”
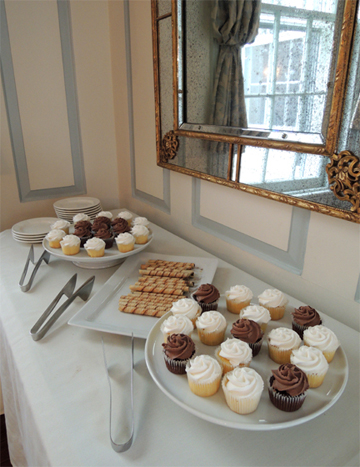
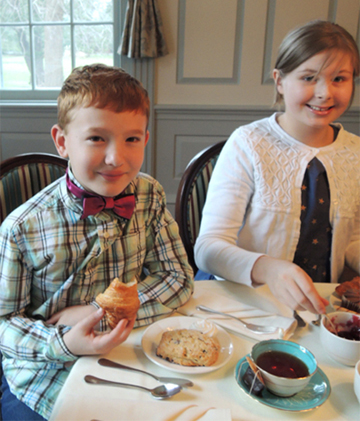
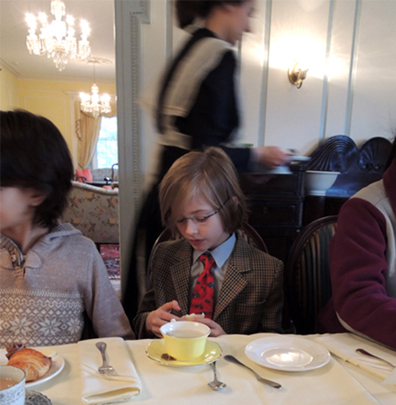
 Having coached the kids on Victorian etiquette earlier in the program, I am happy to report that our young ladies and gentleman did very well indeed. Napkins were on laps, voices were not raised. We conversed very genially about their activities, interests, holiday doings, and travel adventures.
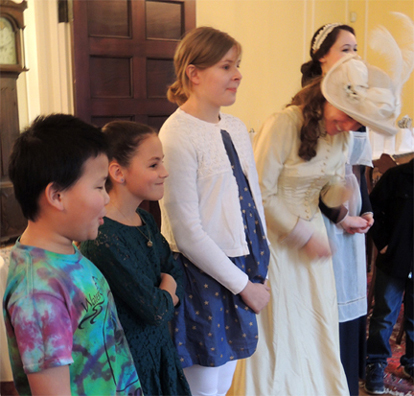 To play “Hunt the Thimble,” have everyone leave the room except for one person. That person must hide a thimble somewhere in the room (however, it must be in plain view and not hidden behind anything). The players reenter the room and silently begin searching. If you spot the thimble, you immediately sit on the floor. The last person standing must pay a forfeit.
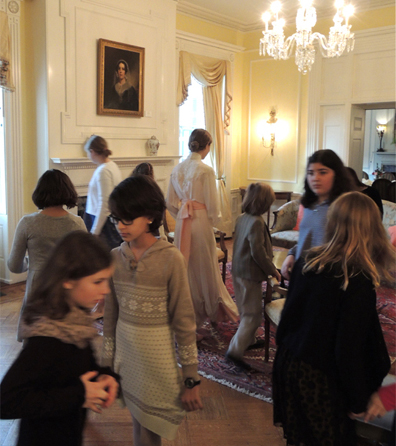 And now, for the crowning glory of the program. Joani, who is in Glee Club, agreed to research and perform some popular period music pieces. She sang two, including “How Doth the Little Crocodile.” The song is, of course, the poem from Alice’s Adventures in Wonderland set to music. It’s from a rare 1872 Alice in Wonderland songbook from our special collections.
 We asked these kids to sit and look “proper.”
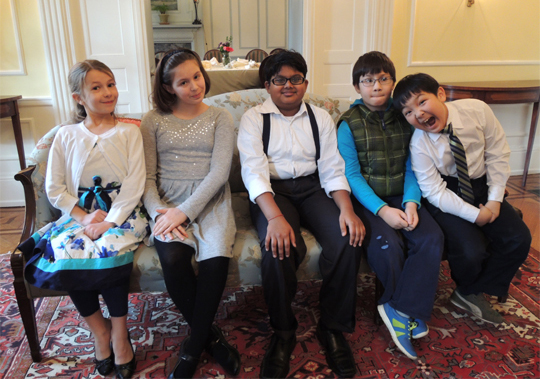 And check out the breeches on the young gentleman! I do believe those are modified baseball pants. That, my friends, is innovation.
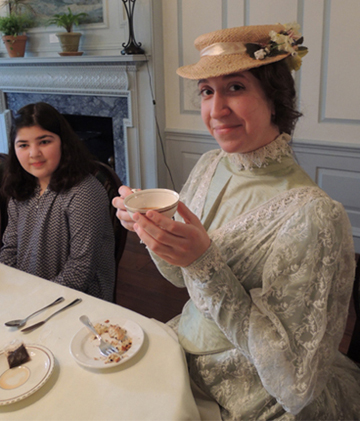
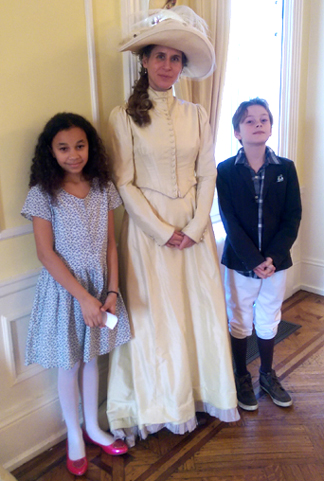 But this “dress up” took the Wonderland cake. Behold the queen of hearts!
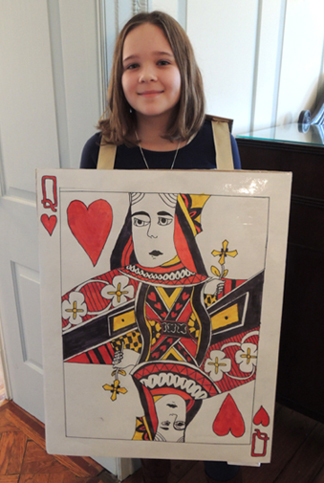 So how did the Victorian tea program go over? Amazingly well. Astonishingly well. We had a jolly good time I tell you! And while I loved the setting, the teacups, the costumes, and the cupcakes, the best part for me was how much history was packed in with the fun. Honestly, I don’t think any of them will ever look at a cup of tea in the same way again.