You had a sneak peek here…now it’s time for the big reveal! Katie designed a totally amazing Willy Wonka escape room for kids ages 9-14. Today, we’ll be posting all the puzzles, riddles, activities, and solutions. Hang on to your sweet tooth, here we go!
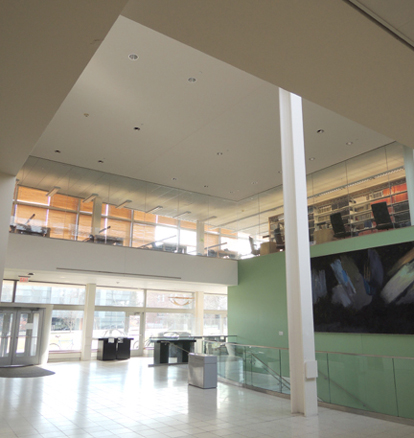
Last year’s Sherlock Holmes escape room took place in the Victorian-esque classrooms of Princeton University’s East Pyne building. But we wanted a more scientific feel for Wonka, so we headed across campus to the Computer Science Library. The big ceilings, glass walls, and funky artwork were perfect.
 Like last year, we ran 3 identical rooms simultaneously, every half hour, for 5 hours. The 3 classrooms we used were lined up down a long hallway, each door marked with a different color – red, green, or blue. We also had an extra classroom to serve as a “waiting room” for kids and parents.
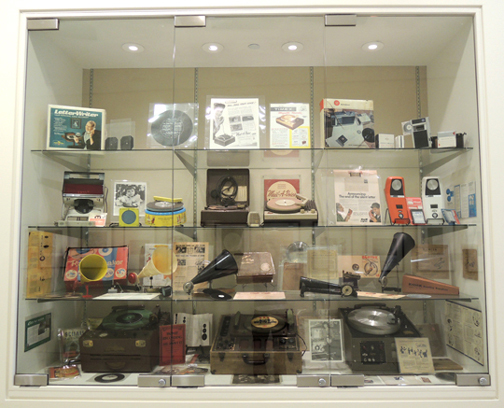
 In between the rooms were cool displays of vintage machinery and mechanisms. Like these old record players (our Muggle Studies 101 curator would be having a field day!):
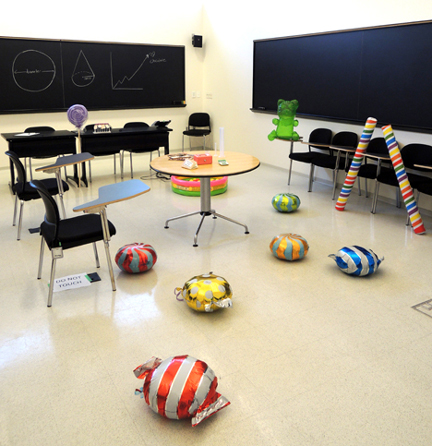
 Annnnnd drumroll please! This is what the escape room looked like…
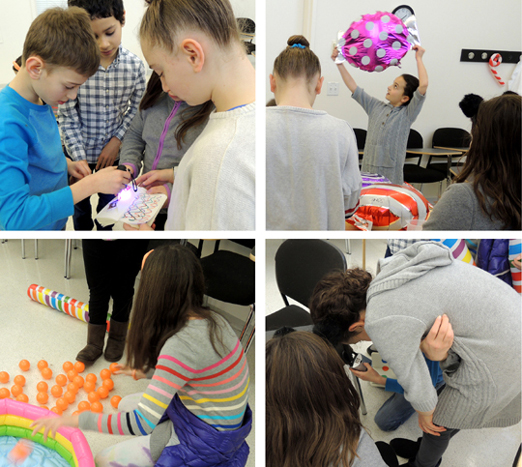
 As the kids entered, a game master welcomed them to Mr. Wonka’s “Inventing Room.” She explained that there were job openings at the world-famous factory, but in order to make the cut, the team had to solve the puzzles Mr. Wonka had left for them. They had 20 minutes to find the ultimate solution. Here we go…
The 7 candy balloons each had a word written on them. String the words together, and you get the sentence: “The Invention Book May Shed Some Light.”
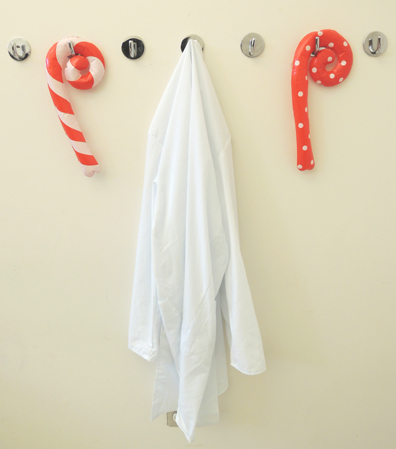
 Next, find the black light flashlight in the pocket of a lab coat hanging nearby:
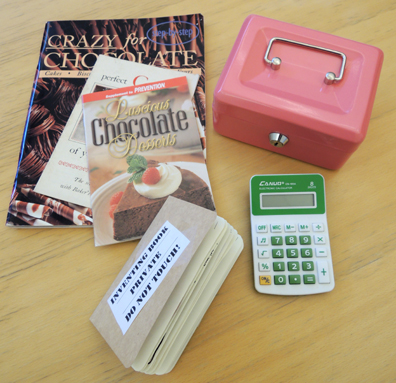
 Then head over to the lab table, which had a number of objects on it, including the aforementioned Invention Book:
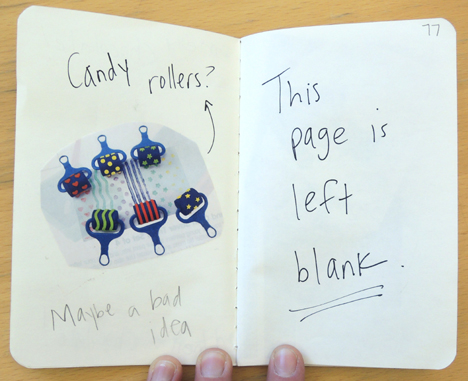
 The book was full of recipes, ideas, diagrams, and quirky thoughts (all Roald Dahl appropriate of course, Katie really did her research):
 But shine the black light on the pages, and secret messages are revealed in UV ink!
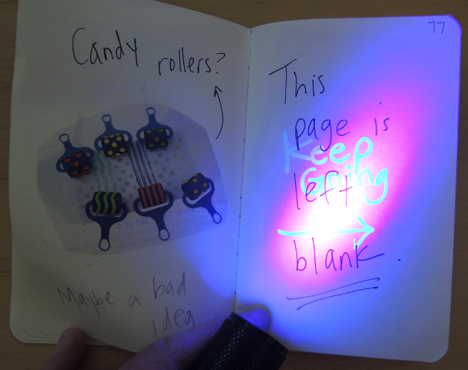 Eventually, with several directional clues like “This way,” “Go Back,” “Stop,” or “Too Far!” you end up on this most curious page:
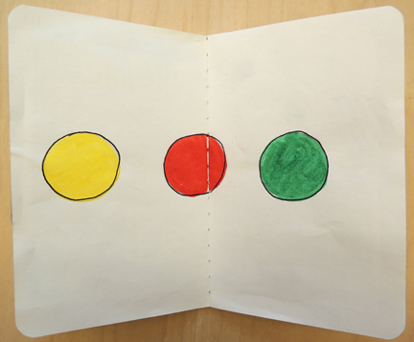
Shine the black light on it and…
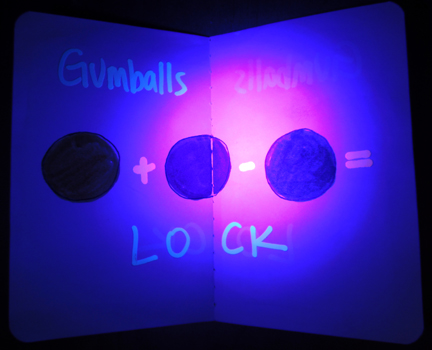 The clue leads to an inflatable kiddie pool filled with giant plastic “gumballs”
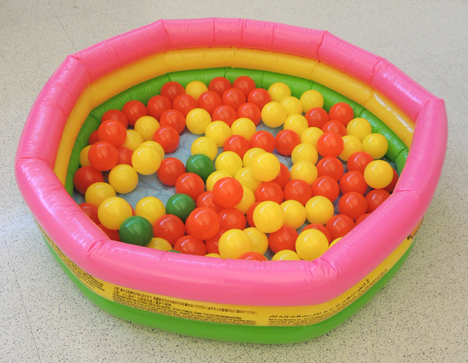 Count the balls, solve the equation, and you get the three digit code for lock #1 (we provided a calculator to help them with this calculation. It can be hard to do math under pressure):
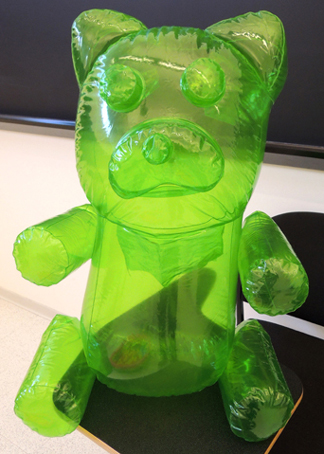
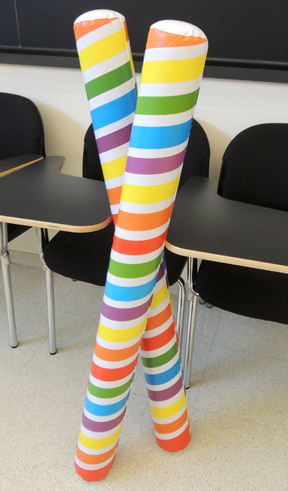
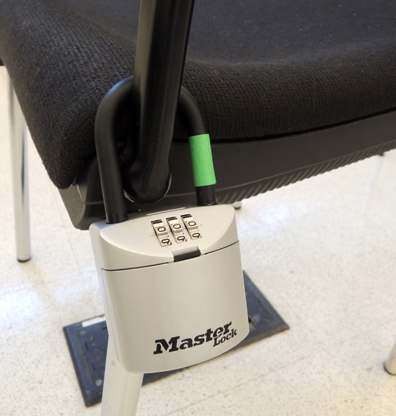 Inside the lock’s chamber is a piece of paper requiring 3 measurements: 1) The length of a gummy bear’s leg; 2) The number of red candy cane stripes; 3) The diameter of Smartie’s candy. But, of course, nothing is QUITE the right size. The gummy bear, for example, was simply enormous:
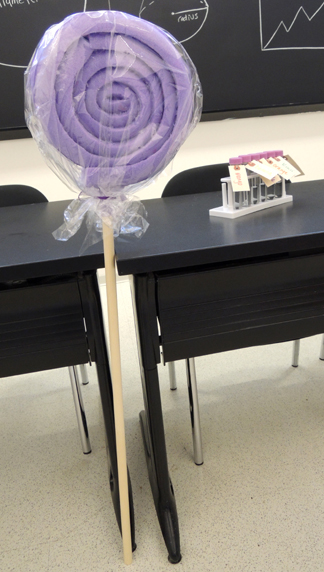
To measure things, you have to discover that the giant lollipop is actually a measuring stick (which we hinted about here, and also share instructions on how to craft one of your own)!
The jumbo candy canes for the equation are hanging next to the lab coat…
And across the room? A giant set of Smartie’s:
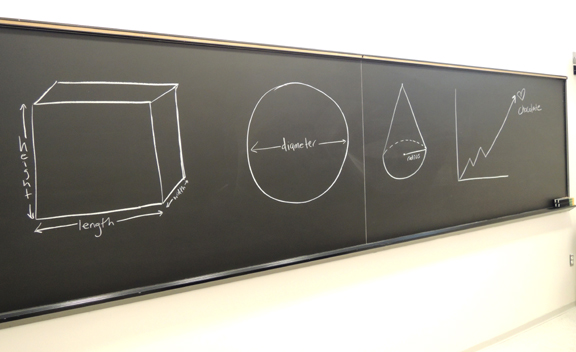
 When we test-piloted the room, some kids said they had trouble recalling diameter. So we snuck the information on the classroom blackboard to help out:
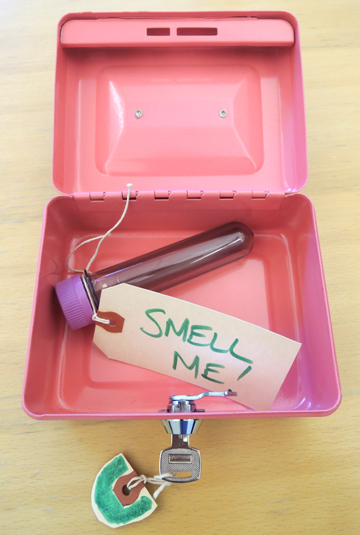
 Once you have the 3 numbers, open lock #2, which holds a key. The key opens the pink box on the lab table, which reveals a test tube. Your instructions? Smell the tube’s contents:
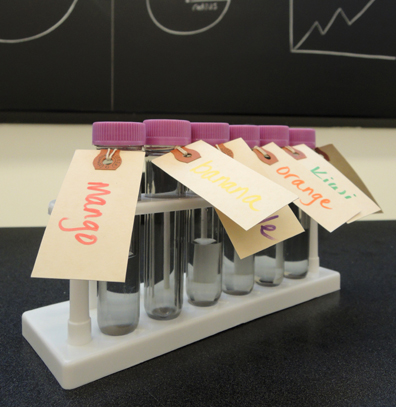
 The tube contained McCormick banana extract. After a good sniff, teams had to vote and select the correct flavor from a rack of test tube labeled with various fruit smells:
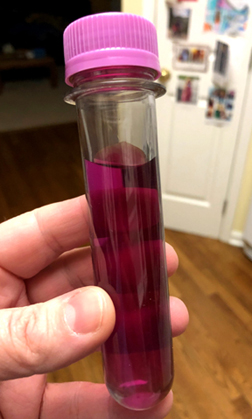
 Once the selection was made, the game master produced a tube and said “If I add this liquid to the tube you picked…and the liquid turns purple…you WIN!” Unbeknownst to the kids, the winning “banana” test tube was filled with phenolphthalein, and the game master’s tube contained sodium carbonate. Combine them to get an awesome purple color change (sorry, the only photo I have is Katie testing it in her kitchen!):
One very important thing to note…only the game master handled the tubes with the chemicals in them. When the liquid turned purple, there was much screaming, yelling and jumping up and down. Most teams took 20 minutes to finish the room. The record that day was 12 minutes.
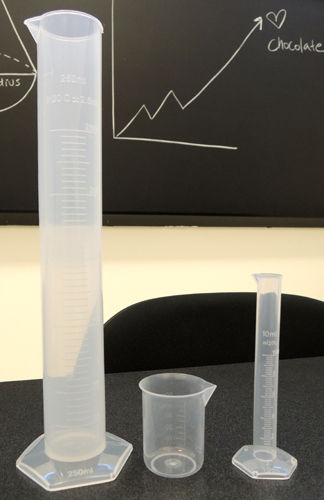
But wait, you say! Earlier in the post, I saw chocolate cookbooks on the lab table! Yes you did. It wouldn’t be an escape room without red herrings! The vintage cookbooks (purchased on ebay) and plastic science equipment were included in the room to throw kids off. Heh heh.
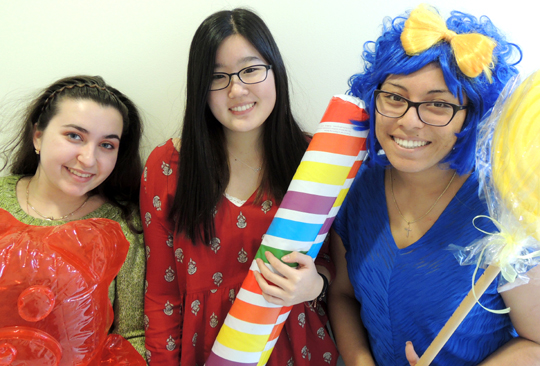
We had a game master in each room, dropping hints when needed, being encouraging, keeping time, and generally keeping kids on task. Here are our 3 amazing game masters, Princeton University students Michelle Vilarino, Amy Cho, and Jasmeene Burton.
It was a total blast. Hilarious things happened, teams rallied around one another, and one of the gummy bears was dubbed “Freddy.” Below are quick hints for running the room. If you have any specific questions, or want to know where we found/ bought our items, feel free to e-mail Katie: zondlo@princeton.edu
- Our room was designed for ages 9-14. A maximum of 6 kids participated per room.
- Make sure participants arrive at least 10 minutes before the game begins. We were very clear in all promotional and registration material that late arrivals would not be admitted.
- Have a waiting area for participants, and try to keep it away from the the actual escape room so no one overhears the puzzles being solved.
- Make sure all clues are printed. Not all kids can read cursive.
- Test everything in advance! Make sure the locks fit on the things they’re supposed to lock to!
- Using a black light flashlight? Bring extra batteries!
- Make sure the game masters know the game. We ran them through the room once, and we gave them cheat sheets on event day.
- Bring cell phone chargers. Our 20 minute game timers were our cell phones. Woe to ye who runs out of battery!
Many thanks to Michelle Vilarino, Amy Cho, and Jasmeene Burton for being such awesome game masters (and way to ROCK that blue wig Jasmeene!). Big shout out to the Cotsen Critix for pilot testing the room and giving such terrific feedback. Thank you to Dr. Kathryn Wagner for the color change chemistry assistance. And Katie…woo girl. You did it again. You are amazing.

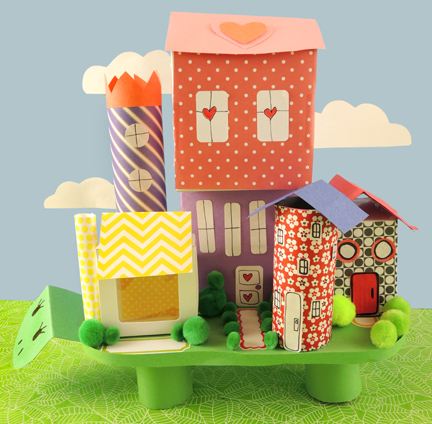
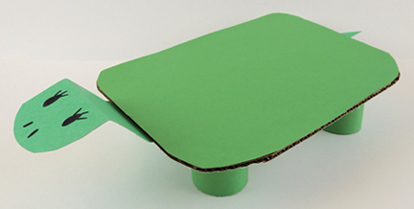 First, build your “turtle table.” This is a corrugated cardboard base with 4 toilet paper tubes halves attached to the bottom. We used heavier weight poster board for the head and tail, but construction paper works too. Then, gather assorted boxes and tubes to create a town!
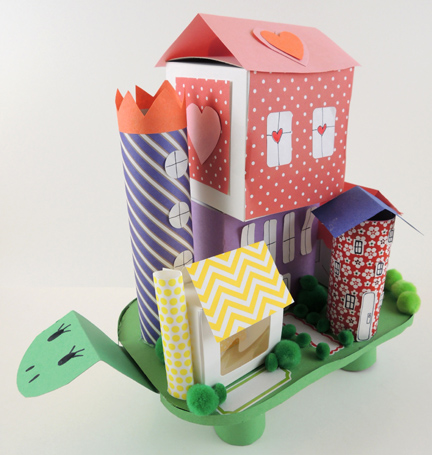 We offered patterned paper and construction paper to decorate the boxes. The windows and doors are old mailing/file labels and dot stickers. Some green pom-pom shrubs finished the look. But some kids opted to simply decorate their boxes with markers. Really, anything goes!
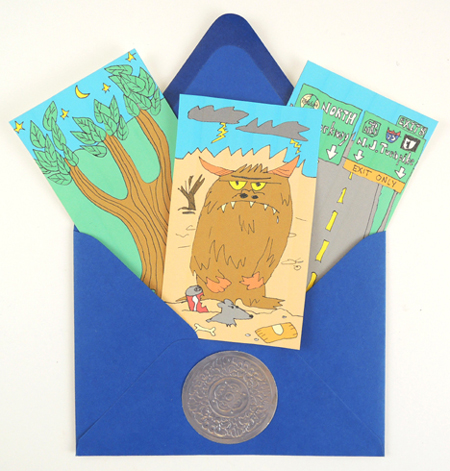 A shifting map full of flying horses, hungry demons, mystical landscapes, and the New Jersey turnpike? This could only be a project for
 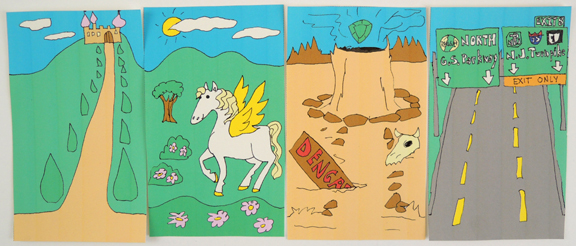 Myriorama cards, which debuted in 19th century Europe, are these cool little decks of cards with matching skies and horizon lines (I review of a modern deck of myriorama cards in
 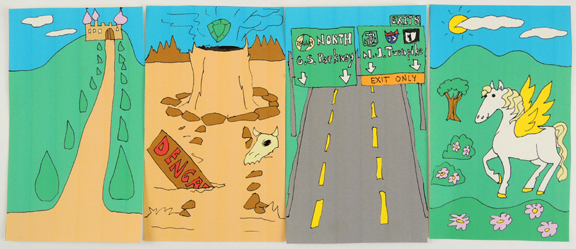 You’ll need:
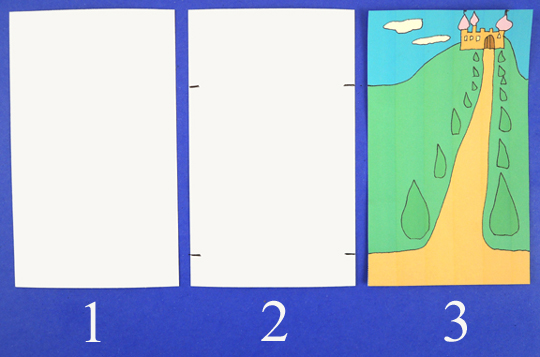 For our story time activity, I gave each kid a colorful envelope bedecked with a silver
  If you’d like the myriorama cards I drew, you’ll find the black and white template