
Messages of love, thoughtful notes, warm invitations…they’re all heading your way to be captured and stashed in your fishing creel AND your heart!
We read The Uncorker of Ocean Bottles, written by Michelle Cuevas, and illustrated by Erin E. Stead (Penguin, 2016). The Uncorker of Ocean Bottles’ job is to spot message bottles and deliver them to their proper recipients. But secretly, he yearns for someone to write a message to him. One day, a bottle arrives with a party invitation, but no name. So the Uncorker asks a number of people if the message belongs to them. Finding no success, he decides to take the bottle to the party and report his failure. However, when he arrives, he finds everyone he talked to earlier, waiting and ready to have a party with him!
You’ll need:
- 1 tissue box
- 1 strip of poster board strip for a box handle
- 1 wooden dowel
- 1 piece of string
- 1 wine cork
- 1 button magnet
- 1 message bottle template, printed on 8.5″ x 11″ card stock
- 3 rectangles of clear plastic (more on this below!)
- 3 paperclips
- Scissors, tape, and stapler for construction
- Markers for decorating
- Hot glue
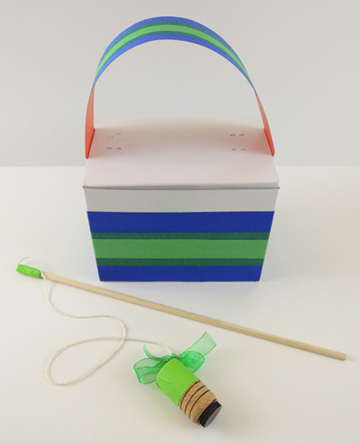
First, your equipment! The fishing creel is a box with a poster board handle stapled to the lid. We decorated ours with color masking tape, but markers work too! The fishing pole is a wooden dowel, and the “hook” is a button magnet hot glued to a wine cork.
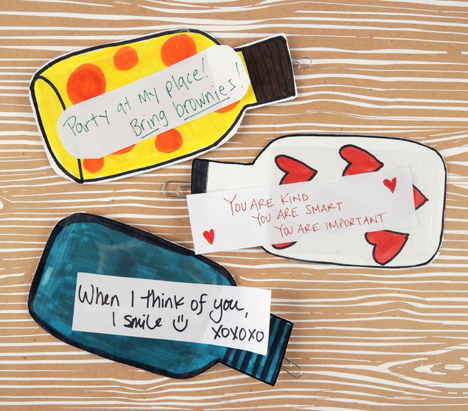
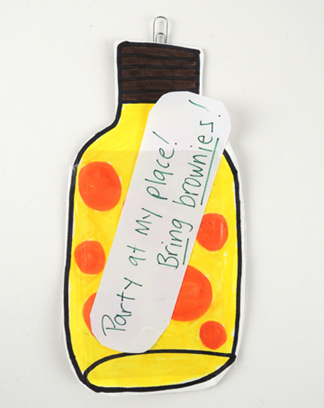
 Color and cut the 3 bottles from the template, then tape a little pocket of archival mylar to one side. You can find mylar sheets on Amazon, or you can use clear gift wrapping cellophane. Tape a paper clip to the top of the bottle. Finally, use extra paper from the template to write messages and tuck them into the pockets of the bottles.
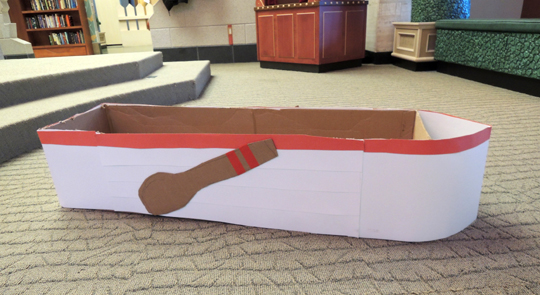
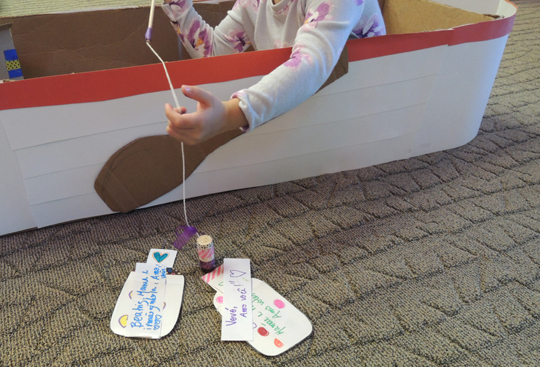
 Ready to fish? My son and I crafted this awesome row boat we dubbed the “Cape May III.”
At story time, I scattered the kids’ bottles in the “ocean” while they sat in the boat. Then they “fished” off the side, connecting the magnet hook to the paper clipped bottles, which were then hoisted and deposited into the creel!
 The Uncorker of Ocean Bottles was actually a special request from Lydia, a little girl who was aging out of our Tiger Tales story time program. So Katie and I made a very special bottle message for her, and snuck it in with her other bottles. A little story time magic, straight from the heart :)
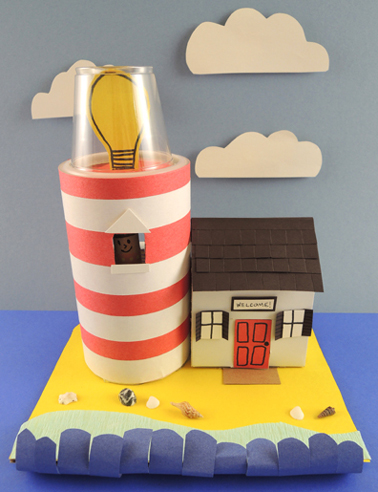 Our “ocean” consists of a curved, light blue crepe paper streamer and a fringe of dark blue construction paper waves. We had mini shells handy for the beach, but you can use images of shells, or just have the kids draw the shells on the beach with markers.
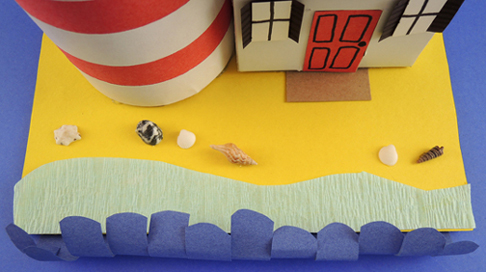 We also decided to cut the backs out of the box and the oatmeal container to create a dollhouse. Use a circle of white card stock to create the second floor of the lighthouse, then decorate the walls and floors with paper. Need furniture and some framed artwork? You’ll find templates and instructions in
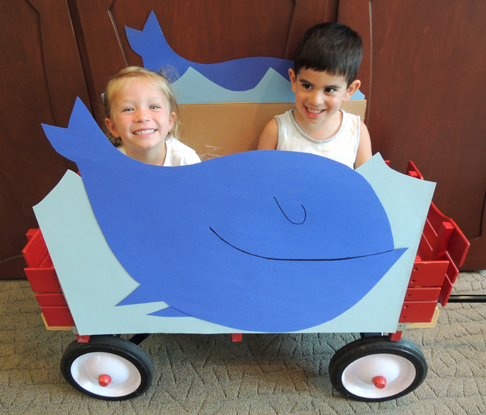
 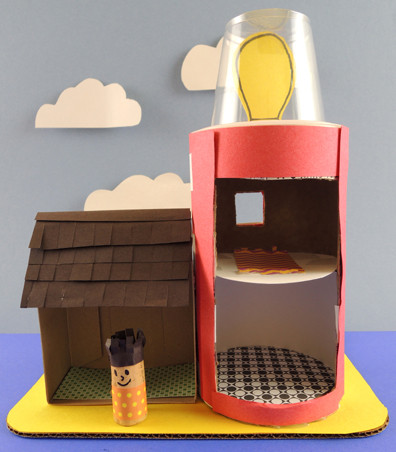 When the lighthouse islands were done, we announced that a whale had been spotted in the library’s main lobby. This was a red wagon with a whale facades taped to both sides. Kids took turns getting rides and smiling at local whale watchers!
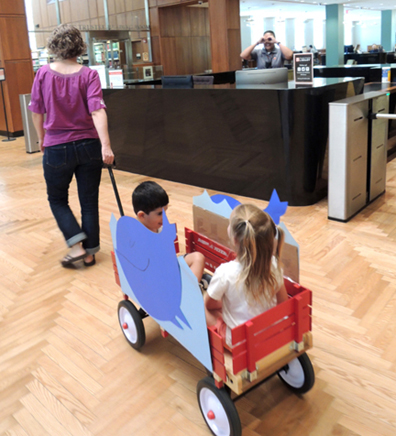
 A lighthouse shines in the darkness, allowing your little boat to safely navigate our story time waters – which look surprisingly like blue contact paper. Huh. Who knew the ocean came in long, rectangular sheets?
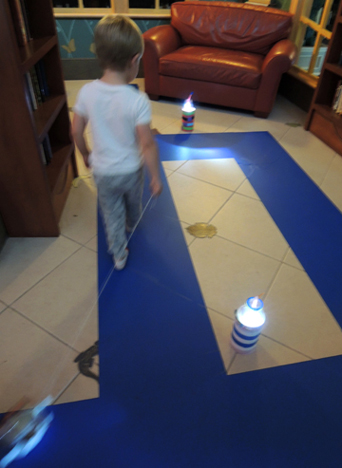
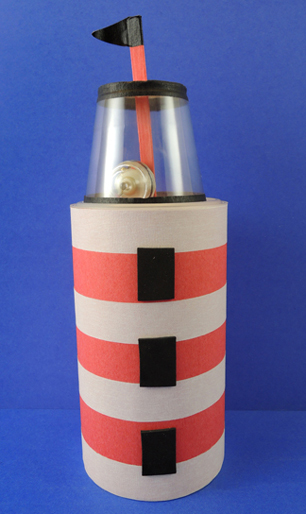 The most important part of this lighthouse is the light! You can put an LED votive or a mini glow stick in there and be done. But we wanted two things: 1) The top of the lighthouse to rotate; and 2) The light inside to “spotlight” like a real lighthouse. So I grabbed a bunch of submersible LED lights from the floral section of Michaels Craft (bring a 40% off coupon, because these are pricey at $20 for 12).
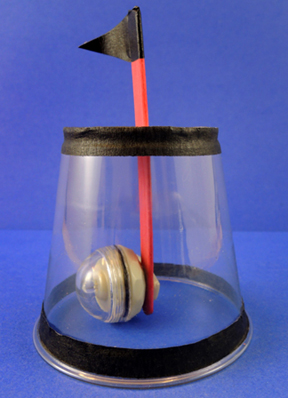 First, wedge one end of a 4.5″ craft stick into the clip on the back of the LED light. Next, cut a slit in the top of a soft plastic cocktail cup. Thread the free end of the craft stick up through the slit in the cup. Finish by adding a masking tape or construction paper flag to the top of the craft stick.
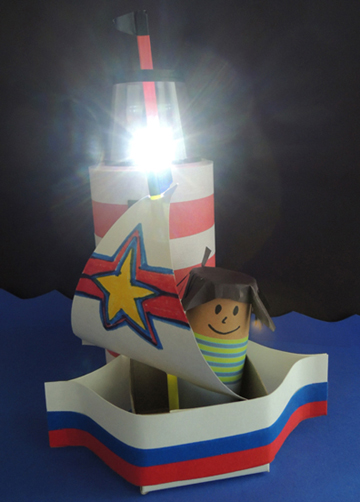
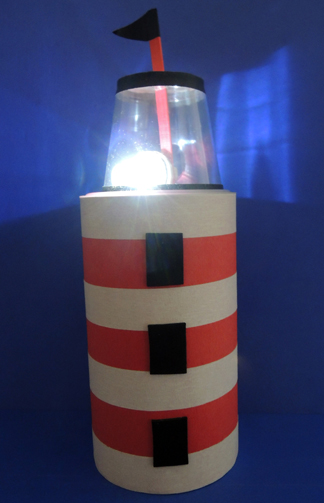 Next up, the sailboat! Cut the top and/or lid off a small box, then hot glue 2 poster board strips on each side of the box. Pinch and hot glue the free ends of the poster board together in the front and back to create a boat shape. Tape a string to the top front of the boat (if you tape the string to the bottom, the boat will keep capsizing).
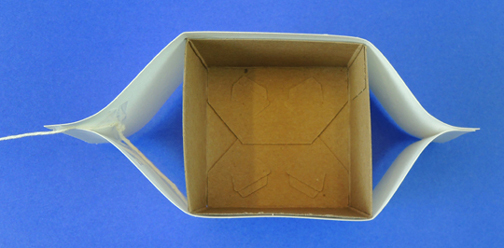 Next, use scissors to enlarge the hole of a foam bead. You want the hole large enough to hold a drinking straw. Hot glue the foam bead to the front of the boat. Note how the foam bead is not centered in the boat – it’s glued a little ways towards the front:
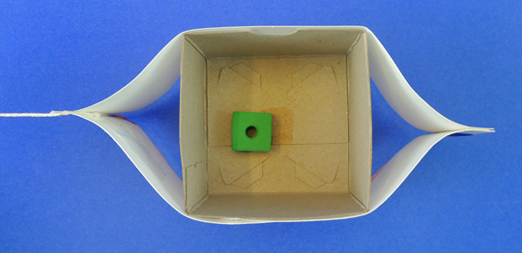 Why is the foam bead slightly forwards in the boat? So you can fit your toilet paper tube person behind the sail of the boat (though if you use a slightly larger box, this might not be an issue).
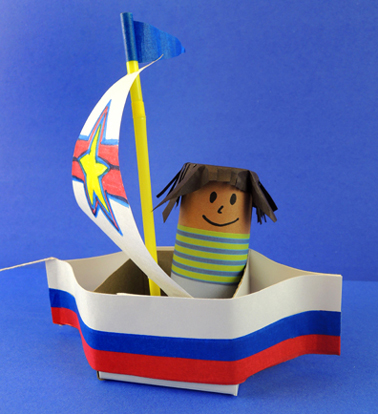 To finish the boat, use a hole punch to create holes in the top and bottom of a triangle of white construction paper. Decorate the sail with markers, then thread it through a drinking straw. Insert the bottom of the straw into the foam bead (we also recommend a masking tape or construction paper flag to the top of the mast to keep the sail from popping off). Use construction paper and markers to decorate the boat and a toilet tube person.
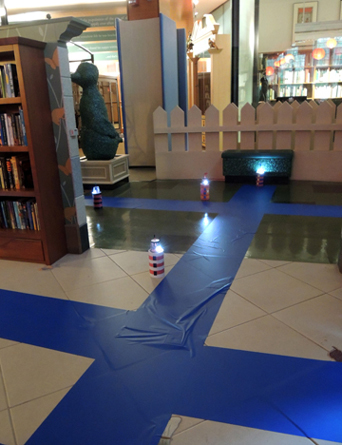 The kids pulled their boats along the pathway, which was lit by beautiful little lighthouses…