
 Learn about the phases of the moon (and track them yourself!) using this awesome, 3D, double-sided, lunar calendar! Katie and I dubbed this “the story time project of the year.” Because STEAM power!
We read A Kite for Moon, written by Jane Yolen and Heidi E.Y. Stemple, and illustrated by Matt Phelan (Zonderkidz, 2019). A little boy on the beach spots the lonely, daytime moon and sends her a message on his kite. He promises to visit her someday. Years go by, and the little boy grows into a man who studies numbers, astronomy, and piloting. Eventually, he takes a rocket ship to space, where the moon has been watching and waiting for that promised visit.
You’ll need:
- 1 corrugated cardboard backdrop (we used a 10″ x 14″ cake pad)
- Dark blue and black construction paper
- 1 small box
- 1 toilet paper tube
- 1 star template, printed on 8.5″ x 11″ white card stock
- 1 phases of the moon stick images, printed on 8.5″ x 11″ white card stock
- 1 phases of the moon stick labels, printed on 8.5″ x 11″ paper
- 1 phases of the moon chart, printed on 8.5″ x 11″ paper
- 1 mini binder clip
- Scissors, tape, and glue for construction
- Hot glue
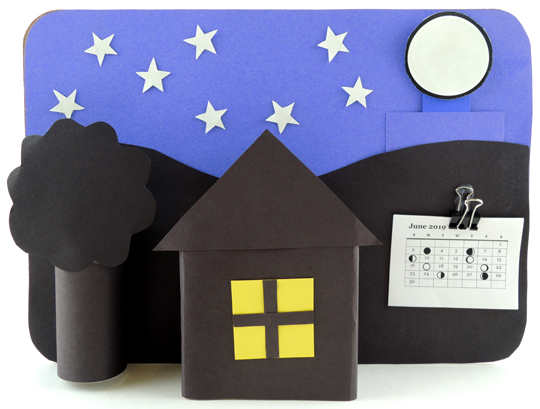
We’ll start with the front of the calendar. Use dark blue construction paper to create a sky on your corrugated cardboard backdrop. Glue or tape an 3.25″ x 3.75″ rectangular pocket to the right-hand side of the sky. Later, this will become your “moon stick pocket.”
 Next, use black construction paper, a toilet paper tube, and a small box to create mountains, a tree, and a house (we recommend adding a little yellow window to the house as well). The hot glue the tree and the house to the backdrop. Important! In order to get the calendar to stand up, the house needs to be attached in the center of the backdrop:
 To the right of the house is a small lunar phase calendar. Tape or hot glue a binder clip to the backdrop, then clip the calendar in place. I custom designed our calendar for June-December 2019, but seeing as time inexorably marches on, you can find a current calendar with a Google search. Add some white card stock stars to the sky, and you’re done with this side.
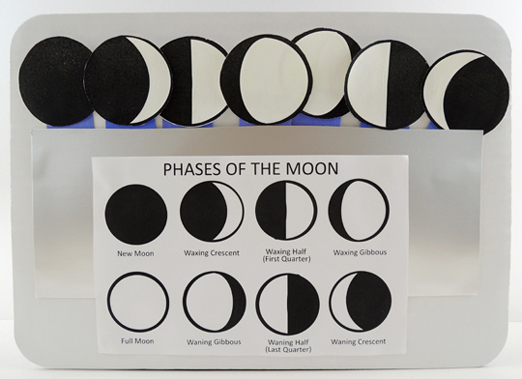 Above is the other side of the calendar. First, use construction paper or poster board to create a pocket (our pocket was 4.75″ x 12″ silver poster board), then tape or glue the phases of the moon chart template on top.
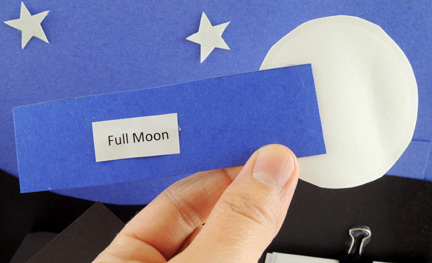
Finally, the phases of the moon sticks. Cut eight, 1.5″ x 4.5″ strips of dark blue construction paper (or, better yet, poster board), then glue or tape each phases of the moon stick image and a phases of the moon stick label to each strip like so:
 This was a great part of the story time project. Watching the kids methodically checking and matching the labels, to the chart, to the sticks was really sweet. And very science!
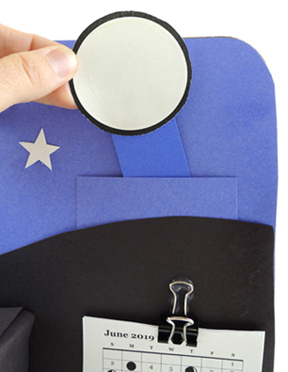
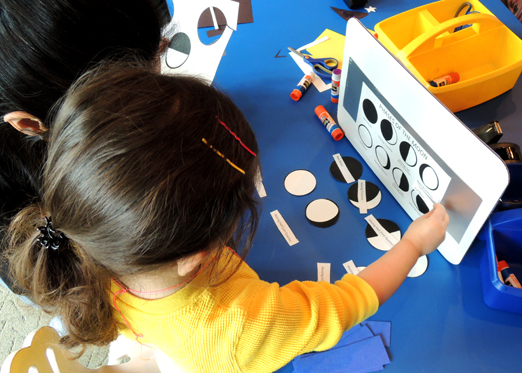 To use your new lunar calendar, match the date on the calendar to the appropriate phase of the moon. Identify the correct moon stick, then slide it into your night sky pocket. Keep checking the calendar to track the moon’s phases. Oh, and we also used glow-in-the-dark paint to fill in our stars and moon sticks. So this calendar glows at night!
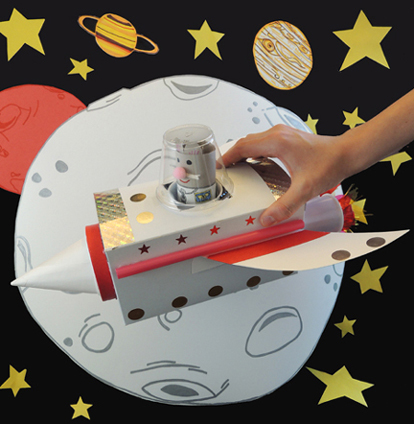
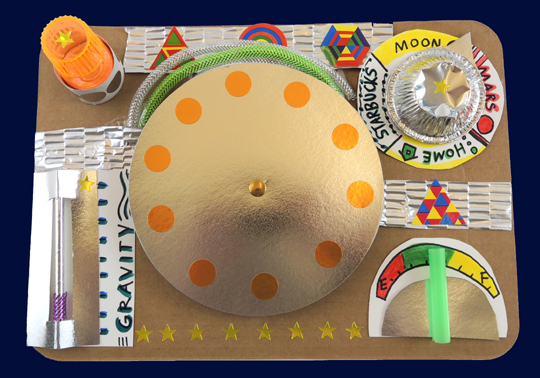 Three, two, one…blast off! We head to the moon using this rocket ship dashboard, which includes a custom steering wheel, fuel gauge, gravity level, destination dial, and flashing light. This was a special story time for the
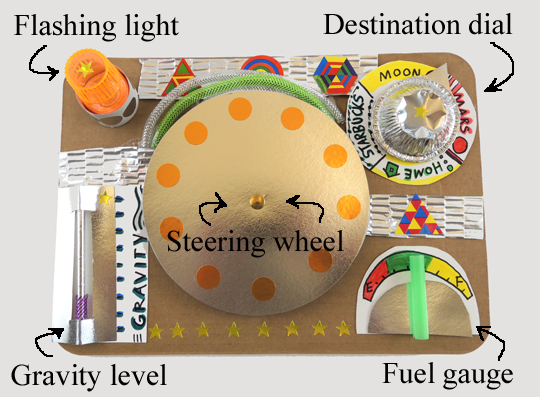
 The steering wheel is 2 silver circles hot glued together and then attached to the dashboard with a longer, 1.5″ brass fastener (or use a bit of
 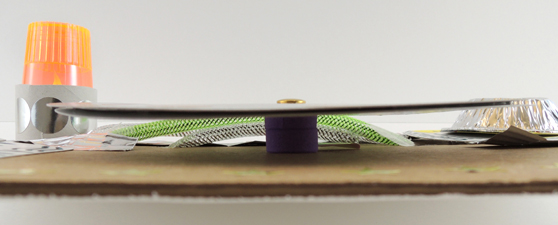 We also had markers, silver foil paper, mesh tubing, foil star stickers and geometric stickers on hand for decorating. The geometric stickers are “Funky Geometric Shapes Rolls of Stickers” from Oriental Trading Company (6 rolls of 900 stickers are $10).
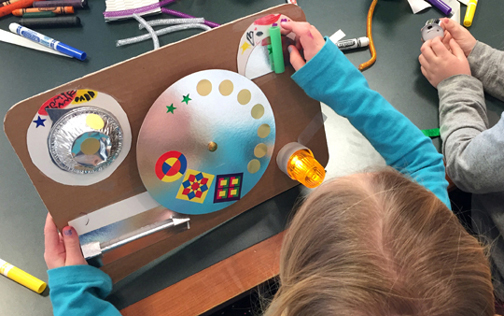
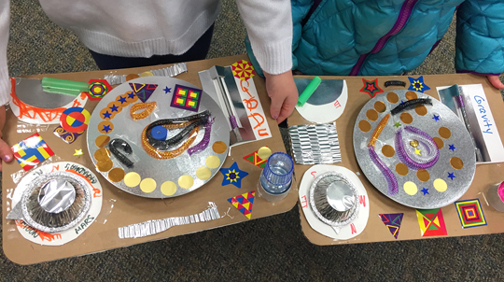
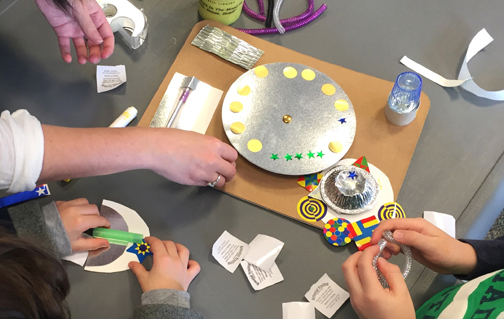 Once the decorating was done, we fired up ye
 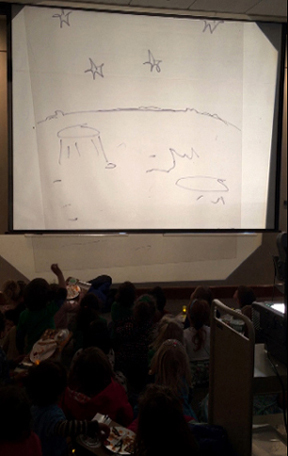 This story time was hosted by the public library in Bernardsville, New Jersey. Look at their charming children’s section, which was the gift of Estella and Jay Parsons:
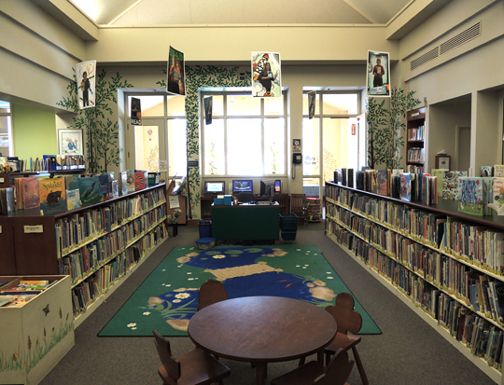 It’s full of beautiful hand-painted trees, botanical touches, and forest animals. Look at the deer standing next to the little wicker chair in the corner!
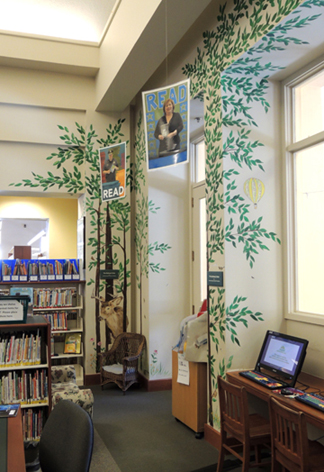 This little singing bird is Katie’s favorite:
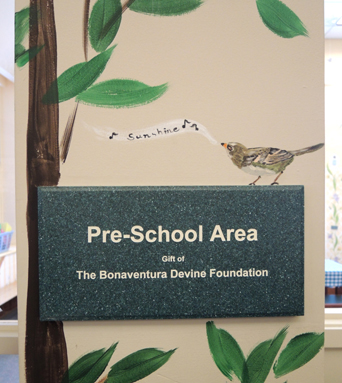 The preschool area (a gift of the Bonaventura Devine Foundation) continues the outdoor theme with picnic-style activity tables with cute gingham covers and buttery sunshine-colored walls.
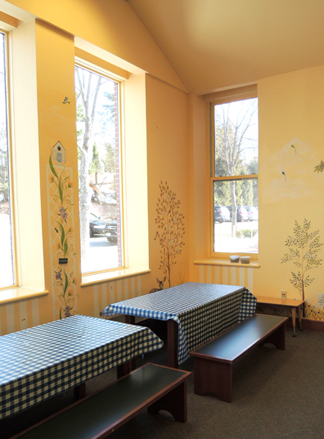 Here’s my favorite touch, however. The “Please Disturb” sign on the reference desk!
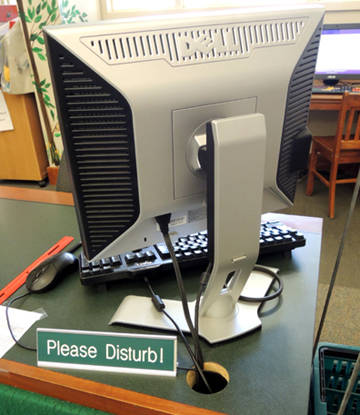
 Boldly go where no mouse has gone before. We created a rad rodent rocket, then flew it across the library on a mission to the moon! If you are ever looking for an excuse to bust out a pair of walkie-talkies at story time, this project is for you.
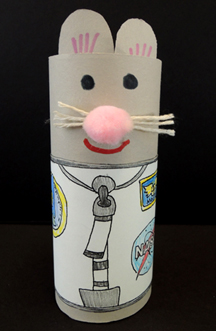 Set the mouse aside for a moment. It’s time for the rocket!
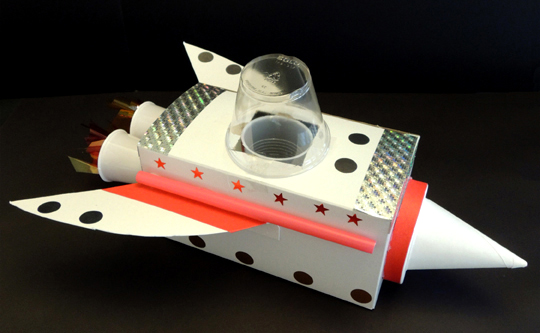 The trickiest part of constructing this rocket? Finding the right plastic cups for the “seat” and “cockpit.” The seat cup needs to hold mouse snugly, while still allowing it plenty of head room. I found some 5oz plastic cups that were just perfect.
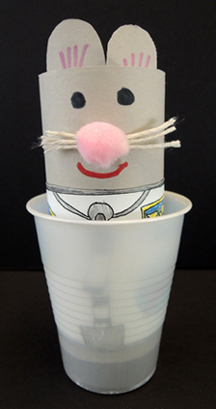 Use a box cutter to cut a square hole in the lid of your box (if you’re using a tissue box, flip the box over and cut the square in the bottom). You want the hole to be big enough to slide the cup into, but not so big that the cup is in danger of dropping through (mine was 2.5″ x 2.5″). Slide the cup into the hole, then secure it to the box with tape. Place your mouse in the cup.
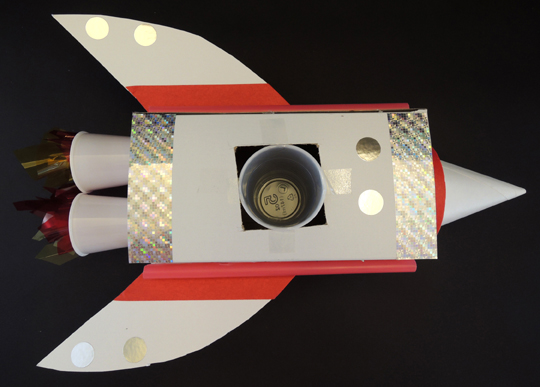 The cockpit cup needs to be wide enough to cover the hole, yet tall enough for your mouse’s ears. This 9oz clear plastic cocktail cup did the job very nicely.
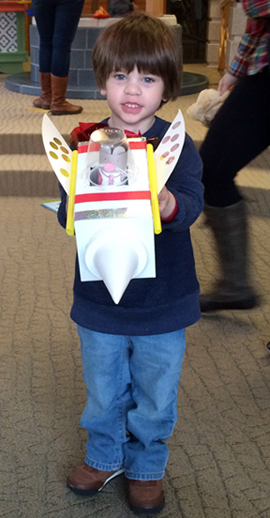
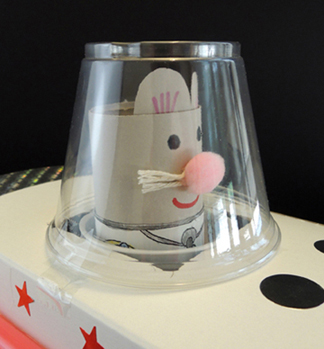 In the image above, you’ll notice that the cockpit cup is attached to the box with a single piece of tape. This is so you can open and close the hatch of the rocket. If you’d prefer your mouse to be sealed in, add more tape. Next, print and cut the wings template, fold along the dotted lines to create a tab, and attach the tab to the side of the box with tape or hot glue.
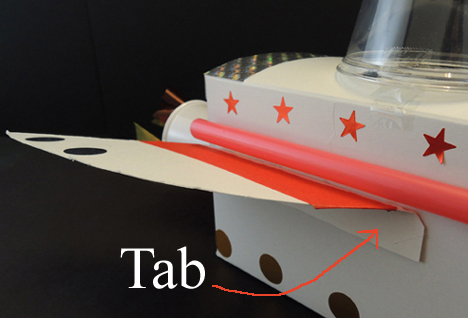 To make the rocket’s boosters, twist squares of yellow and red cellophane together, then tape the twists inside a pair of plastic cups (I used white, 3oz plastic cups). Hot glue the cups to the back of the ship.
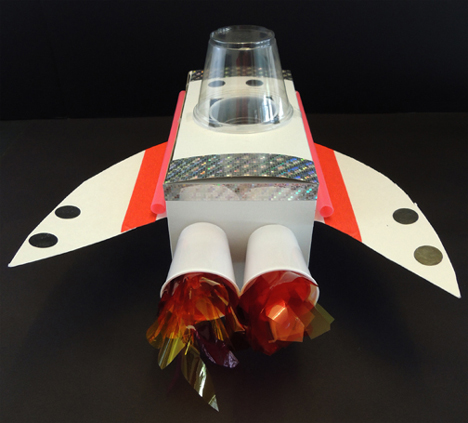 The nose of the rocket is a cone water cup. We hot glued our cones to unused, 3.5″ paper lids (the kind you get when you buy hot soup). But you can just go with the cone if you’d like.
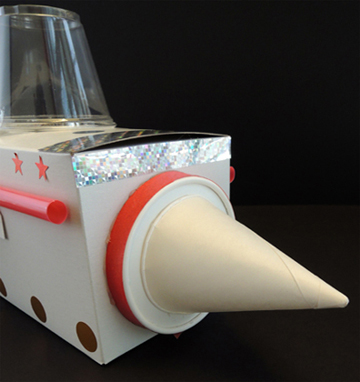 Decorate the ship with metallic dot stickers, color masking tape, and whatever else strikes your fancy (we flashed things up with silver holographic tape). Also, did you notice the awesome
 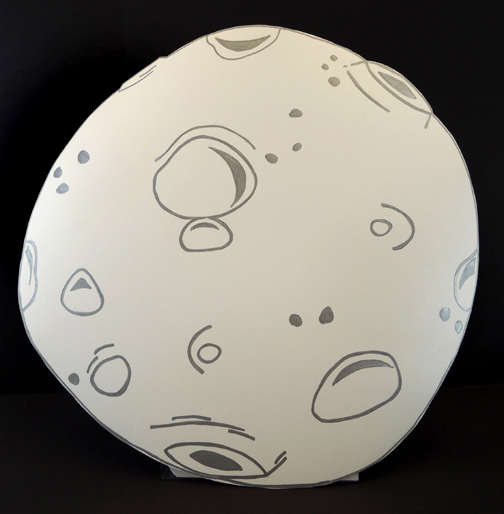 Marissa also crafted this awesome Moon Base out of a tissue box, poster board, a
 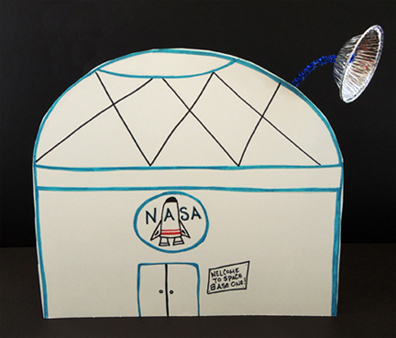 Marissa and I equipped ourselves with a couple of walkie-talkies. Marissa was Mission Control, stationed in the story time area…
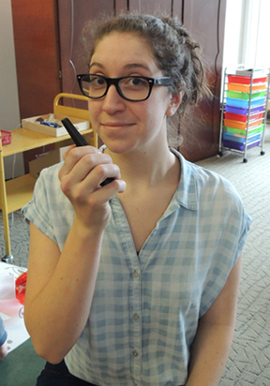 And I was at Moon Base, waaaaay across the library’s cavernous lobby. Marissa and I couldn’t see each other and definitely couldn’t hear each other without using walkie-talkies. This was intentional. We wanted the kids to feel like they were traveling far away.
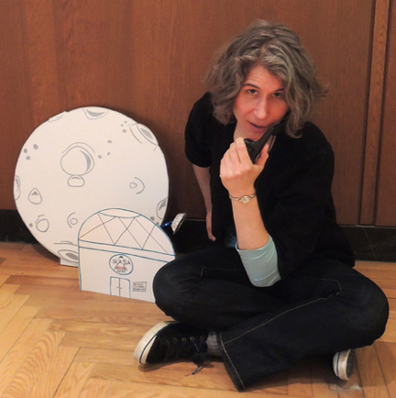
 One-by-one, they were treated to some “walkie-talkie space banter:”
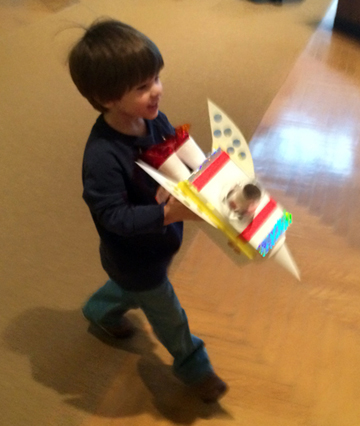 The rocket would navigate the long journey across space…
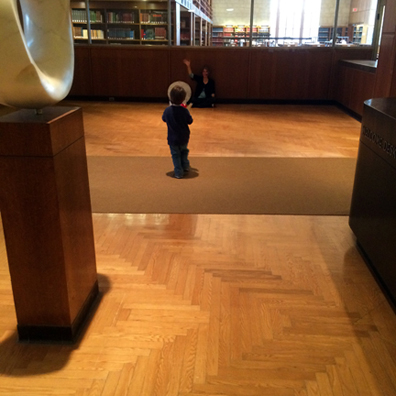 And successfully touchdown at Moon Base! The pilot could then could select some star stickers to further decorate his/her rocket. I radioed back that the mission had been a success, and requested that the next astronaut prepare for launch.
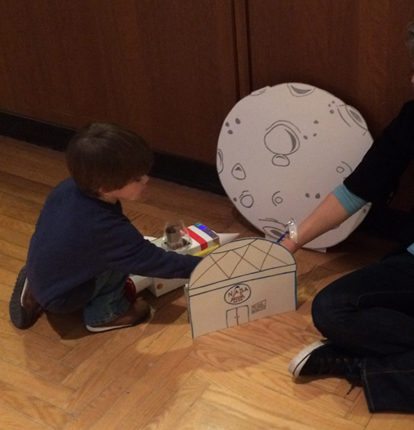 Of course, while waiting for my next rocket to arrive, I couldn’t help treating Marissa to a few songs through the walkie-talkie: This is Ground Control to Major Tom…You’ve really made the graaade!