 Manga fans, sharpen your pencils! We were delighted to host Misako Takashima (popularly known as Misako Rocks!) at an intensive drawing workshop for 10-14 year-olds. Check out our interview with Misako at the end of the post!
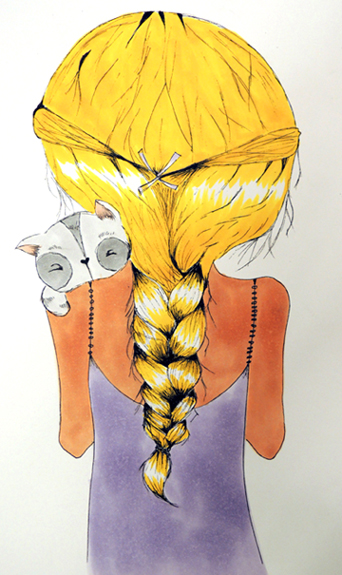
 The workshop primarily focused on character development, as well as a little history on Japanese culture and manga. After a hilarious PowerPoint presentation about growing up in Japan and coming to America, Misako jumped right in to the art. Wielding a variety of markers, she demonstrated how to structure faces and make mouths, eyes, and even hair expressive.
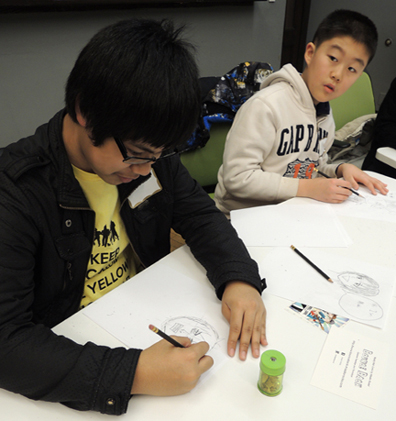
 The kids were loaded up with paper and pencils so they could sketch along with Misako.
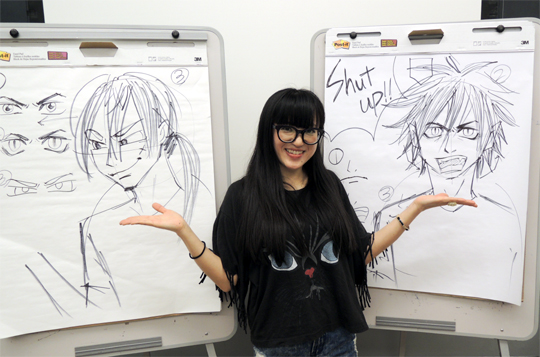
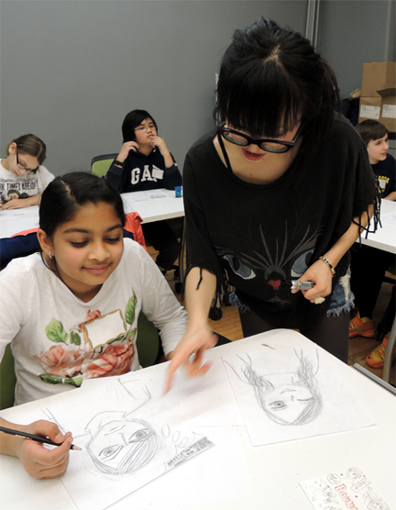
 My favorite part, however, was when Misako would circulate among the young artists, commenting on their work, making suggestions, and giving mini-lessons to help improve their drawings.
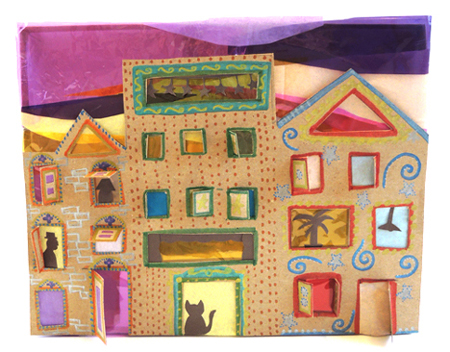
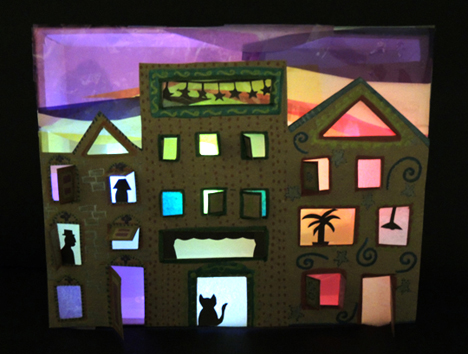
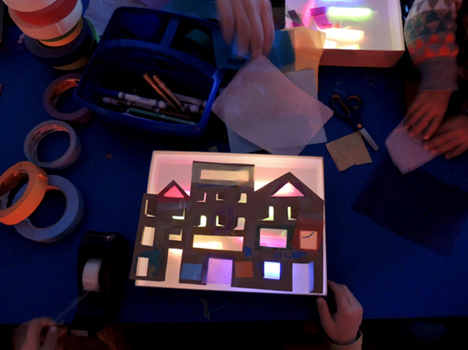
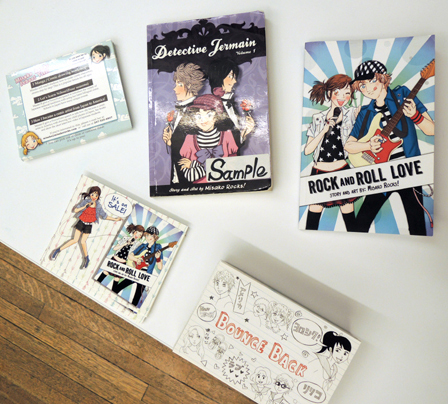
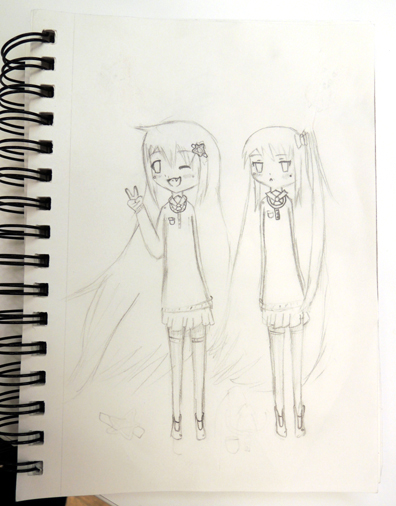
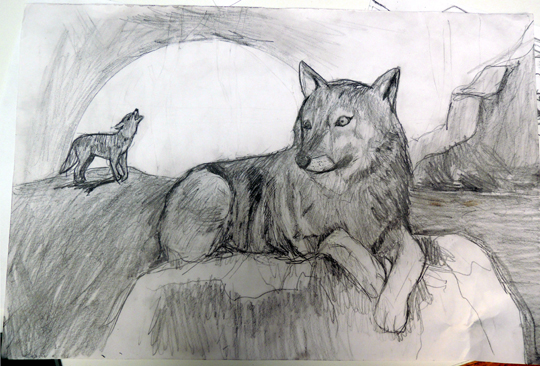
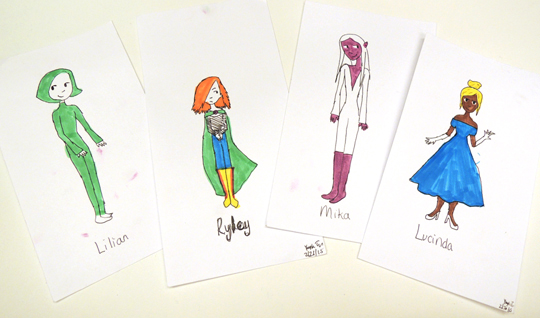
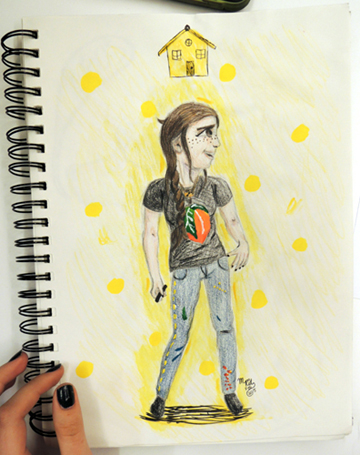
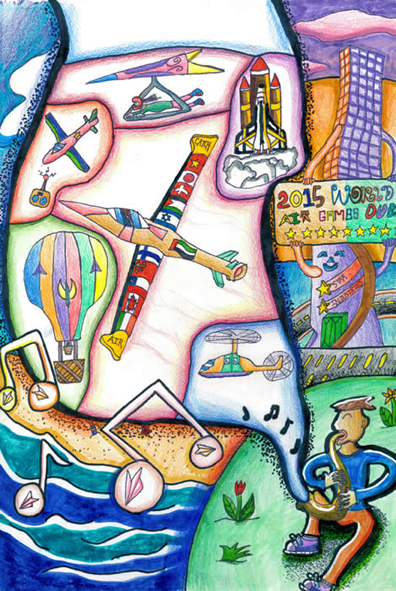
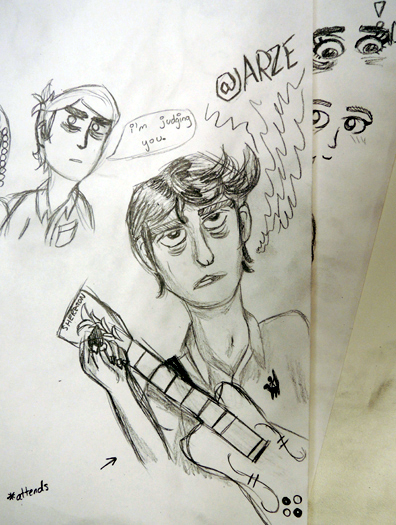
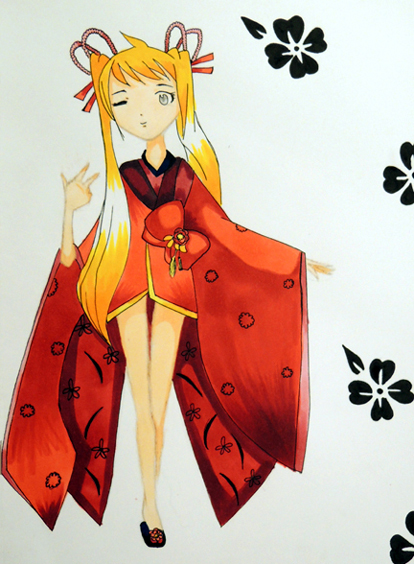
 Another fabulous thing about the workshop? The kids’ art! In addition to some spur-of-the-moment sketches, many of them brought their portfolios with them. Here are just a few…
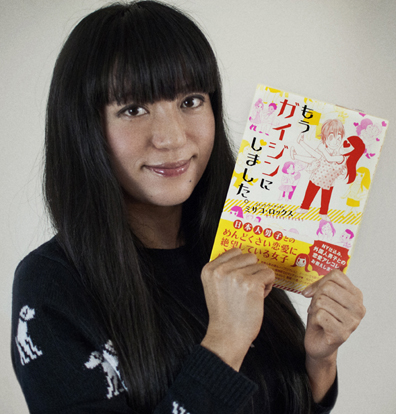
In addition to publishing her own work, Misako has been featured in magazines and newspapers, including Elle Girl and the New York Times. The BBC and TV Asahi featured her in a documentary about her comic book life, and her Instagram flows with photos, sketches, and artistic exuberance.
 When did you first start drawing manga, and why did it intrigue you?
I started drawing when I was 8 or 9 just like any girls copied their favorite characters. But professionally I started drawing in 2004. It was my first dream that I wanted to become a puppeteer in Broadway (to work for Lion King musical!), but I gave up on myself.
Then I noticed that Japanese pop culture (anime and manga) was getting pretty popular around that time. I thought that I had to switch my career when this was pretty trendy! That’s how I started making my story and drawing.
Describe the steps you take to draw a single page in one of your books.
First I roughly draw panels and add lines to the characters. At this time I don’t draw backgrounds. Then I start polishing each page: 1 draw with blue pencil. 2 draw with calligraphy brush. I draw background separately. Scan everything and color with Photoshop.
What’s more difficult for you…writing the story, or drawing the art?
Writing the story is more difficult for me, because English is my second language. I am still learning! My study will never stop! But I do have so many ideas, so I don’t have any problems to come up with a theme!
Name some other artists you love!
Yukari Ichijo is my favorite manga artist, Klimt, and Charles Burns, the graphic novel artist of Black Hole. Art Spiegleman, the graphic novel artist of Maus might be my No1!
What’s one of the most unusual things you’ve received from a fan?
A photo of her tattoo…she used my illustration!!! I was blown away by it.
What’s your advice for young artists who want to draw manga?
In order to make stories, I always advise them to go outside and have fun! Because those days really help them to create interesting and exciting stories. Also give yourself 1 min sketch practice. I sat on a bench in a park to draw people sit in front of me for one minute! I kept doing a lot to develop my drawing skill.
What are you working on now?
I am working on my weekly web comic: BOUNCE BACK. The theme is a school bully, racism, friendship, finding identity etc, etc. But it has a fantasy character, so it’s still entertaining! I bet readers will feel related to my characters Lilico and Paige.
Also I am working on Japanese manga comic too. I go to Japan often to be on TV and radio show to talk about my projects. Sometimes I visit schools to give a motivational speech. This is very exciting!
Artist photo courtesy of Misako Takashima.

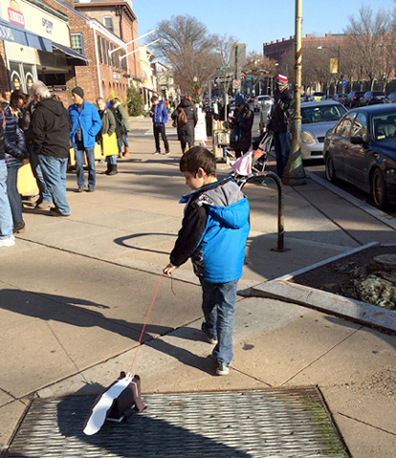
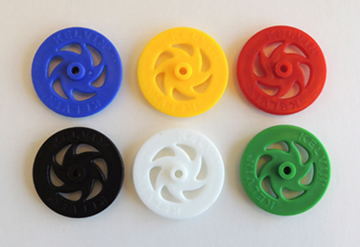 Thread the wheels on pieces of bamboo skewer, and then thread the skewers through drinking straws taped to the bottom of the box like so:
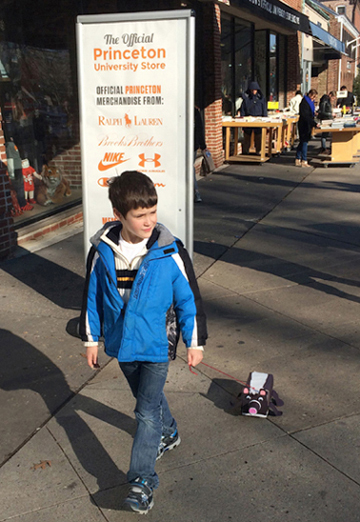
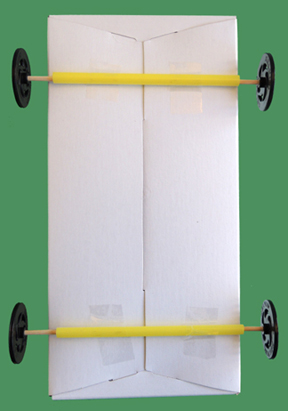 You could also use wooden spools instead of plastic wheels. Or, if you’re planning to stay indoors, skip the wheels and just drag the box on the floor (like the dog from