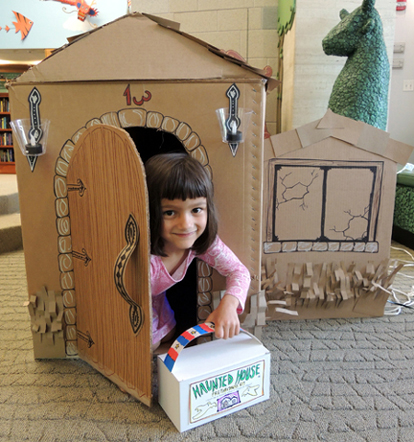
 Boldly enter a haunted house armed with your wits and your handy Haunted House Preparedness Kit! Trap a spider, catch a mouse with some cheese, deter a ghost with ghost spray, and use your skeleton key to exit through a secret door. There’s nothing you can’t handle!
We read I’m Not Afraid of this Haunted House, written by Laurie Friedman, and illustrated by Teresa Murfin (Carolrhoda Books, 2005). Simon Lester Henry Strauss is not afraid of a haunted house, no matter what it throws at him. Witches, ghosts, vampires, ghouls, werewolves, goblins, graveyards, Frankenstein (and bride), one-eyed monsters…nothing can phase our hero. Except, perhaps, a little mouse!
You’ll need:
- 1 box (mine was 4.5” X 4.5” x 9” – a large tissue box works too)
- 1 set of haunted house kit labels template, printed on 8.5″ x 11″ card stock
- 1 strip of white poster board (approximately 1.75″ x 16″)
- 1 haunted house kit contents template, printed on 8.5″ x 11″ card stock
- 1 clear plastic cup
- 1 circle of tagboard or poster board to fit the mouth of the cup
- 1 toilet paper tube
- 1 jumbo pom-pom
- 1 small square of self-adhesive foam (approximately 0.5″ x 0.5″)
- 1 button magnet
- 1 wooden bead
- 1 wiggle eye
- 2 black pipe cleaners
- 3 facial tissues
- 1 long piece of string or yarn (approximately 24″ long)
- 1 jumbo paper clip
- 1 haunted house (more on this later!)
- Scissors and tape for construction
- Markers for decorating
- Hot glue
Below are the contents of the Haunted House Preparedness Kit. From left to right is a spider collection jar, a skeleton key, a piece of cheese, and a can of ghost spray.
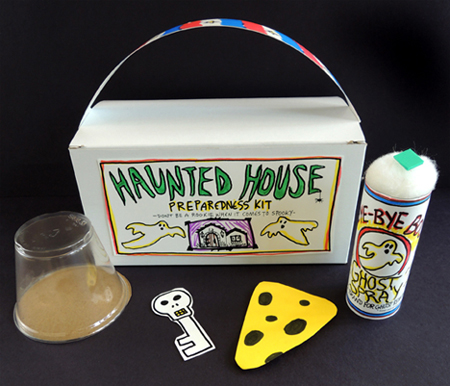
First, the box! Color, cut, and attach the 2 front and back labels from the template. Next, use markers to decorate a strip of white poster board. Tab both ends of the strip inwards about 1″, then tape the tabs to the underside of the box lid. If you’re using a tissue box, just cut the top off the box and attach the poster board handle to the sides of the box.
The spider collection jar is a clear plastic cup flipped upside down. We used a 9oz “cocktail” cup because it has a nice wide mouth. Using a single piece of tape like a hinge, attach a circle of tagboard to the mouth of the cup. Make sure you don’t entirely attach the circle – you’ll need to open the jar later to stick your spider inside it.
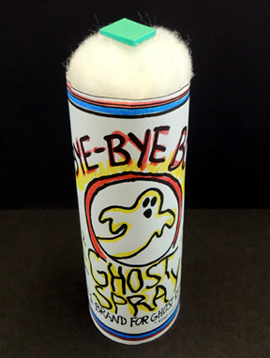
The skeleton key and the ghost spray label are on kit contents template. Color the ghost spray label, and then wrap it around a toilet paper tube. To make the aerosol top of the can, hot glue a jumbo pom-pom to the inside of the tube, then peel and stick a square of self-adhesive foam on top.
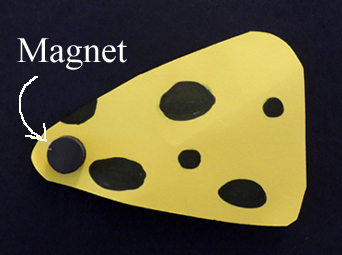
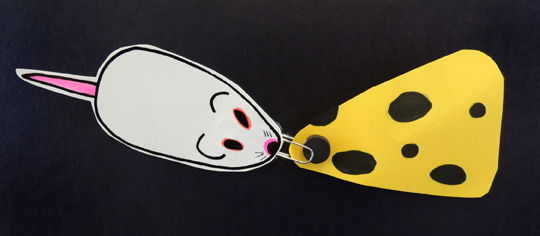
 The final item in the kit is a piece of cheese, which we made out of yellow card stock. Draw holes on the cheese with black marker and hot glue a button magnet to its tip.
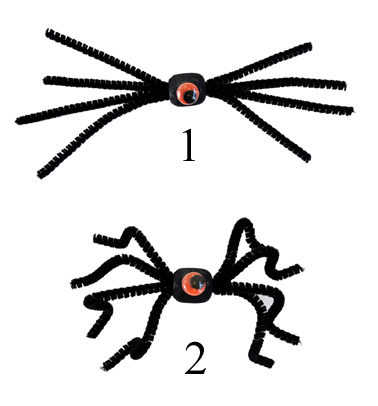
 The next round of items are the things you’ll be catching inside the haunted house – a spider, a ghost, and a mouse. First, the spider. Color a wooden bead with black marker and hot glue a wiggle eye on the front. Cut 2 pipe cleaners in half, then thread the 4 pieces through the hole in the bead. Bend the pipe cleaners to create wiggly spider legs.
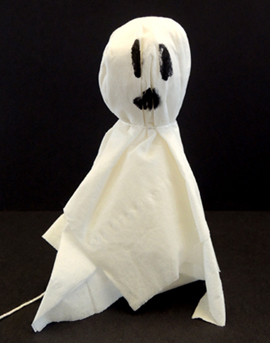
 To make the ghost, wad up a facial tissue and fold 2 facial tissues over the wad. Tie the end of a 24″ string around the wad to create the neck of the ghost. Make sure to leave plenty of string free to dangle your ghost later! Use a maker to add eyes and a mouth.
 Finally, color and cut the mouse from the template. Tape a jumbo paper clip to the underside of its mouth. Later, this paperclip will attach to the magnet on the cheese.
 That’s everything you need for your adventures in the haunted house…now you just need the house! It doesn’t have to be fancy. Drape some sheets over the shelves in your stacks, or drape a tablecloth over a table and have kids crawl under it. But if you have a giant box, 2 smaller boxes, and a black light handy, go for it! Here’s the front of out house (plus a photobomb by Marissa).
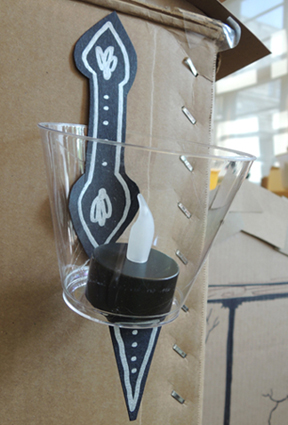
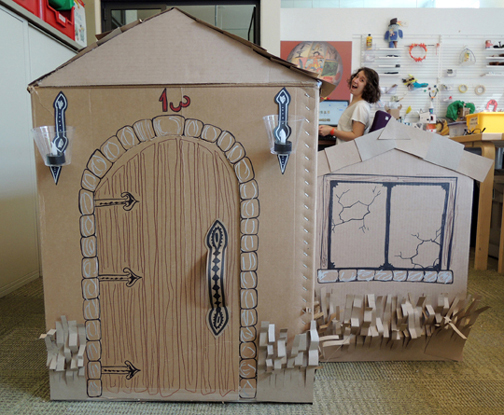 I love the lanterns by the door. They’re LED candles inside plastic cups, which are attached to the box with black poster board. There’s a little poster board flourish hot glued to the bottom of the cup too.
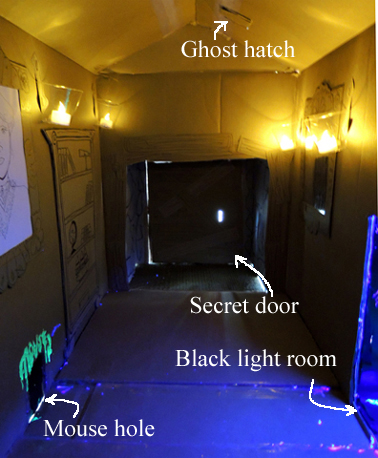
 Here’s a shot of the house’s interior, as seen from the front door. There are LED wall sconces, a mirror, a bookcase, old-fashioned portraits, a clock, and a fireplace that leads to the black light room. And there were also 4 activities for the kids…coaxing a mouse out of the mouse hole, catching a spider, spraying a ghost with “Bye-Bye Boo” spray, and using a skeleton key to exit through a secret door.
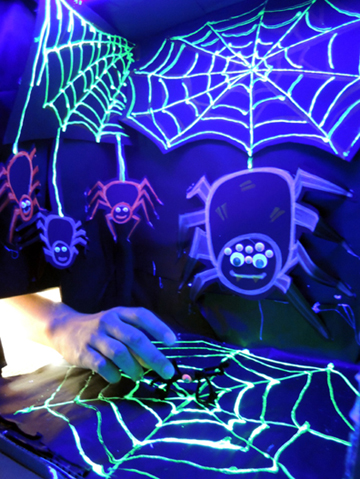
The haunted house also had a black light room – a delightful masterpiece created by Marissa. She used glow-in-the-dark squeeze glue and black light Sharpie markers to highlight everything. We cut a little door in the side of the room so we could quickly slip the kids’ spiders inside.
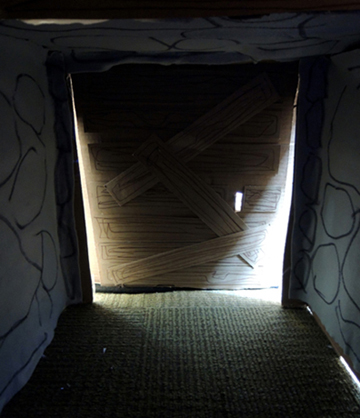
 At the very back of the house was a secret door, which was covered with tagboard strips made to look like wooden planks. The interior of the secret door box with lined with gray felt. To give it an underground kind of feel, I used a thick black marker to draw outlines of stones on the felt.
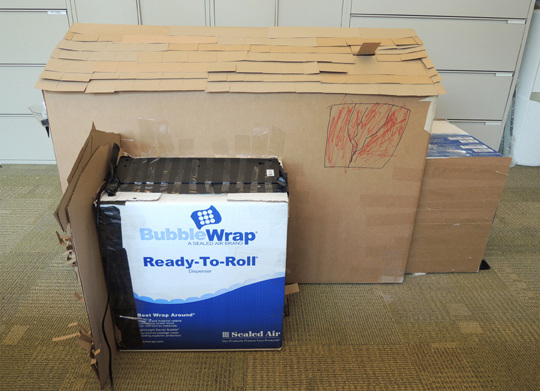
 Here’s a shot of the haunted house from the right side. Everything was was held together with lots of hot glue and packing tape.
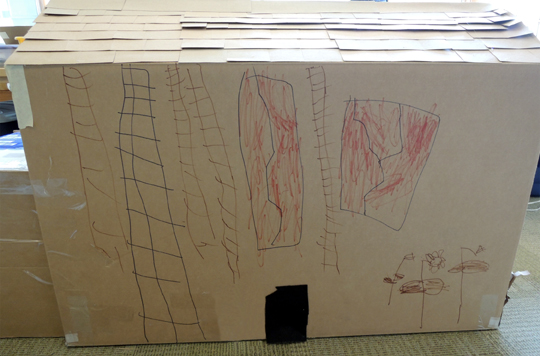
 The left side of the house had the mouse hole, which we covered with black felt to keep light from leaking in. My kids did all the exterior decoration. Like the dead flower garden on the lower right?
 So! Here’s how it went! Kids lined up outside the house. When it was their turn, they handed us their spiders, mice, and ghosts. Then they entered the house with their kits.
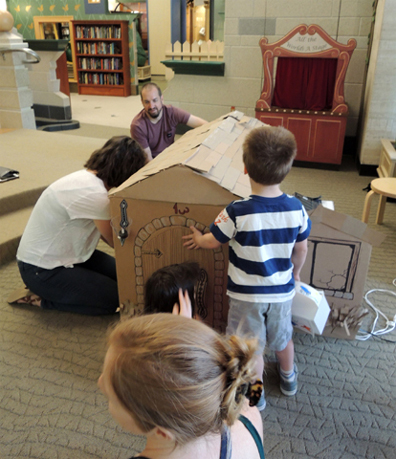 Once inside, they listened for the mouse squeaking in the mouse hole (this was literally Marissa saying “Squeak squeak!” and wiggling the nose of the mouse outside the hole). Kids stuck the magnet end of the cheese into hole and “caught” the mouse. Into the kit it went!
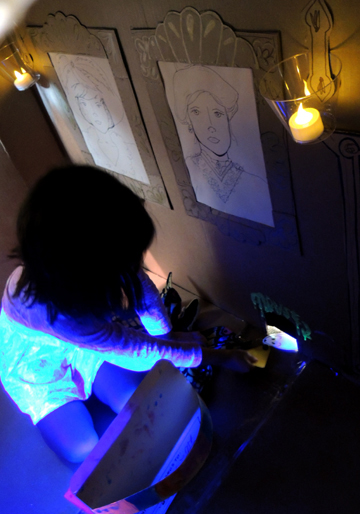 Next, kids reached into the black light room, grabbed their spider, and put it in their collection jar. By this time, I had opened the trap door in the roof and dangled their wailing ghost in (I followed Marissa’s lead, enthusiastically saying “Wooo wooo!”). The kids doused the ghost with a ghost spray, causing it to drop to the floor of the house. Into the kit the ghost went.
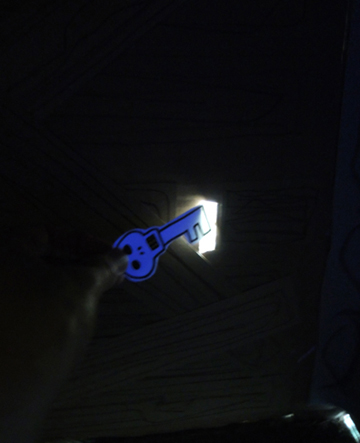
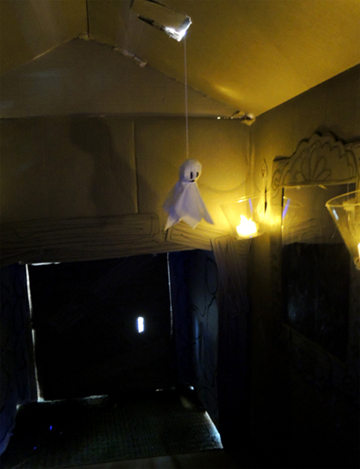 The final task was for kids to shimmy into the secret room and use the skeleton key to unlock the door. We wouldn’t lift the door until we saw a key in the key hole!
 Kids could go through the house as many times as they wanted, and we kept story time going 20 minutes past our end time to accommodate repeat explorations. It was…wait for it…a total scream! Awwww.
Did you notice the old-fashioned portraits in the kid catching mouse image? I have to give Marissa a shout out for her mad drawing skills here. She drew us! In Victorian clothing! I love my hat.
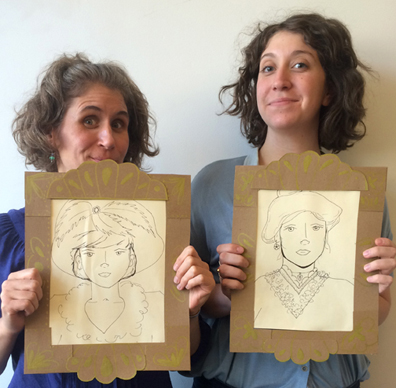 The portraits are a nod to the day we spent sipping Victorian tea at this program. Fun!
