 Professor Flitwick is going to be thrilled, because this post is all about charms! When we learned that Malaysia, one of our awesome high school summer interns, was a huge Harry Potter fan, we just knew this kit was hers to test! Accio bracelet!
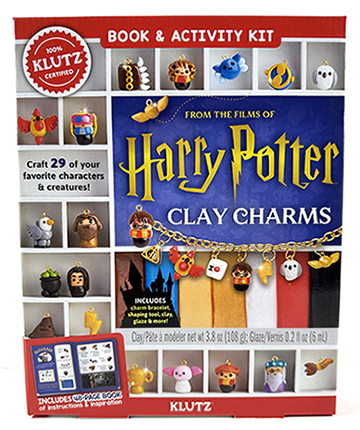
The “Harry Potter Clay Charms” kit by Klutz is intended for ages 8+ and retails for about $25. Contents include an instructional manual, 7 types of clay, a sculpting tool, a mini marker, a bracelet and hardware, a small bottle of glaze, and a paper display stand that looks like the Hogwarts Express.
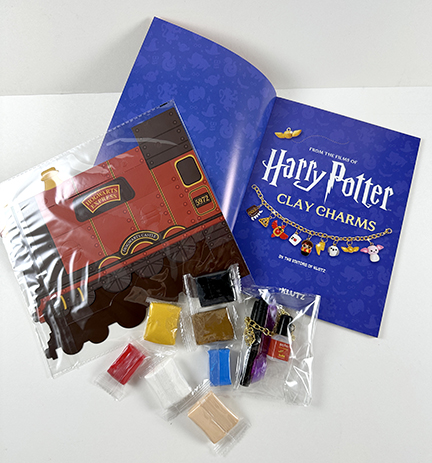
The instructional manual was particularly good, chock full of full color photos, ideas, and instructions for making up to 29 characters, objects, and creatures from the famous series. I will now turn the post over to Malaysia, and don’t miss the interview with her at the end of the post. Take it away, Malaysia!
Upon opening this kit, I was pleasantly surprised with the amount of materials and inspiration provided to make these charms! The booklet gave great tips on handling the clay, tips on making shapes, and even color mixing for certain shades. As for the clay itself, the quantity for each color ranges, with blue being the least, and black and gold having the most. I’d suggest letting the clay sit out for a few minutes at room temperature to soften it a bit before handling, but it wasn’t too hard to use.
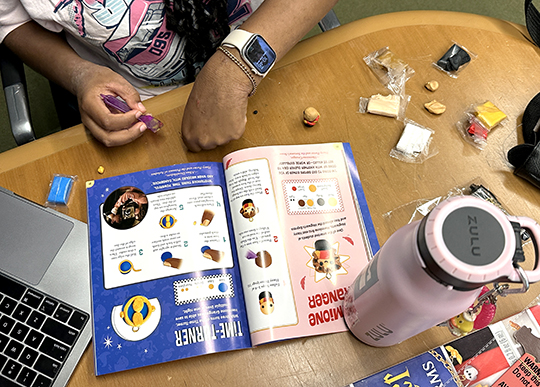
The first charm I tried my hand at was Hermione Granger, and after twenty minutes spent on her hair alone, I was regretting my decision. While she was the only human character I tried, I think it’s safe to assume the others would be of similar difficulty. There were a lot of components to the human characters, so save them for last – or first – depending on your level of patience.
Most of the other charms were fairly easy, and seem fit for the hands of someone 8 and above. Aside from the mandrake, the rest of the charms were quite simple and easy to make presentable, or resemble the photos from the book in some way. I’d recommend working with darker colors first, then progressing to the lighter ones, because once they mix…there’s no undoing it! Also, some of the coloring can rub off onto your workspace or your fingers.
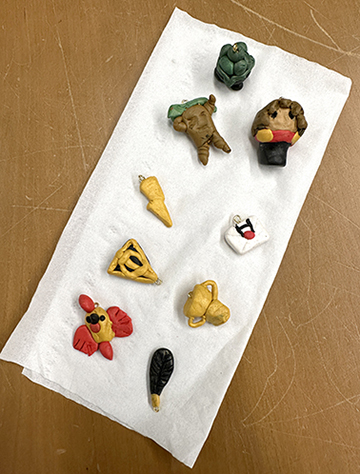
Back to the dreaded Mandrake: while adorable and misleadingly simple, it’s actually quite hard to get right! Turns out, it’s a bit of a challenge to make balls of clay look effortlessly perfect as this plant. I tried using the clay shaping tool provided with the kit for a bit of assistance, but I wasn’t too successful. By this point, there was a fair bit of clay stuck onto the blade, which was stubbornly difficult to remove. The other tools (marker, charm hoops, and glaze) were simple and easy to use. Dr. Dana cooked the charms in her oven, I glazed them, and then I attached them to the bracelet:
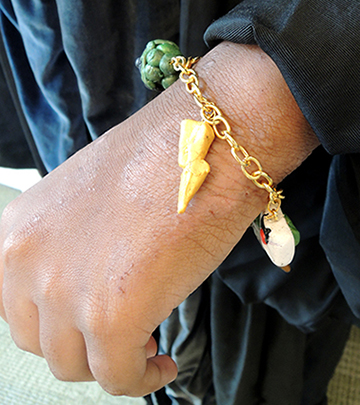
Overall, this charm kit has earned a ⅘ star rating in Muggle terms. It’s hard not to have fun trying to perfectly recreate these beloved icons in clay form, or even just to laugh at your mistakes! So, in wizarding terms, I’ll have to give this an E in their O.W.Ls for Exceeding Expectations!
We absolutely loved having Malaysia in the office this summer, laughing and talking about Potter. So naturally, I couldn’t let her go without asking a few Potter-related questions…

What House are you?
Slytherin, proudly.
What’s your favorite book in the series and why?
Half-Blood Prince. With Voldemort really coming back, it’s a bit funny (and relatable) to see Harry and the other students balancing their teenage lives while also trying to plan on defeating He-Who-Must-Not-Be-Named. On a smaller note, I think it’s one of the first times we see some vulnerability in the haughtier characters like Draco, which really just puts it into perspective that this magical, whimsical world we all love is going to take a darker turn.
Which character do you associate with the most and why?
It’s probably cliché, but Hermione Granger. I can be a bit of a know-it-all at times, even when it seemingly backfires. And even to this day, one of my worst fears is getting a bad grade…or worse, expelled.
Which charm in this kit speaks to you the most, and why?
I liked the Deathly Hallows charm the most, it’s an instantly recognizable sign of the Harry Potter universe, without being too elaborate or difficult.


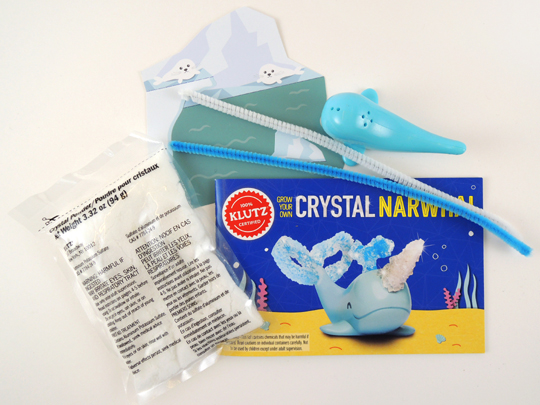
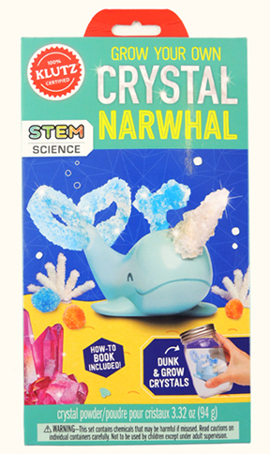 The kit provides the basic pieces to get started. Namely an instructional booklet, 2 pipe cleaners, crystal powder, a plastic narwhal figurine, and a little paper backdrop to pose the finished product on.
 However, you will have to fill in some gaps with items you may or may not have already at home: 2 heatproof glass jars with lids (I used old jelly jars, but Bell jars would totally work), measuring cups and spoons, a plastic plate, and a pot holder or trivet. Most importantly, you need to use distilled water to make the crystal growing solutions. I bought a gallon of distilled water at the grocery store for 99 cents.
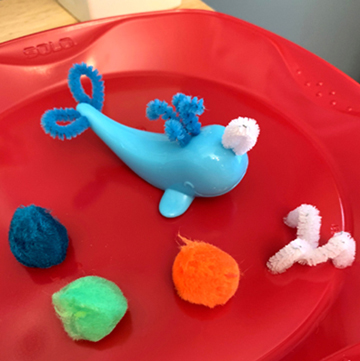 Next, you make a crystal “growing solution” and let the narwhal soak in the solution for 4-8 hours. If you made the solution correctly, crystals will grow on the pipe cleaners. Let the narwhal dry overnight, then do a second round of soaking in the growing solution. If your experiment worked, you finish with a beautiful narwhal with a crystal tusk, water spout and tail!
 One suggestion…I had to get a bit creative with my glass jar because there wasn’t enough growing solution liquid to fully cover my narwhal. I simply rolled up a dish towel and rested my jar at an angle so the pipe cleaners were submerged.
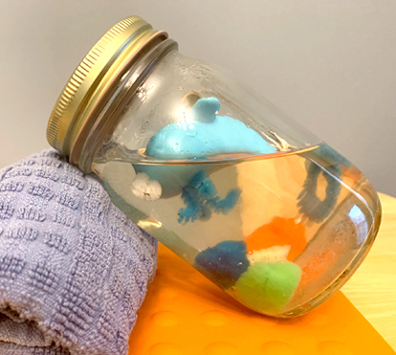 Another suggestion is using something other than your fingers to remove the narwhal from the liquid after it is done soaking. I used a wood skewer, but you can also use a plastic spoon or tongs. In fact, every time I handled the narwhal or any of the experiment materials, I thoroughly washed my hands to remove residual crystal powder (which is aluminum potassium sulfate, or alum).
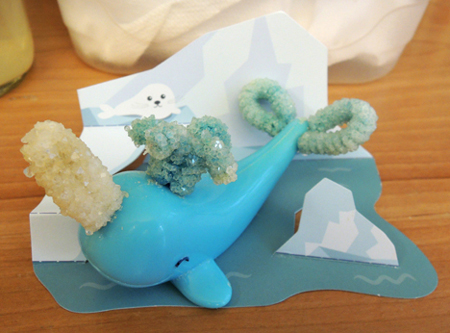 It took me 4 days to finish the project. But I allowed extra soaking time for the pom-pom “icebergs” to grow bigger crystals, so technically you can wrap up the experiment in 3 days. There is a great deal of adult supervision to complete this kit. I fully agree with the suggested age range of 8 and older with adult assistance. There is no way a child should work with stove tops, microwaves, boiling water, and chemicals without an adult present.
 When it comes to crafting, the best way to send that project over the edge of coolness is to LIGHT IT UP! We’ve wired flannel boards with
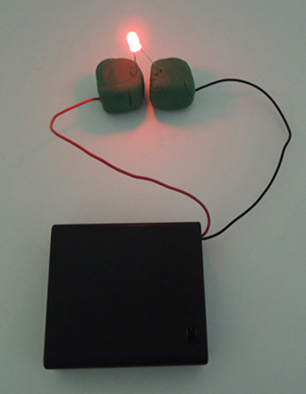
  So when we spotted the Circuit Clay kit by Klutz we were excited. Ideally, the kit allows kids to do all sorts of electrical experimenting, with the added bonus of sculpting unique creations. But conductive clay? Would that even work? I must admit, we were a wee bit skeptical.
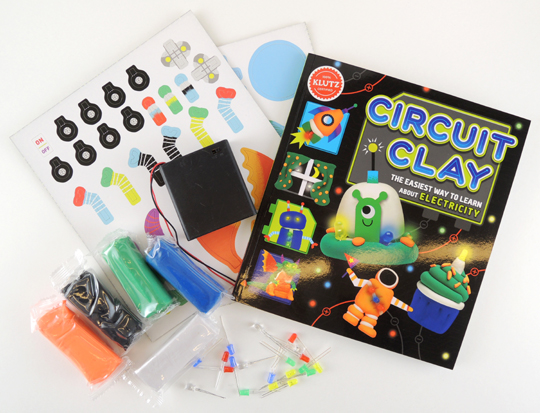 The Klutz kit retails for around $22 (ages 8 & up). It contains a 52-page instruction booklet, 4 packs of color conductive clay, 1 pack of white insulating clay, 20 color LEDs, a battery pack (4 AA batteries required), and 52 paper embellishments for your projects. Katie put the kit through its paces. Take it away Katie!
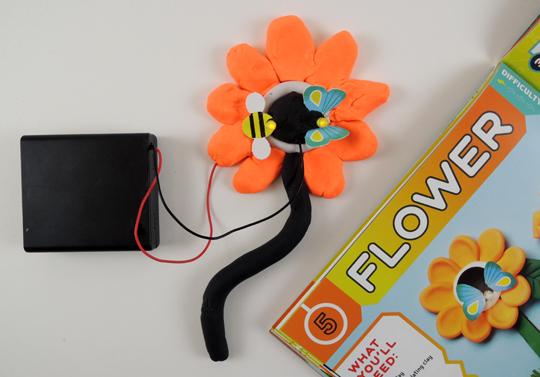
 Feeling certain in my understanding of basic circuits, I moved ahead in the instruction book and created a Princeton University-inspired orange and black flower, complete with a little glowing bee and butterfly from the kit’s paper add-ons.
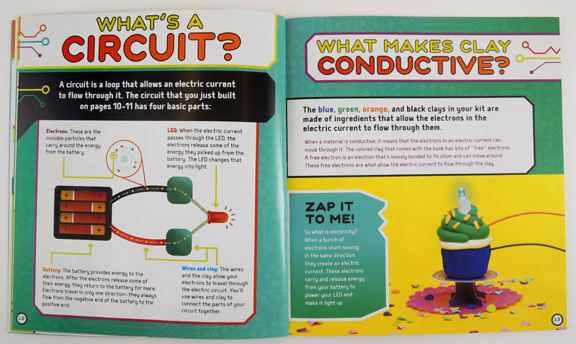
 A note about the instruction book: it is an exceptionally well written and illustrated manual that provides easy to understand lessons for kids about electricity. Kudos to Klutz for using every inch of the book with colorful images and educational descriptions.
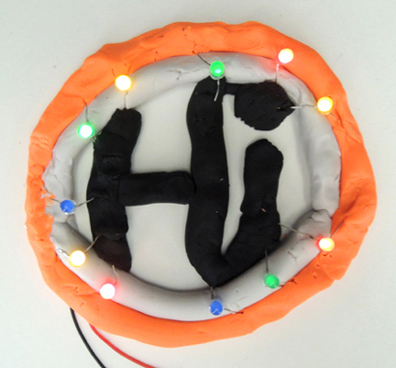
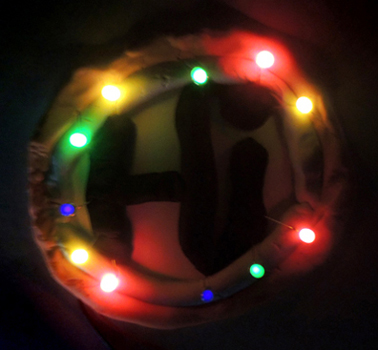
 Riding a wave of confidence, I decided to crank it to 11 and make my own design with as many lights as possible. As I was forming the letters to say “Hi” and the circle around it, I had to remember to maintain the circuit between the conductive clay and the insulting clay. I will admit this was a little challenging, and I *may* have broken several bulbs putting it together. But eventually it worked! Here’s a photo of it in full darkness. Notice that the blue bulbs are much dimmer?
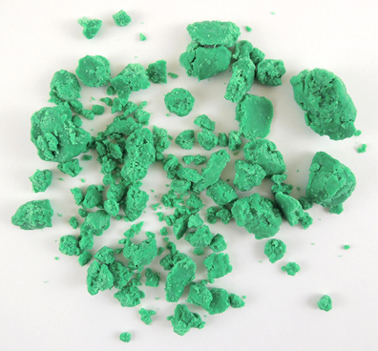
 Now for the bad news. I found the clay was quick to crumble and shred, even fresh out of the package. It was sometimes tough to keep the LED bulb’s long wire legs fully inserted into the designs, and it was frustrating at times to figure out how to set up the different circuits. Finally, the book says to “keep your clay in a resealable plastic bag or container so it won’t dry out.” I did seal it in a Ziploc bag, but a couple weeks later, the clay was dry, flaky, and nearly impossible to manipulate.
 The Klutz Circuit Clay is definitely a clever way to teach kids about electricity without them accidentally getting hurt or shocking themselves. It’s an activity children with patience and strong reading skills can do on their own, but younger kids will definitely need assistance. The suggested age range may be a little low (ages 8 & up), but I’m not sure if kids older than 10 would find this experiment worth their time and attention.