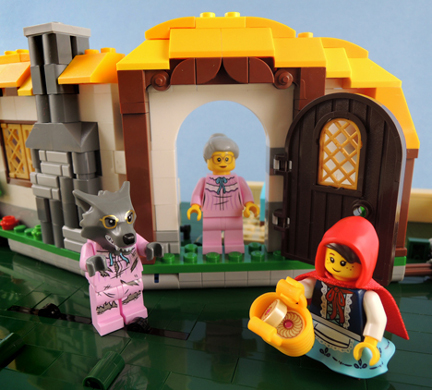
 It started with an excited text from Katie: “Check out this LEGO set!” The accompanying image made my heart go pitter pat. LEGO has created a fairy tale pop-up book. I think it took oh…maybe 15 seconds for me to order one for blog testing? The set was Katie’s discovery, so she gets to do the honors. Take it away, Katie!
The brilliant folks at LEGO have done it again. They created an honest-to-goodness pop-up book out of LEGO bricks!
Before I go any further, I will fully admit that I was quite skeptical when I saw the “Once Upon a Brick” Pop-Up Book from LEGO’s Ideas line set in my son’s new 2019 LEGO catalogue. It claimed it was the “First pop-up book in LEGO history” and features two fairy tale stories: Little Red Riding Hood and Jack and the Beanstalk. Awesome, but would it work?
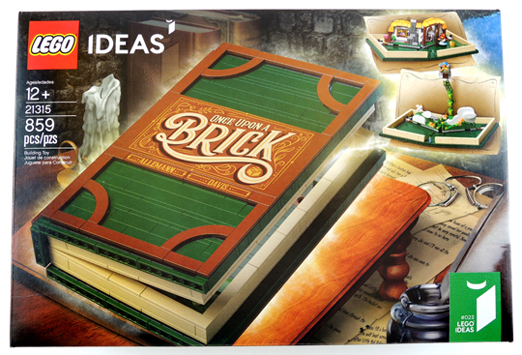 The set retails between $50-$70. There are 859 pieces in the box and the suggested age range is 12+. The instruction manual is a novel in its own right, weighing in at a hefty 162 pages. I loved that at the start of the instruction manual, LEGO introduced the fan designers who came up with the original idea for the pop-up book, as well as the LEGO designers who helped bring the book to LEGO life.
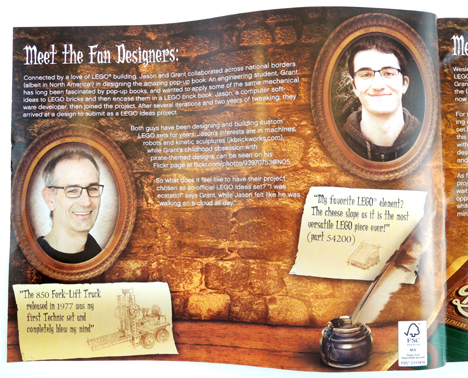 LEGO also provided the history of pop-up books, which date back to the 13th century, and briefly discussed the two fairy tales that are a part of the set. Along with words of encouragement to “Create your own fairy tale!” and “Build your own story…,” the instructions to build your LEGO set starts.
There are six bags of LEGOs to build the pop-up book. I found the instruction manual was straight-forward and easy to follow. There were only a few times when the instruction images were a bit tricky and forced me to slow down to pay close attention to the details. There are also lots of little pieces, especially when building Jack and the Beanstalk, so have your nimble fingers ready to attach small LEGOs to each other.
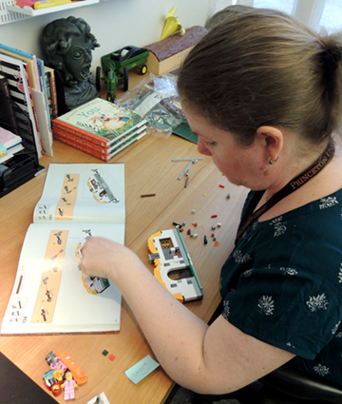 The instructions have you build the Little Red Riding Hood cottage first. As I attached the pieces inside the book covers, I wasn’t sure the cottage would properly fold down and create the pop-up book illusion. But it really works!
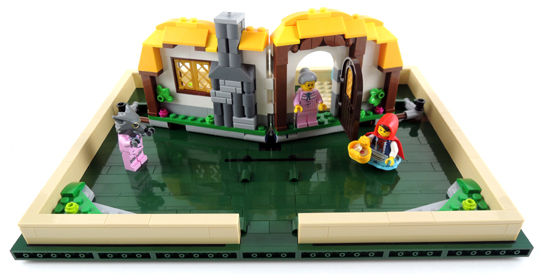
After carefully removing the cottage from the book, I built the Jack and the Beanstalk tiny town and the beanstalk itself (complete with the giant’s castle at the top!). The town is adorable, surrounded by puffy white clouds, and the beanstalk grows when you open up the book. You read that right: the beanstalk grows as you open up the book.
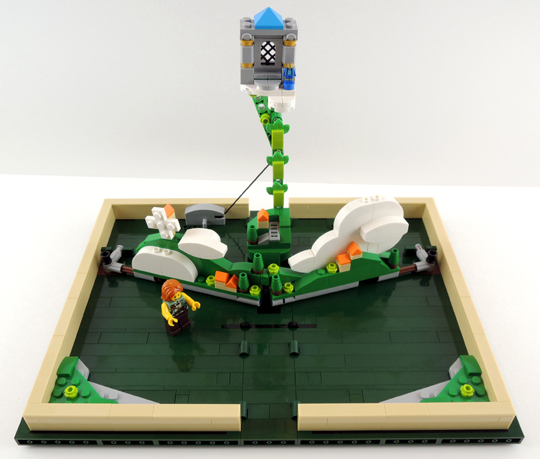
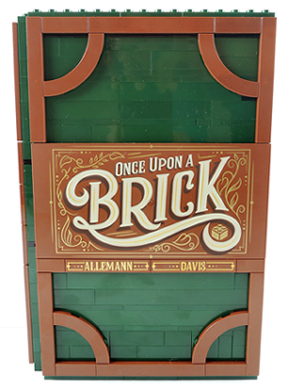
The attention to detail with this LEGO set is remarkable. You get the feeling that you are handling a real book when you have it in your hands, and the ease of how the pieces pop-up when you open the covers is stunning.
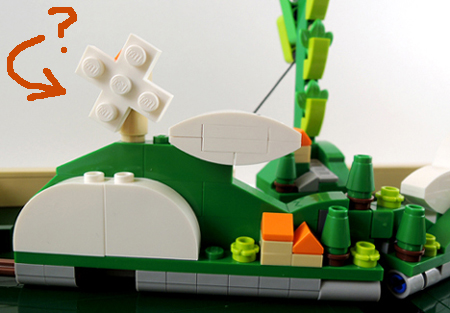
 My *only* complaint – and perhaps it is merely a humble suggestion – is that the little windmill blades in the Jack and the Beanstalk tiny town should have been a different color. They sort of blend into the white clouds surrounding them.
 It took me about three hours to put the LEGO set together. I do agree with the suggested age range of 12+. The complexity of the set would be tough for younger kids to complete on their own, but they could probably build it with assistance from an adult.
My rating for the newest book in the Cotsen Children’s Library special collection: 5 out of 5 stars!

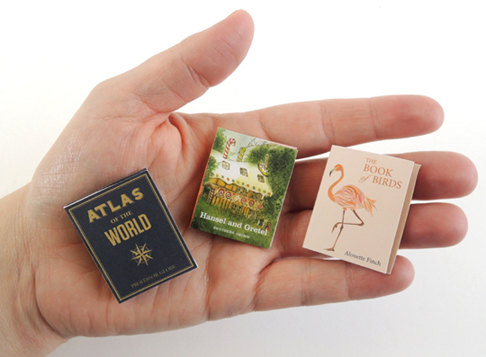
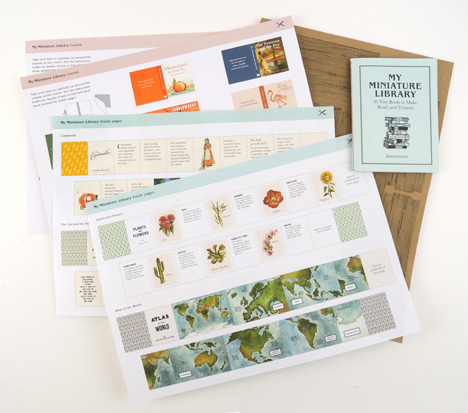
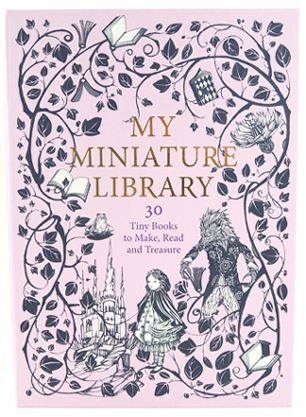 The packaging for My Miniature Library is a delightful cardboard box in the shape of a book. When you open the box, you are greeted with a small instruction booklet, 18 sheets of books covers and pages, and a cardboard punch-out bookshelf.
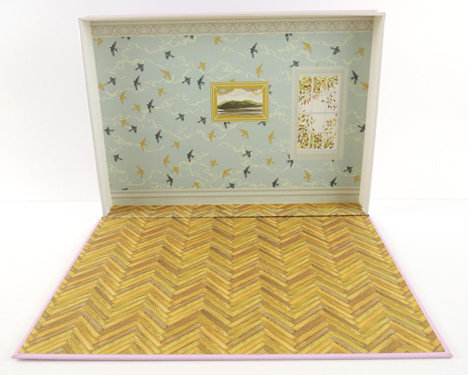
 The 9″ x 12″ box containing the kit (and this is really cool) is also the set of the library. Prop it up on its side, and it becomes your library, complete with chevron hardwood floors, birds in flight wallpaper, and a window framed with fall leaves. When you are done playing with your miniature library, you simply pack everything inside the box, close the lid, and slide the kit on a shelf until next time!
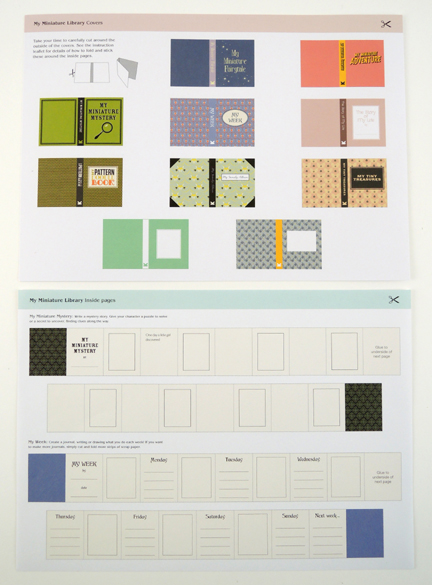
 The kit contains the makings for 30 tiny books: 20 pre-written (both fiction and non-fiction), 8 books with title prompts you can author yourself, and 2 completely blank books for whatever topic you desire. Here’s a set of the pre-printed book sheets (which were primarily fairy tales):
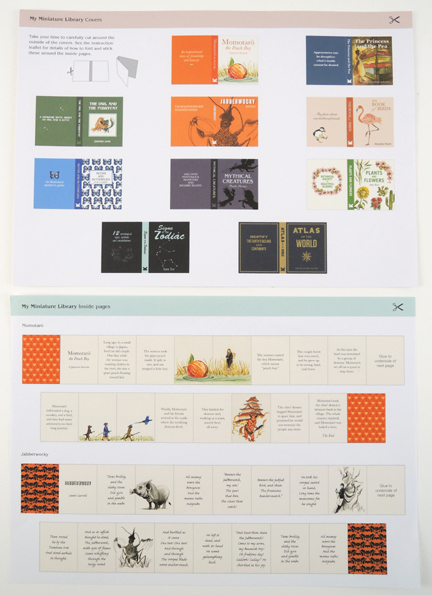 And here’s a set of the design-your-own sheets:
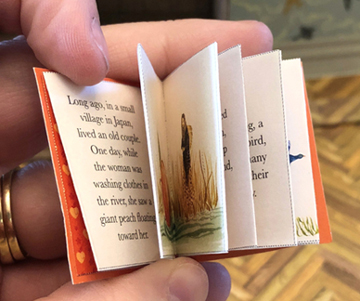
 Generally, the instructions are very clear, concise, and easy to follow. Especially the cardboard bookshelf. The books are where I started to run into some trouble. To create a miniature book, you first cut out the 2 strips that become the book pages, and the cover of the book. Then you carefully accordion-fold the book pages together, and glue them inside the front and back of the book’s cover.
 You have to carefully cut the 2 page strips in order to not lose any of the text or images. You also have to cut out the cover. For 30 books, that’s 90 pieces of paper to cut. That’s a lot of cutting.
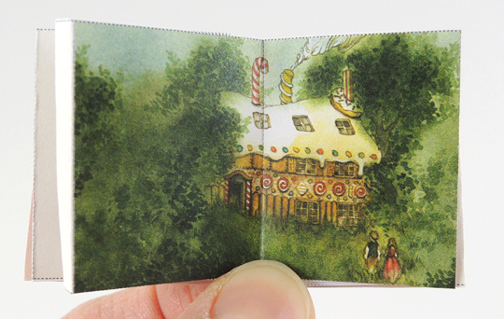 And here is the finished library, bookshelf and all. We placed my toilet paper tube portrait of Johnathan Swift (who you first met
 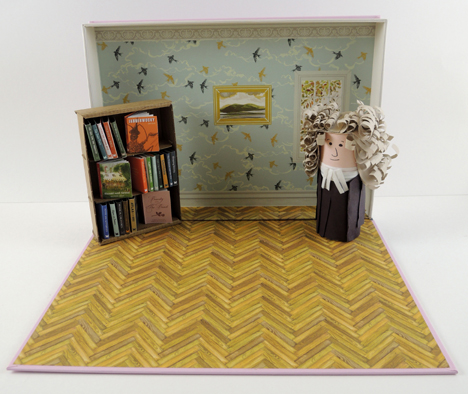 However, I disagree with the recommended age of 6+. I think children 10+ are better suited for the complicated cutting and folding to put these books together. With an estimated 3 hours to craft all 30 books (and that’s after all the cutting is done), I can imagine many children would give up well before all of the books are finished. Children under 10 might also have trouble writing small enough for the design-your-own books portion of the kit. Still, there’s no denying the awesomeness of your very own library with readable books and gorgeous hardwood floors!
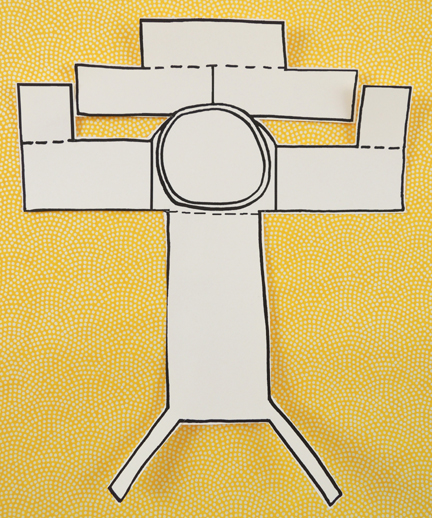 Decorate it with markers, and don’t forget to write the name of your band inside the circle of the bass drum! When you’re done coloring, flip the drum set template over:
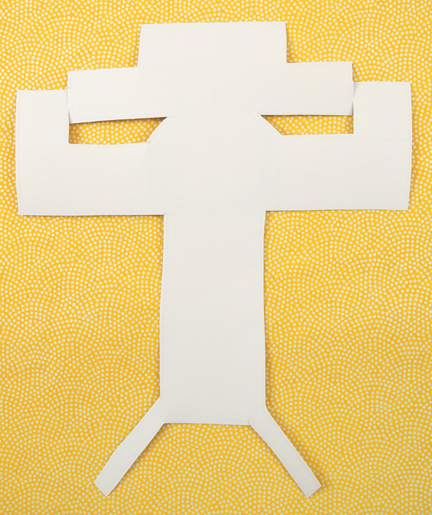 Roll the lower drums inwards, and tape them to the back of the set.
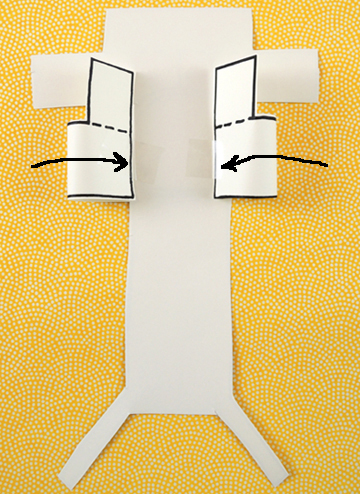 Next, fold the tabs downward along the dotted lines. These are your drum heads. Use scissors to shape them to the tops of your drums, then secure them with tape.
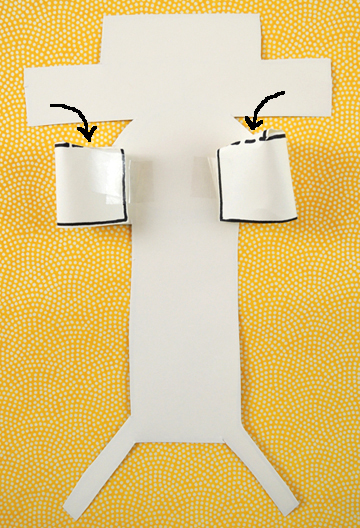 Repeat the same process with the upper drums.
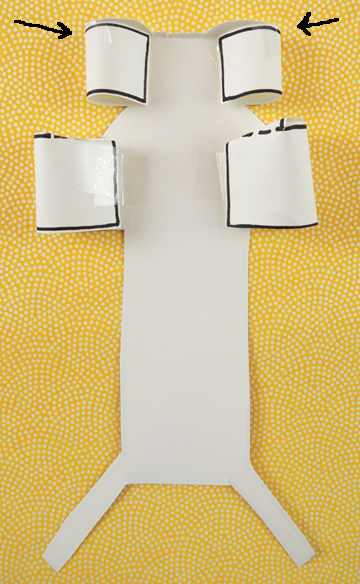 Now fold the long base of the drum set upwards, tucking the cymbal stands between the lower and upper drums.
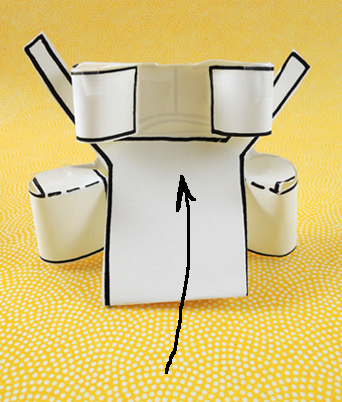 Turn the set around, and stick small
 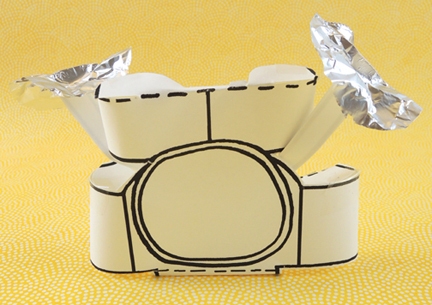 Use scrap paper from your template to fashion a pair of drum sticks and finger loops. Tape the sticks to the finger loops, and slide them over your fingers.
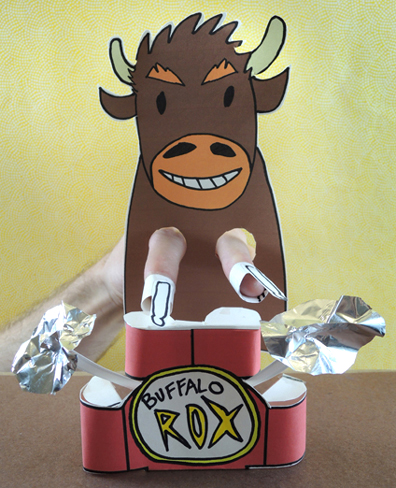
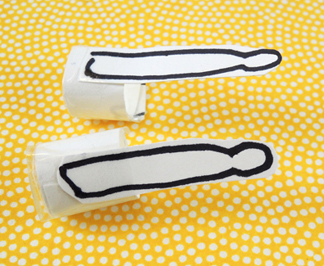 Finally, your buffalo drummer! Cut and color the buffalo finger puppet from the template (or use the full color version