
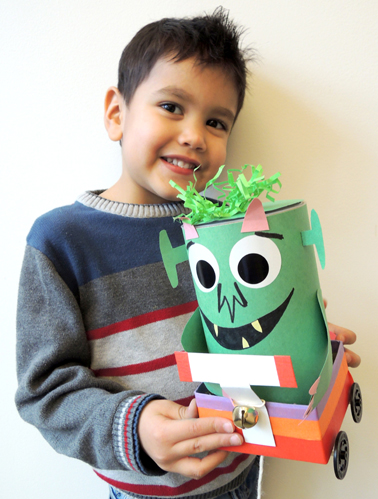
 We’ve made a lot of monster projects on the blog, but this is our first monster…on a bicycle! Where is he going? To find YOU, of course. And make a very special delivery.
We read Bedtime for Monsters by Ed Vere (Henry Holt, 2011). There are monsters out there. In fact, there’s one thinking about you at this very moment…and now he’s heading your way! But as he’s cycling, climbing mountains, and crossing swamps, is his thinking of how delicious you’ll be on toast? Or how tasty you would be slathered in ketchup? No silly! He just wants to give you a big goodnight kiss!
You’ll need:
- 1 small oatmeal container
- Construction paper
- 1 small box
- 1 piece of yarn (ours was 30″)
- 1 set of wheels (more on this below)
- Scissors and tape for construction
- Markers for decorating
- Hot glue
In one section of the book, the monster rides a bicycle. We loved the idea of a pull string bike and a pursuing monster. But it turns out, crafting working 2 wheel bikes is really hard! So you’ll have to pardon us if our bike ultimately had 4 wheels.
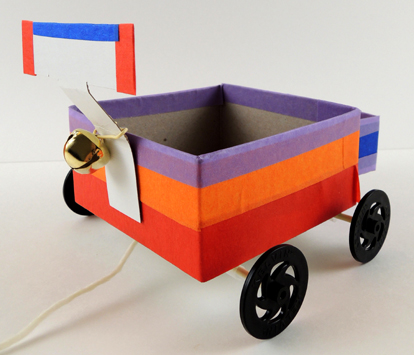 The bike is a 4″ x 4″ x 4″ craft box cut down to 2″ tall (a small tissue box works too!). We also cut the lid off the box and used it to create the T shape handlebars for the bike. Use color masking tape or markers to decorate the bike and handlebars.
The yarn pull string gets taped to the bottom of the box, and we also added a jingle bell secured with twisteez wire. To get things rolling, we recommend our “classic wheel assembly” (instructions here), but wooden wheels or spools work too. And did you notice the basket on the back of the bike?
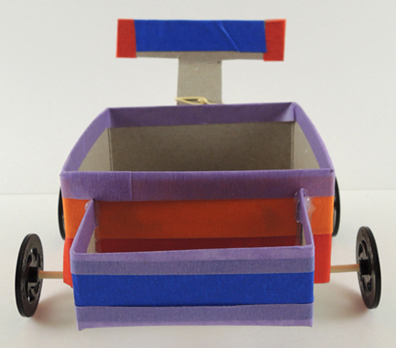 Use a small box or extra cardboard to create a small bike basket, then tape or hot glue to the back of the bike box. Not only does the basket keep the bike from tipping too far back when you’re pulling it, the basket holds something VERY special a little later. Finally, we have our monster…
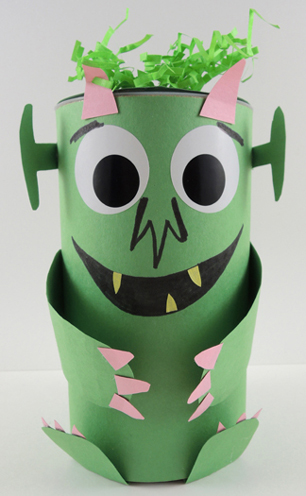 Wrap a small oatmeal container with construction paper, then add arms, legs, eyes, ears, and horns. We added a little paper crinkle to the top of his head as well. Note: if your bike box was small like ours, you might consider folding the monster’s legs upwards so they don’t get crushed. A crushed monster is an unhappy monster.
When the bikes and monsters were finished, kids pulled their creations around the gallery to where I was sitting with some construction paper hearts.
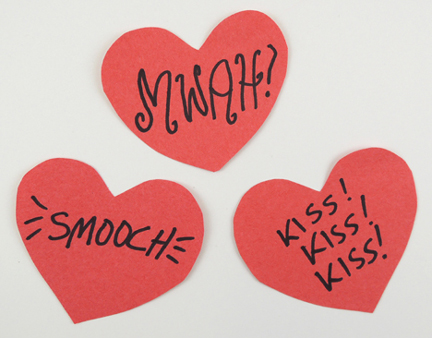 These were “kisses” the monster was carrying with him in his bike basket for you! Awww!

 You will find the instructions for the shield in
 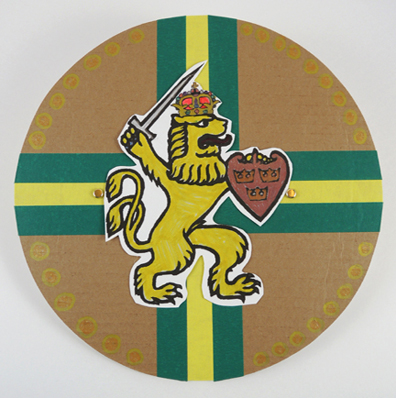 Next came the helmets! Gentle lords and ladies, I found the most amazing DIY knight helmet at the blog Meaningful Mama. Jodi Durr, genius crafter, made one out of a jumbo popcorn bucket!
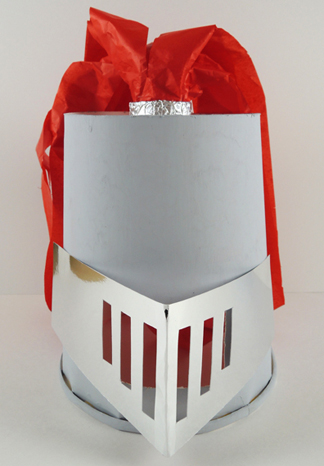 The instructions for Jodi’s helmet are
 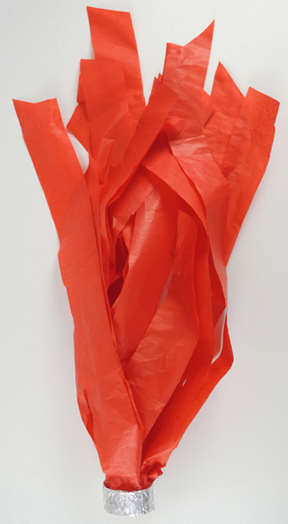 Our jumbo popcorn buckets were 8.5″ tall and the mouths were 7.5″ in diameter. Even so, many didn’t slide easily over the kids’ heads. No problem! To make more room, cut a strip out of the back of the bucket until it fits. Here, for example what the back of my helmet looked like:
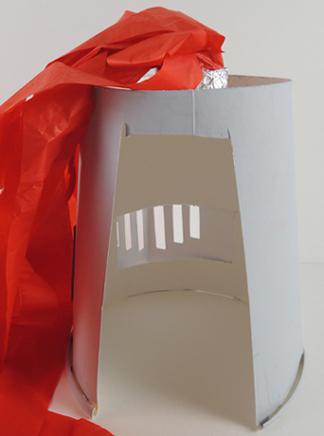 I’d like to send a big shout out to the
 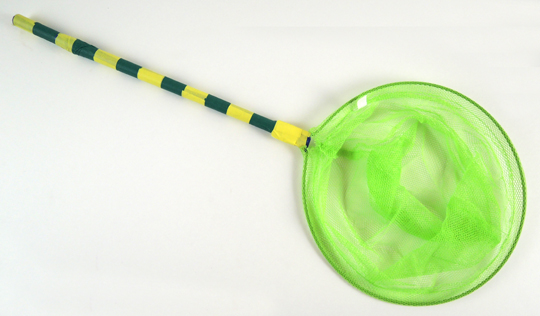 All you need now are some kisses to catch! Given visor visibility and catching abilities, we wanted ours to be fairly large and substantial. We stuck gold
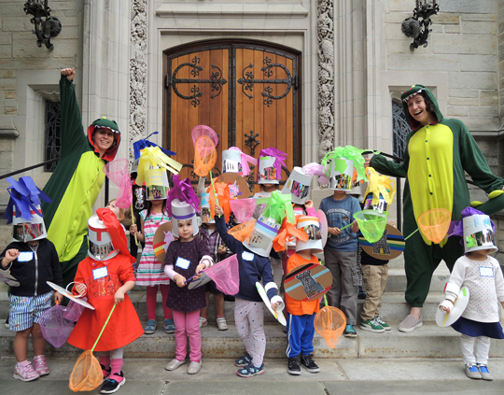
 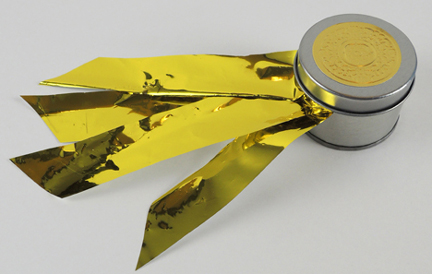 Now for the best part. Marissa is the proud owner of not one, but two dinosaur onesies. Ever since she sported one at
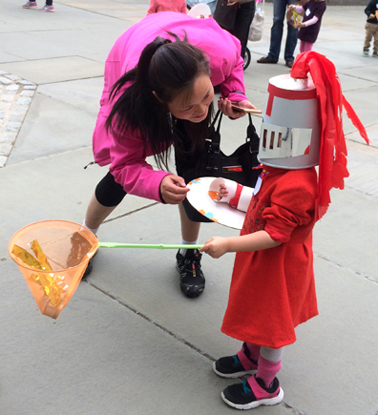
 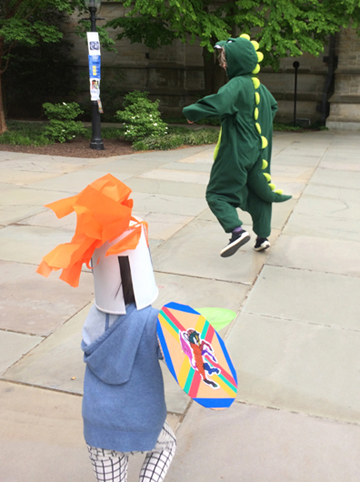 When they caught us, we tossed a kiss in their net!
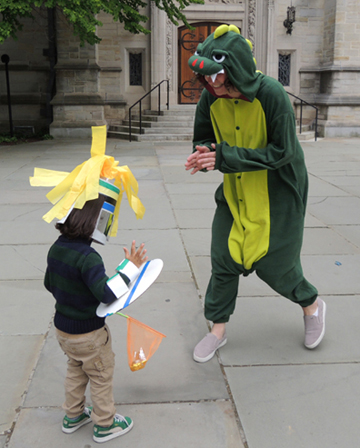
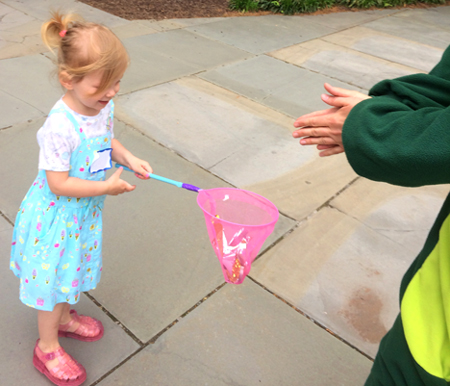 It allowed me to see those beautiful smiles when the kiss was caught!