A huge snow storm demands the toughest snowplow around. But not necessarily the BIGGEST. Sometimes, small gets the job done!
We read Small Walt, written by Elizabeth Verdick, and illustrated by Marc Rosenthal (Simon & Schuster, 2017). Walt is the smallest snowplow in the fleet, and he’s always last in the pack to get picked by a driver. But when a huge storm hits, Walt and a good-natured driver named Gus get to work, plowing mile after mile. Even the biggest hill in town can’t stop this terrific team!
You’ll need:
- 2 small boxes, or 1 large tissue box
- 1 snowplow cab template, printed on 8.5″ x 11″ card stock
- Black poster board
- 1 craft stick
- 2 medium yellow pom-poms
- A piece of yarn (ours was 24″ long)
- Scissors and tape for construction
- Markers for decorating
- Hot glue
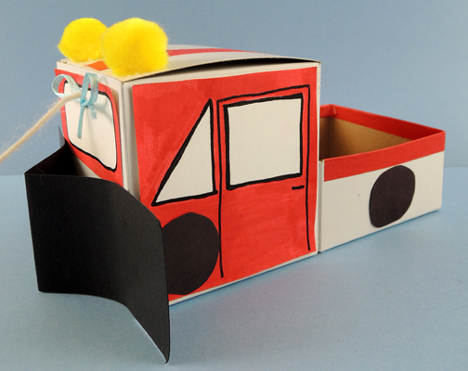
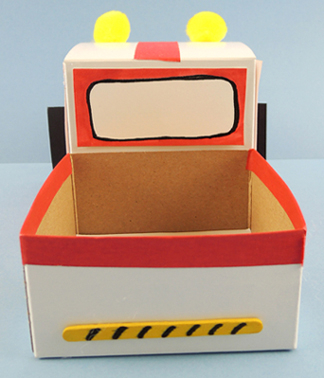
Shout out to Katie for designing such an awesome snowplow! We hot glued two, 4″ x 4″ x 4″ craft boxes together. One of the boxes is cut down to 2″ of course, to create a snowplow with a pickup truck bed. But you can also cut a large tissue box down like so:
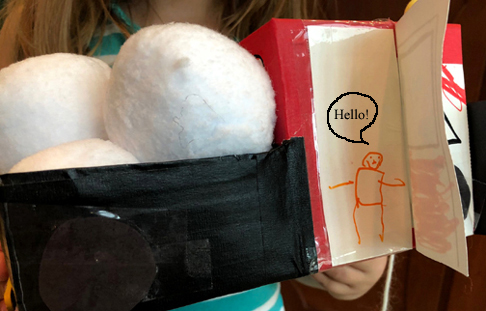
 Color and cut the side doors and windshields from the template, then tape them to the box. I would, however, like to bring your attention to this very clever variation on the template. The kid bent the doors outwards, and drew a snowplow driver inside!
 We provided color masking tape for stripes and other details. And added a craft stick bumper to the back as well…
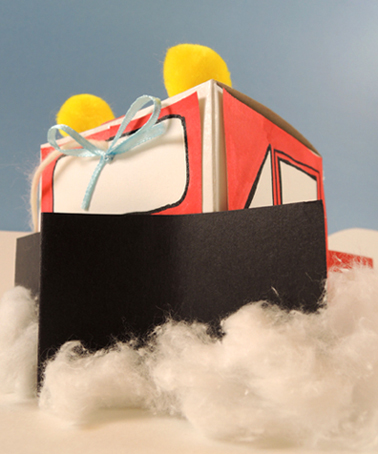
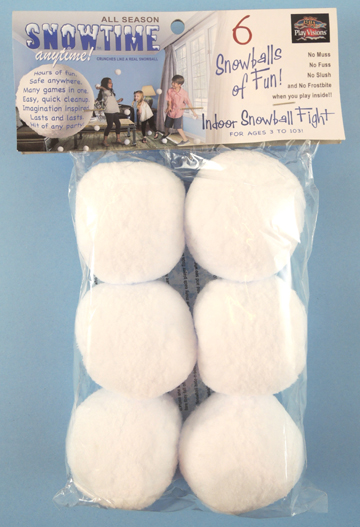
 The wheels and blade of the snowplow are black poster board. Add 2 yellow pom-pom “flasher lights,” a yarn pull string, and you’re done! We decided to add an extra challenge to our story time project in the form of these fabric snowballs. I scored a dozen packages of these on deep, deep discount this summer.
 Kids were challenged to navigate our gallery, rolling the snowballs in front of the plow without losing them. Then they got to take some snowballs home!
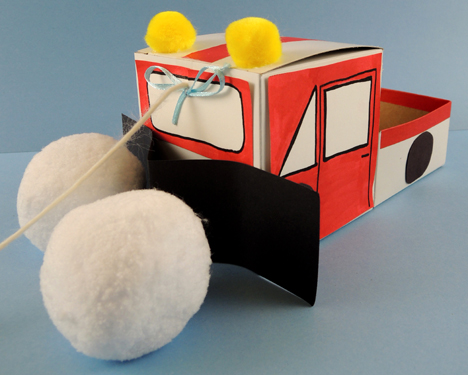 Did you notice the little blue bow on the snowplow’s windshield? In the story, Gus ties his blue scarf on Walt to celebrate the little plow being “Number One!” We definitely wanted to capture that sweetness here as well.
And in case you’re wondering if we played with the piles of fabric snowballs, the answer is YES. Here’s our friend and former office-mate Ian, being ambushed at his desk this summer. This was only one of many such incidents.
 Flip the puppet back and forth to reveal a simple, dynamic story! This project was part of our library’s World Kamishibai Day
 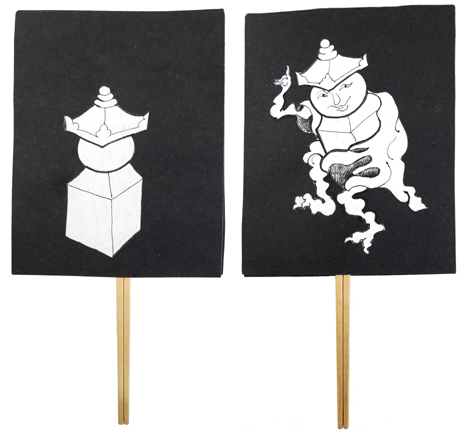 It’s way cooler to see the puppet in action though…
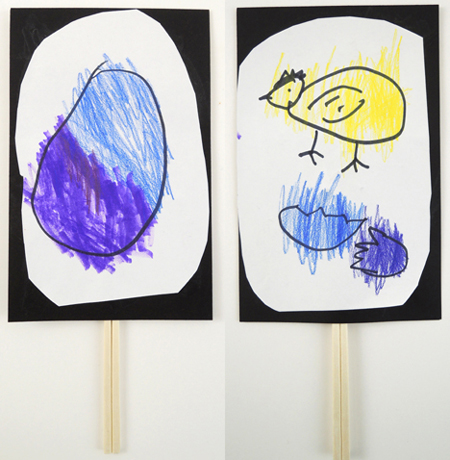
 A very sweet butterfly…
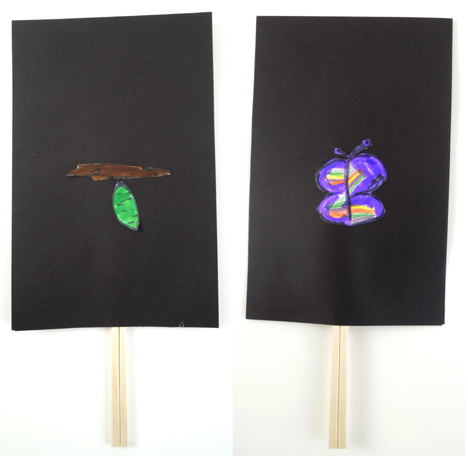 A single fish that goes “Pop!” and turns into a school of fish…
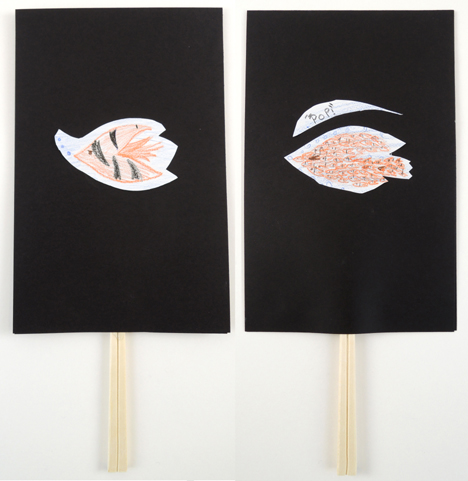 An exploding firework…
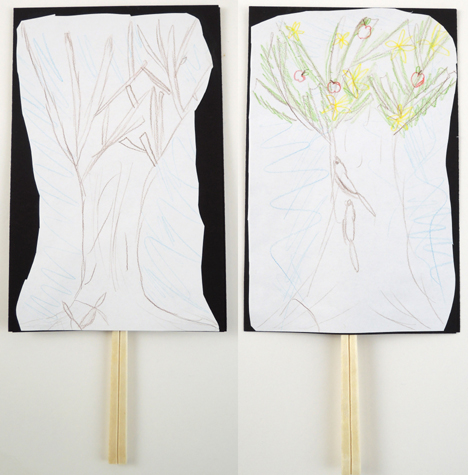
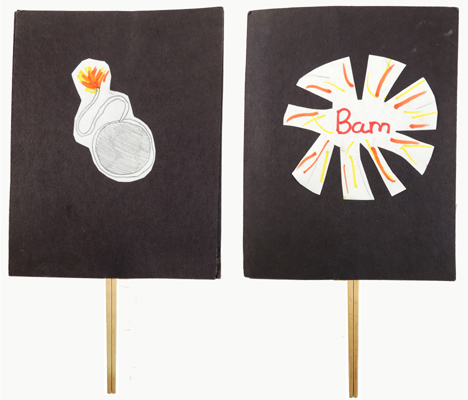 And a girl that duplicates into 5 girls!
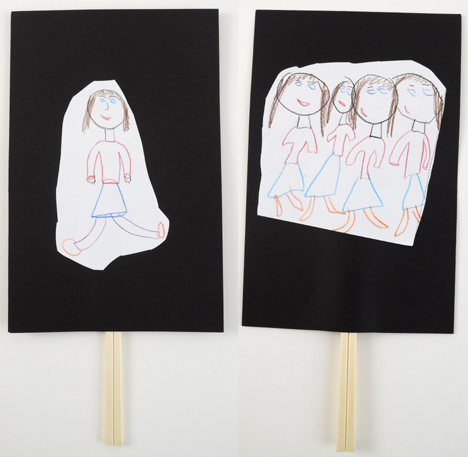 If that last one seems a little confusing, it was inspired by a kamishibai performance of Manmaru manma tantakatan (written by Fumiko Araki, and illustrated by Takuya Kusumi). It’s about a ninja boy who duplicates himself to foil a wicked serpent.
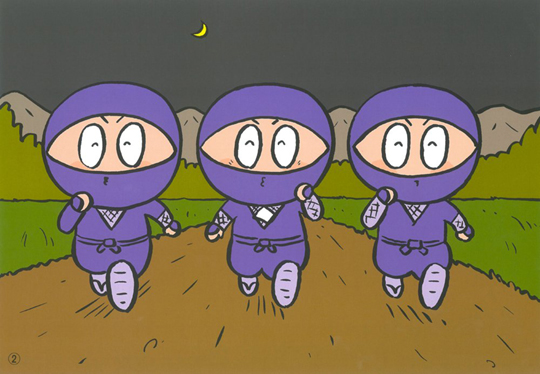
 When a sneaky burglar strikes, it’s up to you and your lion companion to save the day! We made these simple oatmeal container lions, and then caught a story time crook.
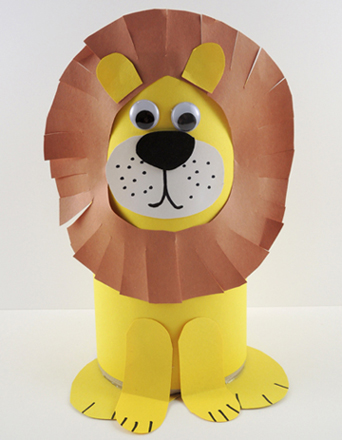
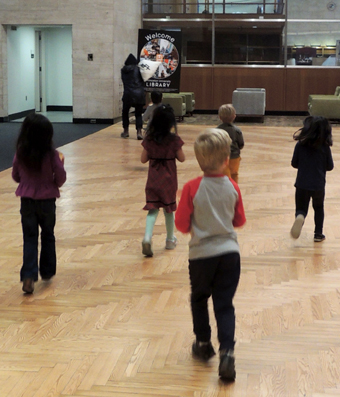 Eventually, she was cornered and tagged repeatedly by oatmeal container lions. Which, admittedly, was a first for her!
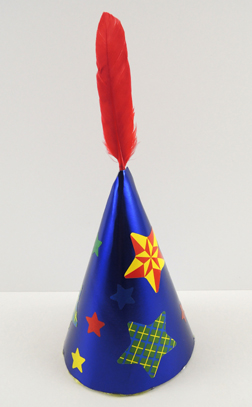
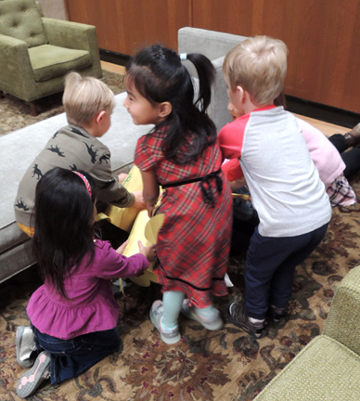 After the triumphant capture of the burglar, the kids returned to the program area to make hats for their lions (which is the reward he asks for in the book). These were cone party hats, cut down to 5″. The kids decorated them with stickers and a duck quill. Very snazzy.