Going on an adventure? Might want to grab an extra bottle of Tylenol before you step off the Shire! We tested the “Lord of the Rings: Shadows Over Middle-earth” escape room by Exit the Game…and it didn’t quite work out for our merry gang!
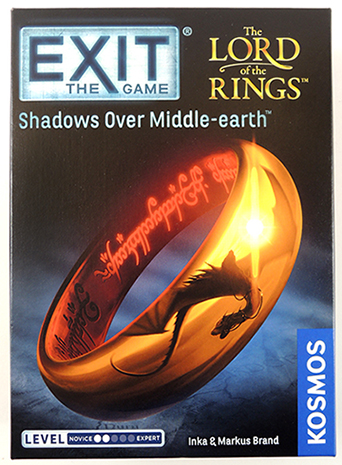
“Shadows Over Middle-earth” retails for around $20 on sites like Amazon. It’s manufactured by Kosmos, intended for ages 10+, takes 1-4 players, purports to be just above novice level, and takes an estimated 1-2 hours to complete.The box was promising, and included the oh-so-iconic Ring of Power.
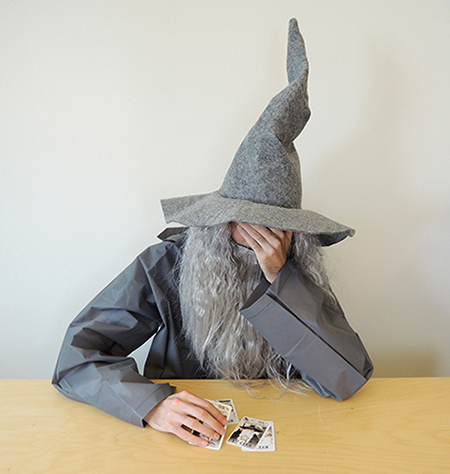
Our game testers were Katie, an intrepid 11 year-old nephew of a colleague, and Daniel our summer intern (who sportingly posed in Gandalf gear for this post).
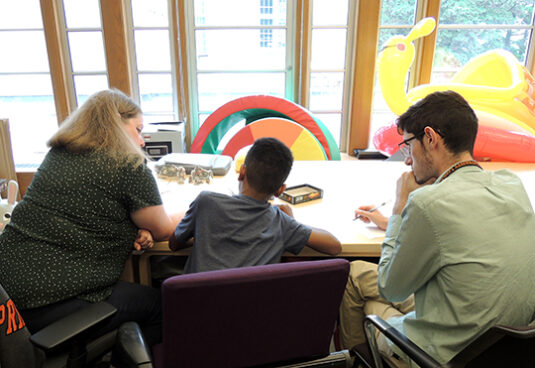
Daniel authored today’s game review, but I’ll preface it by saying – this escape room was much harder then the box suggested. From the adjoining room, I could hear groans, growls, and wizardly exclamations of frustration from the questers. Also, our game was missing a crucial peace at the very end, so it ended up as more a frustrating headache then triumphant quest. As demonstrated by Daniel/Gandalf…

Daniel’s review is below, but don’t miss his interview at the end of this post! Take it away Daniel!
The “Shadows Over Middle-earth” escape room takes the player on an arduous adventure through Middle-earth in hopes of finding and destroying the ring of power, an enchanted band of gold that gives its wielder an unlimited source of power. Gandalf the Grey has enlisted the help of any person brave enough to embark on this dangerous journey to help Frodo and his band of Hobbits find Sauron’s ring and destroy it once and for all.
While the minimum age listed on the box is ten, purchasers should be aware that the skill-level demanded by Gandalf aligns more with a minimum age of fifteen. In addition, this particular escape game is a level two on a scale from novice to expert. It should be noted that while the difficulty is marked as a level two, these brave adventurers felt that it was at least a level four as it expected a high knowledge of riddle and puzzle solving.
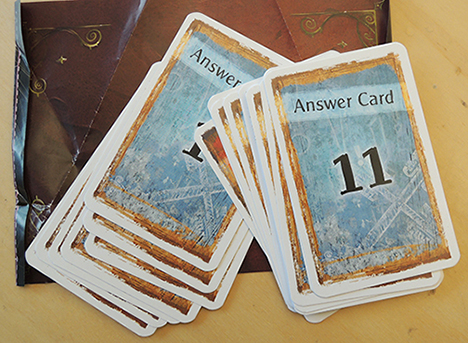
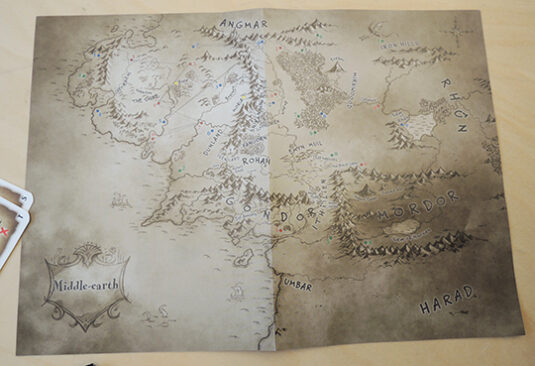
This adventure-packed activity includes multiple game pieces, riddle cards, a map, a decoder, and a riddle book. Some materials must be cut, so be sure to have those handy Hobbit shears on hand. Similarly, it is important to note that while these adventurers were brave enough to overcome any obstacle, a missing game piece proved to be a formidable challenge, so make sure to check the box for all listed items before beginning.
While traversing through the enchanted forests and hills of Middle-earth, some adventures may need a helping hand as some riddles can surely sway them off their quest. Fear not, Gandalf has given any brave soul a chance to ask for help! Simply enlist his assistance by picking up a help card and Gandalf will be sure to provide you with more information that will help you solve these crucial riddles. Overall, these courageous participants feel that from one to five stars, this enthralling game earned a solid three stars for its ingenuity and creativeness.
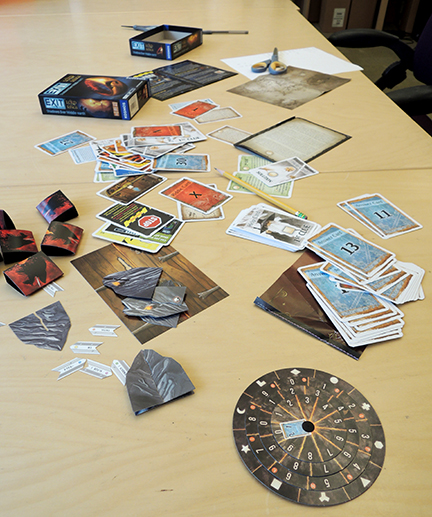
Now, fearless warrior, go out and embark on the journey of a lifetime! Take these tips to help you along the way, but beware, Sauron’s power grows stronger by the minute! Are you ready?
After the quest, we caught up with non-Gandalf Daniel to ask him a little about himself and his experience with us this summer. We have enjoyed having him SO much. His energy and enthusiasm are legendary, as are his scholarly skills. From curating an upcoming #ColorOurCollections, to rolling up his sleeves at story time, Daniel is absolutely brilliant and excels in everything he does. It was truly honor to work with him.

Hi! Tell us a little about yourself!
Hey everyone! My name is Daniel Dias, but you can call me Dan! I am a rising junior at Rutgers University, New Brunswick where I study history and minor in religion. I adore history and it has certainly become something of a passion of mine, whether it be local or world history, the past is something that deeply intrigues me! When I’m not thinking about lost civilizations or what George Washington ate for breakfast that one time in 1778, I enjoy traveling, riding my bike, hanging out with friends, and playing music. I am a Low Brass section leader in the Rutgers Marching Scarlet Knights which is such an incredible experience!
Outside of my hobbies and extra-curricular activities, I work as a Youth Suicide Prevention Associate for the New Jersey chapter of the American Academy of Pediatrics. I want to make a difference in the world wherever I can, and I have found that if you’re passionate about anything, you can always help people and leave your community and the world a much better place!
Growing up, what was your experience with libraries?
Growing up, I actually didn’t go to the library that often, if ever. It isn’t something that I would like to admit, but I honestly didn’t. I was extremely fortunate to have an array of books in my house, so I didn’t need to utilize my town’s resources that much. However, when I’d travel with my parents, visiting foreign libraries became sort of a hobby of ours and thus, my fascination with diverse approaches to library sciences began. Libraries are a place where every child should go to. They inspire, captivate, and open our minds to the world!
What are you most eager to experience in your internship this summer?
I’d first like to mention how incredibly grateful I am to have been granted access into a world only few really get to see. The knowledge that I have gained in such a short time here at Princeton has already begun to shape my perceptions and broaden my horizons into a field that intrigues me so much. What an honor it is to work in the same space that accomplished professionals work in and what a privilege it is to be able to study in the same library where some of the greatest minds on earth have.
With that being said, I am very eager to experience connections with professionals who, in large part, are the best in their field. I want to learn from them and their experiences in hopes of truly understanding the importance of the work they do on a daily basis and how that fits into the larger picture of scholarly research. Accessioning, cataloging, preserving, conserving…these are all words that are associated with archives and special collections, but I want to get to know the faces behind that. I am eager to challenge myself and hopefully think and act as critically as they do.
What’s next for you?
After this incredible experience comes to an end, I will be enduring the heat during band camp, where the Marching Scarlet Knights will be preparing for an incredible season which will culminate with us marching in this year’s Macy’s Thanksgiving Day Parade! I will also be continuing my studies in history and am fortunate to say that I will be conducting research again with the Scarlet & Black Research Center at Rutgers. In addition, I will be continuing my work on the mental health front as well as my volunteering at the Woodbridge Public Library, an institution that I owe my gratitude and success to as they have truly enabled me to pursue my passion for historical research and archival sciences. Other than that, I’ll just be running around like usual, eager to get to work!
What are Dr. Dana and Katie REALLY like?
I can honestly say that I have never had the privilege of working with a more dynamic and creative team as Dr. Dana and Katie. In my short time with them, I have seen their ingenuity, wittiness, and craziness create truly spectacular projects for their young patrons. To say that they have such big hearts full of love for every child who comes into the Cotsen Gallery would be a massive understatement. They truly put the time and effort into creating an unforgettable experience for each child! Just be careful, don’t let Katie’s Lego sets or Dr. Dana’s Taylor Swift poncho fool you, they can talk anybody into dressing up like any character, especially me as Gandalf! You should have heard my conversation with my parents after they asked me how my day was! So, if you’re ever visiting Princeton and happen to hear loud noises or laughter coming from the library, don’t be scared for it is only the two coolest people at work!
Awwwwww! Come back to the library anytime Daniel…you’re family now!
Blog update! Everyone is now referring to Daniel as “Dandolf.” AWESOME.

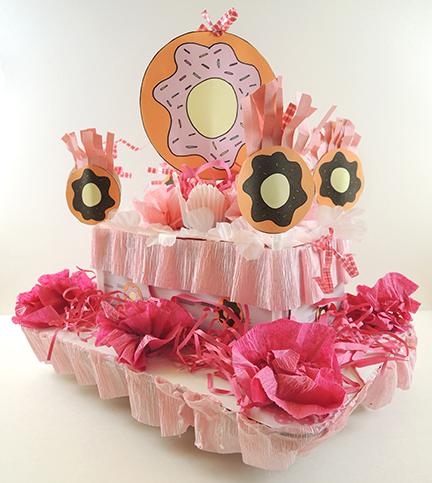 What do you think…is this too much pink? Display alllllll your fabulous frills with a delicious donut float, then join a march around the library. Today, we’re celebrating frosting, filling, glaze, and sprinkles. And yes, we have parade footage!
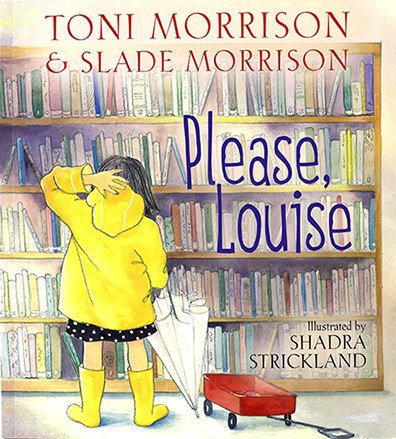

 Guests could also register to win one of five giveaway baskets, each matched to a Morrison children’s book. We had SO much fun putting these together at JaZams, our local independently-owned toy store!
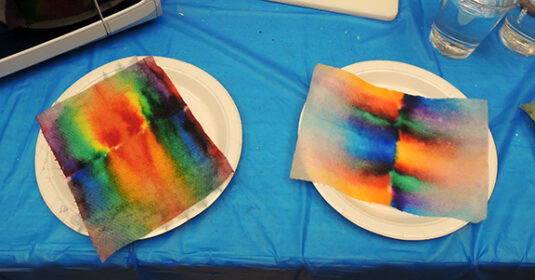
 A little further back in the gallery was the science area, which had three way cool experiments:
 Perhaps one of our favorite part of the program was the quietest. Inside our library’s famous tree, Katie rigged up a tiny blue tooth speaker ($20 on Amazon) and streamed Toni Morrison’s Grammy-nominated

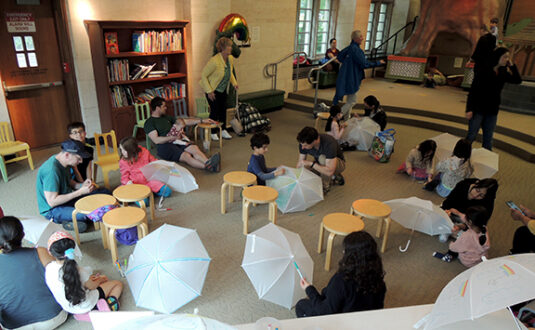
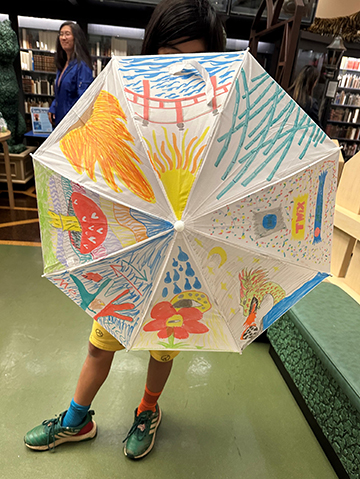
 The second was a custom umbrella decorating area. The umbrellas were a direct nod to Please, Louise, who carries an umbrella throughout the entire story. We purchased the plain white child-sized umbrellas from Oriental Trading Company. A pack of 24 costs $75 (basically $3 an umbrella), so this project IS a splurge, but the great thing is you can return anything you don’t use to the company for a refund. We used Crayola fabric markers, which are 100% waterproof (we tested!) and very vibrant.