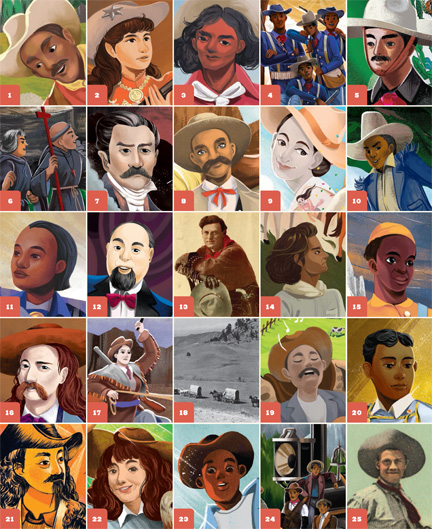
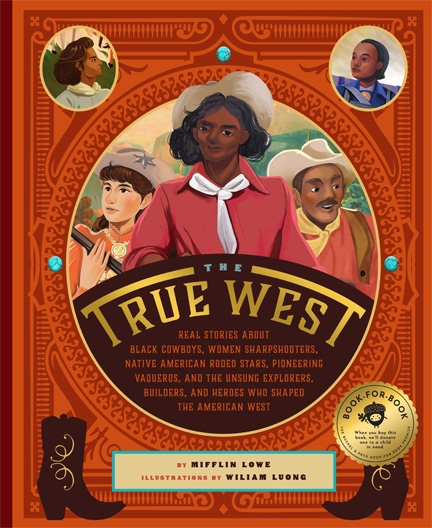
 Recently, I was delighted to connect with writer and musician, Mifflin Lowe. His latest children’s book, The True West (Bushel & Peck, 2020), is a journey to the American West and focuses on the individuals often left out of the popular narratives. Here we meet African American, Latino, Asian, and American Indian soldiers, inventors, workers, pioneers, cowboys…AND cowgirls! Filled with historic photos, amazing facts, helpful definitions, and illustrations by Wiliam Luong, it’s a fantastic, fascinating, and dynamic resource. I lassoed Mifflin for a few questions about his work…
How did this project come to be?
I wrote a picture book and an animated film called The Awesome, Amazing, Occasionally Incredible Adventures of Cowboy Howie, about a mixed race boy from New York City who dreamed of being a cowboy. In his imagination the city’s canyons turned into the Grand Canyon, dogs became wolves, pigeons became eagles etc.
What was the research like for the book? Did you, for example, get a hankering to visit some Western locations? Saddle up Old Paint?
Research was fascinating. I did it mostly online and I learned a ton about the people and the life in the West. The people were all tough and I mean that in the best possible way — the were incredibly resilient from Calamity Jane to Stagecoach Mary Fields to Fox Hastings to Bass Reeves.
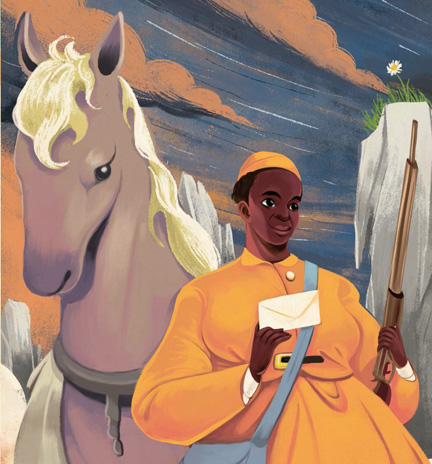
Mary Fields
Who was your favorite person to research?
Well maybe Annie Oakley – she was under 5 foot tall and could shoot a dime thrown in the air at 20 paces, and shoot while standing on the back of a galloping horse. Also, Bass Reeves who was a Black lawman who arrested over 3,000 criminals — more than Wild Bill Hickok and Wyatt Earp put together. Bass is supposedly the person the Lone Ranger was based on. Bass always left silver dollar at the scene of a crime he’d solved — like the Lone Ranger did with his silver bullets. Also, Jackson Sundown, the Native American rodeo rider who was probably the best ever and Mamie Hafely who used to jump off a five story tower on the back of her horse into a pool of water
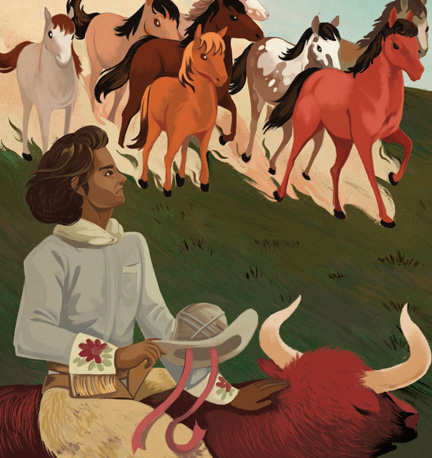
Jackson Sundown
What’s one thing that surprised you when working on this book?
How strong, determined and hard working all these people were. They never gave up and never gave in.
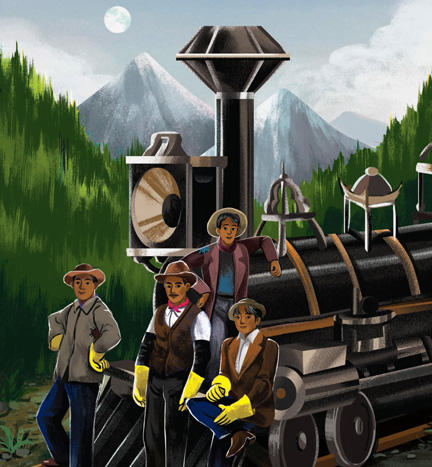
Chinese Railroad Workers
In the Calamity Jane chapter, you mention the “flat-out cool’ nicknames from the Wild West. What would your nickname be?
Mr. Smartypants, maybe? Naw, I don’t know… maybe Muffin… like Mifflin…people sometimes make the mistake.
Muffin Lowe
Images courtesy of Mifflin Lowe and Bushel & Peck Books. Illustrations by Wiliwam Luong.