New York City is the place to be, especially if you are an ape who has escape the Central Park Zoo and are determined to take in all the sights! He’s wearing a disguise and the master of hiding – can you find Marvin the Ape?
We read The Escape of Marvin the Ape by Caralyn and Mark Buehner (Dial Books, 1992). It’s feeding time, and Marvin makes his move. Leaving a baffled zookeeper behind, Marvin enthusiastically explores the subways, museums, restaurants, shops, and parks of New York City. He’s definitely not going back to his former life, and what’s more, Helvetica the Hippo is hot on the heels of his success!
You’ll need:
- 1 large oatmeal container
- Construction paper
- 1 paper bowl
- Scissors, glue, and tape for construction
- Markers for decorating
- Hot glue
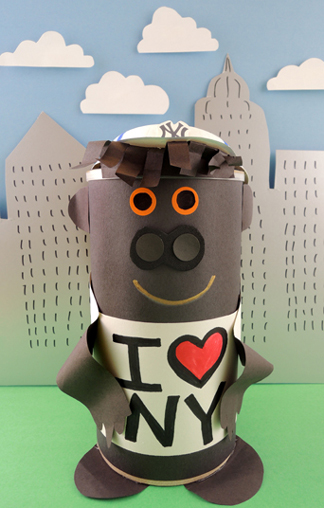
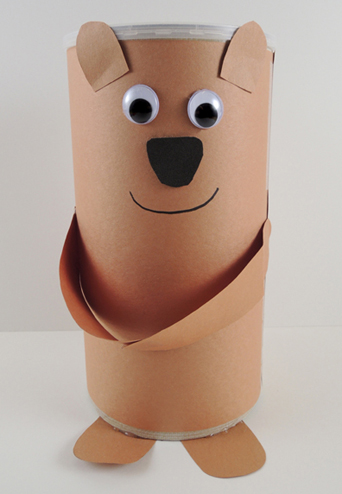
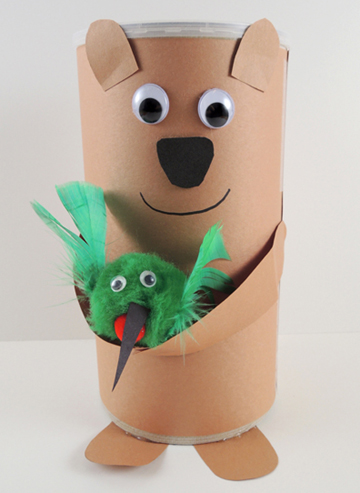
This is a simple project and a hide-and-seek game to boot! You can construct your oatmeal container ape entirely using construction paper, or you can add a few things like dot sticker eyes and a self-adhesive foam nose with dot sticker nostrils.
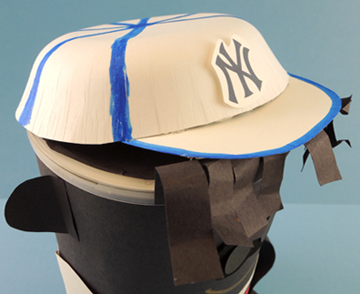
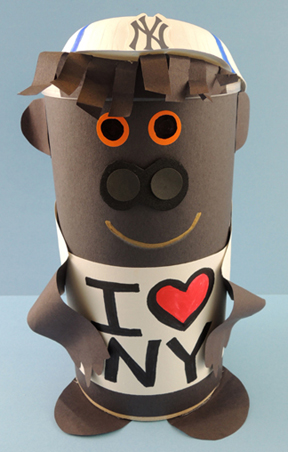 The baseball cap is a trimmed paper bowl with a card stock (or construction paper) brim. We recommend using hot glue to attach the hat and the feet to the oatmeal container.
 The baseball hat is just one optional for headgear of course. We basically gave the kids a bowl, a strip of white construction paper “shirt” and the Bling Bin and let them put together whatever ape disguise they wanted.Check out this feathery tiara and killer eye shadow!
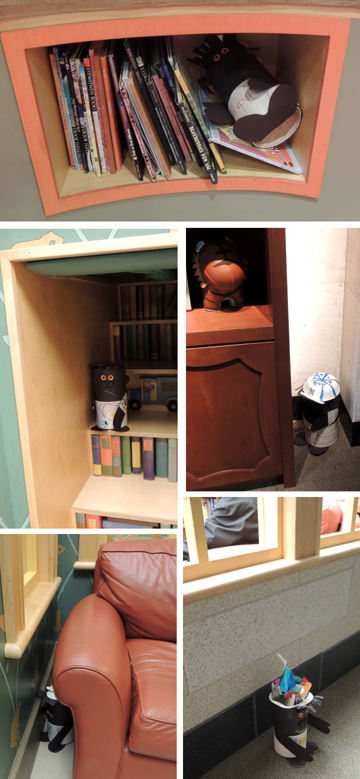
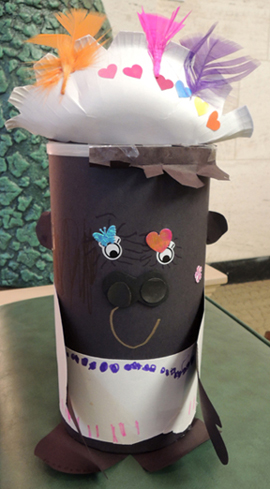 When everyone was done decorating, we played a game of Hot/Cold Hide-and-Seek. Kids hid their apes around our gallery and invited their grown-ups to find them. The kids gave hints if the grown-ups were getting “hot” or “cold.” Hiding games are always popular at our story times. One enthusiastic group played for over 15 minutes!
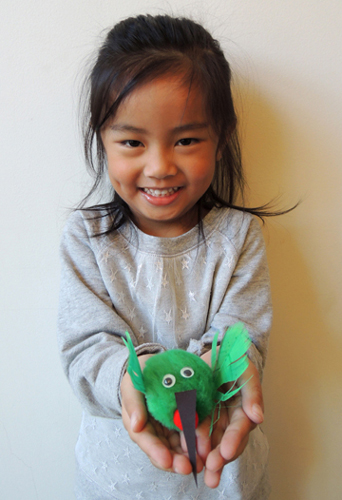
 The hummingbirds were created by Katie. Aren’t they cute? She made a green version modeled after the ruby-throated hummingbird, and a purple version modeled after the violet sabrewing hummingbird.
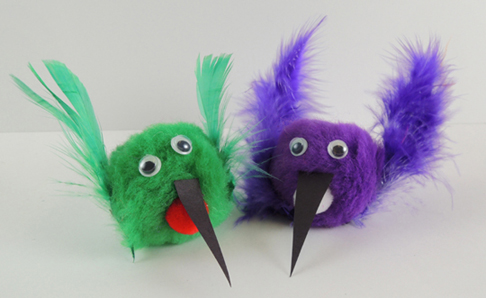 To make a hummingbird, glue a thin black construction paper beak onto a large (1.5″ diameter) pom-pom. Glue a smaller (.75″) pom-pom underneath the beak. Add a pair of small wiggle eyes and 2 feathery wings and you’re set!
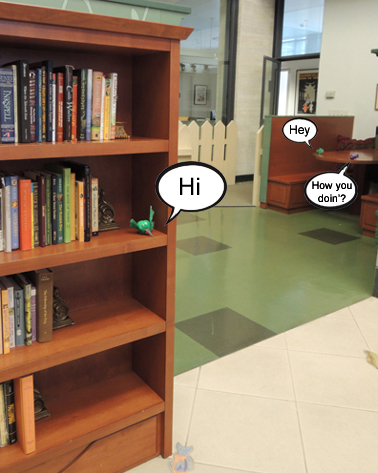 Then, slowly, and oh-so-quietly, kids and their bears went in search of their hummingbirds.
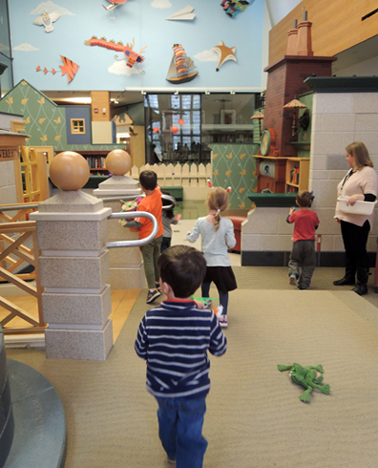 Looking for more feathered friends? Check out this
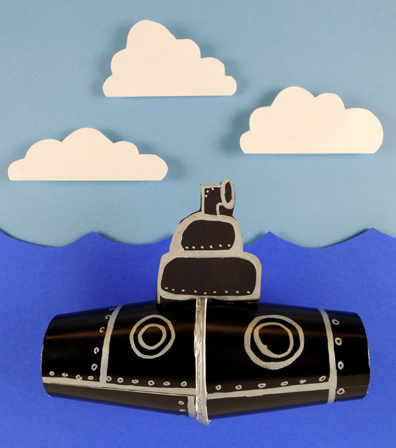
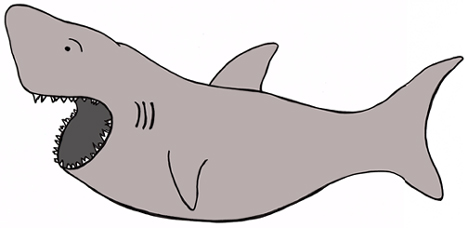
 We recommend Rub-a-Dub Sub, written by Linda Ashman, and illustrated by Jeff Mack (Harcourt, 2003). Zooming around in an orange submarine, a little boy encounters numerous ocean creatures – a seal, a manta ray, a horseshoe crab, and an eel to name a few! But an encounter with an enormous shark forces him to quickly retrace his steps to the surface, where he finds himself safe and sound – in his very own bathtub.
 Next, turn the cups end-to-end and connect them together with hot glue. If you can’t do hot glue, simply connect the cups with tape. We used black masking tape for the photo below, but regular tape works just as well.
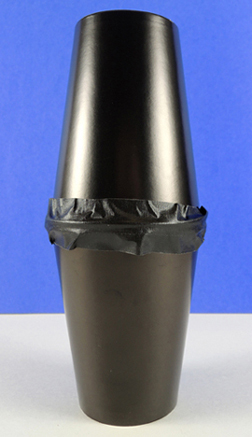 For the paper towel tube version of the project, cut the holes in the bottoms of the cups. Then place a piece of paper towel tube inside the bottom cup (our tube piece was 6.75″ long but you might have to adjust yours a little). Place the second cup over top of the first…
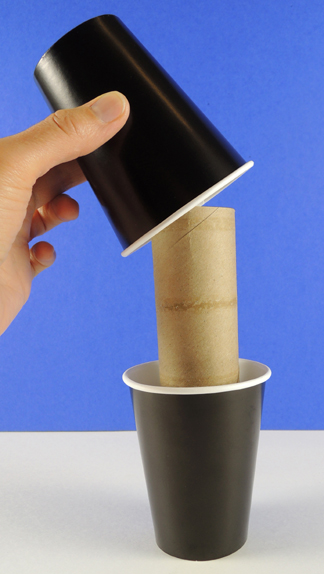 Then hot glue (or tape) the two cups together. So…is the extra effort for the paper towel version worth it? You decide! Here’s a side-by-side comparison of the 2 projects. One could argue that the paper towel tube version looks more like a spyglass, but the cups-only version is cute too.
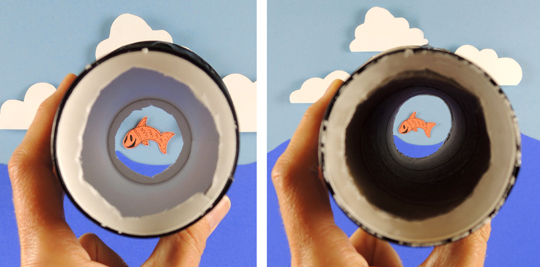 Next, cut a periscope shape out of construction paper, tab the bottom, and attach the periscope to the top of the sub. Finally, use markers to give your sub portholes, plates, rivets, and bolts. Any markers will do, but we really liked how silver metallic marker looked on the black paper cups.
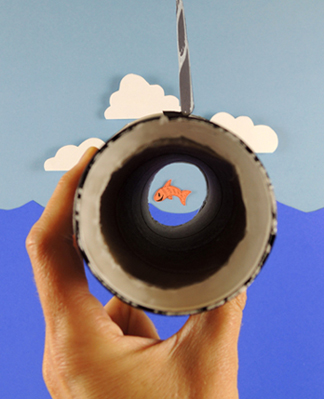
 Miss Marissa designed this awesome project, and she made a fantastic I-Spy game to go with it! To play, print up the characters in this template (click